<!DOCTYPE html>
<html>
<head>
<title>Three.js 带贴图的立方体</title>
<style>
body { margin: 0; }
canvas { display: block; }
</style>
<script src="https://cdnjs.cloudflare.com/ajax/libs/three.js/r128/three.min.js"></script>
</head>
<body>
<script>
// 创建场景
const scene = new THREE.Scene();
// 创建相机
const camera = new THREE.PerspectiveCamera(75, window.innerWidth / window.innerHeight, 0.1, 1000);
camera.position.z = 5;
// 创建渲染器
const renderer = new THREE.WebGLRenderer();
renderer.setSize(window.innerWidth, window.innerHeight);
document.body.appendChild(renderer.domElement);
// 1. 创建立方体几何体
const geometry = new THREE.BoxGeometry(2, 2, 2,3,3,3);
// 2. 加载纹理贴图
const textureLoader = new THREE.TextureLoader();
// 加载示例图片作为纹理(可替换为自己的图片URL)
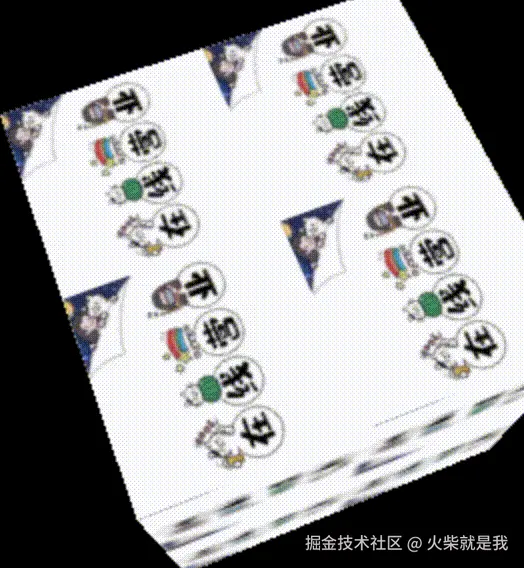
const texture = textureLoader.load('https://qcloud.dpfile.com/pc/_vzQAXVr13f_7iwVuYMN-KZdECsM6WjeAFvnO_6J6g0hOLcGgiPlxc9FC8mAyrgC.jpg');
// 设置纹理重复(需配合wrapS/wrapT)代表每个方向平铺的次数
texture.wrapS = THREE.RepeatWrapping;
texture.wrapT = THREE.RepeatWrapping;
texture.repeat.set(2, 2); // 水平和垂直各重复5次
g ou z ou zg ou z ou zgou
// 3. 创建带纹理的材质
const material = new THREE.MeshBasicMaterial({
map: texture, // 将纹理应用到材质
side: THREE.DoubleSide // 双面显示(可选)
});
// 4. 创建网格(几何体+材质)
const cube = new THREE.Mesh(geometry, material);
scene.add(cube);
// 添加环境光(让纹理更清晰可见)
const ambientLight = new THREE.AmbientLight(0xffffff, 0.5);
scene.add(ambientLight);
// 添加平行光
const directionalLight = new THREE.DirectionalLight(0xffffff, 0.8);
directionalLight.position.set(5, 5, 5);
scene.add(directionalLight);
// 动画循环(让立方体旋转)
function animate() {
requestAnimationFrame(animate);
cube.rotation.x += 0.01;
cube.rotation.y += 0.01;
renderer.render(scene, camera);
}
animate();
// 窗口大小适配
window.addEventListener('resize', () => {
camera.aspect = window.innerWidth / window.innerHeight;
camera.updateProjectionMatrix();
renderer.setSize(window.innerWidth, window.innerHeight);
});
</script>
</body>
</html>