Thinkphp8 Redis队列与消息队列topthink/think-queue
一、Redis队列
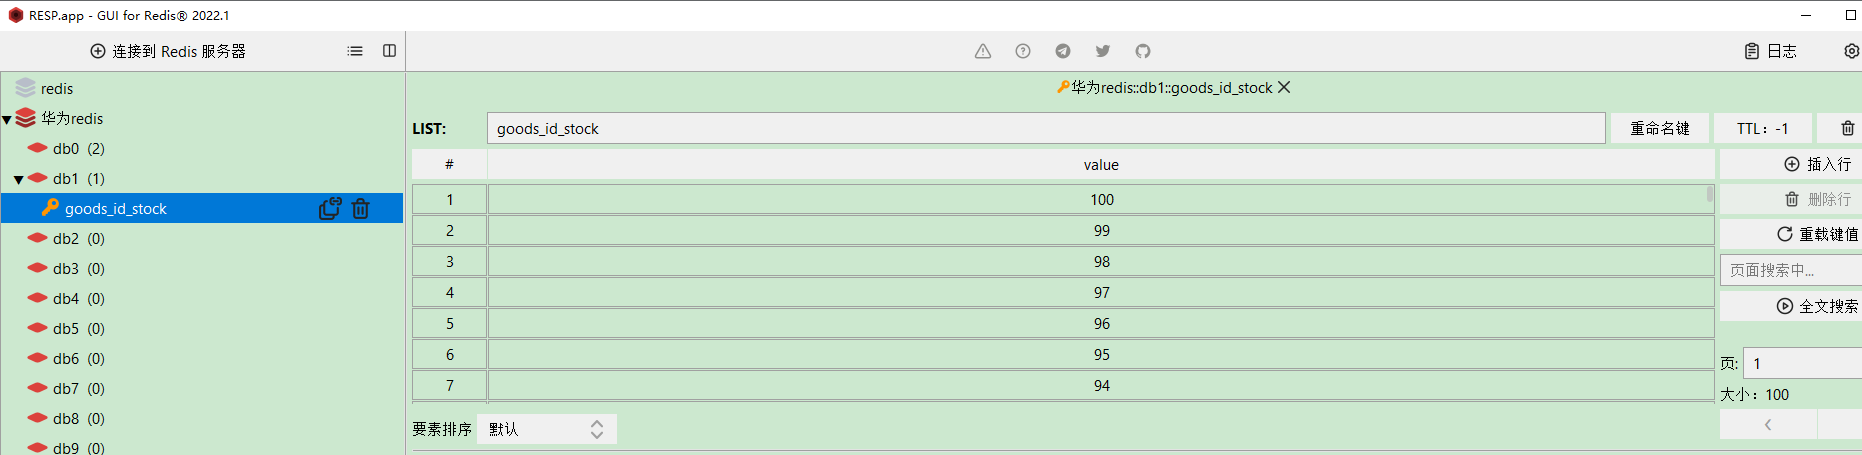
Redis实现左进右出队列的核心是通过LPUSH和RPOP命令组合完成。
1、配置redis
bash
'redis' => [
    'type'       => 'redis',
     'queue'      => 'default',
     'host'       => '127.0.0.1',
     'port'       => 6379,
     'password'   => '123456',
     'select'     => 1,  // Redis 库索引
     'timeout'    => 0,
     'persistent' => false,
 ]
2、核心代码
bash
public function create() {
        // 投递任务到默认队列
        $stock = 100;
        $goodsKey = "goods_id_stock";
        for ($i = 1; $i <= $stock; $i++) {
        	$this->redis->lpush($goodsKey, $i);
        }
        return json(['msg' => '订单已进入队列处理']);

        // 投递任务到默认队列
        // $orderData = ['order_id' => '1001', 'amount' =>'1002'];
        // $orderData = json_encode($orderData);
        // $this->redis->lpush('order', $orderData);
        // return json(['msg' => '订单已进入队列处理']);
    }

    public function chuli(){
         $stock = 100;
        $goodsKey = "goods_id_stock";
        for ($i = 1; $i <= $stock; $i++) {
            $this->redis->rpop($goodsKey);
        }
    	return json(['msg' => '订单已进入队列处理no.']);

    // 	$this->redis->lpop('order');
    // 	return json(['msg' => '订单已进入队列处理no.']);


    }
3、结果展示
二、Queue队列
1、安装think-queue
bash
composer require topthink/think-queue2、在config目录下新建queue.php文件
bash
'default'     => 'Redis',
    'connections' => [
        'sync'     => [
            'type' => 'sync',
        ],
        'database' => [
            'type'       => 'database',
            'queue'      => 'default',
            'table'      => 'jobs',
            'connection' => null,
        ],
        'Redis'    => [
            'type'       => 'redis',
            'queue'      => 'default',
            'host'       => '127.0.0.1',
            'port'       => 6379,
            'password'   => '123456',
            'select'     => 0,
            'timeout'    => 0,
            'persistent' => false,
        ],
    ],
3、消息的创建与推送
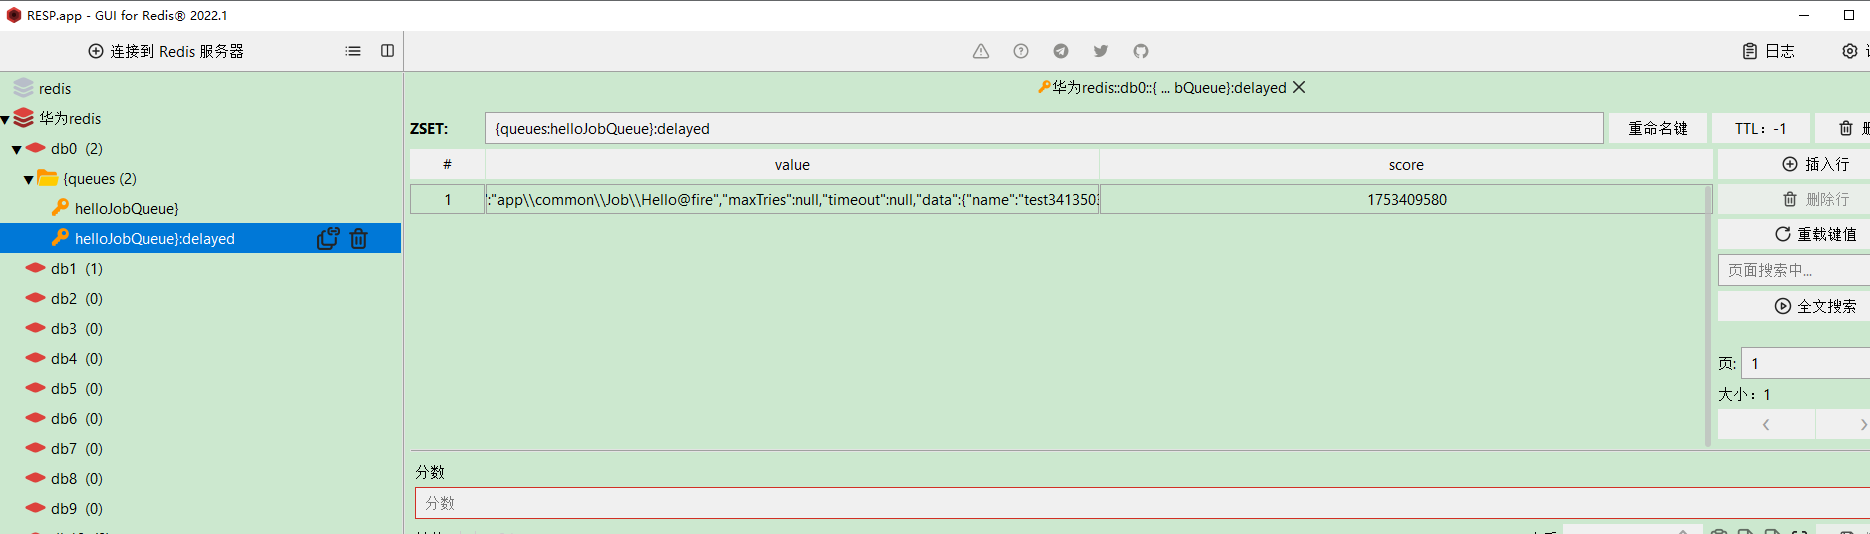
我们在业务控制器中创建一个新的消息,并推送到 helloJobQueue 队列
在控制器中添加 actionWithHelloJob 方法
bash
public function actionWithHelloJob(){
// 1.当前任务将由哪个类来负责处理。
// 当轮到该任务时,系统将生成一个该类的实例,并调用其 fire 方法
$jobHandlerClassName = 'app\common\Job\Hello@fire';
// 2.当前任务归属的队列名称,如果为新队列,会自动创建
$jobQueueName = "helloJobQueue";
// 3.当前任务所需的业务数据 . 不能为 resource 类型,其他类型最终将转化为json形式的字符串
// ( jobData 为对象时,需要在先在此处手动序列化,否则只存储其public属性的键值对)
$jobData = [ 'name' => 'test'.rand(), 'password'=>rand()] ;
// 4.将该任务推送到消息队列,等待对应的消费者去执行
$time2wait = strtotime('2025-07-25 10:13:00') - strtotime('now'); // 定时执行
// $isPushed = Queue::later($time2wait, $jobHandlerClassName , $jobData , $jobQueueName );
$isPushed = Queue::push($jobHandlerClassName , $jobData , $jobQueueName );
// database 驱动时,返回值为 1|false ; redis 驱动时,返回值为 随机字符串|false
if( $isPushed !== false ){
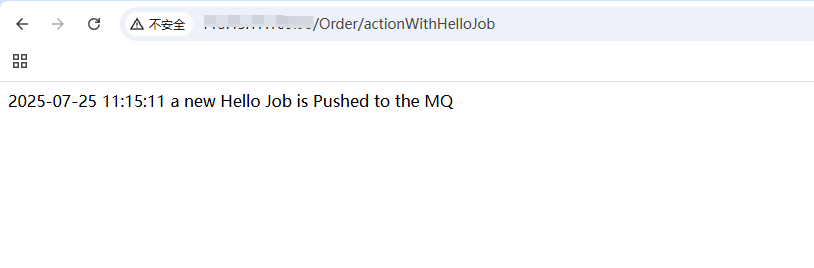
echo date('Y-m-d H:i:s') . " a new Hello Job is Pushed to the MQ"."<br>";
}else{
echo 'Oops, something went wrong.';
}
}4、消息的消费与删除
编写 Hello 消费者类,用于处理 helloJobQueue 队列中的任务
新增 \app\common\job\Hello.php 消费者类,并编写其 fire() 方法
bash
<?php
namespace app\common\job;

use think\queue\Job;

class Hello{
 /**
     * fire方法是消息队列默认调用的方法
     * @param Job            $job      当前的任务对象
     * @param array|mixed    $data     发布任务时自定义的数据
     */
    public function fire(Job $job,$data){
        // 如有必要,可以根据业务需求和数据库中的最新数据,判断该任务是否仍有必要执行.
        $isJobStillNeedToBeDone = $this->checkDatabaseToSeeIfJobNeedToBeDone($data);
        if(!$isJobStillNeedToBeDone){
            $job->delete();
            return;
        }

        $isJobDone = $this->doHelloJob($data);

        if ($isJobDone) {
            //如果任务执行成功, 记得删除任务
            $job->delete();
        }else{
            if ($job->attempts() > 3) {
                //通过这个方法可以检查这个任务已经重试了几次了
                $job->delete();
                // 也可以重新发布这个任务
                //$job->release(2); //$delay为延迟时间,表示该任务延迟2秒后再执行
            }
        }
    }


    /**
     * 有些消息在到达消费者时,可能已经不再需要执行了
     * @param array|mixed    $data     发布任务时自定义的数据
     * @return boolean                 任务执行的结果
     */
    private function checkDatabaseToSeeIfJobNeedToBeDone($data){
        return true;
    }

    /**
     * 根据消息中的数据进行实际的业务处理
     * @param array|mixed    $data     发布任务时自定义的数据
     * @return boolean                 任务执行的结果
     */
    private function doHelloJob($data) {
        // 根据消息中的数据进行实际的业务处理...
        // test
        // Db::name('admin')->insert([
        //     'name'=>$data['name'],
        //     'password'=>$data['password']
        // ]);
        echo '正在工作中....';
        return true;
    }

}
5、发布任务
在浏览器中访问 http://IP地址或域名/Order/actionWithHelloJob 可以看到消息推送成功。
在redis工具查看
6、在终端处理任务(处理及监听)
命令:
bash
php think queue:listen --queue helloJobQueue
至此,我们成功地经历了一个消息的 创建 -> 推送 -> 消费 -> 删除 的基本流程