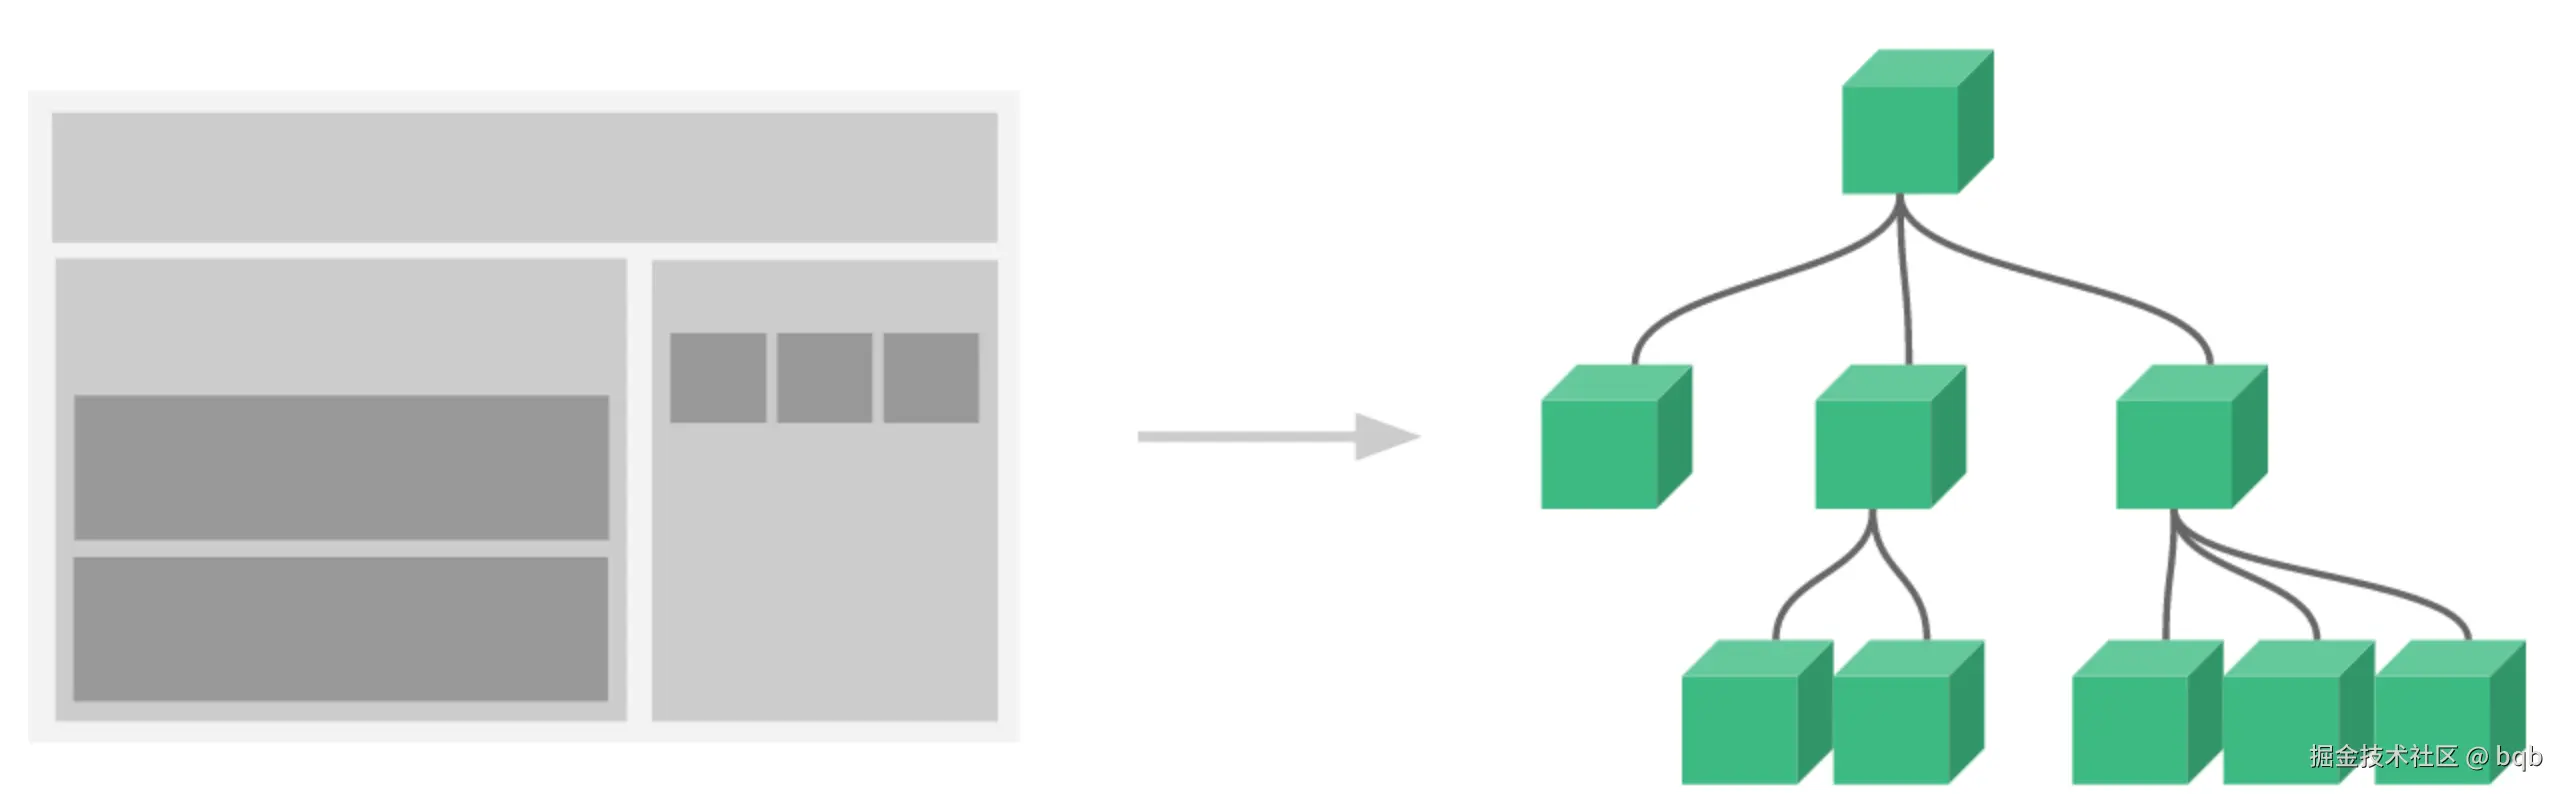
一个项目足够复杂的话,所有代码如果都在一个页面中,那么,就会出现一个文件上万行代码的可能。vue 通过组件化的方式,将页面按照模块或功能进行拆分,方便团队合作和后期维护。组件化让项目开发如同搭积木一样简单,借用官方图示如下:
那么,组件化是如何实现的呢?
这还得从入口说起 ...
javascript
// main.js文件
import { createApp } from 'vue';
import App from './App.vue';

const app = createApp(App);
app.mount('#app');例子中可以看出,通过import { createApp } from 'vue'的方式从vue中引入了方法createApp,并将App作为参数传入其中,最后,通过app.mount('#app')的方式将app挂载到#app上去。
举个例子:
js
// 子组件:Child.vue
<template>
  <h5>这个是child组件</h5>
</template>
js
// 父组件:App.vue
<template>
  <h3>这个是app组件</h3>
  <Child></Child>
</template>
<script setup>
import Child from "./components/Child.vue";
</script>一、const app = createApp(App)
js
const createApp = (...args) => {
  // 创建app方法
  const app = ensureRenderer().createApp(...args);
  // 从app中获取mount方法
  const { mount } = app;
  // 重写app.mount方法
  app.mount = (containerOrSelector) => {
    // ...
  };
  return app;
};createApp的主要逻辑可以分为获取app和重写app.mount
1、创建app
创建app需要通过const app = ensureRenderer().createApp(...args)的方式,这里可以将流程分为两步,ensureRenderer和createApp。
(1)ensureRenderer
js
let renderer;
// 如果存在直接返回,如果不存在,才进行后续的操作,是一种单例模式的具体应用
function ensureRenderer() {
  return renderer || (renderer = createRenderer(rendererOptions));
}
function createRenderer(options) {
  return baseCreateRenderer(options);
}
function baseCreateRenderer(options, createHydrationFns) {
  // ...
  // 这里省略了render、patch、processElement、mountElement、mountChildren、unmount、move、unmountChildren、patchChildren等渲染需要的方法
  return {
    render,
    hydrate,
    createApp: createAppAPI(render, hydrate),
  };
}

function createAppAPI(render, hydrate) {
  return function createApp(rootComponent, rootProps = null) {
    // ...
    return app;
  };
}baseCreateRenderer(options)的方式返回了一个包含createApp: createAppAPI(render, hydrate)的对象,其最终返回的是函数function createApp(rootComponent, rootProps = null){...}的执行结果。
所以const app = ensureRenderer().createApp(...args)最终执行的就是createAppAPI内部返回的createApp函数。
需要注意的是,render作为参数传给了createAppAPI函数,是以闭包的形式被返回的app所持有。
继续看createApp的实现。
(2)createApp
js
function createApp(rootComponent, rootProps = null) {
  if (!isFunction(rootComponent)) {
    rootComponent = Object.assign({}, rootComponent);
  }
  // 创建app执行环境
  const context = createAppContext();
  // 创建app
  const app = (context.app = {
    _uid: uid++,
    _component: rootComponent,
    _props: rootProps,
    _container: null,
    _context: context,
    _instance: null,
    version,
    mount() {
      // 与平台无关的mount方法
    },
    // 除了mount,还有use、mixin、component、directive等属性和方法
  });
  return app;
}
// 附:createAppContext的实现
function createAppContext() {
  return {
    app: null,
    config: {
      isNativeTag: NO,
      performance: false,
      globalProperties: {},
      optionMergeStrategies: {},
      errorHandler: undefined,
      warnHandler: undefined,
      compilerOptions: {},
    },
    mixins: [],
    components: {},
    directives: {},
    provides: Object.create(null),
    optionsCache: new WeakMap(),
    propsCache: new WeakMap(),
    emitsCache: new WeakMap(),
  };
}如果rootComponent不是函数,通过rootComponent = Object.assign({}, rootComponent)的方式浅拷贝rootComponent,再通过createAppContext的方式返回一个app执行的环境。最终返回一个包含_uid、_component、_props、_container、_context、_instance、version和mount等属性的app对象,这里的mount与平台无关。
2、缓存mount
先通过const { mount } = app的方式将mount方法从app中拿出来缓存备用。
3、重写app.mount
然后通过app.mount = containerOrSelector) => {...}的方式对app.mount方法进行重写。
这样做的目的是,将与平台无关的mount进行缓存,然后在不同的平台中重写app.mout方法进行特定场景的处理。最终还是会执行到与平台无关的mount函数。
js
// 重写的app.mount
app.mount = (containerOrSelector) => {
  // 处理字符串
  const container = normalizeContainer(containerOrSelector);
  if (!container) return;
  const component = app._component;
  // 这里主要处理无template和没有render选项的组件,将`container.innerHTML`作为`component`的`template`,作为后续编译的依据。
  if (!isFunction(component) && !component.render && !component.template) {
    component.template = container.innerHTML;
  }
  if (container.nodeType === 1) {
    container.textContent = "";
  }
  // 执行与平台无关的mount方法
  const proxy = mount(container, false, resolveRootNamespace(container));
  if (container instanceof Element) {
    container.removeAttribute("v-cloak");
    container.setAttribute("data-v-app", "");
  }
  return proxy;
};其中const proxy = mount(container, false, container instanceof SVGElement);执行的就是前面缓存的mount。
直到这里,const app = createApp(App)就执行完成了。但是,挂载过程还未开始,接下来就需要开始mount的旅程了。
二、app.mount('#app')
当执行到入口文件的app.mount('#app')时,就会执行重写的方法app.mount。
这里先通过const container = normalizeContainer(containerOrSelector)的方式去将非 DOM 容器的字符串转换成 DOM 节点,内部使用了 DOM 操作的原生方法document.querySelector(container)。
再通过const proxy = mount(container, false, container instanceof SVGElement)的方式去调用与平台无关的mount方法,下面详细介绍mount相关的逻辑:
js
//执行通过const { mount } = app获取到的mount
function mount(rootContainer, isHydrate, namespace) {
  const vnode = app._ceVNode || createVNode(rootComponent, rootProps);
  if (isHydrate && hydrate) {
    hydrate(vnode, rootContainer);
  } else {
    // 这里就是前面流程中闭包持有的render函数
    render(vnode, rootContainer, namespace);
  }
}1、生成vnode
这里通过const vnode = createVNode(rootComponent, rootProps)的方式生成vnode,当前例子中会执行到以下逻辑:
js
// 将vnode的类型设置为
const shapeFlag = isString(type)
  ? 1
  : isSuspense(type)
  ? 128
  : isTeleport(type)
  ? 64
  : isObject(type)
  ? 4
  : isFunction(type)
  ? 2
  : 0;
return createBaseVNode(
  type,
  props,
  children,
  patchFlag,
  dynamicProps,
  shapeFlag,
  isBlockNode,
  true
);

// 其中通过判断组件被编译后的 type,来确定`shapeFlag`,当前例子中其值为`4`,再继续看`createBaseVNode`:

function createBaseVNode(
  type,
  props = null,
  children = null,
  patchFlag = 0,
  dynamicProps = null,
  shapeFlag = type === Fragment ? 0 : 1,
  isBlockNode = false,
  needFullChildrenNormalization = false
) {
  const vnode = {
    __v_isVNode: true,
    __v_skip: true,
    type,
    props,
    key: props && normalizeKey(props),
    ref: props && normalizeRef(props),
    scopeId: currentScopeId,
    slotScopeIds: null,
    children,
    component: null,
    suspense: null,
    ssContent: null,
    ssFallback: null,
    dirs: null,
    transition: null,
    el: null,
    anchor: null,
    target: null,
    targetStart: null,
    targetAnchor: null,
    staticCount: 0,
    shapeFlag,
    patchFlag,
    dynamicProps,
    dynamicChildren: null,
    appContext: null,
    ctx: currentRenderingInstance,
  };
  // ...
  return vnode;
}可以看出,当前的vnode就是一个由许多属性组成的对象,用来描述当前组件的主要信息,如同 DOM 树用来描述页面html一样。
紧接着会通过vnode.appContext = context的方式为vnode.context进行赋值。从文中刚开始可以看出,context是在createApp方法中通过context = createAppContext()的方式定义的,该方法中也为context.app进行了赋值。
生成vnode以后就会进行vnode的渲染逻辑,继续往下看。
2、vnode渲染
通过render(vnode, rootContainer, isSVG):
js
const render = (vnode, container, namespace) => {
  if (vnode == null) {
    if (container._vnode) {
      unmount(container._vnode, null, null, true);
    }
  } else {
    patch(
      container._vnode || null,
      vnode,
      container,
      null,
      null,
      null,
      namespace
    );
  }
  container._vnode = vnode;
};当前例子中vnode存在,所以会执行到patch的逻辑,其中有主要的逻辑如下:
js
if (shapeFlag & 6) {
  processComponent(
    n1,
    n2,
    container,
    anchor,
    parentComponent,
    parentSuspense,
    namespace,
    slotScopeIds,
    optimized
  );
}当前例子中首次渲染执行时shapeFlag为4,满足shapeFlag & 6为真值,所以会执行到processComponent:
js
const processComponent = (
  n1,
  n2,
  container,
  anchor,
  parentComponent,
  parentSuspense,
  namespace,
  slotScopeIds,
  optimized
) => {
  n2.slotScopeIds = slotScopeIds;
  if (n1 == null) {
    if (n2.shapeFlag & 512) {
      parentComponent.ctx.activate(n2, container, anchor, namespace, optimized);
    } else {
      mountComponent(
        n2,
        container,
        anchor,
        parentComponent,
        parentSuspense,
        namespace,
        optimized
      );
    }
  } else {
    updateComponent(n1, n2, optimized);
  }
};当前例子中旧的节点vnode为null,并且n2.shapeFlag & 512为0,所以会执行到mountComponent的逻辑:
js
const mountComponent = (
  initialVNode,
  container,
  anchor,
  parentComponent,
  parentSuspense,
  namespace,
  optimized
) => {
  // 创建组件实例
  const instance = (initialVNode.component = createComponentInstance(
    initialVNode,
    parentComponent,
    parentSuspense
  ));
  // 执行组件初始化逻辑,比如组件中的setup中的逻辑
  setupComponent(instance, false, optimized);
  // 执行渲染副作用函数
  setupRenderEffect(
    instance,
    initialVNode,
    container,
    anchor,
    parentSuspense,
    namespace,
    optimized
  );
};以上有两个重要的逻辑,创建instance、setupComponent和调用setupRenderEffect。
(1)instance
在当前逻辑中,通过const instance = (initialVNode.component = createComponentInstance(initialVNode, parentComponent, parentSuspense))的方式创建子组件实例:
js
function createComponentInstance(vnode, parent, suspense) {
  const type = vnode.type;
  const appContext =
    (parent ? parent.appContext : vnode.appContext) || emptyAppContext;
  const instance = {
    uid: uid++,
    vnode,
    type,
    parent,
    appContext,
    root: null,
    next: null,
    subTree: null,
    effect: null,
    update: null,
    job: null,
    scope: new EffectScope(
      true
      /* detached */
    ),
    render: null,
    proxy: null,
    // 还有很多其他属性
  };
  if (!!(process.env.NODE_ENV !== "production")) {
    instance.ctx = createDevRenderContext(instance);
  } else {
    instance.ctx = { _: instance };
  }
  instance.root = parent ? parent.root : instance;
  instance.emit = emit.bind(null, instance);
  return instance;
}当前逻辑中通过const appContext = (parent ? parent.appContext : vnode.appContext) || emptyAppContext的方式去获取appContext,有父组件拿父组件的,无父组件拿当前vnode的,如果都找不到则使用默认的emptyAppContext。
在线上环境通过instance.ctx = { _: instance }的方式为instance定义ctx,其实就是它本身。
再通过instance.root = parent ? parent.root : instance的方式为instance定义根实例root。
(2)setupComponent
js
function setupComponent(instance, isSSR = false, optimized = false) {
  isSSR && setInSSRSetupState(isSSR);
  const { props, children } = instance.vnode;
  const isStateful = isStatefulComponent(instance);
  initProps(instance, props, isStateful, isSSR);
  initSlots(instance, children, optimized || isSSR);
  const setupResult = isStateful
    ? setupStatefulComponent(instance, isSSR)
    : void 0;
  isSSR && setInSSRSetupState(false);
  return setupResult;
}这里会处理props和slots,当前例子中不涉及,暂时不介绍。
(3)setupRenderEffect
js
const setupRenderEffect = (
  instance,
  initialVNode,
  container,
  anchor,
  parentSuspense,
  isSVG,
  optimized
) => {
  const componentUpdateFn = () => {
    // 最后调用update()的时候,会执行到这里
  };
  // 实例化ReactiveEffect实例,进行调度
  const effect = (instance.effect = new ReactiveEffect(
    componentUpdateFn,
    () => queueJob(update),
    instance.scope
  ));
  const update = (instance.update = () => effect.run());
  // 省略其他逻辑
  update();
};通过new ReactiveEffect的方式创建ReactiveEffect实例,并赋值给instance.effect。通过const update = (instance.update = () => effect.run())的方式为instance.update赋值调用effect.run()的函数。最后,执行到update(),即componentUpdateFn。
componentUpdateFn函数中有两个重点:获取subTree和渲染subTree。
①subTree的获取
通过const subTree = (instance.subTree = renderComponentRoot(instance))的方式获取subTree。
renderComponentRoot中主要的逻辑为:
js
// 执行render函数
result = normalizeVNode(
  render.call(
    thisProxy,
    proxyToUse,
    renderCache,
    !!(process.env.NODE_ENV !== "production") ? shallowReadonly(props) : props,
    setupState,
    data,
    ctx
  )
);
// 此时的`render`函数为:
function render(_ctx, _cache, $props, $setup, $data, $options) {
  return (
    // 开启一个代码块(优化渲染性能)
    (0, vue__WEBPACK_IMPORTED_MODULE_0__.openBlock)(),
    // 创建一个 Fragment 元素块
    (0, vue__WEBPACK_IMPORTED_MODULE_0__.createElementBlock)(
      vue__WEBPACK_IMPORTED_MODULE_0__.Fragment,
      null,
      [
        // 缓存检查:如果缓存中没有 h3 元素则创建
        _cache[0] ||
          (_cache[0] = (0, vue__WEBPACK_IMPORTED_MODULE_0__.createElementVNode)(
            "h3",
            null,
            "这里是app组件",
            -1 /* CACHED */ // 缓存标志
          )),

        // 渲染子组件
        (0, vue__WEBPACK_IMPORTED_MODULE_0__.createVNode)(
          $setup["Child"] // 从 setup 中获取 Child 组件
        ),
      ],
      64 /* STABLE_FRAGMENT */ // 标志这是一个稳定的片段(不会重新排序的子节点)
    )
  );
}最终的执行结果为描述<h3>这个是app组件</h3>和<child></child>的vnode:
js
[
  {
    type: "h3",
    children: "这个是app组件",
  },
  {
    children: null,
    type: {
      render: function _sfc_render(_ctx, _cache) {
        return _openBlock(), _createElementBlock("p", null, "这个是child组件");
      },
    },
  },
];从结果中可以看出,第一个元素是普通的h3节点。第二个元素是有render函数的组件节点。
②subTree的patch
通过patch(null, subTree, container, anchor, instance, parentSuspense, isSVG)的方式渲染subTree。
在patch函数中,shapeFlag为17,shapeFlag & 1为真值1,所以会执行到processElement(n1, n2, container, anchor, parentComponent, parentSuspense, isSVG, slotScopeIds, optimized)。
processElement中满足n1 == null,执行到mountElement(n2, container, anchor, parentComponent, parentSuspense, isSVG, slotScopeIds, optimized)。
mountElement中shapeFlag & 16为真值16。会执行到mountChildren(vnode.children, el, null, parentComponent, parentSuspense, isSVG && type !== 'foreignObject', slotScopeIds, optimized):
js
const mountChildren = (
  children,
  container,
  anchor,
  parentComponent,
  parentSuspense,
  namespace,
  slotScopeIds,
  optimized,
  start = 0
) => {
  for (let i = start; i < children.length; i++) {
    const child = (children[i] = optimized
      ? cloneIfMounted(children[i])
      : normalizeVNode(children[i]));
    patch(
      null,
      child,
      container,
      anchor,
      parentComponent,
      parentSuspense,
      namespace,
      slotScopeIds,
      optimized
    );
  }
};这里分别先看h3的渲染:
js
const mountElement = (
  vnode,
  container,
  anchor,
  parentComponent,
  parentSuspense,
  isSVG,
  slotScopeIds,
  optimized
) => {
  // 根据tag创建dom
  el = vnode.el = hostCreateElement(
    vnode.type,
    isSVG,
    props && props.is,
    props
  );
  // 根据vnode.children为text节点赋值
  if (shapeFlag & 8 /* ShapeFlags.TEXT_CHILDREN */) {
    hostSetElementText(el, vnode.children);
  }
  // 将文本节点插入到父节点中
  hostInsert(el, container, anchor);
};再看看child的渲染:
我们发现child是组件节点,然后会执行到patch中的processComponent(n1, n2, container, anchor, parentComponent, parentSuspense, isSVG, slotScopeIds, optimized),最后执行到mountComponent逻辑。又回到了mountComponent,递归开始。
执行到const subTree = (instance.subTree = renderComponentRoot(instance))的方式获取subTree 后,简单看最终的执行结果为描述<child></child>的vnode:
js
{
    type: 'p',
    children: "这个是child组件"
}然后在子组件child的渲染过程中,会依然执行hostCreateElement、hostSetElementText和hostInsert的逻辑,最终将真实节点插入到父节点中。
执行完以后,跳出到上一级mountChildren逻辑中,将当前获取到的el通过hostInsert(el, container, anchor)的方式插入到父节点中,此时父节点中的节点为<div><h3>这个是app组件</h3><p>这个是child组件</p></div>。
页面渲染至此完成,简单总结如下:

在mountElement的过程中,如果遇到mountChildren渲染过程子组件列表,普通节点会通过mountElement进行普通节点的创建和插入,组件节点会递归的执行processComponent将子组件树subTree的el插入到父节点中。这样,普通节点的el,子组件树中的el,都插入到了父节点中。依次类推,通过先子后父的方式,一层层的将节点插入到根节点中。
总结
vue组件树的渲染,是一个深度遍历的过程,从根节点开始寻找可创建真实节点的叶子节点,叶子节点完成真实节点的渲染后,再将其el交给父组件。依次类推,叶子节点将其el交给上一次中间组件,中间组件沿着树交给父级组件,最终会交给根组件。
纰漏之处在所难免,请批评指正。