大家好,我是石小石,小册《油猴脚本实战指南》作者。
视差悬停效果
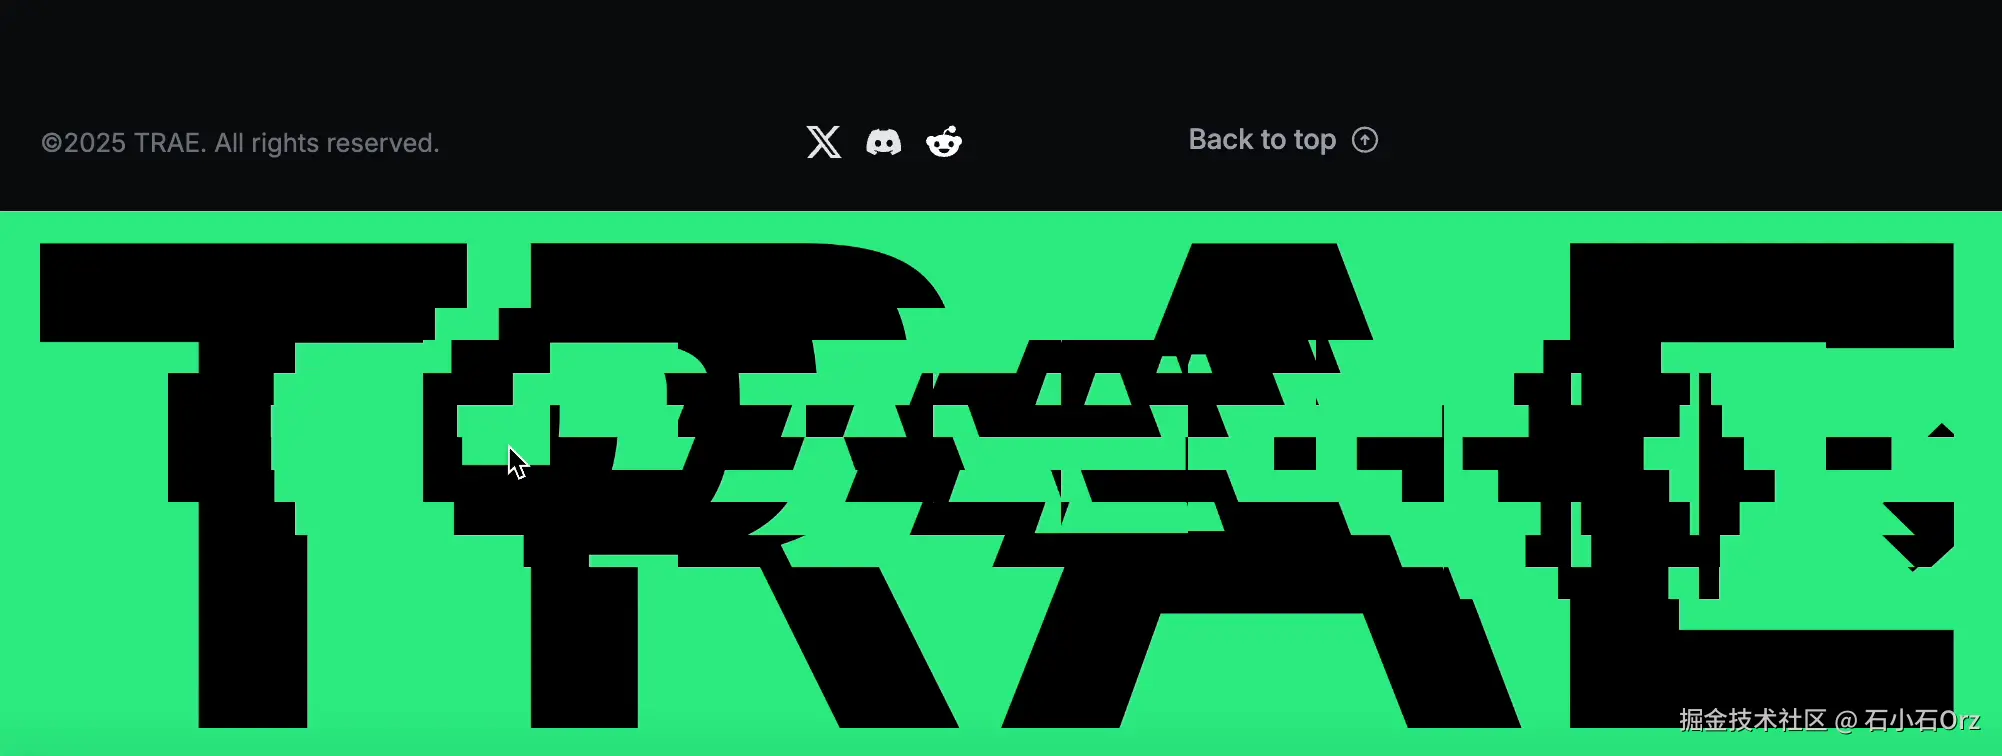
最近在 Trae 官网发现了一个有趣的交互效果:当鼠标悬停在图标上时,图标会根据鼠标的移动产生跟随位移,看起来很炫酷。
于是我用AI问了一下,才知道这种效果叫"视差悬停效果",挺有意思。
视差悬停效果"(Parallax Hover Effect)是一种常见的前端视觉交互效果,模拟景深原理,让页面元素在鼠标移动时产生错位移动,营造出立体或空间感,增强用户交互体验。
用Trae实现一个类似效果
先让Trae帮忙实现一个类似效果:
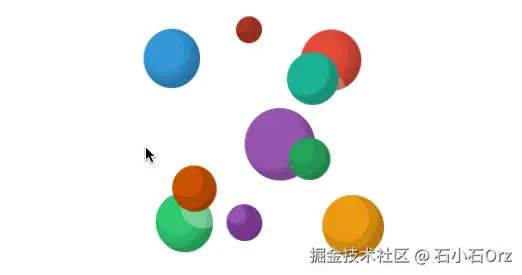
生成的代码如下:
js
<template>
  <!-- 外层容器,负责监听鼠标移动和离开事件 -->
  <div class="logo-container" @mousemove="handleMouseMove" @mouseleave="resetEffect">
    <!-- 中心 Logo 容器,包含所有球体 -->
    <div class="logo" ref="logo">
      <!-- 循环生成球体 -->
      <div
        v-for="(sphere, index) in spheresConfig"
        :key="index"
        class="sphere"
        ref="spheres"
        :style="{
          width: sphere.size + 'px',       // 球体直径
          height: sphere.size + 'px',      // 球体直径
          top: sphere.top,                 // 定位:上边距
          left: sphere.left,               // 定位:左边距
          right: sphere.right,             // 定位:右边距
          bottom: sphere.bottom,           // 定位:下边距
          backgroundColor: sphere.color    // 球体颜色
        }"
      ></div>
    </div>
  </div>
</template>

<script setup>
import { ref } from 'vue'

// 中心 Logo 元素引用
const logo = ref(null)
// 所有球体元素的引用
const spheres = ref([])

// 球体配置数组
const spheresConfig = [
  { size: 60, top: '40px', left: '40px', color: '#3498db' },
  { size: 60, top: '40px', right: '40px', color: '#e74c3c' },
  { size: 60, bottom: '40px', left: '40px', color: '#2ecc71' },
  { size: 60, bottom: '40px', right: '40px', color: '#f39c12' },
  { size: 70, top: '120px', left: '120px', color: '#9b59b6' },
  { size: 50, top: '70px', left: '170px', color: '#1abc9c' },
  { size: 45, top: '180px', left: '70px', color: '#d35400' },
  { size: 40, top: '150px', right: '60px', color: '#27ae60' },
  { size: 35, top: '210px', right: '120px', color: '#8e44ad' },
  { size: 25, top: '30px', left: '150px', color: '#c0392b' }
]

// 鼠标移动事件
const handleMouseMove = (e) => {
  const container = e.currentTarget
  const rect = container.getBoundingClientRect()

  // 计算鼠标在容器中的相对位置(-1 ~ 1)
  const x = ((e.clientX - rect.left) / rect.width - 0.5) * 2
  const y = ((e.clientY - rect.top) / rect.height - 0.5) * 2

  // 中心 Logo 随鼠标旋转
  logo.value.style.transform = `rotateX(${-y * 20}deg) rotateY(${x * 20}deg)`

  // 每个球体根据鼠标位置做视差位移
  spheres.value.forEach((sphere, index) => {
    const sphereX = x * 35 * Math.cos(index * 0.8) // X 方向位移
    const sphereY = y * 35 * Math.sin(index * 0.8) // Y 方向位移
    const sphereZ = Math.abs(x * y) * 70 + index * 8 // Z 方向位移(层次感)

    sphere.style.transform = `translate3d(${sphereX}px, ${sphereY}px, ${sphereZ}px)`
  })
}

// 鼠标移出时恢复初始位置
const resetEffect = () => {
  logo.value.style.transform = 'rotateX(0) rotateY(0)'
  spheres.value.forEach(sphere => {
    sphere.style.transform = 'translate3d(0, 0, 0)'
  })
}
</script>

<style scoped>
/* 外层容器,定义大小和透视深度 */
.logo-container {
    position: relative;
    width: 300px;
    height: 300px;
    margin: 100px auto;
    perspective: 1200px;
}

/* 中心 Logo 容器 */
.logo {
    width: 100%;
    height: 100%;
    position: relative;
    transform-style: preserve-3d;
    transition: transform 0.1s ease-out;
}

/* 球体公共样式 */
.sphere {
    position: absolute;
    border-radius: 50%;
    transition: transform 0.3s ease-out;
    box-shadow: inset -8px -8px 16px rgb(0 0 0 / 30%),
        8px 16px rgb(255 255 255 / 30%);
}
</style>
效果还是很不错的:
这个demo的原理其实很简单,主要分为三步:
- 获取鼠标相对位置
- 模拟相机视角变化
- 实现分层错位运动
获取鼠标相对位置
js
const rect = container.getBoundingClientRect();
const x = ((e.clientX - rect.left) / rect.width - 0.5) * 2;
const y = ((e.clientY - rect.top) / rect.height - 0.5) * 2;
getBoundingClientRect() 是浏览器 DOM API 中非常常用的方法,用于获取元素相对于视口(viewport)的尺寸和位置。
x、y都是范围-1到1的值,中心是0,代表鼠标在容器里的相对位置。- 这个范围让后续计算方便做正负方向运动。
模拟相机视角变化
js
logo.value.style.transform = `rotateX(${-y * 20}deg) rotateY(${x * 20}deg)`;这一步的主要目的是让整体结构跟着鼠标动,模拟相机视角变化。最简单的就是通过CSS的transform实现3D位置变化。
这里的 20 是旋转最大角度,让效果不会太夸张。
分层错位运动
要想让球体有空间感,就要实现球体视差位移,同样的可以使用transform属性。
js
spheres.value.forEach((sphere, index) => {
  const sphereX = x * 35 * Math.cos(index * 0.8);
  const sphereY = y * 35 * Math.sin(index * 0.8);
  const sphereZ = Math.abs(x * y) * 70 + index * 8;

  sphere.style.transform = `translate3d(${sphereX}px, ${sphereY}px, ${sphereZ}px)`;
});"视差"的核心是让每个球体产生不同速度和运动方向:
- 每个球体的 X 轴偏移
sphereX= 鼠标横向偏移 * 35 * 一个和球序号有关的余弦函数。
→ 余弦函数让每个球的偏移方向和幅度有差异,避免动作统一死板。 - Y 轴偏移
sphereY类似,用正弦函数产生错落。 - Z 轴偏移
sphereZ通过鼠标位置和球的索引控制,让不同球体在"深度"上产生不同位移,制造层次感。 translate3d是 CSS 3D 变换,直接告诉浏览器把球体往三个方向移动。
当然,在鼠标离开时,我们需要所有元素慢慢回到原点,避免停留在中间状态。
ini
logo.value.style.transform = 'rotateX(0) rotateY(0)';
spheres.value.forEach(sphere => {
  sphere.style.transform = 'translate3d(0, 0, 0)';
});
开源库
市面上有一些专门做视差或3D交互的库,可以帮我们快速实现效果。
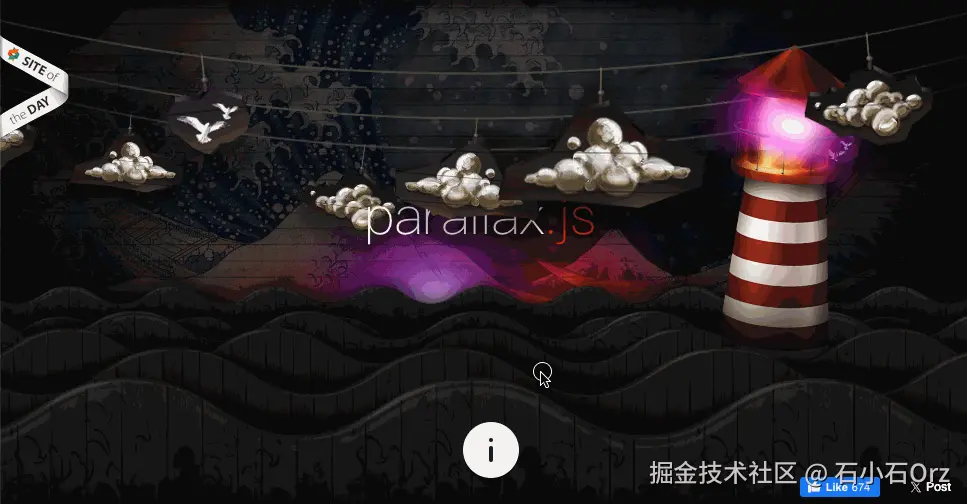
Parallax.js
- 经典轻量级视差库,支持基于鼠标移动的多层元素视差效果。
- 用法简单,适合基础悬停视差。
- GitHub 地址
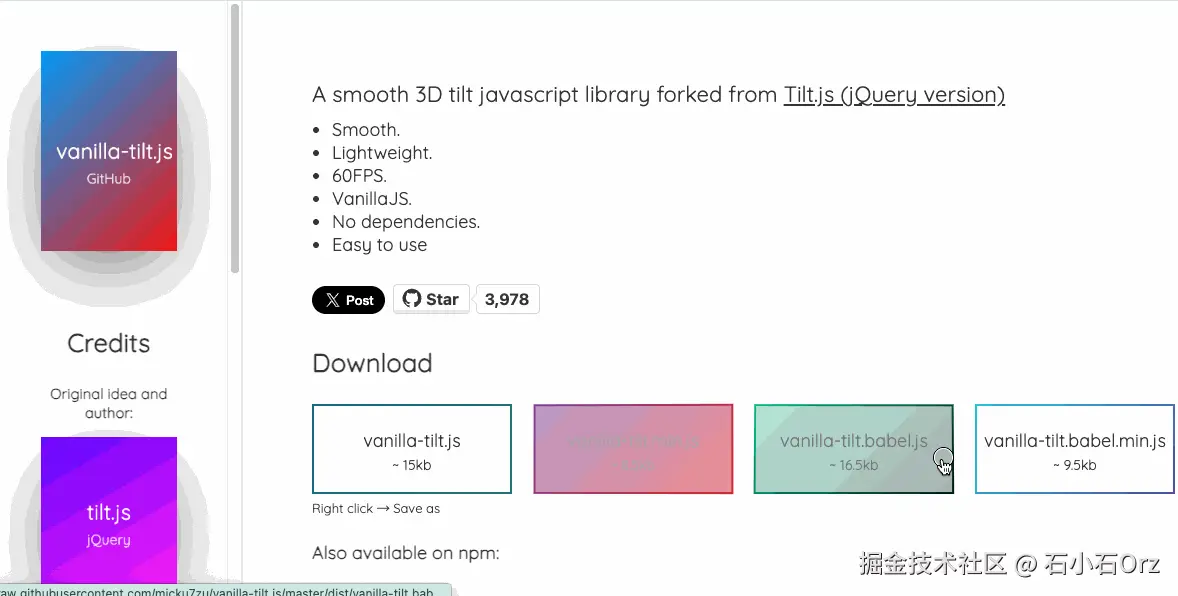
Vanilla-tilt.js
- 类似 Tilt.js,功能更全面,支持触摸事件和更多配置。
- 纯原生 JS,无依赖,性能好。
- GitHub 地址
react-parallax-tilt (React 生态)
- React 版本的Tilt效果库,适合 React 项目。
- 支持自定义视差和旋转,易于集成。
- GitHub 地址