Linux中Https配置与私有CA部署指南
一、HTTPS 核心概念
| 特性 | HTTP | HTTPS |
|---|---|---|
| 协议 | 明文传输 | HTTP + SSL/TLS |
| 端口 | 80 | 443 |
| 加密 | 未加密 | 数据加密 |
二、SSL/TLS 握手流程
- Client → Server
ClientHello:支持哪些版本、支持哪些加密算法,随机生成一组32字节 数据random_c
- Server → Client
ServerHello:确定版本、确定加密算法,随机生成一组32字节 数据random_sServerCertificate:发送证书(含公钥)
- Client → Server
ClientKeyExchange:用公钥加密预主密钥pre_master并发送
- Server 解密
- 服务端收到后,用私钥解密
pre_master
- 服务端收到后,用私钥解密
- 生成会话密钥
- 最终密钥 =
random_c+random_s+pre_master
- 最终密钥 =
三、私有CA部署
注意 :所有操作需确保 DNS 解析正确(如
ca.example.com、web.example.com等)。
1、CA 服务器配置
-
配置正向解析对应IP地址:
bashvim /var/named/yyh.com ca IN A 192.168.100.10 -
为主机CA生成私钥:
bash(umask 077;openssl genrsa -out /etc/pki/CA/private/cakey.pem) # umask为权限减去的值 # openssl genrsa为生成私有密钥 -
为主机CA生成自签名证
bashopenssl req -new -x509 -key /etc/pki/CA/private/cakey.pem -out /etc/pki/CA/cacert.pem -days 365 # 生成自签名根证书 CN # 国家 HB # 省份 WH # 城市 LQ # 公司 linux # 单位 ca.example.com # 服务器主机名 root@example.com # 邮箱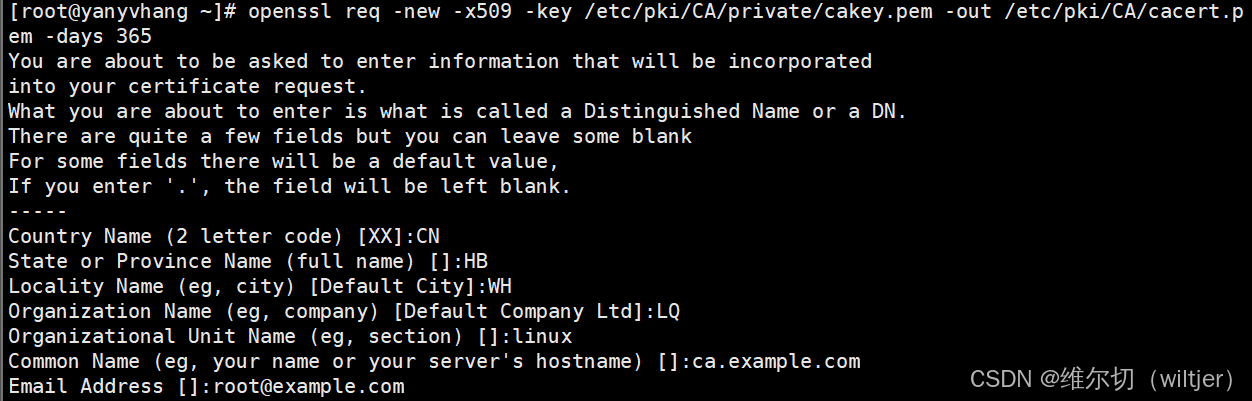
-
为CA提供所需的目录及文件:
bashtouch /etc/pki/CA/index.txt # 创建目录 echo 01 > /etc/pki/CA/serial # 创建并写入文件
2、Web 服务器申请证书
-
验证能否解析
ca.example.com:bashnslookup ca.example.com # 对 ca.example.com 进行解析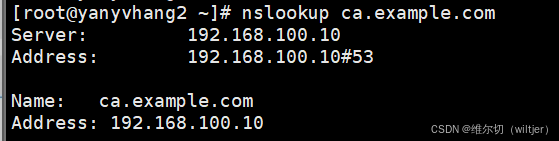
-
为主机WEB生成私钥:
bashmkdir /etc/httpd/ssl # 创建/etc/httpd/ssl目录 (umask 077;openssl genrsa -out /etc/httpd/ssl/httpd.key) # 存放在/etc/httpd/ssl目录 -
为web.example.com站点生成签署请求文件:
bashopenssl req -new -key /etc/httpd/ssl/httpd.key -out /etc/httpd/ssl/httpd.csr -days 365 # 生成证书签名请求 CN # 国家 HB # 省份 WH # 城市 LQ # 公司 linux # 单位 web.example.com # 服务器主机名 root@example.com # 邮箱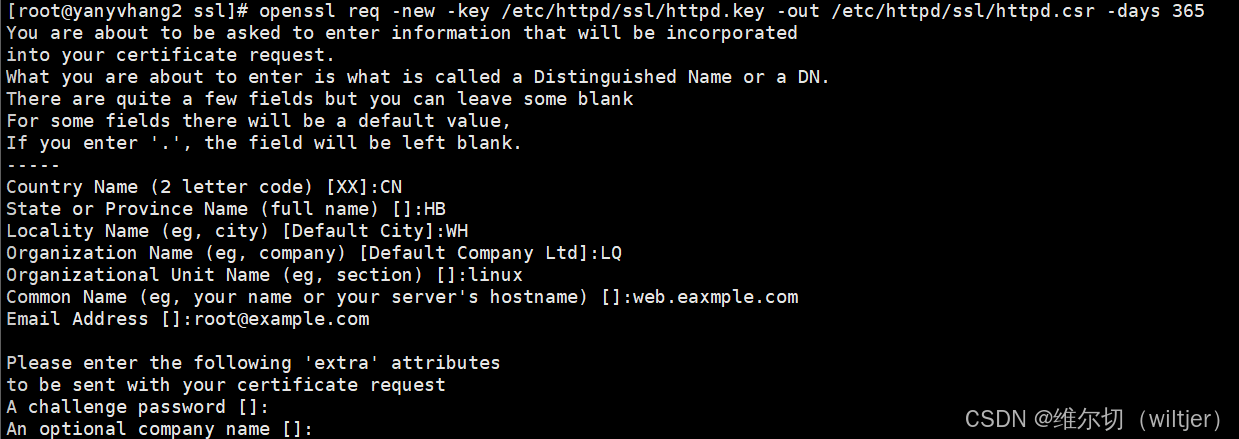
-
将签署请求文件发送给CA服务器:
bashscp /etc/httpd/ssl/httpd.csr root@ca.example.com:/etc/pki/CA/ # 远程复制
3、CA 签署证书
-
在主机CA上 对签署请求进行数字签名:
bashopenssl ca -in /etc/pki/CA/httpd.csr -out /etc/pki/CA/httpd.crt -days 365 # 指明所生成的Web证书的存放路径为 /etc/pki/CA/httpd.crt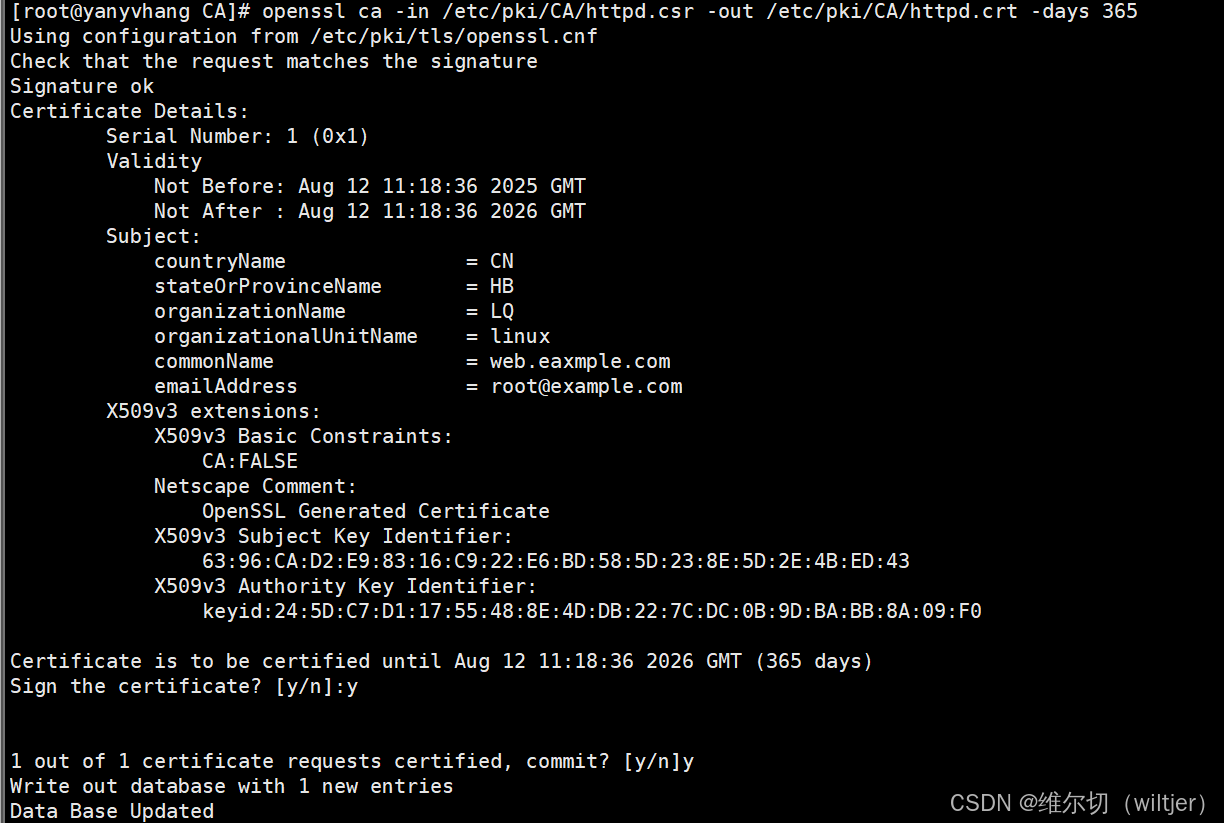
-
将CA主机上已经数字签名后的Web证书发给Web主机:
bashscp /etc/pki/CA/httpd.crt root@web.example.com:/etc/httpd/ssl/ # 远程复制
4、部署https站点
-
在主机WEB上安装apche http扩展模块mod_ssl:
bashyum -y install mod_ssl # yum 安装 mod_ssl -
修改 SSL 配置:
bashvim /etc/httpd/conf.d/ssl.conf # 编辑 ssl 配置文件 SSLCertificateFile /etc/httpd/ssl/httpd.crt # 证书 SSLCertificateKeyFile /etc/httpd/ssl/httpd.key # 私钥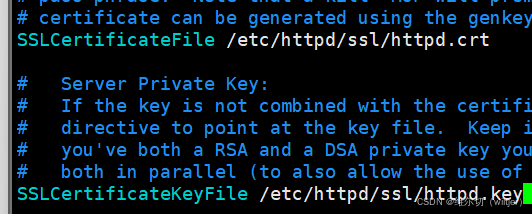
-
配置虚拟主机:
bashvim httpd-vhosts.conf # 编辑主配置文件 <VirtualHost 192.168.100.20:443> # IP 地址和端口号 DocumentRoot "/var/www/html" # 告诉配置文件位置在哪里 ServerName web.eaxmple.com # 完整域名 SSLEngine on # 启用 SSL 引擎 SSLCertificateFile /etc/httpd/ssl/httpd.crt # 证书位置 SSLCertificateKeyFile /etc/httpd/ssl/httpd.key # 私玥位置 </VirtualHost> systemctl restart httpd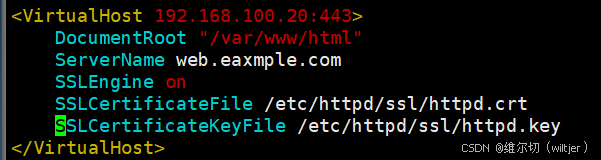
5、客户端信任私有 CA
-
在客户端上去下载CA服务器上的根证书:
bashscp root@ca.example.com:/etc/pki/CA/cacert.pem /root # 远程复制 -
在Web主机创建网页:
bashecho 123456 > /var/www/html/index.html # 创建并写入文件 -
在客户端验证:
bashcurl -k https://web.example.com # 访问网址
6、集成动态web
-
安装httpd mod_wsgi:
bashyum -y install mod_wsgi # yum 安装 mod_wsgi -
上传动态web内容:
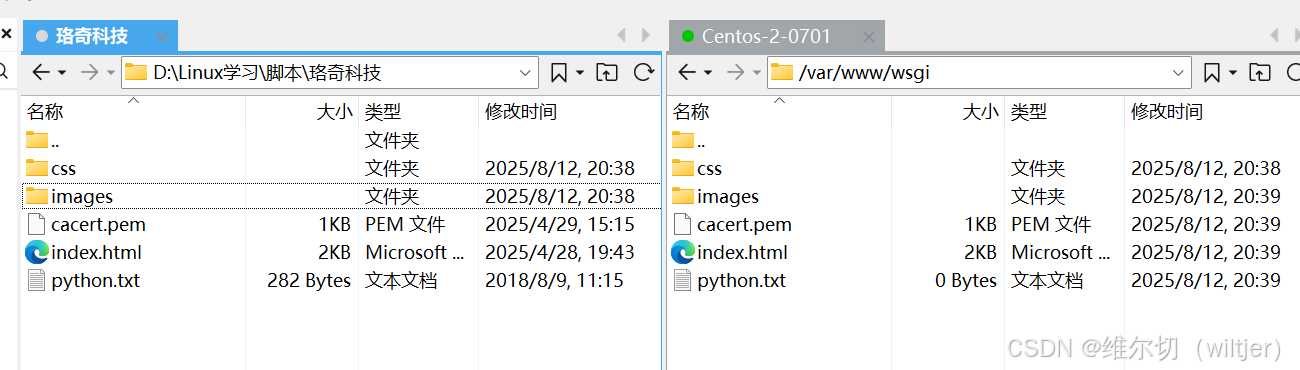
-
配置虚拟主机:
bashmv python.txt test.py # 把 python.txt 更名为 test.py vim /etc/httpd/conf.d/httpd-vhosts.conf # 编辑主配置文件 <VirtualHost 192.168.100.20:80> # IP 地址和端口号 DocumentRoot "/var/www/wsgi" # 告诉配置文件位置在哪里 WSGIScriptAlias / "var/www/wsgi/test.py" # 别名 ServerName lq.example.com # 完整域名 </VirtualHost> systemctl restart httpd # 重启服务 -
访问验证:
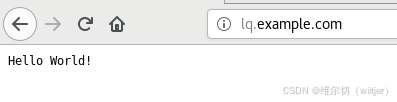
-
修改虚拟主机:
bashvim /etc/httpd/conf.d/httpd-vhosts.conf # 编辑主配置文件 <VirtualHost 192.168.100.20:80> # IP 地址和端口号 DocumentRoot "/var/www/wsgi" # 告诉配置文件位置在哪里 ServerName lq.example.com # 完整域名 </VirtualHost> systemctl restart httpd # 重启服务 -
访问验证:
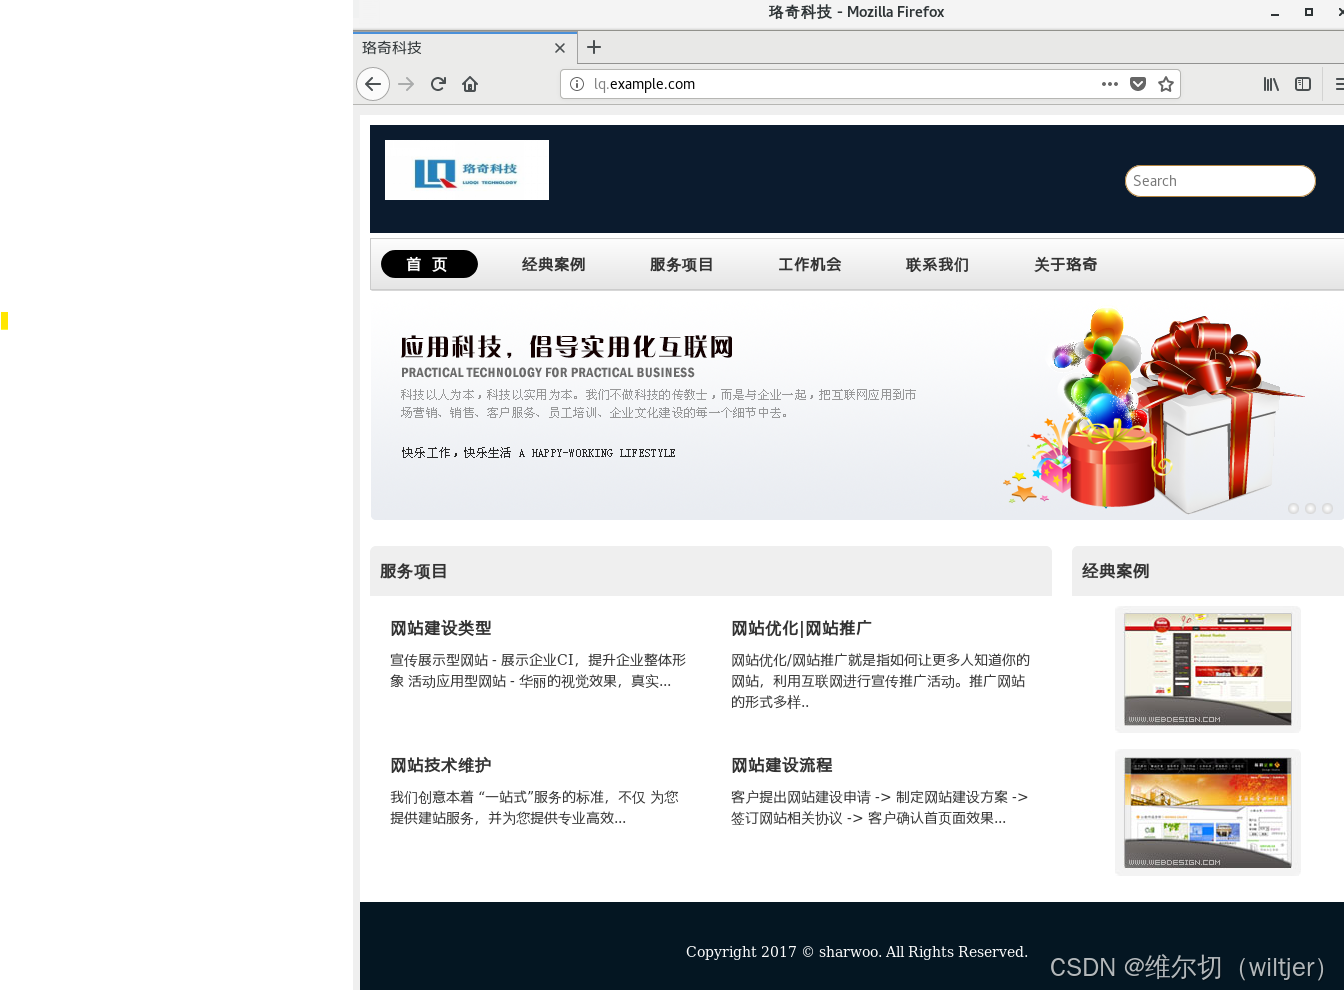
关键命令说明
| 命令选项 | 作用 |
|---|---|
-x509 |
生成自签名证书(用于创建 CA) |
-new |
生成证书签名请求 (CSR) |
-key |
指定私钥文件路径 |
-out |
指定输出文件路径 |
-days |
设置证书有效期(默认 365 天) |