目标:使用 Vite + React + TypeScript 快速脚手化,并落地ESLint/Prettier、测试、别名、Tailwind、环境变量、提交校验与 CI。附Next.js 与 CRA 对比建议。
目录
- 快速开始(Vite/TS)
- 项目结构
- [代码规范:ESLint + Prettier +EditorConfig](#代码规范:ESLint + Prettier +EditorConfig)
- 路径别名与导入优化
- [CSS 方案:Tailwind CSS(可选)](#CSS 方案:Tailwind CSS(可选))
- 环境变量与多环境
- [测试:Vitest + Testing Library](#测试:Vitest + Testing Library)
- [Git 提交规范:Husky + lint-staged +
Commitlint](#Git 提交规范:Husky + lint-staged + Commitlint) - [CI 示例(GitHub Actions)](#CI 示例(GitHub Actions))
- 生产构建与部署
- 常见问题与性能优化
- [附录:Next.js 与 CRA 选择建议](#附录:Next.js 与 CRA 选择建议)
快速开始(Vite/TS)
推荐使用 pnpm(也可用 npm/yarn)。Node 建议 >= 18。
bash
# 1) 新建项目
pnpm create vite@latest my-react-app --template react-ts
# or
npm create vite@latest my-react-app -- --template react-ts
# or
yarn create vite my-react-app --template react-ts

cd my-react-app

# 2) 安装依赖
pnpm install
# 3) 启动开发
pnpm dev
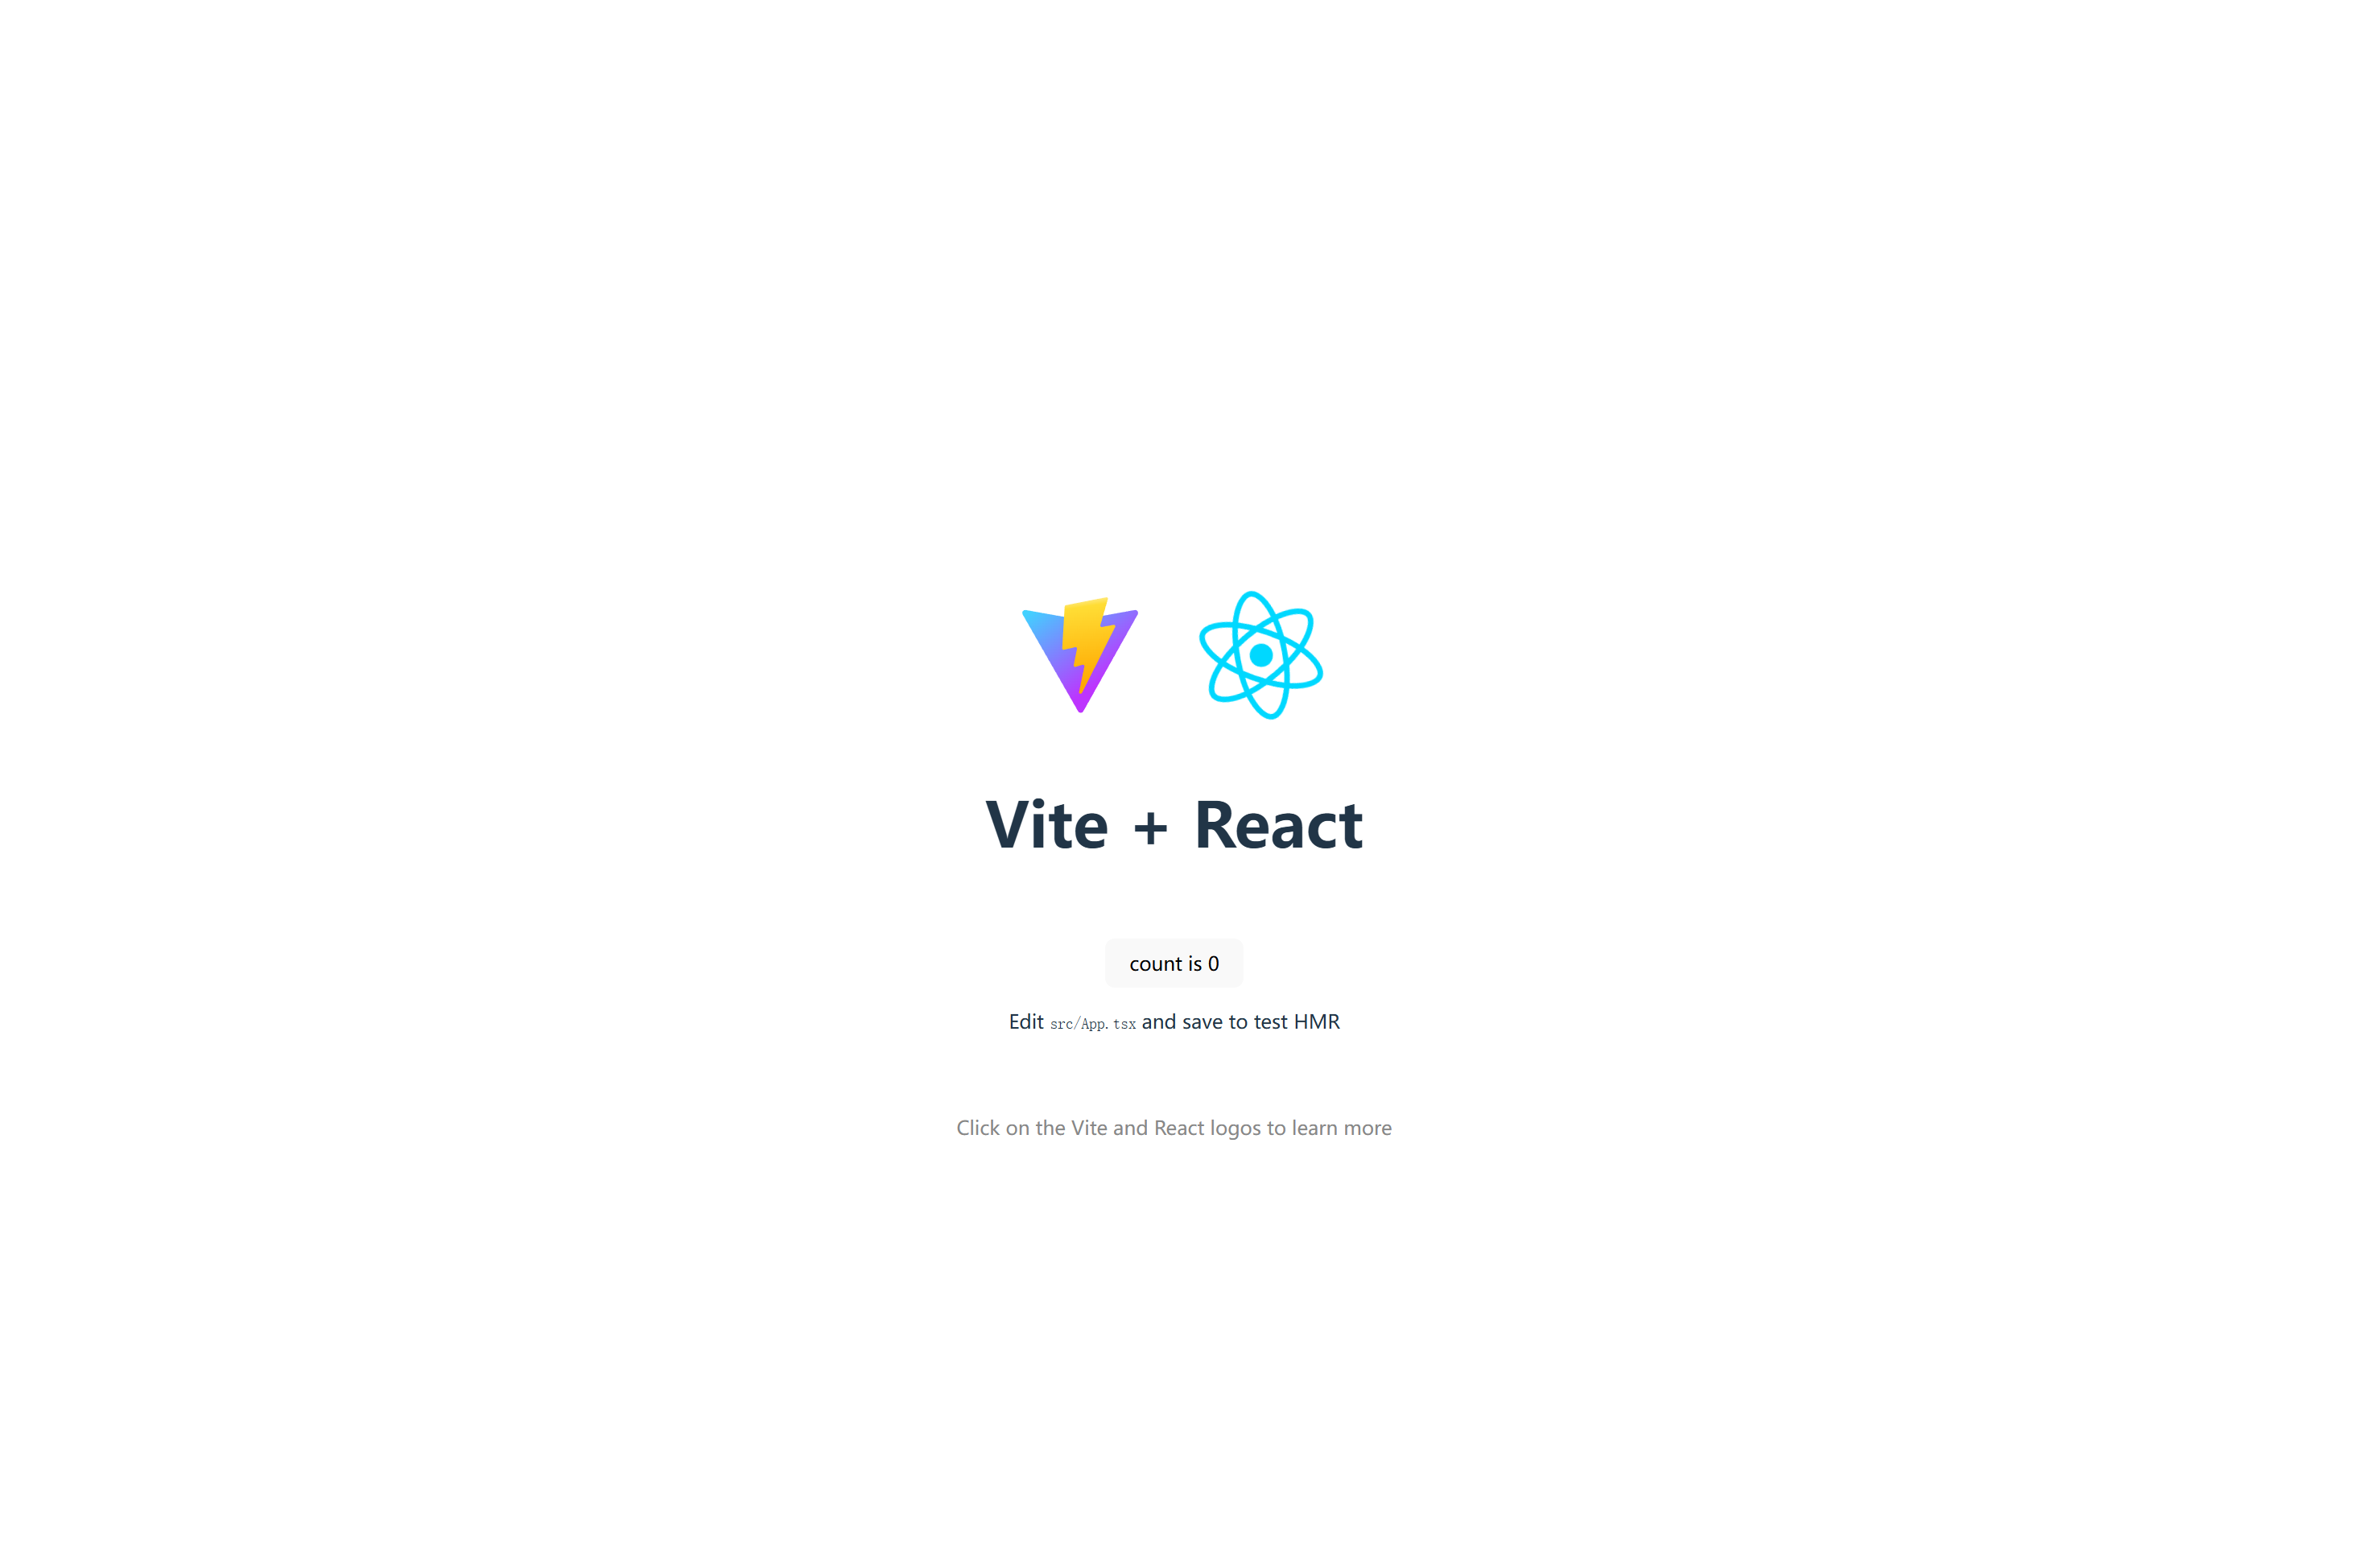
打开 http://localhost:5173 验证是否启动成功,下面是打开页面:

项目结构
my-react-app/
├─ src/
│  ├─ app/               # 应用级入口/路由/状态
│  ├─ components/        # 通用组件
│  ├─ features/          # 业务特性模块(可拆包)
│  ├─ pages/             # 路由页面(如用 react-router)
│  ├─ hooks/             # 自定义 hooks
│  ├─ assets/            # 静态资源
│  ├─ styles/            # 全局样式/变量
│  ├─ lib/               # 工具库/适配层(api、storage)
│  ├─ test/              # 测试辅助
│  ├─ main.tsx           # 入口
│  └─ vite-env.d.ts
├─ .editorconfig
├─ .eslintrc.cjs
├─ .prettierrc
├─ index.html
├─ package.json
├─ tsconfig.json
└─ vite.config.ts
代码规范:ESLint + Prettier + EditorConfig
bash
pnpm add -D eslint prettier eslint-config-prettier eslint-plugin-react eslint-plugin-react-hooks @typescript-eslint/parser @typescript-eslint/eslint-plugin @tanstack/eslint-plugin-query eslint-plugin-import.eslintrc.cjs:
规范 JavaScript/TypeScript 代码的书写风格和质量检查
js
module.exports = {
  root: true, // 声明为根配置文件,停止向上查找其他配置
  env: { browser: true, es2023: true, node: true }, // 指定代码运行环境(浏览器、ES2023、Node.js),避免全局变量报错
  parser: "@typescript-eslint/parser", // 使用 TypeScript 解析器处理 TS 代码
  parserOptions: { ecmaFeatures: { jsx: true }, sourceType: "module" }, // 启用 JSX 语法支持,指定模块化代码(ES Modules)
  settings: { react: { version: "detect" } }, // 自动检测 React 版本,适配不同版本的 React 语法
  plugins: ["react", "react-hooks", "@typescript-eslint", "import", "@tanstack/query"],
  extends: [
    "eslint:recommended",
    "plugin:react/recommended",
    "plugin:react-hooks/recommended",
    "plugin:@typescript-eslint/recommended",
    "plugin:import/recommended",
    "plugin:import/typescript",
    "plugin:@tanstack/query/recommended",
    "prettier"
  ],
  rules: {
    "react/react-in-jsx-scope": "off", // 无需显式导入 React
    "import/order": ["warn", {
      "groups": ["builtin","external","internal","parent","sibling","index"],
      "newlines-between": "always",
      "alphabetize": { "order": "asc", "caseInsensitive": true }
    }],
  },
};
.prettierrc
json
{
  "printWidth": 100, // 每行代码的最大字符数限制为 100,超过则自动换行,避免单行代码过长影响可读性。
  "singleQuote": true, // 强制使用单引号(')代替双引号(")包裹字符串,例如将 \"hello\" 格式化为 'hello'。
  "semi": true, // 在语句结尾添加分号(;),例如 const a = 1 会被格式化为 const a = 1;。
  "trailingComma": "all", // 为多行结构中的最后一个元素添加尾随逗号
  "arrowParens": "always" // 箭头函数的参数始终使用括号包裹,即使只有一个参数
}
.editorconfig
root = true                      //   声明为根配置文件,停止向上查找其他 EditorConfig 配置文件,确保当前配置优先级最高。

[*]                              //  表示对所有文件类型生效
charset = utf-8                  //  强制使用 UTF-8 字符编码,避免中文等特殊字符乱码。
indent_style = space             //  使用空格
indent_size = 2                  //  每级缩进使用 2 个空格
end_of_line = lf                 //  行尾换行符使用 Unix 风格的 LF
insert_final_newline = true      //  确保文件末尾添加一个空行
trim_trailing_whitespace = true  //  自动删除行尾多余的空格
在 package.json 增加脚本:
json
{
  "scripts": {
    "lint": "eslint . --ext .ts,.tsx --max-warnings=0",
    "lint:fix": "pnpm lint --fix",
    "format": "prettier --write ."
  }
}
路径别名与导入优化
安装 Node 类型(若未装):
bash
pnpm add -D @types/node
# 或 npm i -D @types/node / yarn add -D @types/node
tsconfig.json
json
{
  "compilerOptions": {
    "baseUrl": ".",
    "paths": {
      "@/*": ["src/*"]
    }
  }
}
vite.config.ts
ts
import { defineConfig } from 'vite';
import react from '@vitejs/plugin-react';
import path from 'path';

export default defineConfig({
  plugins: [react()],
  resolve: {
    alias: {
      '@': path.resolve(__dirname, 'src')
    }
  }
});使用:import Button from '@/components/Button'。
CSS 方案:Tailwind CSS(可选)
bash
pnpm add -D tailwindcss postcss autoprefixer安装的是 Tailwind v4 需要手动创建配置文件
tailwind.config.js
js
export default {
  content: ['./index.html', './src/**/*.{ts,tsx}'],
  theme: { extend: {} },
  plugins: [],
};
src/styles/index.css
css
@import "tailwindcss";在 main.tsx 引入:
ts
import '@/styles/index.css';环境变量与多环境
Vite 约定: - .env(通用) - .env.development - .env.production - 变量以 VITE_ 前缀暴露给客户端。
示例:.env.development
VITE_API_BASE=https://dev.api.example.com使用:
ts
const base = import.meta.env.VITE_API_BASE;小贴士 :使用 import.meta.env.MODE 判定环境,或在 CI 中注入.env。
测试:Vitest + Testing Library
bash
pnpm add -D vitest @vitest/coverage-v8 jsdom @testing-library/react @testing-library/user-eventvitest.config.ts
ts
import { defineConfig } from 'vitest/config';
import react from '@vitejs/plugin-react';

export default defineConfig({
  plugins: [react()],
  test: {
    environment: 'jsdom',
    setupFiles: './src/test/setup.ts',
     globals: true,
    coverage: { reporter: ['text', 'lcov'] }
  }
});
src/test/setup.ts
bash
pnpm add -D @testing-library/jest-dom
ts
import '@testing-library/jest-dom';示例测试:src/components/Hello.test.tsx
tsx
import { render, screen } from '@testing-library/react';
import userEvent from '@testing-library/user-event';
import { useState } from 'react';

function Hello() {
  const [count, setCount] = useState(0);
  return (
    <div>
      <span>count: {count}</span>
      <button onClick={() => setCount((c) => c + 1)}>add</button>
    </div>
  );
}

test('increments', async () => {
  render(<Hello />);
  await userEvent.click(screen.getByText('add'));
  expect(screen.getByText(/count: 1/)).toBeInTheDocument();
});
脚本:
json
{
  "scripts": {
    "test": "vitest",
    "test:coverage": "vitest --coverage"
  }
}
命令测试:
bash
pnpm test页面测试:
安装依赖:
bash
pnpm add -D @vitest/ui脚本:
json
{
  "scripts": {
		"test:ui": "vitest --ui",
  }
}
Git 提交规范:Husky + lint-staged + Commitlint
bash
pnpm add -D husky lint-staged @commitlint/cli @commitlint/config-conventional
pnpm dlx husky-init && pnpm install
.husky/pre-commit
bash
#!/usr/bin/env sh
. "$(dirname -- "$0")/_/husky.sh"

pnpm lint-staged
package.json
json
{
  "lint-staged": {
    "*.{ts,tsx,js,jsx,json,css,md}": [
      "prettier --write",
      "eslint --fix --max-warnings=0"
    ]
  },
  "commitlint": { "extends": ["@commitlint/config-conventional"] }
}
.husky/commit-msg
bash
#!/usr/bin/env sh
. "$(dirname -- "$0")/_/husky.sh"

pnpm commitlint --edit "$1"
CI 示例(GitHub Actions)
.github/workflows/ci.yml
yaml
name: CI
on:
  push:
    branches: [ main ]
  pull_request:
    branches: [ main ]

jobs:
  build:
    runs-on: ubuntu-latest
    steps:
      - uses: actions/checkout@v4
      - uses: actions/setup-node@v4
        with:
          node-version: '20'
          cache: 'pnpm'
      - uses: pnpm/action-setup@v4
        with:
          version: 9
      - run: pnpm install --frozen-lockfile
      - run: pnpm lint
      - run: pnpm test -- --run
      - run: pnpm build
      - name: Upload dist
        uses: actions/upload-artifact@v4
        with:
          name: dist
          path: dist
生产构建与部署
bash
pnpm build # 产出 dist/-
静态托管 :Vercel / Netlify / Cloudflare Pages / GitHub Pages(将
dist作为静态资源)。 -
自建 Nginx:
nginxserver { listen 80; server_name your.domain.com; root /var/www/my-react-app/dist; location / { try_files $uri /index.html; } }
常见问题与性能优化
- 使用 React.lazy + Suspense 做路由/组件懒加载。
- 图片用现代格式(WebP/AVIF),配合资源懒加载(
loading="lazy")。 - 生产构建开启 splitChunks(Vite 默认基于 Rollup 分包)。
- 使用 TanStack Query 缓存请求;或 SWR、RTK Query。
- 大表格/长列表用虚拟滚动(react-virtual 等)。
- 利用
useMemo/useCallback避免不必要渲染(配合 ESLint hooks
规则)。
附录:Next.js 与 CRA 选择建议
-
Vite + React(本文方案):偏前端 SPA,开发体验极快,灵活、轻量。
-
Next.js(create-next-app) :如果需要 SSR / SSG / ISR / Route Handlers / 中间层 API / 边缘运行,优先 Next.js。
bashpnpm create next-app@latest my-next --ts --eslint --app --src-dir --tailwind -
Create React App:生态已逐渐转向 Vite/Next.js,不再优选。仅在特定内部脚手需求下考虑。
结语
以上步骤覆盖了一个现代 React 工程从 脚手化 → 规范化 → 可测试 → 可持续集成 → 可部署
的完整闭环。你可以直接复制到团队模板仓库,或基于此再封装自己的脚手架(如通过 create-* 模板或内网 CLI)。