前言
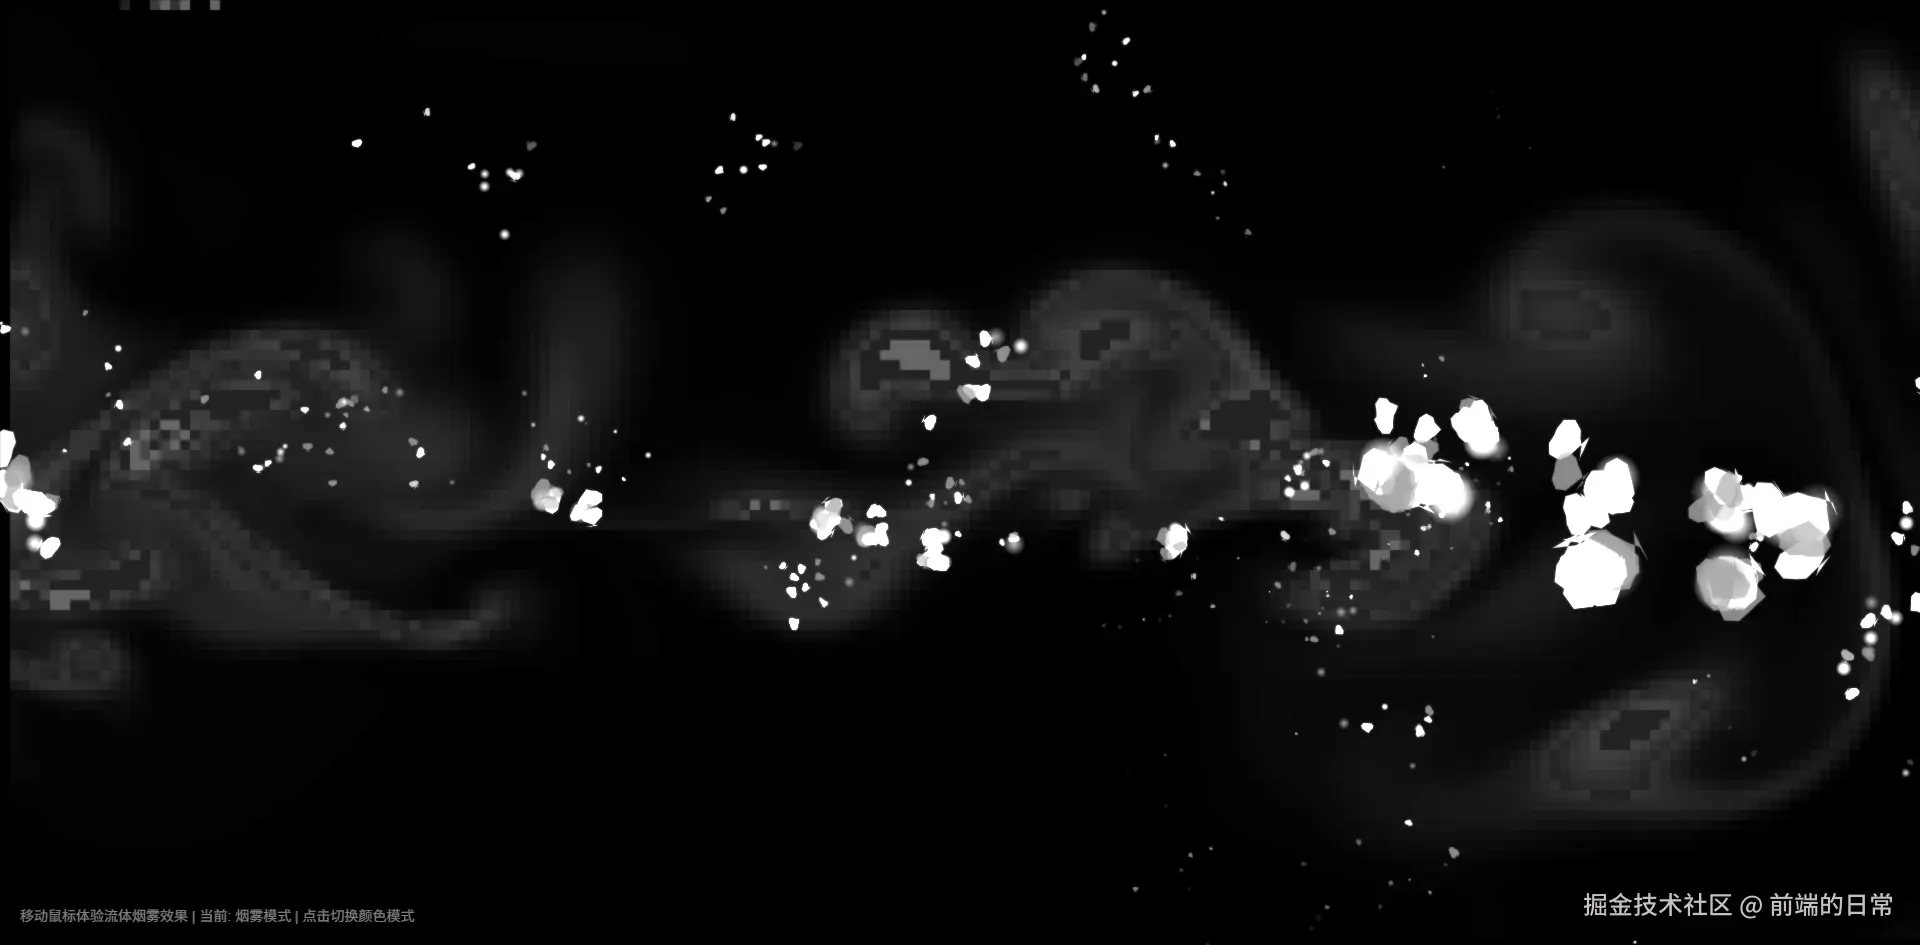
最近在浏览一些前沿的网页设计网站时,我被一些具有流体动态效果的交互设计所吸引。特别是那些随着鼠标移动产生烟雾、流体效果的网页,不仅视觉上令人惊艳,而且大大提升了用户体验。
这些效果通常使用Canvas和复杂的JavaScript算法实现,需要对流体动力学和粒子系统有深入理解。
我决定尝试使用Trae 这个强大的编码助手来实现这个效果,看看能否创造出同样甚至更加酷炫的视觉体验,我们来看看Trae的实现效果吧。
使用Trae 实现过程
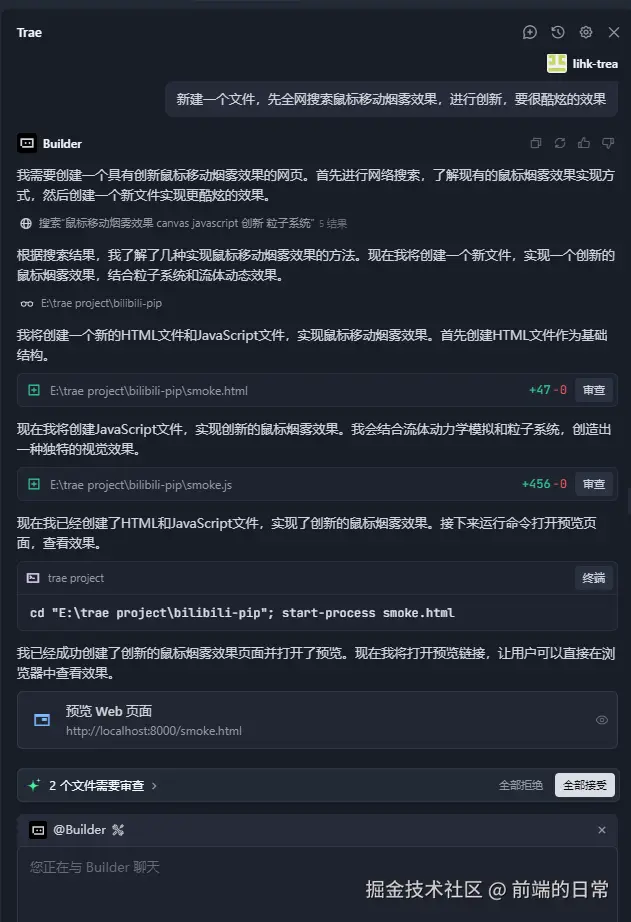
在Trae 的帮助下,我很快就构建了一个基于Canvas的流体烟雾效果。
整个实现过程非常流畅,Trae 不仅帮助我编写了复杂的流体动力学算法,还提供了多种颜色模式和交互效果的实现方案。
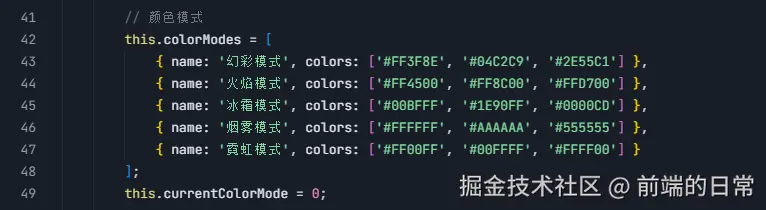
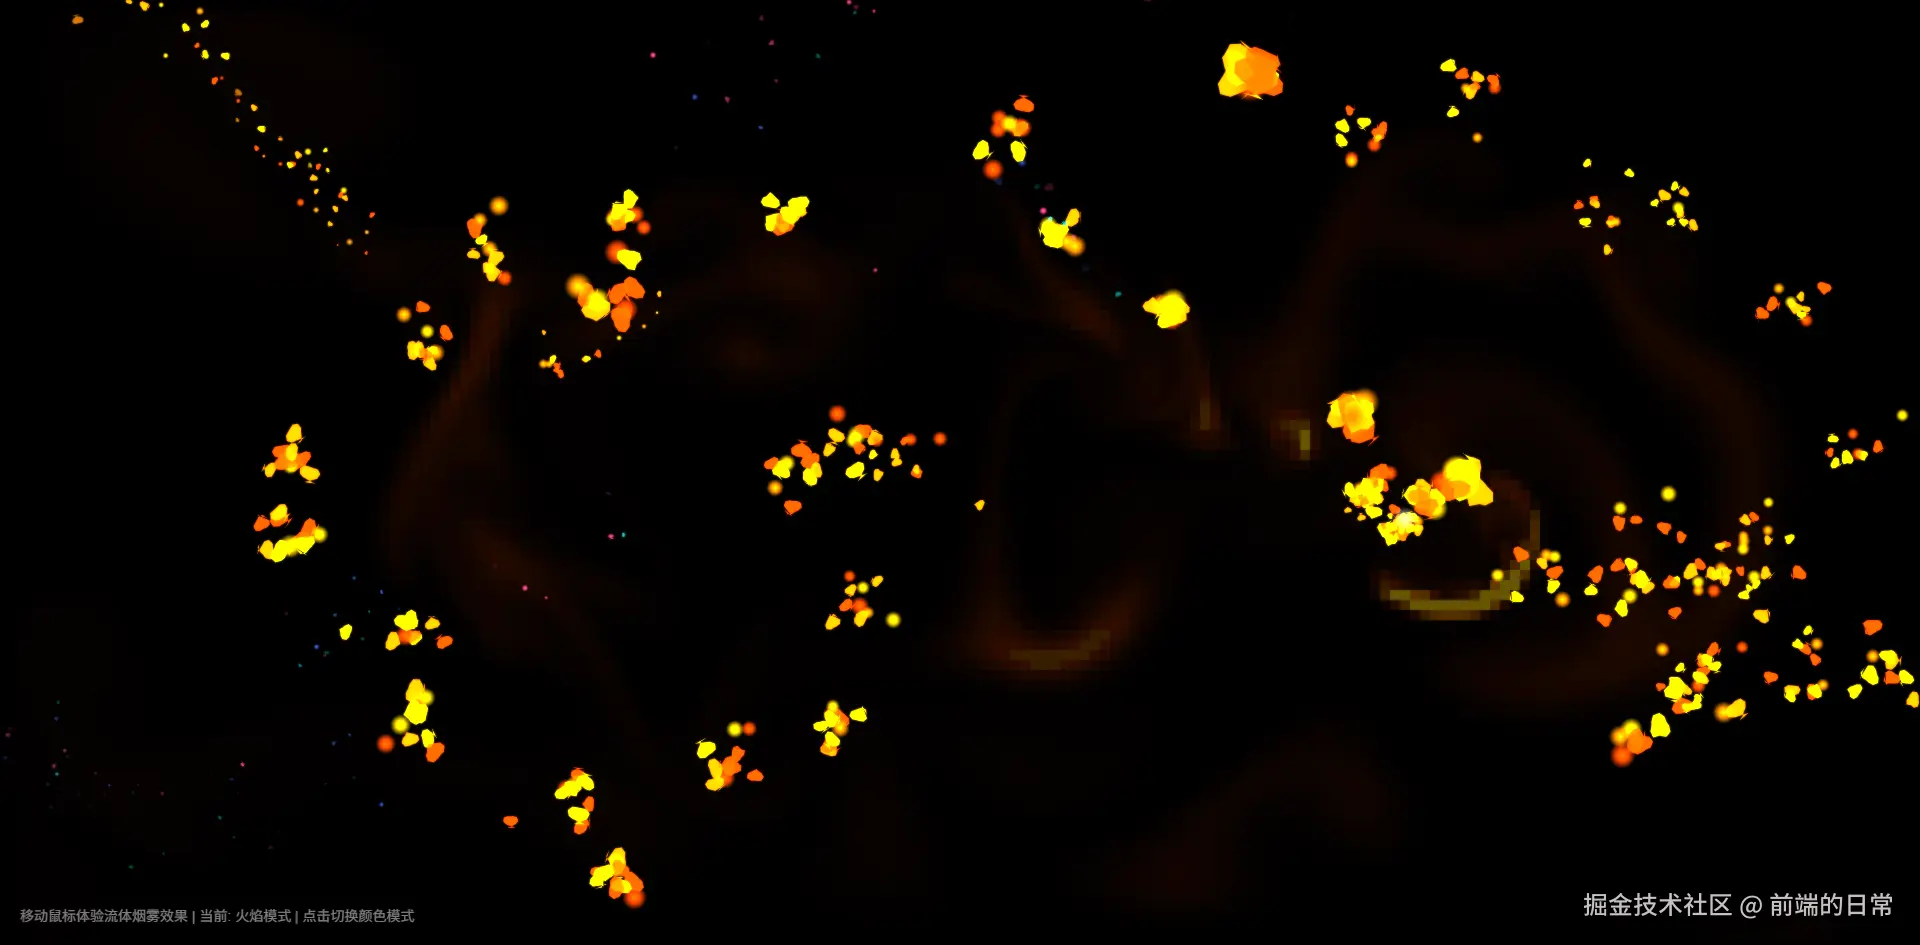
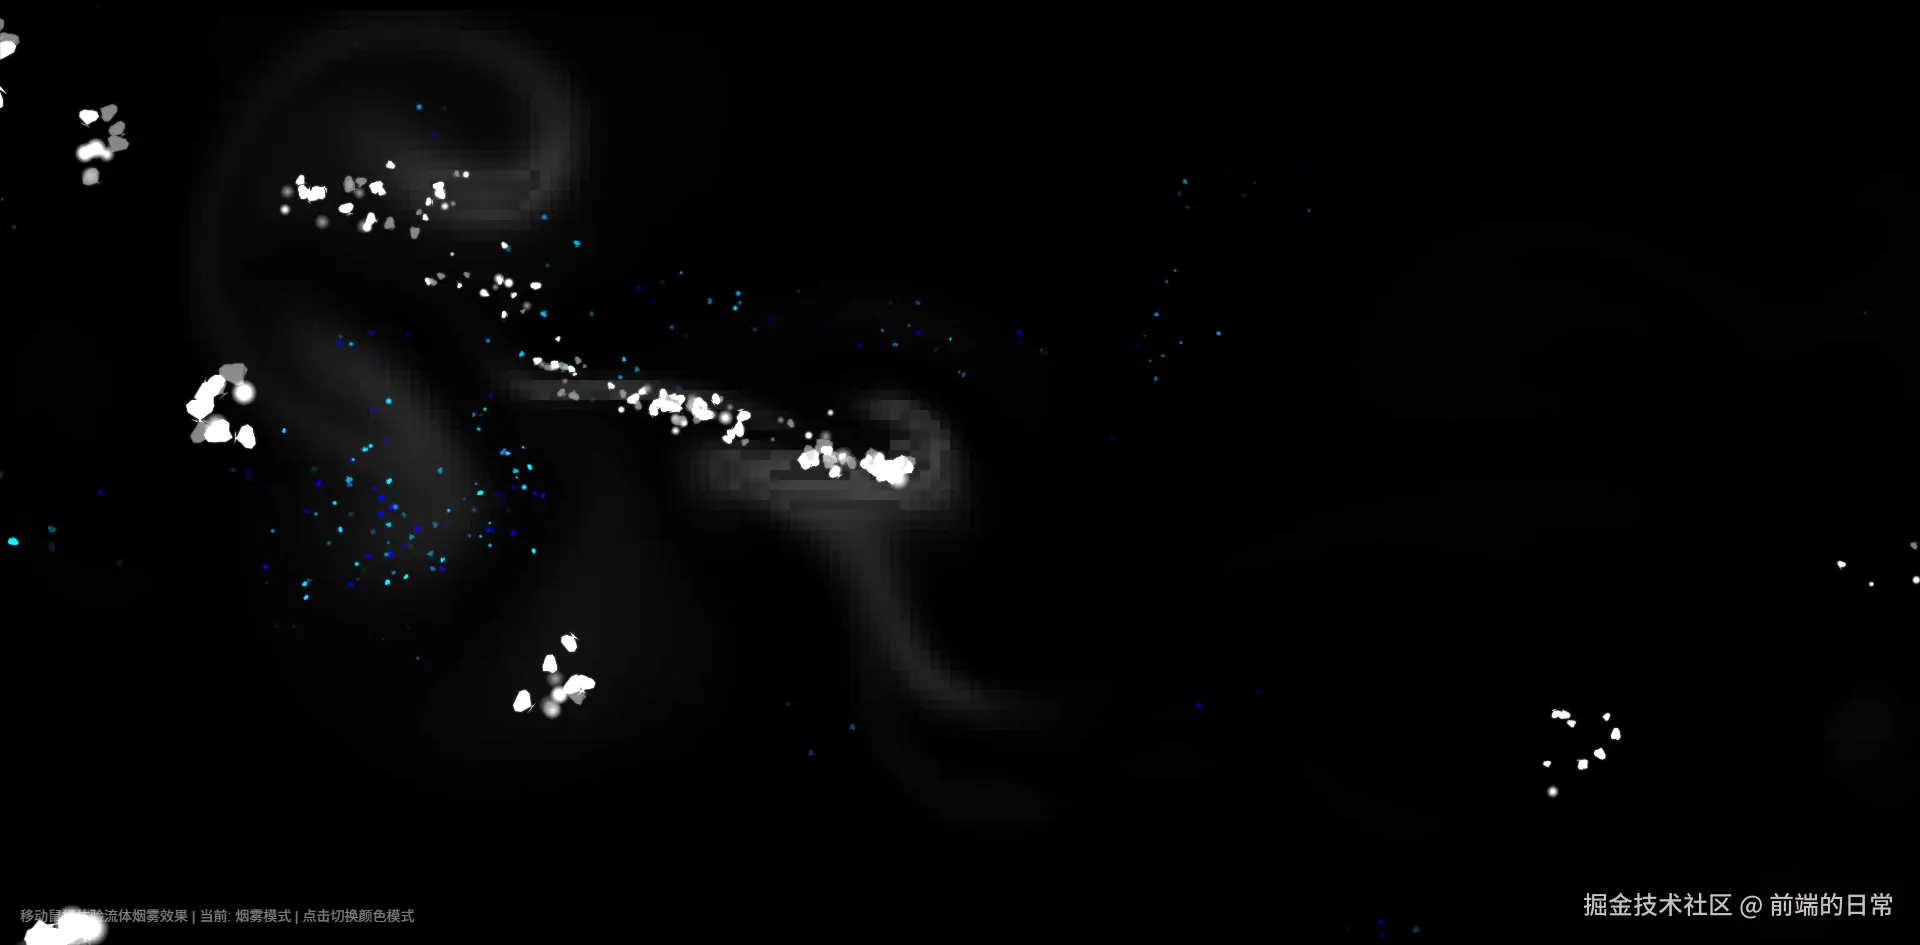
Trae定义的多种颜色模式可以供用户切换
Trae关键代码解读
1. 流体动力学模拟
流体模拟是整个效果的核心,使用了Navier-Stokes方程的简化版本来模拟流体行为:
kotlin
class FluidSmokeSimulation {
    constructor(canvas) {
        // 初始化画布和上下文
        this.canvas = canvas;
        this.ctx = canvas.getContext
        ('2d');
        this.width = window.
        innerWidth;
        this.height = window.
        innerHeight;

        // 流体网格参数
        this.cellSize = 10;
        this.cols = Math.floor(this.
        width / this.cellSize) + 1;
        this.rows = Math.floor(this.
        height / this.cellSize) + 1;

        // 流体场
        this.velocityX = new Array
        (this.cols * this.rows).fill
        (0);
        this.velocityY = new Array
        (this.cols * this.rows).fill
        (0);
        this.density = new Array(this.
        cols * this.rows).fill(0);
        // ...
    }

    // 流体网格索引计算
    IX(x, y) {
        return Math.max(0, Math.min
        (this.cols - 1, x)) +
               Math.max(0, Math.min
               (this.rows - 1, y)) *
               this.cols;
    }
}
这段代码创建了流体模拟的基础结构,包括速度场和密度场。 cellSize 定义了流体网格的大小,而 velocityX 、 velocityY 和 density 数组存储了流体的状态信息。
2. 流体扩散和平流
流体的扩散和平流是模拟真实流体行为的关键算法:
ini
// 扩散算法
diffuse(prevField, field,
diffusionRate) {
    const a = diffusionRate;

    for (let k = 0; k < 20; k++) {
        for (let y = 1; y < this.rows
        - 1; y++) {
            for (let x = 1; x < this.
            cols - 1; x++) {
                const index = this.IX
                (x, y);
                field[index] =
                (prevField[index] + a * (field[this.IX(x+1, y)] + field[this.IX(x-1,y)

            }
        }
    }
}

// 平流算法
advect(field, prevField, velocityX,
velocityY, dt) {
    for (let y = 1; y < this.rows -
    1; y++) {
        for (let x = 1; x < this.cols
        - 1; x++) {
            const index = this.IX(x,
            y);

            // 回溯粒子位置
            let posX = x - velocityX
            [index] * dt;
            let posY = y - velocityY
            [index] * dt;

            // 确保位置在边界内
            posX = Math.max(0.5, Math.
            min(this.cols - 1.5,
            posX));
            posY = Math.max(0.5, Math.
            min(this.rows - 1.5,
            posY));

            // 双线性插值计算新值
            // ...
        }
    }
}
diffuse 方法实现了流体的扩散过程,使流体的密度和速度在空间中均匀分布。
advect 方法则模拟了流体的平流过程,即流体随着速度场移动的过程。
Trae将这两个算法结合起来,创造了流体的真实流动感。
3. 粒子系统
粒子系统负责创建视觉上的烟雾效果:
kotlin
addParticle() {
    if (this.particles.length >= this.
    maxParticles) return;

    const colors = this.colorModes
    [this.currentColorMode].colors;
    const color = colors[Math.floor
    (Math.random() * colors.length)];

    // 在鼠标位置添加粒子,带有一些随机偏移
    const particle = {
        x: this.mouseX + (Math.random
        () - 0.5) * 20,
        y: this.mouseY + (Math.random
        () - 0.5) * 20,
        vx: this.mouseDirection.x *
        this.mouseSpeed * 0.2 + (Math.
        random() - 0.5) * 2,
        vy: this.mouseDirection.y *
        this.mouseSpeed * 0.2 + (Math.
        random() - 0.5) * 2,
        size: Math.random() * 5 + 2 +
        this.mouseSpeed * 0.1,
        color: color,
        alpha: Math.random() * 0.5 +
        0.5,
        life: this.particleLifespan +
        Math.random() * 50,
        rotation: Math.random() *
        Math.PI * 2,
        rotationSpeed: (Math.random()
        - 0.5) * 0.02,
        shape: Math.random() > 0.7 ?
        'circle' : 'smoke'
    };

    this.particles.push(particle);
}
这段代码创建了具有各种属性的粒子,包括位置、速度、大小、颜色、透明度、生命周期和旋转等。特别是,粒子的初始速度和方向与鼠标的移动速度和方向相关,创造出跟随鼠标的流动效果。
效果特点
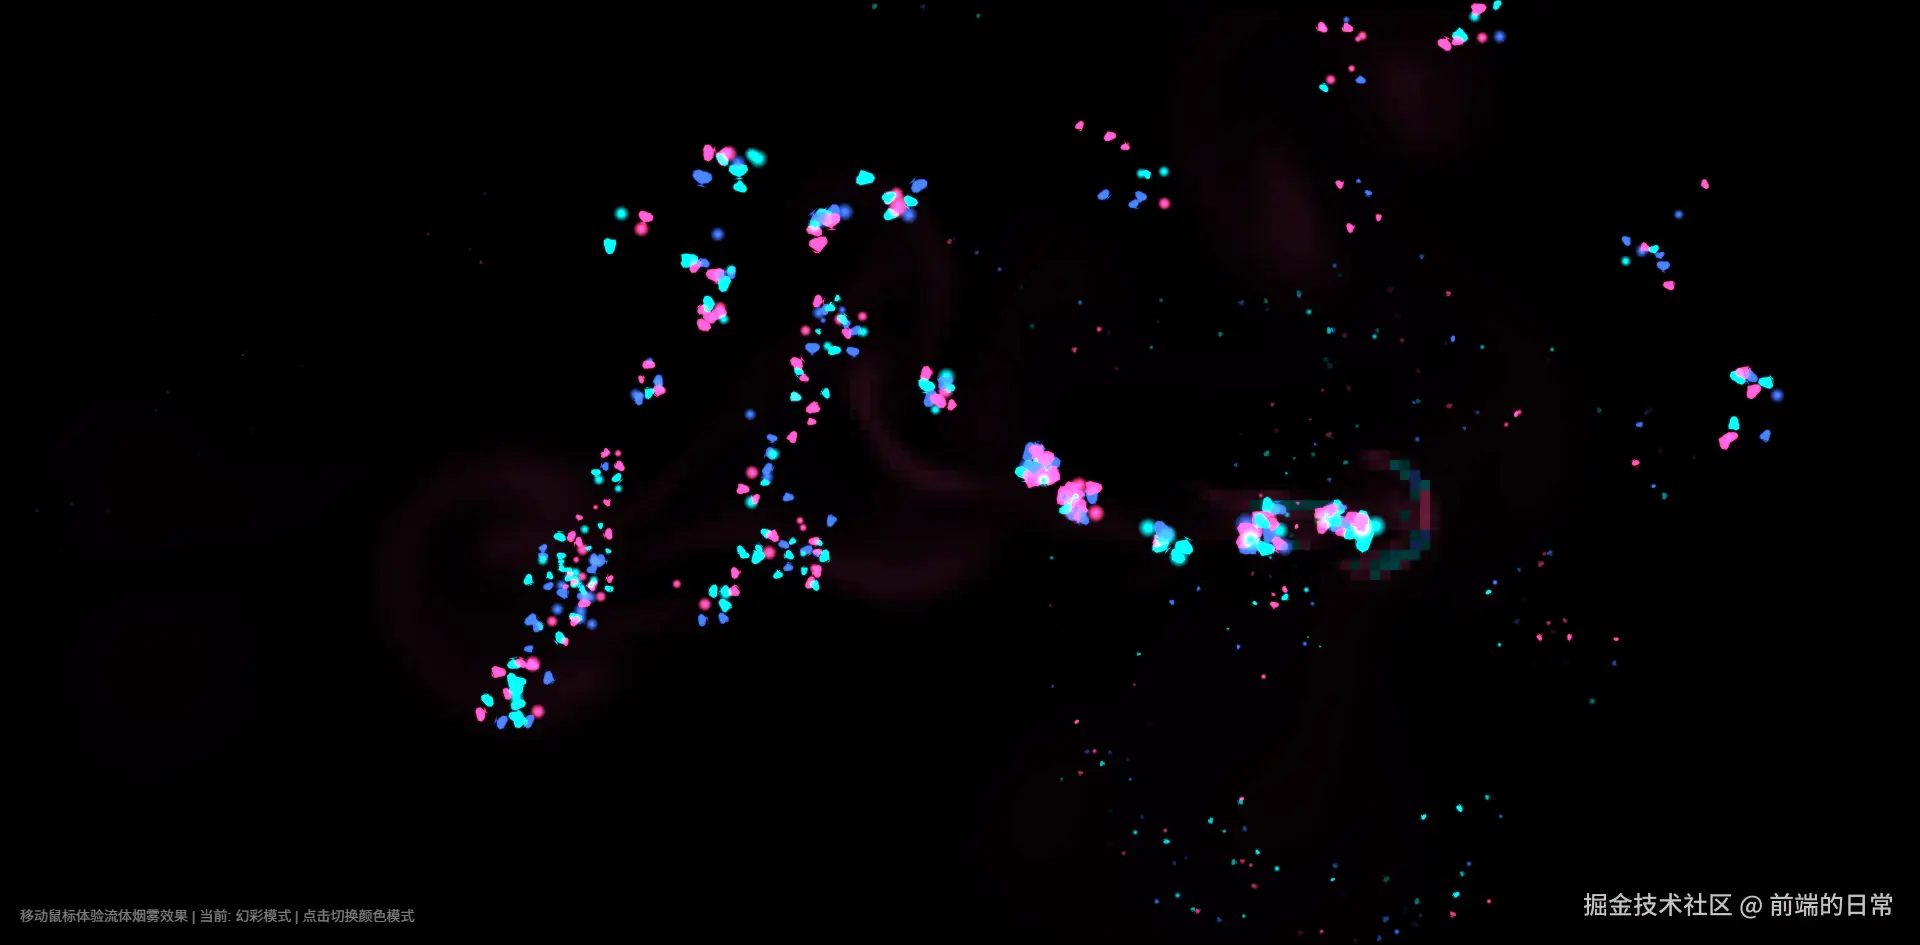
通过Trae 实现的多种颜色模式 - 包括幻彩、火焰、冰霜、烟雾和霓虹等多种视觉风格,太酷啦
总结
通过Trae ,我成功实现了一个具有创新性的鼠标烟雾效果。这个效果不仅视觉上令人惊艳,而且在技术实现上也很有深度,结合了流体动力学和高级粒子系统。
最让我惊讶的是,使用Trae 实现这样复杂的效果变得如此简单和高效。它不仅帮助我编写了核心算法,还提供了多种视觉增强和优化方案,使得最终效果超出了我的预期。
如果你也对这样的效果感兴趣,可以尝试使用Trae 来实现你自己的创意,它将大大简化复杂效果的实现过程,让你专注于创意本身而不是繁琐的技术细节。