前言
之前在figma上面浏览社区作品的时候,看到一个眼球跟随卡片,但是那个是用ai实现的,实现的代码有点长, 我觉得很繁琐,于是自己也做了一个类似的效果
最终效果
最终的效果如下
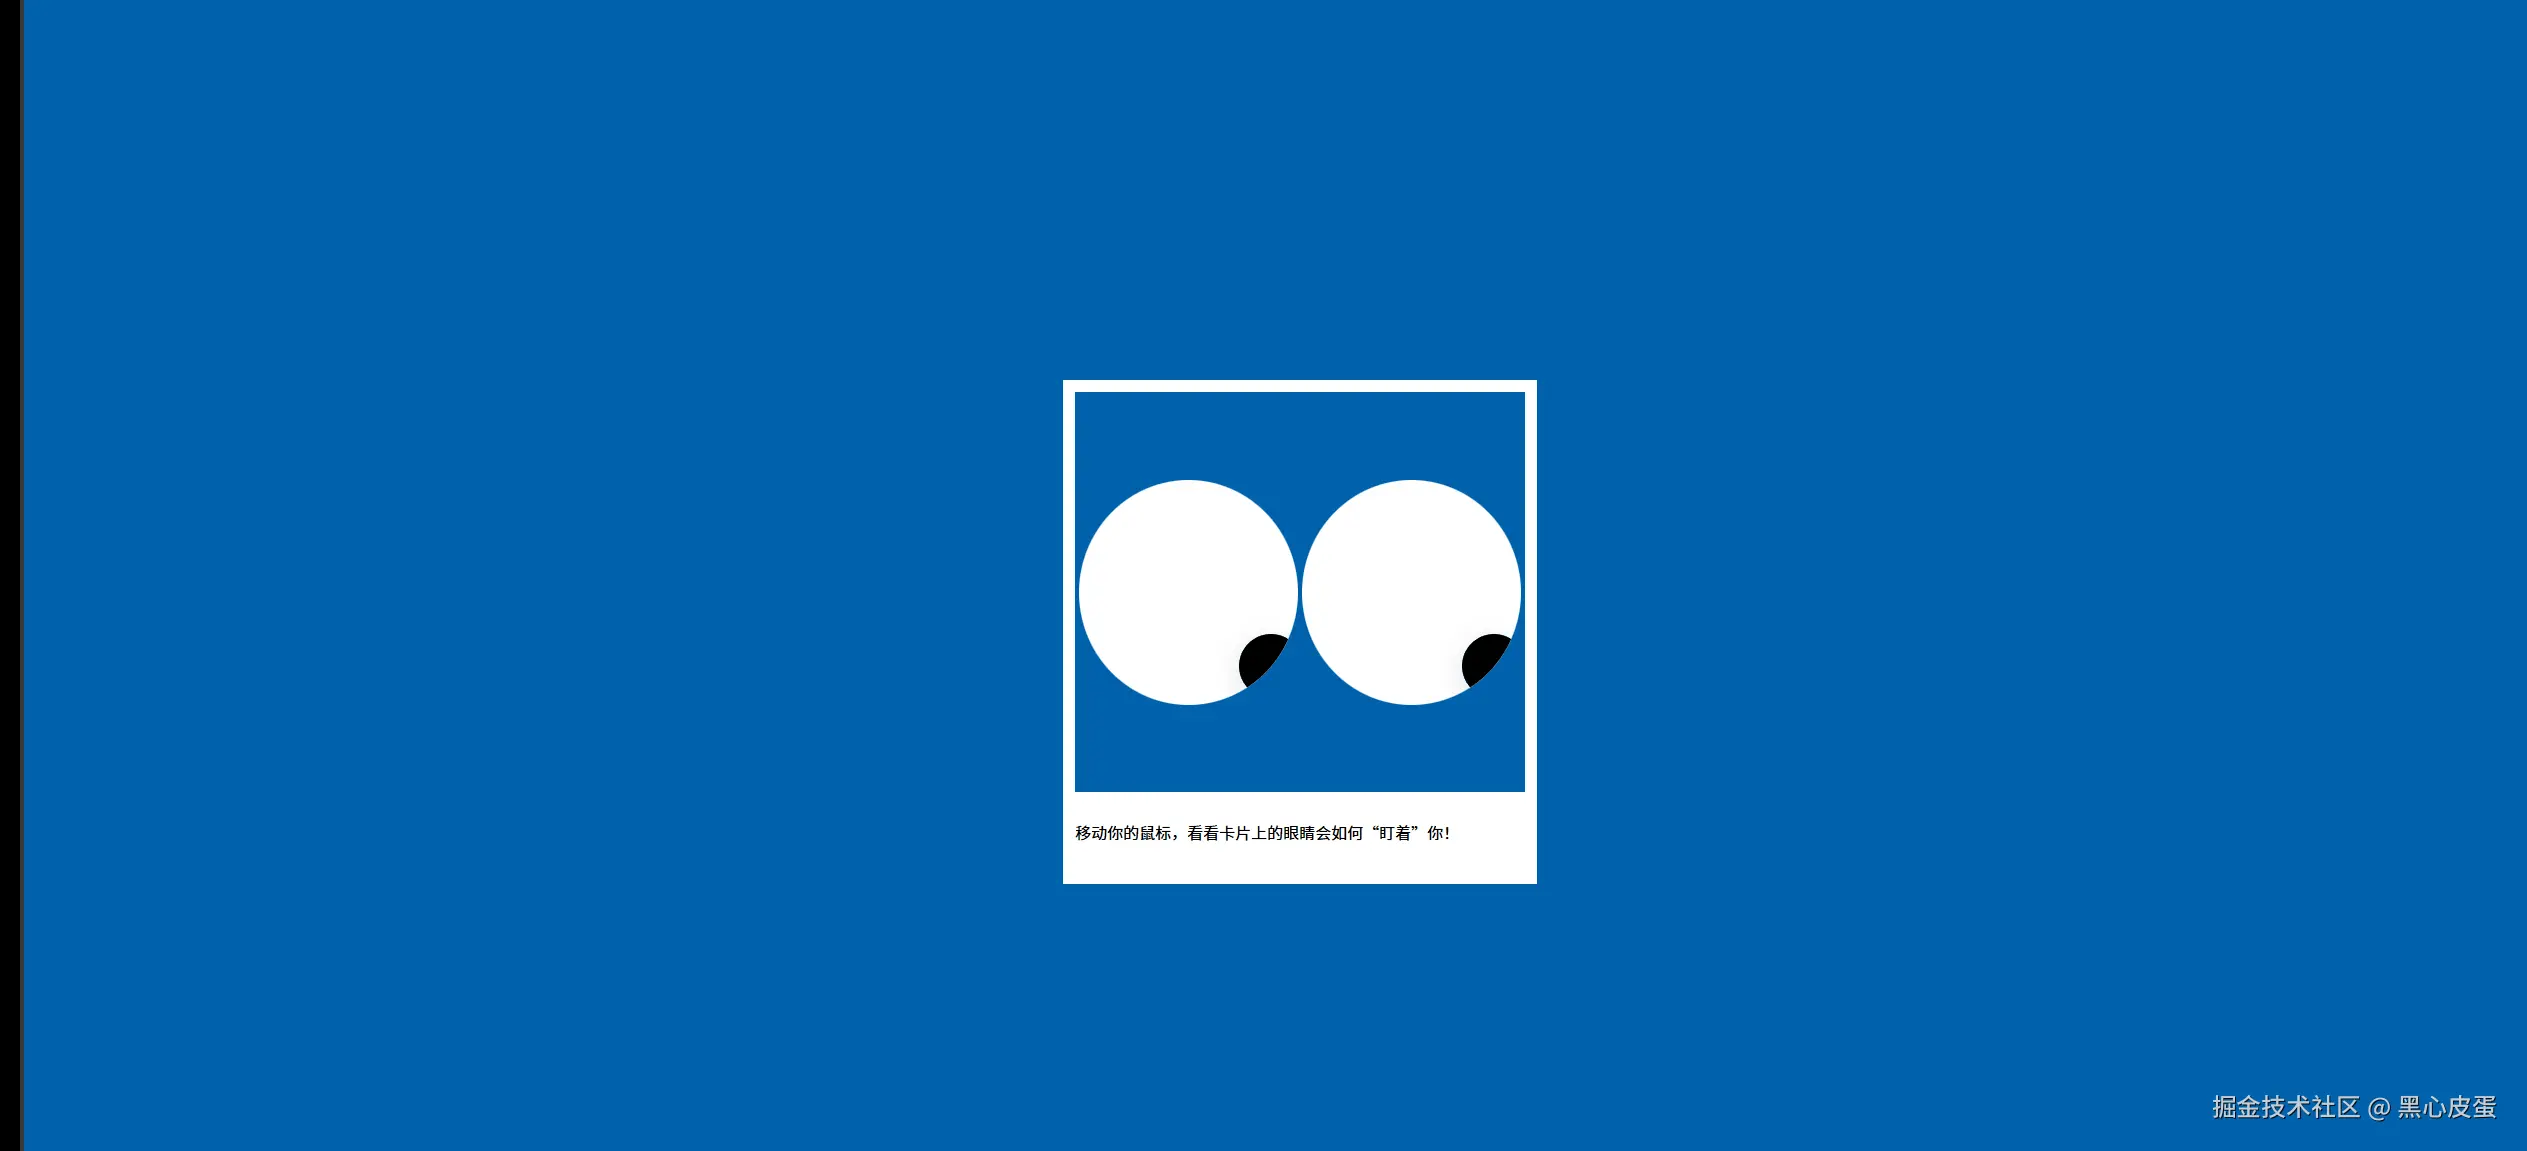
可以看到这里眼睛会跟着我的鼠标移动
因为页面比较简单,就不做过多介绍,主要讲眼球跟随的实现逻辑
实现逻辑
我定义了两个css变量
css
:root {
  --eye-left: 0;
  --eye-top: 0;
}黑色眼睛设置为绝对定位,并且top和left用这两个变量,这样我js部分只需要改变这两个变量即可
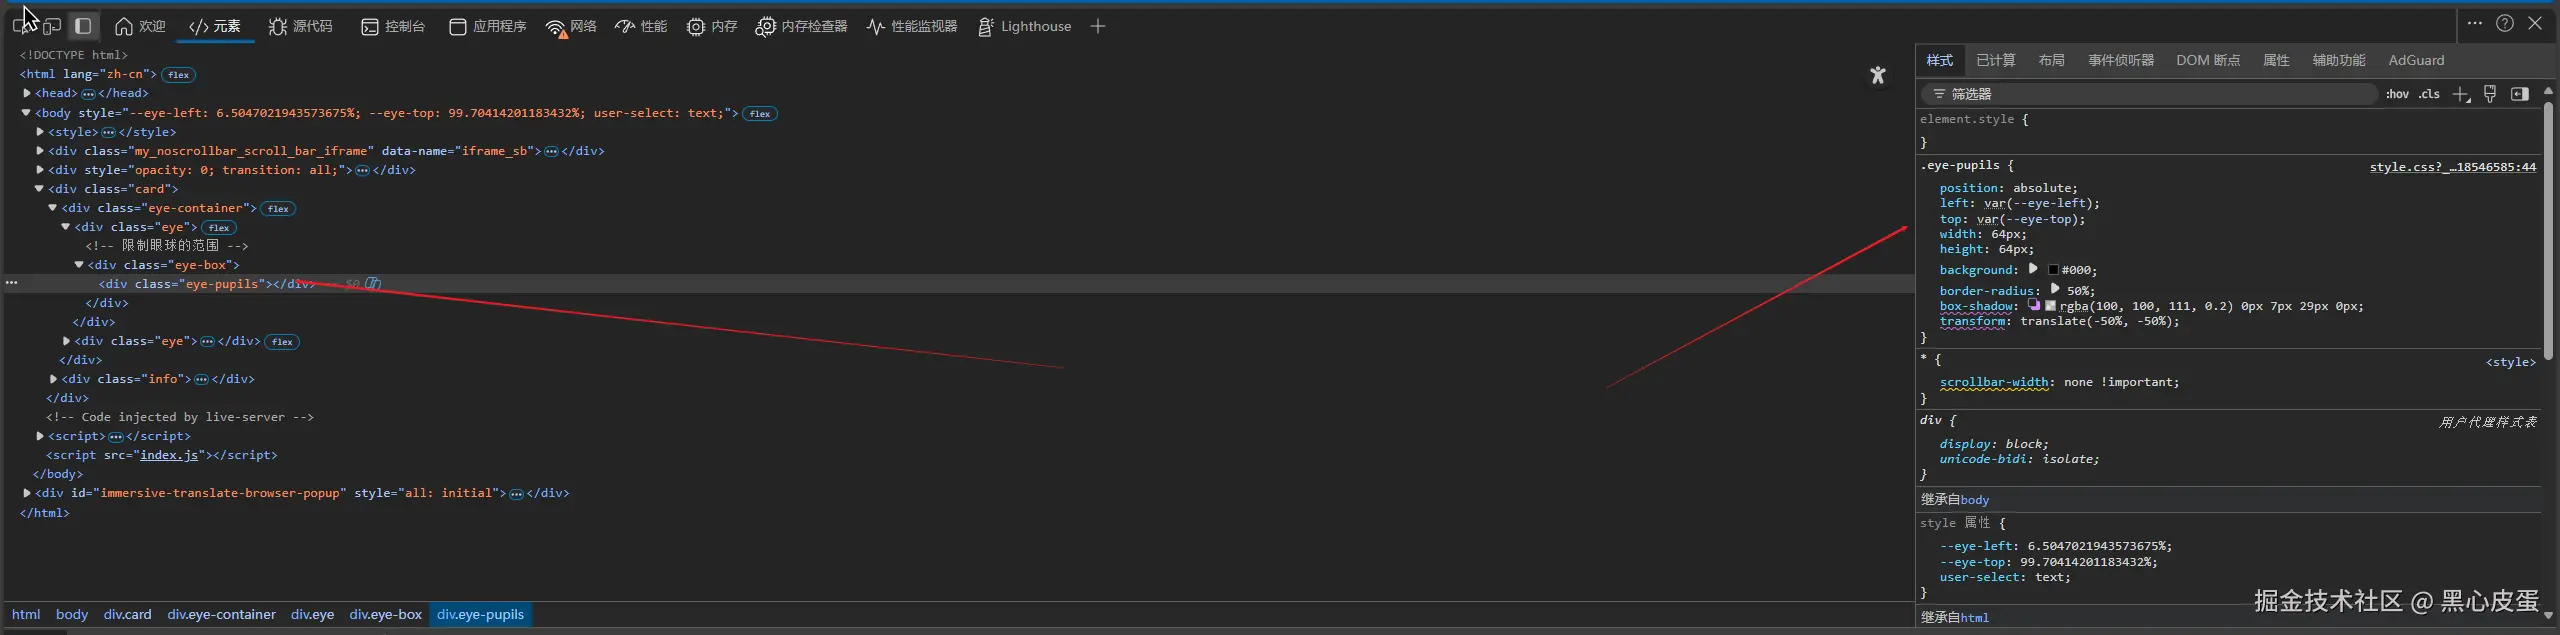
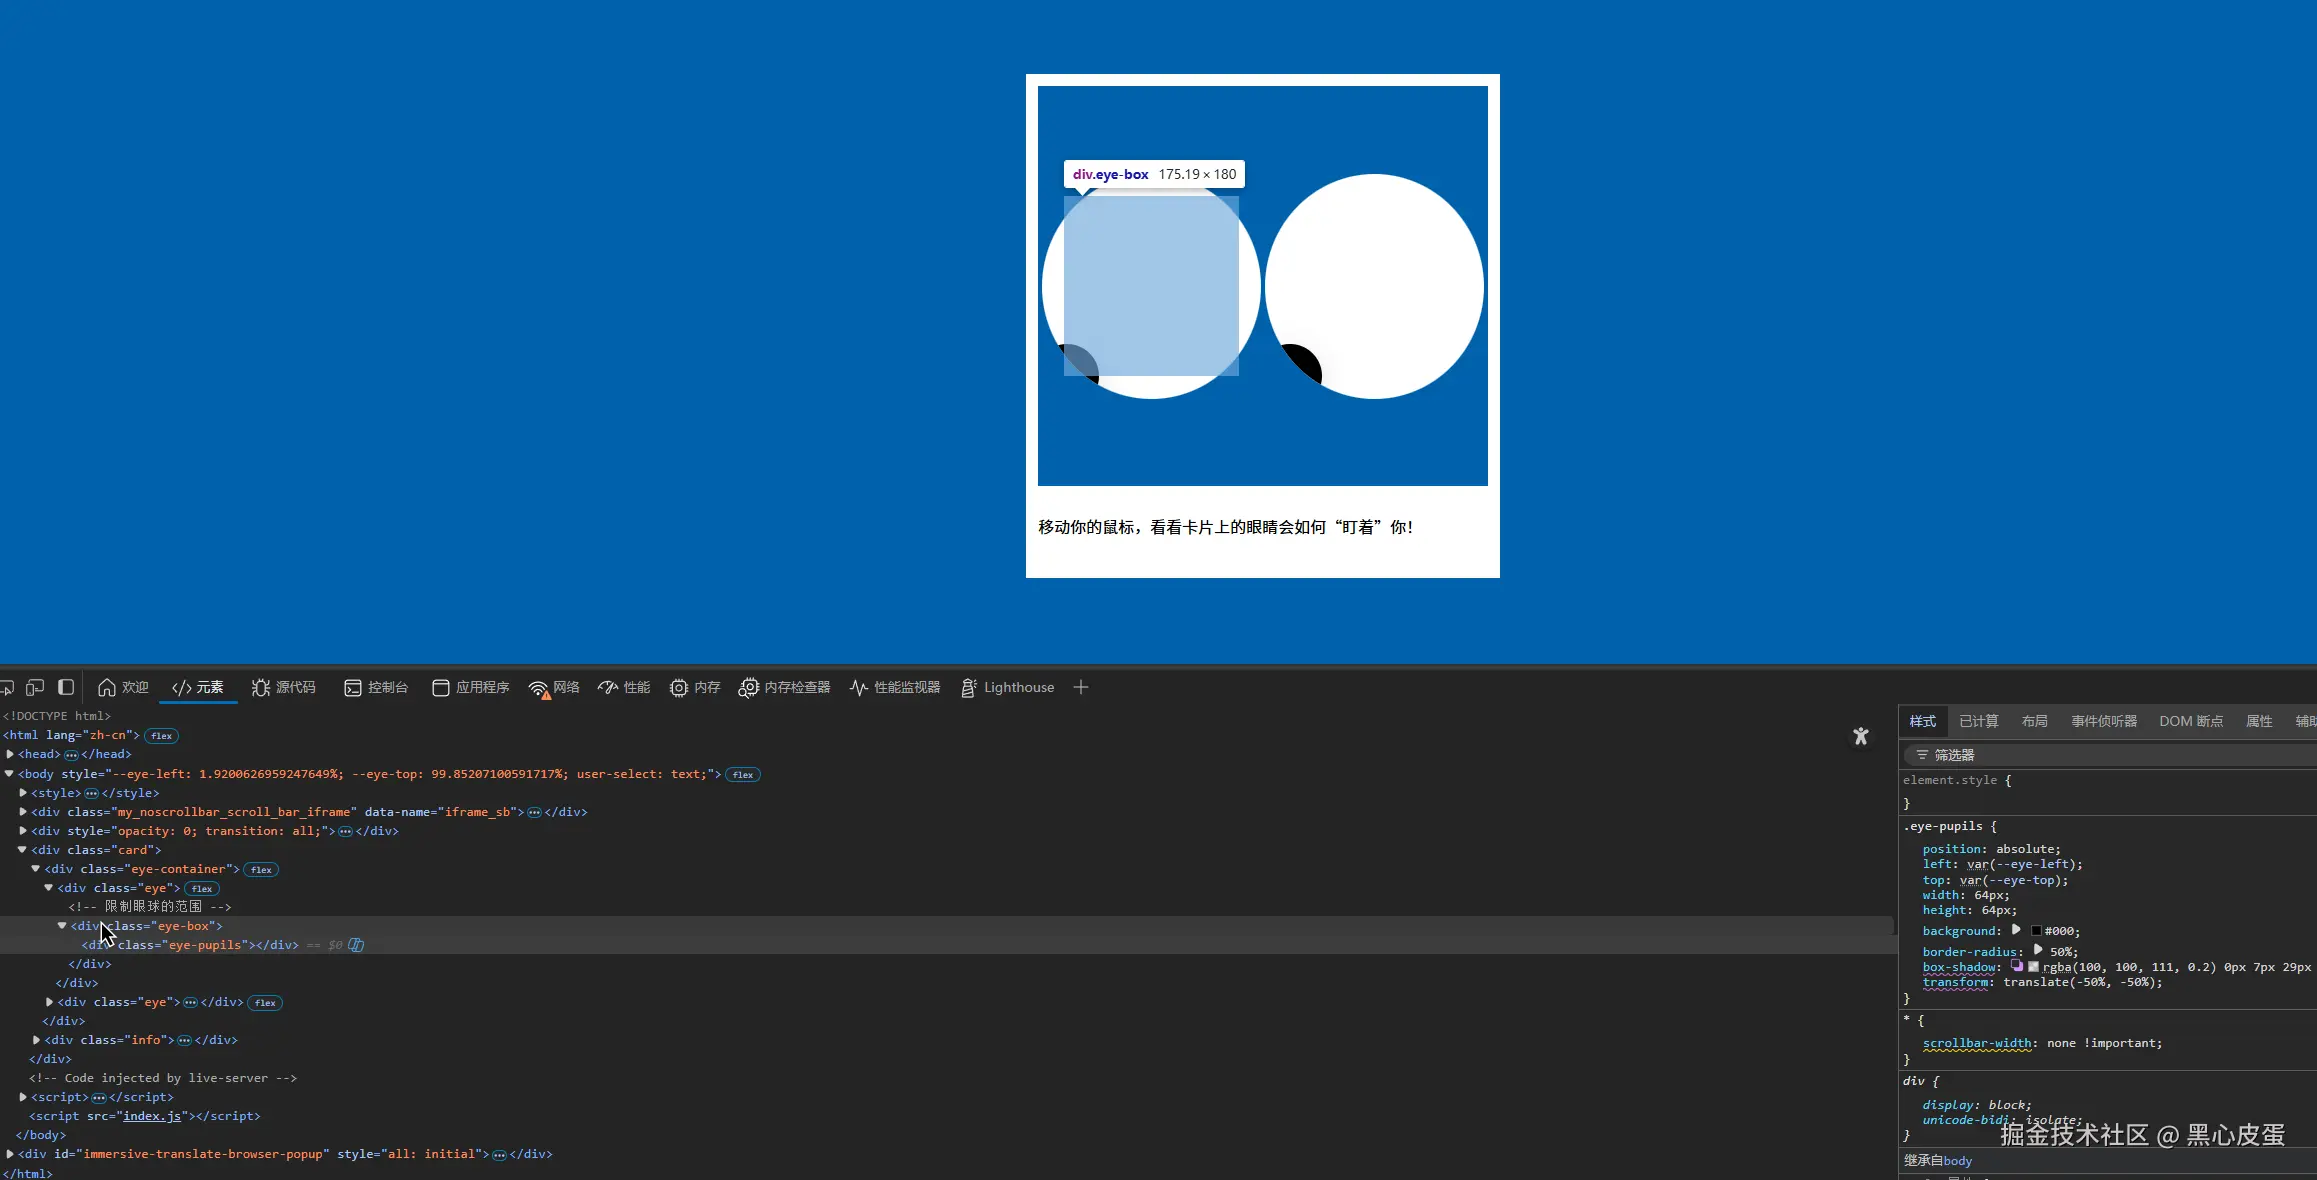
这里还有一个地方,我给眼睛外面套了一个div,这样做的目的是为了控制眼睛最大的可移动范围,根据父相子绝我可以轻松的显示眼球的活动范围
js部分如下
js
const eye1 = document.querySelectorAll('.eye-pupils')[0]
const eye2 = document.querySelectorAll('.eye-pupils')[1]
let clientHeight = document.documentElement.clientHeight
let clientWidth = document.documentElement.clientWidth
window.addEventListener('mousemove', (e) => {
  requestAnimationFrame(() => {
    const { x, y } = e
    let left = (x / clientWidth) * 100
    let top = (y / clientHeight) * 100
    document.body.style.setProperty('--eye-left', `${left}%`)
    document.body.style.setProperty('--eye-top', `${top}%`)
  })
})
window.addEventListener('resize', () => {
  clientHeight = document.documentElement.clientHeight
  clientWidth = document.documentElement.clientWidth
})
let left = (x / clientWidth) * 100 let top = (y / clientHeight) * 100
这两句就是核心代码,通过计算鼠标的位置/页面的宽高就可以得到 当前的鼠标位置是在页面的哪个位置,并且是百分比的形式,这样我们只要将这个值更新到前面设置的css变量上面就可以实现眼球跟随移动
完整代码
html部分
html
<!DOCTYPE html>
<html lang="zh-cn">
  <head>
    <meta charset="UTF-8" />
    <meta name="viewport" content="width=device-width, initial-scale=1.0" />
    <title>眼球跟随卡片</title>
    <link rel="stylesheet" href="style.css" />
  </head>
  <body>
    <div class="card">
      <div class="eye-container">
        <div class="eye">
          <!-- 限制眼球的范围 -->
          <div class="eye-box">
            <div class="eye-pupils"></div>
          </div>
        </div>

        <div class="eye">
          <!-- 限制眼球的范围 -->
          <div class="eye-box">
            <div class="eye-pupils"></div>
          </div>
        </div>
      </div>
      <div class="info">
        <p>移动你的鼠标,看看卡片上的眼睛会如何"盯着"你!</p>
      </div>
    </div>
  </body>
  <script src="index.js"></script>
</html>
css部分
css
:root {
  --bg-color: #0062ad;
  --eye-left: 0;
  --eye-top: 0;
}
html,
body {
  position: relative;
  width: 100%;
  height: 100%;
  margin: 0;
  padding: 0;
  display: flex;
  align-items: center;
  justify-content: center;
  background: var(--bg-color);
}
.card {
  position: relative;
  width: 450px;
  background: #fff;
  padding: 12px;
}
.eye-container {
  position: relative;
  height: 400px;
  background: var(--bg-color);
  display: flex;
  align-items: center;
  gap: 4px;
  padding: 0 4px;
}
.eye {
  position: relative;
  width: 225px;
  height: 225px;
  background: #fff;
  border-radius: 50%;
  overflow: hidden;
  display: flex;
  align-items: center;
  justify-content: center;
}
.eye-pupils {
  position: absolute;
  left: var(--eye-left);
  top: var(--eye-top);
  width: 64px;
  height: 64px;
  background: #000;
  border-radius: 50%;
  box-shadow: rgba(100, 100, 111, 0.2) 0px 7px 29px 0px;
  transform: translate(-50%, -50%);
}
.eye-box {
  position: relative;
  width: 80%;
  height: 80%;
}
.info {
  padding: 12px 0;
}
js部分
js
const eye1 = document.querySelectorAll('.eye-pupils')[0]
const eye2 = document.querySelectorAll('.eye-pupils')[1]
let clientHeight = document.documentElement.clientHeight
let clientWidth = document.documentElement.clientWidth
window.addEventListener('mousemove', (e) => {
  requestAnimationFrame(() => {
    const { x, y } = e
    let left = (x / clientWidth) * 100
    let top = (y / clientHeight) * 100
    document.body.style.setProperty('--eye-left', `${left}%`)
    document.body.style.setProperty('--eye-top', `${top}%`)
  })
})
window.addEventListener('resize', () => {
  clientHeight = document.documentElement.clientHeight
  clientWidth = document.documentElement.clientWidth
})