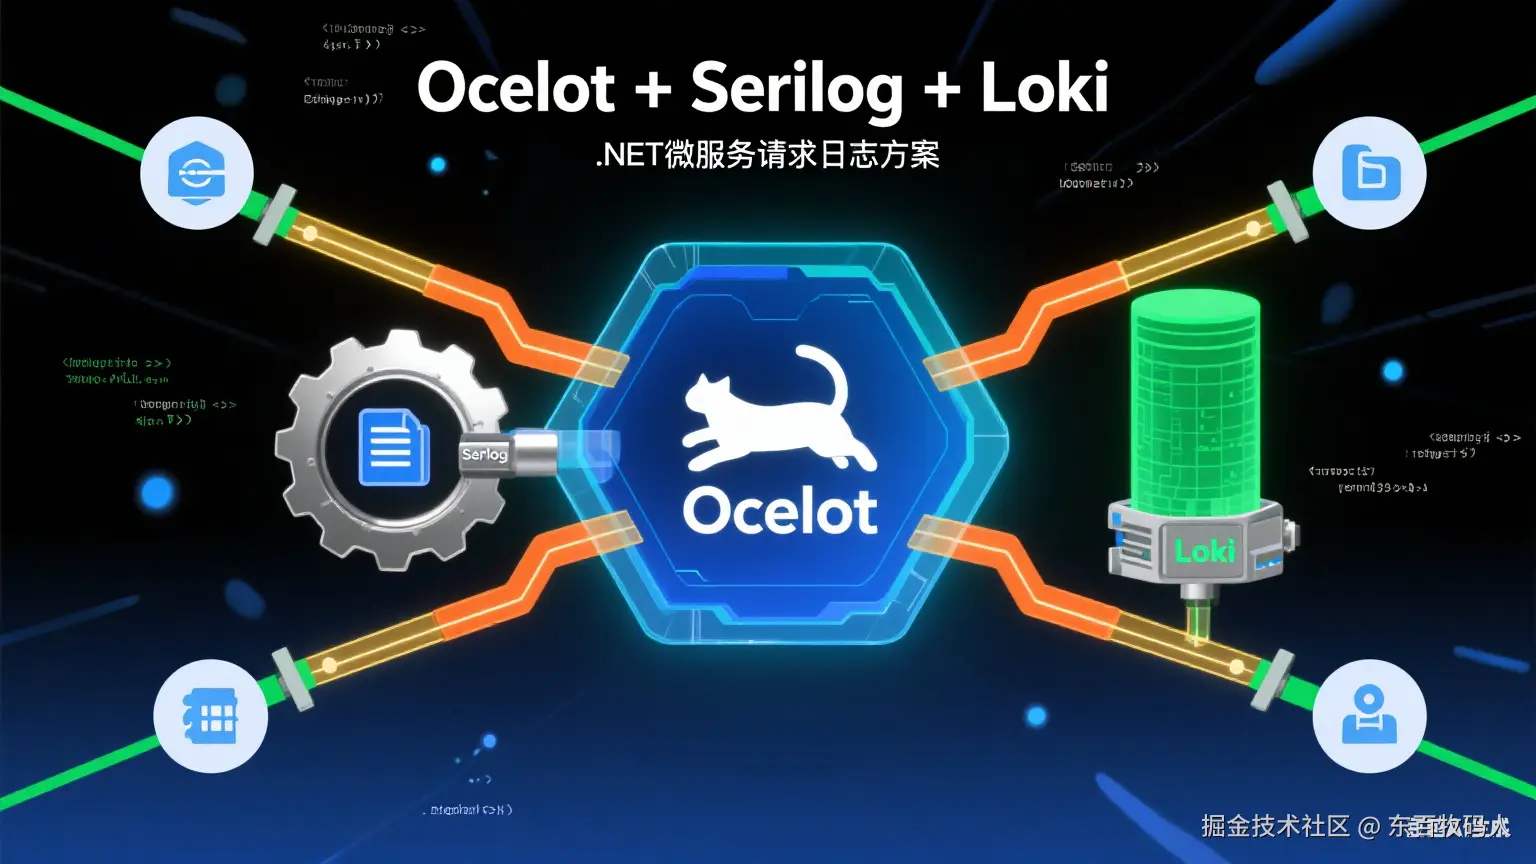
将 Ocelot 与 Serilog 和 Loki 集成可以实现强大的日志收集和分析能力。Loki 是一个轻量级的日志聚合系统,非常适合与 Serilog 结合使用。以下是具体实现步骤: 
1. 安装必要的包
首先安装 Serilog 及其 Loki 适配器:
bash
Install-Package Serilog.AspNetCore
Install-Package Serilog.Sinks.Loki
Install-Package Serilog.Enrichers.Environment
Install-Package Serilog.Enrichers.Thread
2. 配置 Serilog 与 Loki 集成
在 Program.cs 中配置 Serilog 以将日志发送到 Loki:
csharp
using Ocelot.DependencyInjection;
using Ocelot.Middleware;
using Serilog;
using Serilog.Sinks.Loki;
using System.Collections.Generic;
using System.Net.Http;

// 配置 Serilog 与 Loki 集成
Log.Logger = new LoggerConfiguration()
    .Enrich.FromLogContext()
    .Enrich.WithEnvironmentName()
    .Enrich.WithMachineName()
    .Enrich.WithThreadId()
    .WriteTo.Console() // 同时输出到控制台
    .WriteTo.LokiHttp(
        "http://localhost:3100", // Loki 服务器地址
        new List<LokiLabel> // 添加标签用于日志过滤
        {
            new LokiLabel("app", "ocelot-gateway"),
            new LokiLabel("environment", Environment.GetEnvironmentVariable("ASPNETCORE_ENVIRONMENT") ?? "production")
        },
        httpClient: new HttpClient(new HttpClientHandler
        {
            ServerCertificateCustomValidationCallback = (message, cert, chain, errors) => true // 忽略 HTTPS 证书验证(仅开发环境)
        }))
    .CreateLogger();

try
{
    Log.Information("Starting Ocelot gateway");

    var builder = WebApplication.CreateBuilder(args);

    // 使用 Serilog
    builder.Host.UseSerilog();

    // 配置 Ocelot
    builder.Configuration.AddJsonFile("ocelot.json", optional: false, reloadOnChange: true);
    builder.Services.AddOcelot(builder.Configuration);

    // 其他服务配置(认证、授权等)
    // ...

    var app = builder.Build();

    // 启用自定义日志中间件(如果需要)
    app.UseMiddleware<RequestLoggingMiddleware>();

    // 启用认证和授权
    app.UseAuthentication();
    app.UseAuthorization();

    // 启用 Ocelot
    await app.UseOcelot();

    app.Run();
}
catch (Exception ex)
{
    Log.Fatal(ex, "Ocelot gateway terminated unexpectedly");
}
finally
{
    Log.CloseAndFlush();
}
3. 配置 Loki 连接参数
建议将 Loki 连接参数配置在 appsettings.json 中,方便管理:
csharp
{
      "Logging": {
        "LogLevel": {
          "Default": "Information",
          "Microsoft.AspNetCore": "Warning",
          "Ocelot": "Information"
        }
      },
      "Loki": {
        "Url": "http://localhost:3100",
        "ApplicationName": "ocelot-gateway",
        "TimeoutSeconds": 5
      }
    }
然后修改 Program.cs 从配置文件读取参数:
csharp
// 从配置文件读取 Loki 配置
var lokiUrl = builder.Configuration["Loki:Url"];
var appName = builder.Configuration["Loki:ApplicationName"];

Log.Logger = new LoggerConfiguration()
    .Enrich.FromLogContext()
    .Enrich.WithEnvironmentName()
    .Enrich.WithMachineName()
    .WriteTo.Console()
    .WriteTo.LokiHttp(
        lokiUrl,
        new List<LokiLabel>
        {
            new LokiLabel("app", appName),
            new LokiLabel("environment", Environment.GetEnvironmentVariable("ASPNETCORE_ENVIRONMENT") ?? "production")
        })
    .CreateLogger();
4. 扩展自定义日志中间件以适应 Loki
修改之前的请求日志中间件,使其生成更适合 Loki 的结构化日志:
csharp
using Microsoft.AspNetCore.Http;
using Microsoft.Extensions.Logging;
using System;
using System.Diagnostics;
using System.IO;
using System.Text;
using System.Threading.Tasks;

namespace OcelotGateway.Middleware
{
    public class LokiRequestLoggingMiddleware
    {
        private readonly RequestDelegate _next;
        private readonly ILogger<LokiRequestLoggingMiddleware> _logger;

        public LokiRequestLoggingMiddleware(RequestDelegate next, ILogger<LokiRequestLoggingMiddleware> logger)
        {
            _next = next;
            _logger = logger;
        }

        public async Task InvokeAsync(HttpContext context)
        {
            var stopwatch = Stopwatch.StartNew();
            var requestTime = DateTime.UtcNow;

            // 保存原始响应流
            var originalResponseBodyStream = context.Response.Body;

            // 替换响应流以便捕获响应内容
            using (var responseBodyStream = new MemoryStream())
            {
                context.Response.Body = responseBodyStream;

                try
                {
                    // 处理请求
                    await _next(context);
                    stopwatch.Stop();

                    // 收集请求信息
                    var logData = new
                    {
                        Method = context.Request.Method,
                        Path = context.Request.Path,
                        Query = context.Request.QueryString.ToString(),
                        ClientIp = context.Connection.RemoteIpAddress?.ToString(),
                        StatusCode = context.Response.StatusCode,
                        ElapsedMs = stopwatch.ElapsedMilliseconds,
                        Timestamp = requestTime
                    };

                    // 记录结构化日志
                    _logger.LogInformation(
                        "Request processed: {Method} {Path} {StatusCode} {ElapsedMs}ms",
                        logData.Method, logData.Path, logData.StatusCode, logData.ElapsedMs,
                        logData);
                }
                catch (Exception ex)
                {
                    stopwatch.Stop();
                    _logger.LogError(ex, "Error processing request: {Method} {Path}",
                        context.Request.Method, context.Request.Path);
                    throw;
                }
                finally
                {
                    // 将响应内容复制回原始流
                    await responseBodyStream.CopyToAsync(originalResponseBodyStream);
                    context.Response.Body = originalResponseBodyStream;
                }
            }
        }
    }
}
5. 启动 Loki 和 Grafana
为了接收和可视化日志,需要运行 Loki 和 Grafana:
- 使用 Docker 快速启动:
bash
# 创建 docker-compose.yml 文件
version: "3"

services:
  loki:
    image: grafana/loki:latest
    ports:
      - "3100:3100"
    volumes:
      - ./loki-config.yml:/etc/loki/local-config.yaml
    command: -config.file=/etc/loki/local-config.yaml

  grafana:
    image: grafana/grafana:latest
    ports:
      - "3000:3000"
    volumes:
      - grafana-data:/var/lib/grafana
    depends_on:
      - loki

volumes:
grafana-data:- 启动服务:
bash
docker-compose up -d- 在 Grafana 中添加 Loki 数据源:
- 访问 http://localhost:3000(默认用户名/密码:admin/admin)
- 导航到 Configuration > Data Sources
- 点击 "Add data source" 并选择 Loki
- 设置 URL 为 http://loki:3100
- 点击 "Save & Test"
6. 验证日志流程
- 启动 Ocelot 网关
- 发送一些请求到网关
- 在 Grafana 中创建仪表盘或使用 Explore 功能查询日志
- 使用标签查询示例:
{app="ocelot-gateway"}
最佳实践
- 合理设置日志级别:在生产环境中避免过多的 Debug 日志
- 添加有意义的标签:如服务名、环境、版本等,便于日志过滤
- 敏感信息过滤:确保日志中不包含密码、令牌等敏感数据
- 设置超时和重试:配置 Loki 客户端的超时和重试机制
- 监控 Loki 健康状态:确保日志系统本身的可用性
通过这种集成方式,你可以利用 Loki 的高效日志存储和 Grafana 的强大可视化能力,构建一个完整的 Ocelot 网关日志监控系统。