最近阿里开源了新一代编程大模型 ------ Qwen3-Coder,这款模型在 Agentic 编码、代码理解、工具调用等任务中表现十分亮眼,甚至可以媲美 Claude 4!
我这两天体验了一番,并成功把 Qwen3-Coder 接入到了我的本地终端,效果非常丝滑,今天就来写一篇 完整教程,分享接入全过程,适合想在自己电脑上体验 AI 编程的小伙伴。
💡 1. Qwen3-Coder 是什么?
Qwen3-Coder 是通义千问开源的大模型,专为编程任务设计,具备以下特点:
- 模型规模:480B 参数,MoE 架构,激活参数 35B
- 上下文长度:原生支持 256K token,支持扩展至 1M
- 能力评测:Agentic 编码等任务中刷新开源 SOTA
- 开源可用:媲美 Claude 4,但完全开源、可免费用!
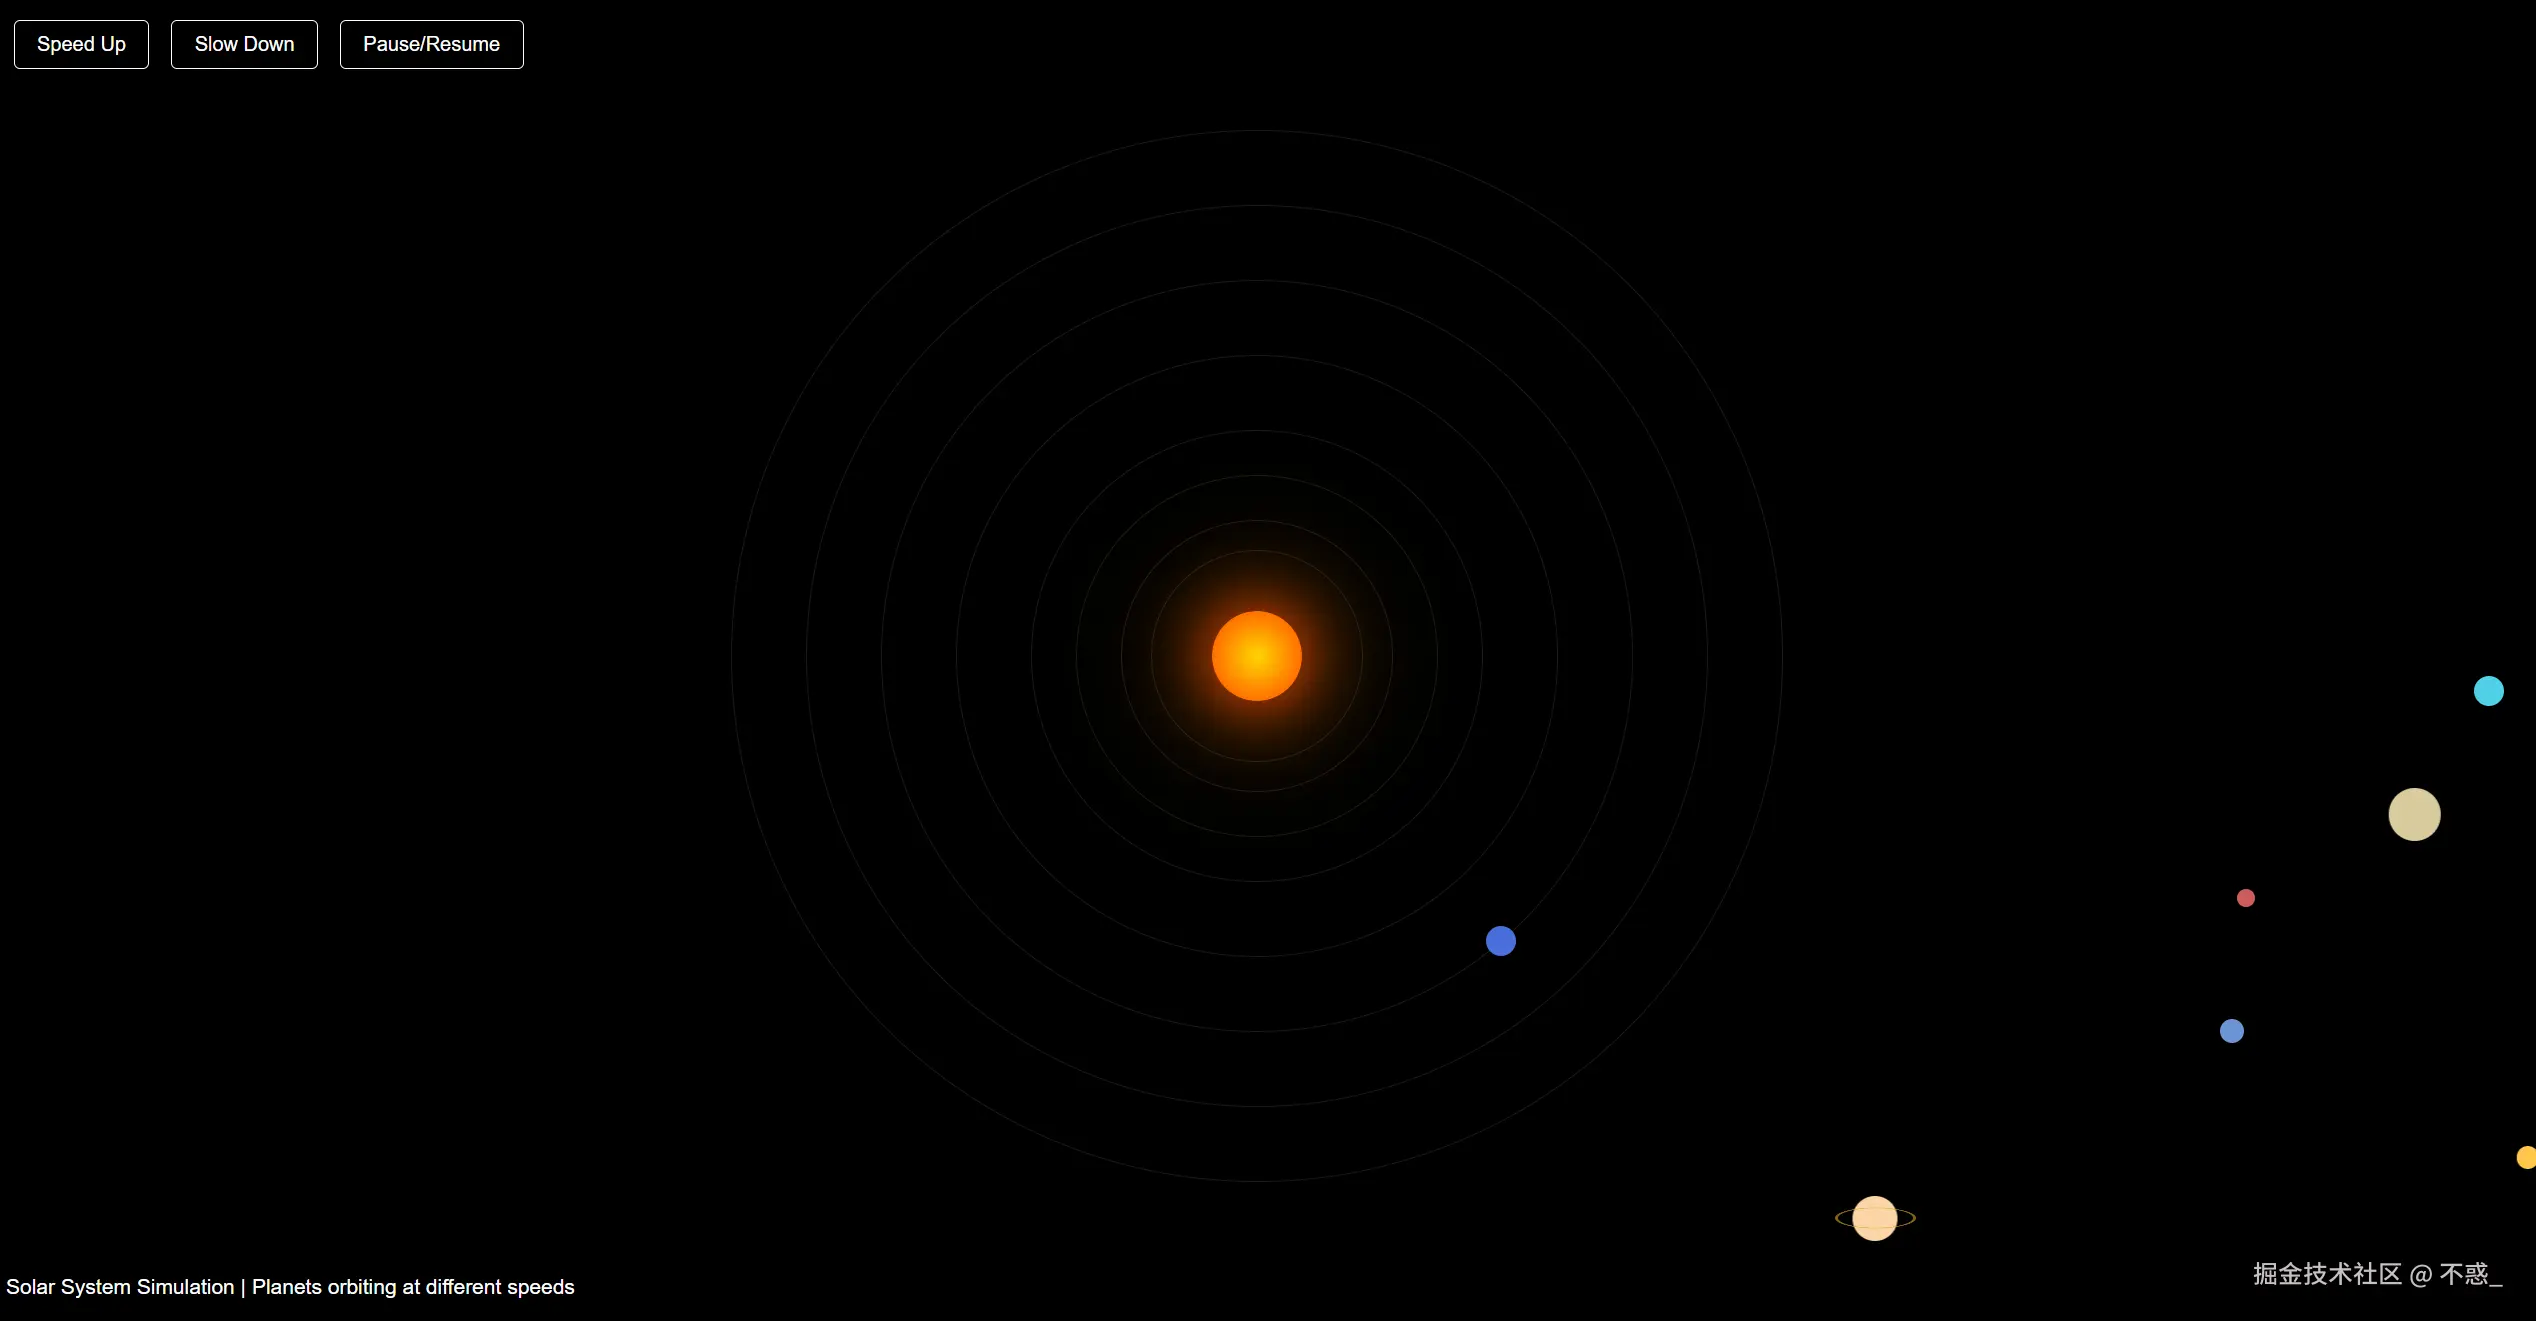
📷 使用它生成的太阳系模拟代码
🛠️ 2. 本地部署步骤详解
只需 三步,你就能在终端运行 Qwen3-Coder 编程助手!
✅ Step 1:安装 Node.js
Qwen Code 是基于 Node.js 的命令行工具,需先安装 Node.js(建议版本 ≥ v20)
🔗 下载地址:nodejs.org/en/download
bash
# 安装后验证
node -v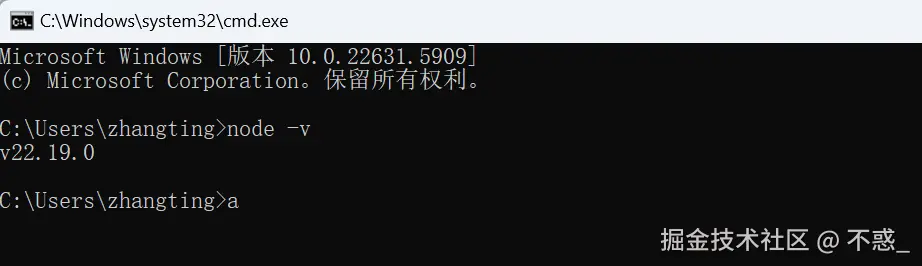
✅ Step 2:全局安装 Qwen Code CLI
打开命令提示符(CMD)并运行以下命令:
bash
npm install -g @qwen-code/qwen-code
安装完成后,通过以下命令验证安装是否成功: 
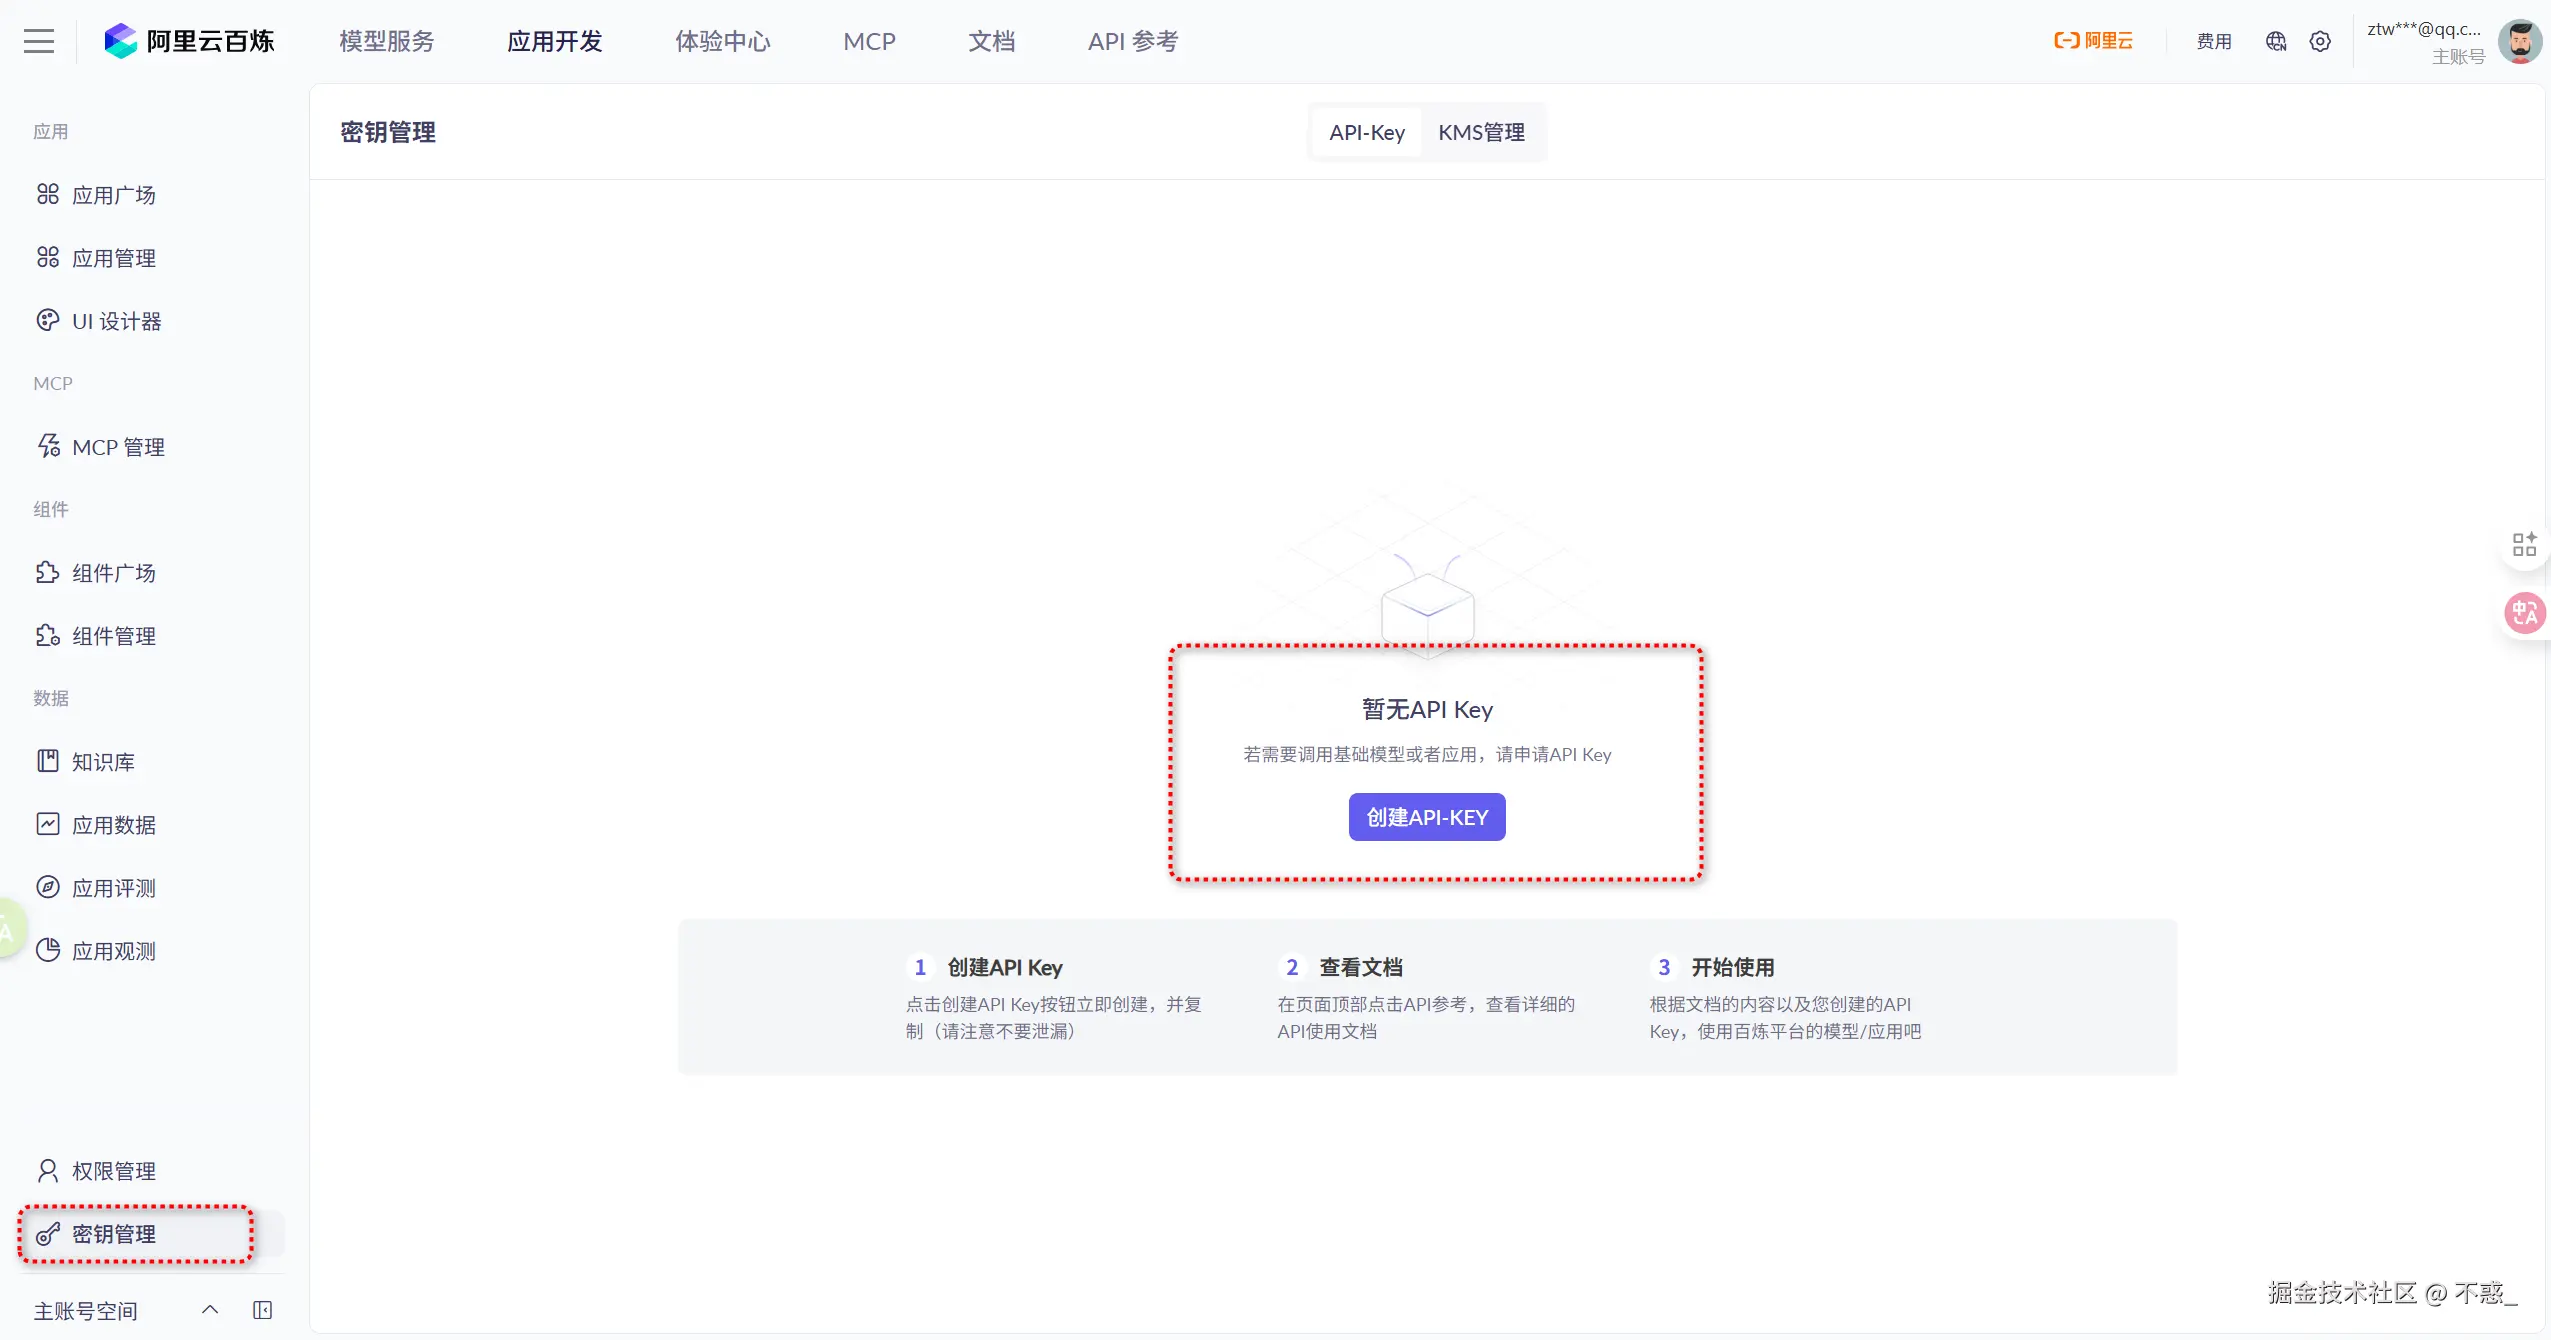
✅ Step 3:配置环境变量
- 前往阿里云「通义千问 · 百炼平台」,申请 API Key 👉 地址:bailian.console.aliyun.com/?tab=app#/a...
 2. 在终端配置以下环境变量:
ini
set OPENAI_BASE_URL="https://dashscope.aliyuncs.com/compatible-mode/v1"
set OPENAI_MODEL="qwen3-coder-plus"
set OPENAI_API_KEY="你的 API Key"
你可以将以上内容写入 .bat 文件,以便后续直接执行。 
🛠️ 常见问题解决
如果运行 qwen 时提示 找不到命令,大概率是 node 没加进环境变量。
解决方式:
bash
# 查找 node 路径
where node
# 将路径加入系统环境变量
setx PATH "%PATH%;C:\Program Files\nodejs"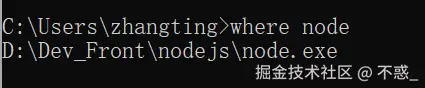
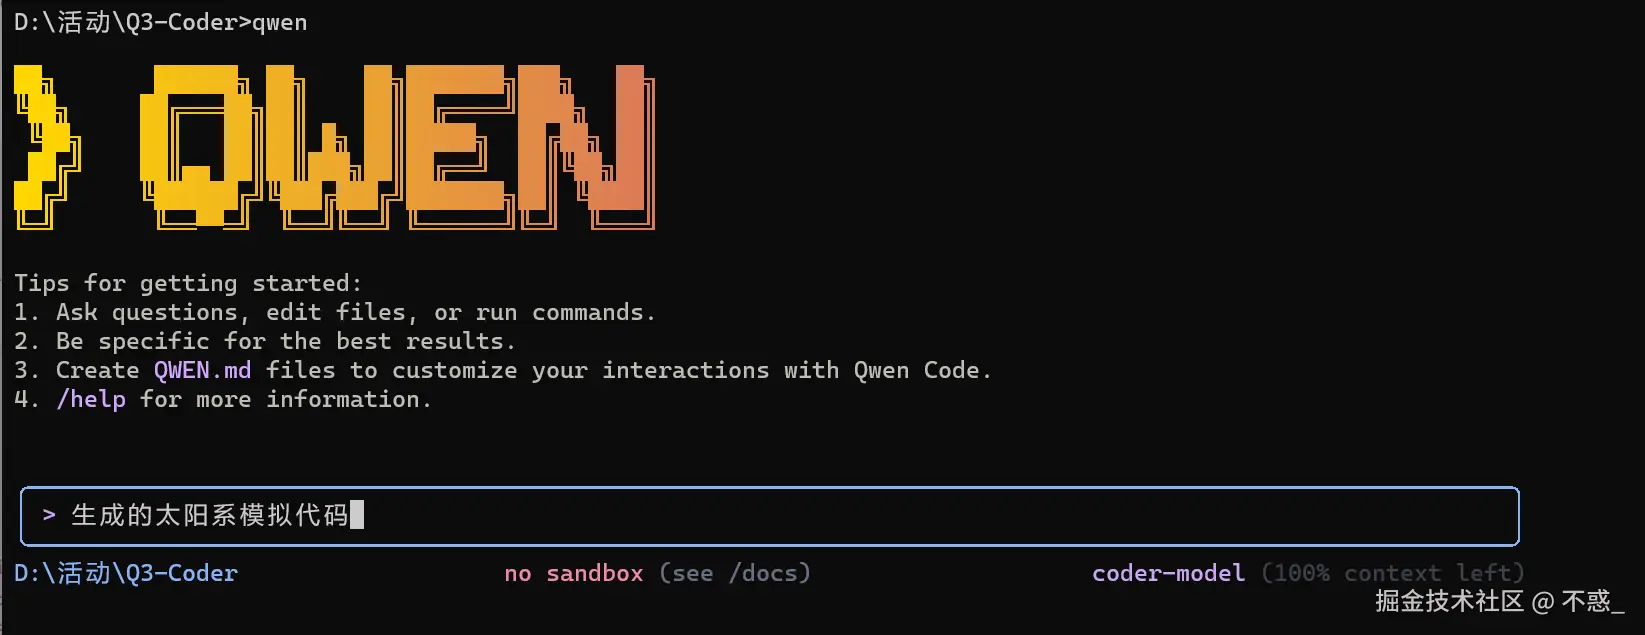
🚀 3. 使用 Qwen3-Coder 编程助手
完成接入后,输入以下命令启动:
qwen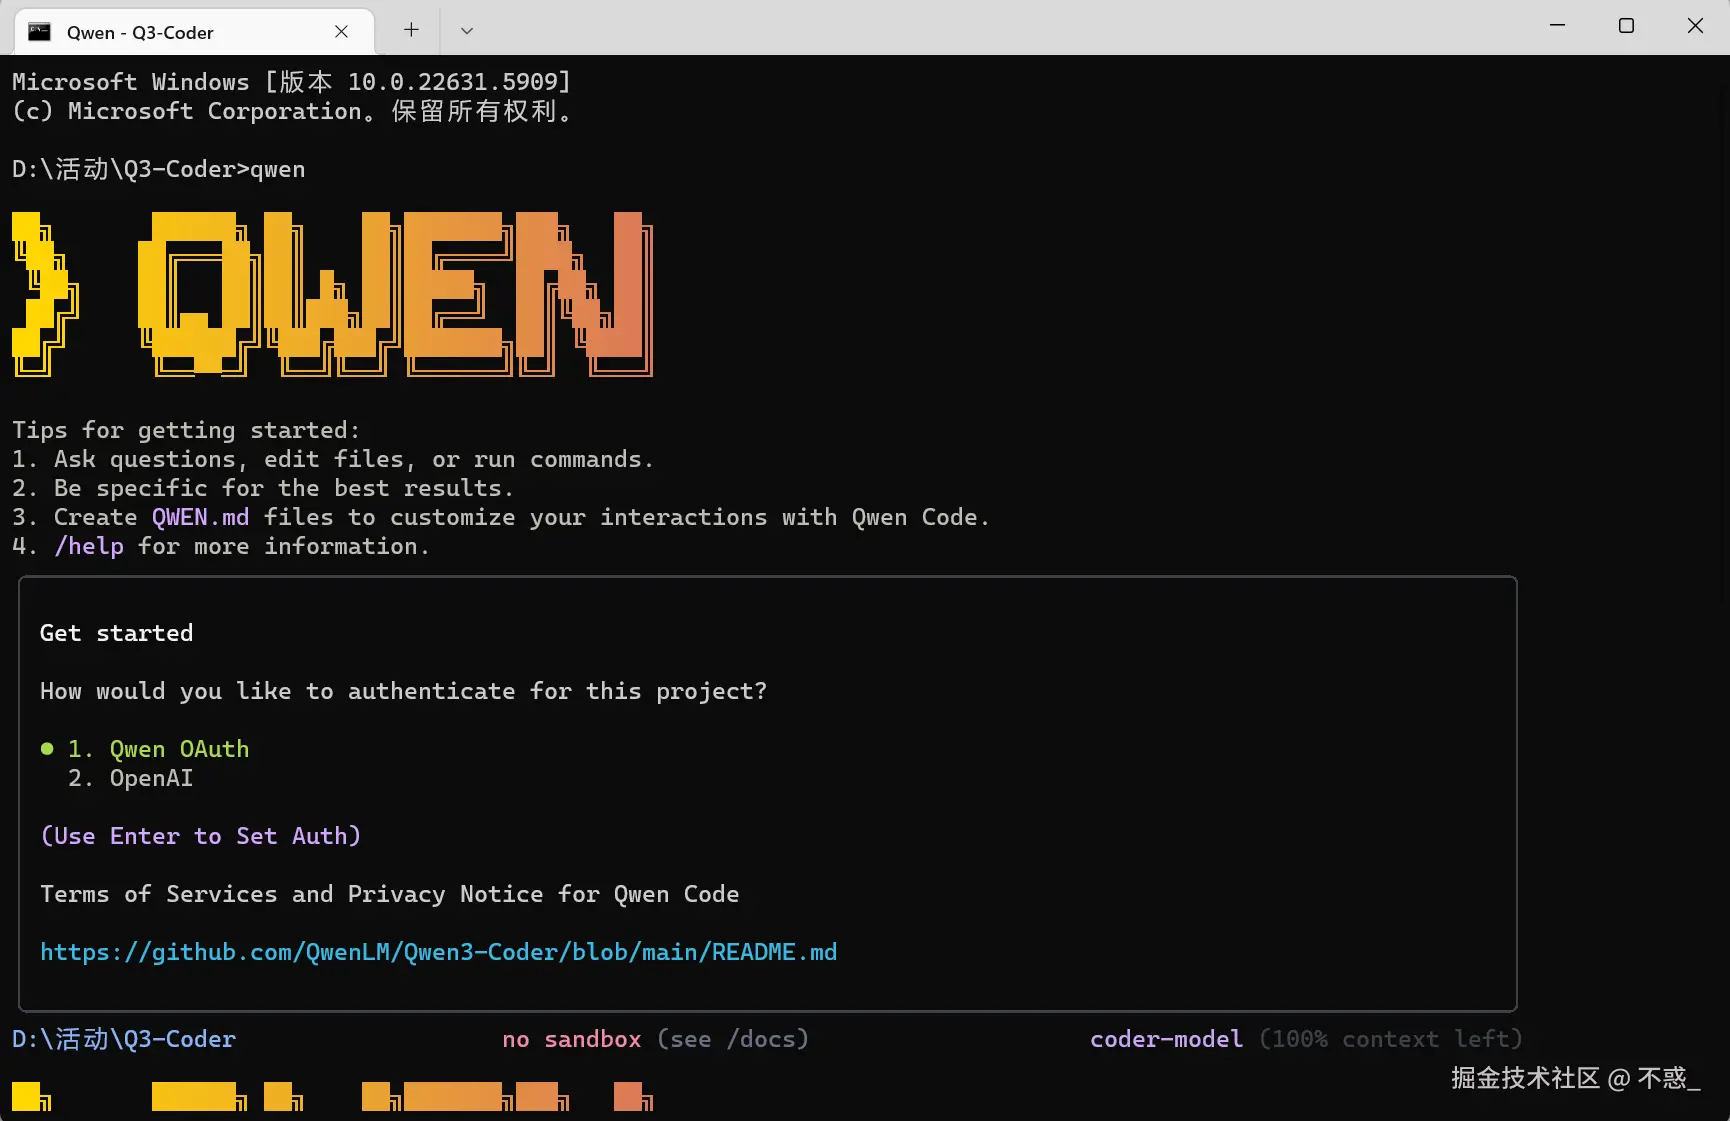
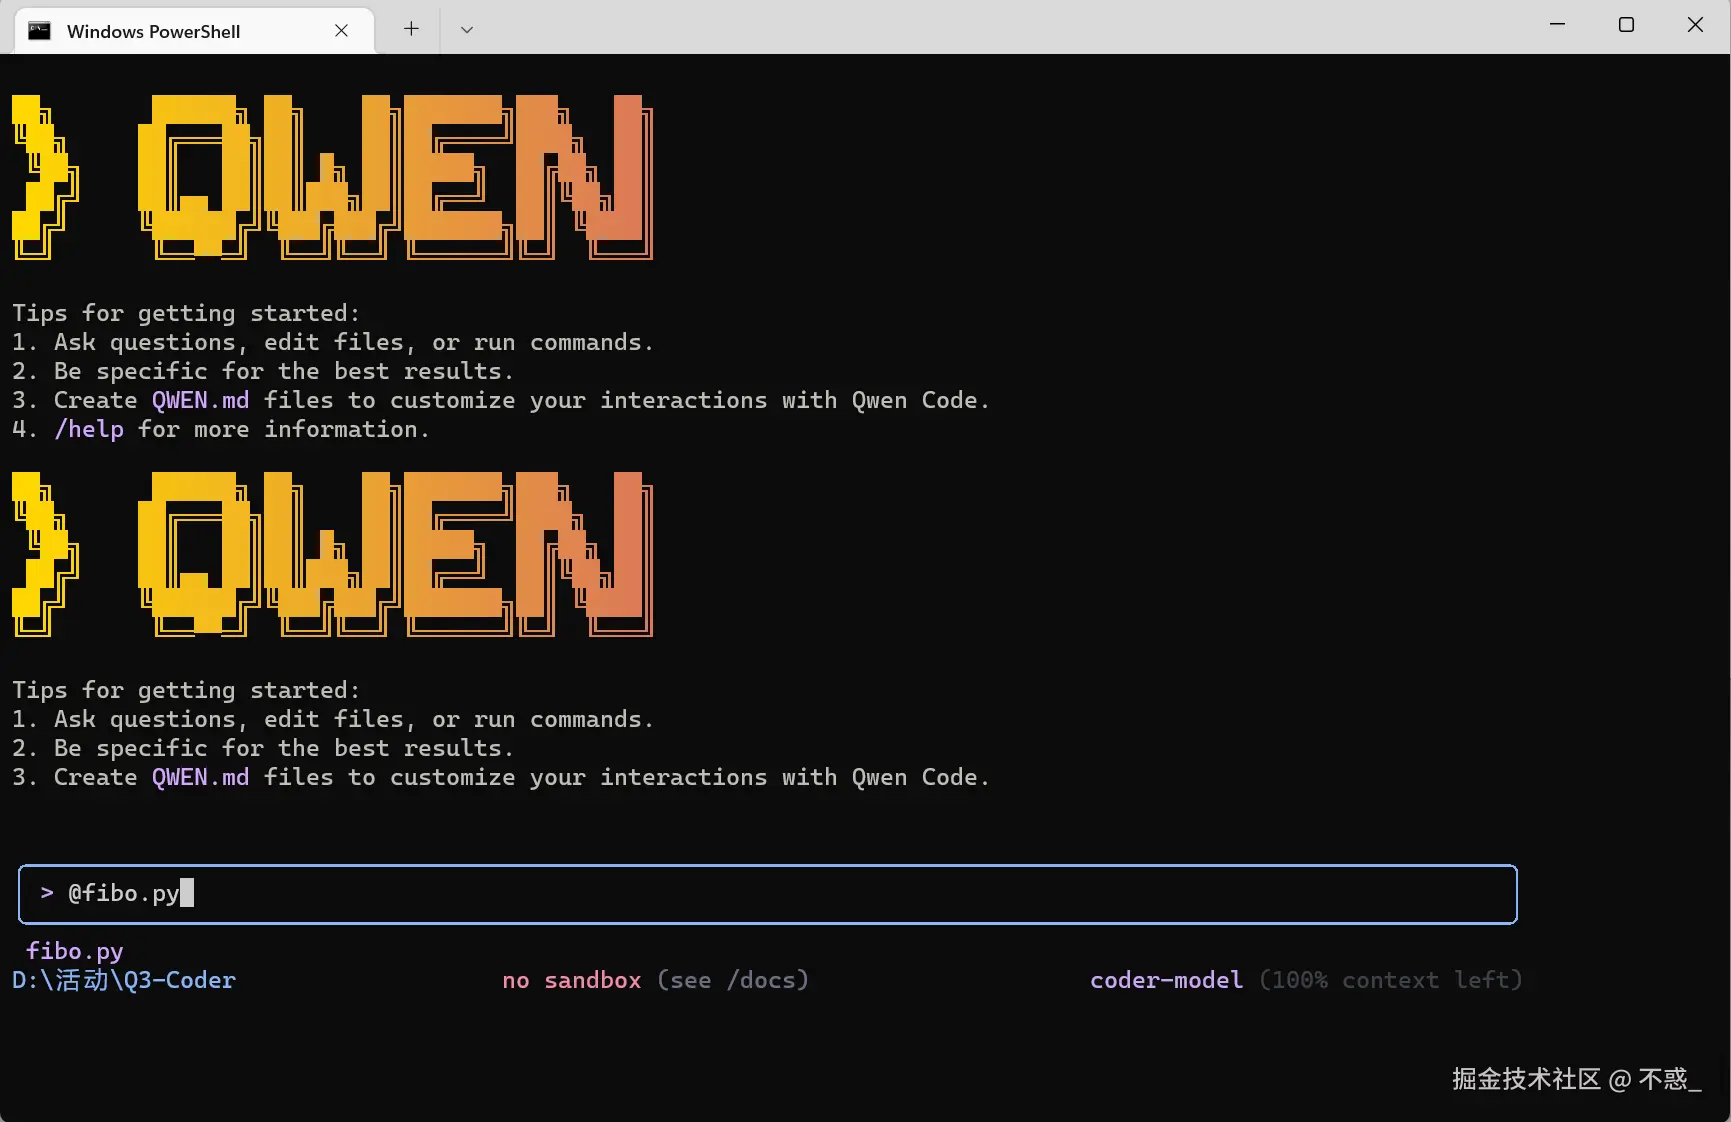
✨ 功能演示1:代码添加注释
-
创建一个 Python 文件
fibo.py -
在 Qwen CLI 输入:
@fibo.py→请添加注释 -
Qwen 会直接修改文件,自动加注释!
✨ 功能演示2:写一个命令行小游戏
指令:
写一个命令行猜谜游戏,问题幽默,每答错就有奇怪的嘲讽回复。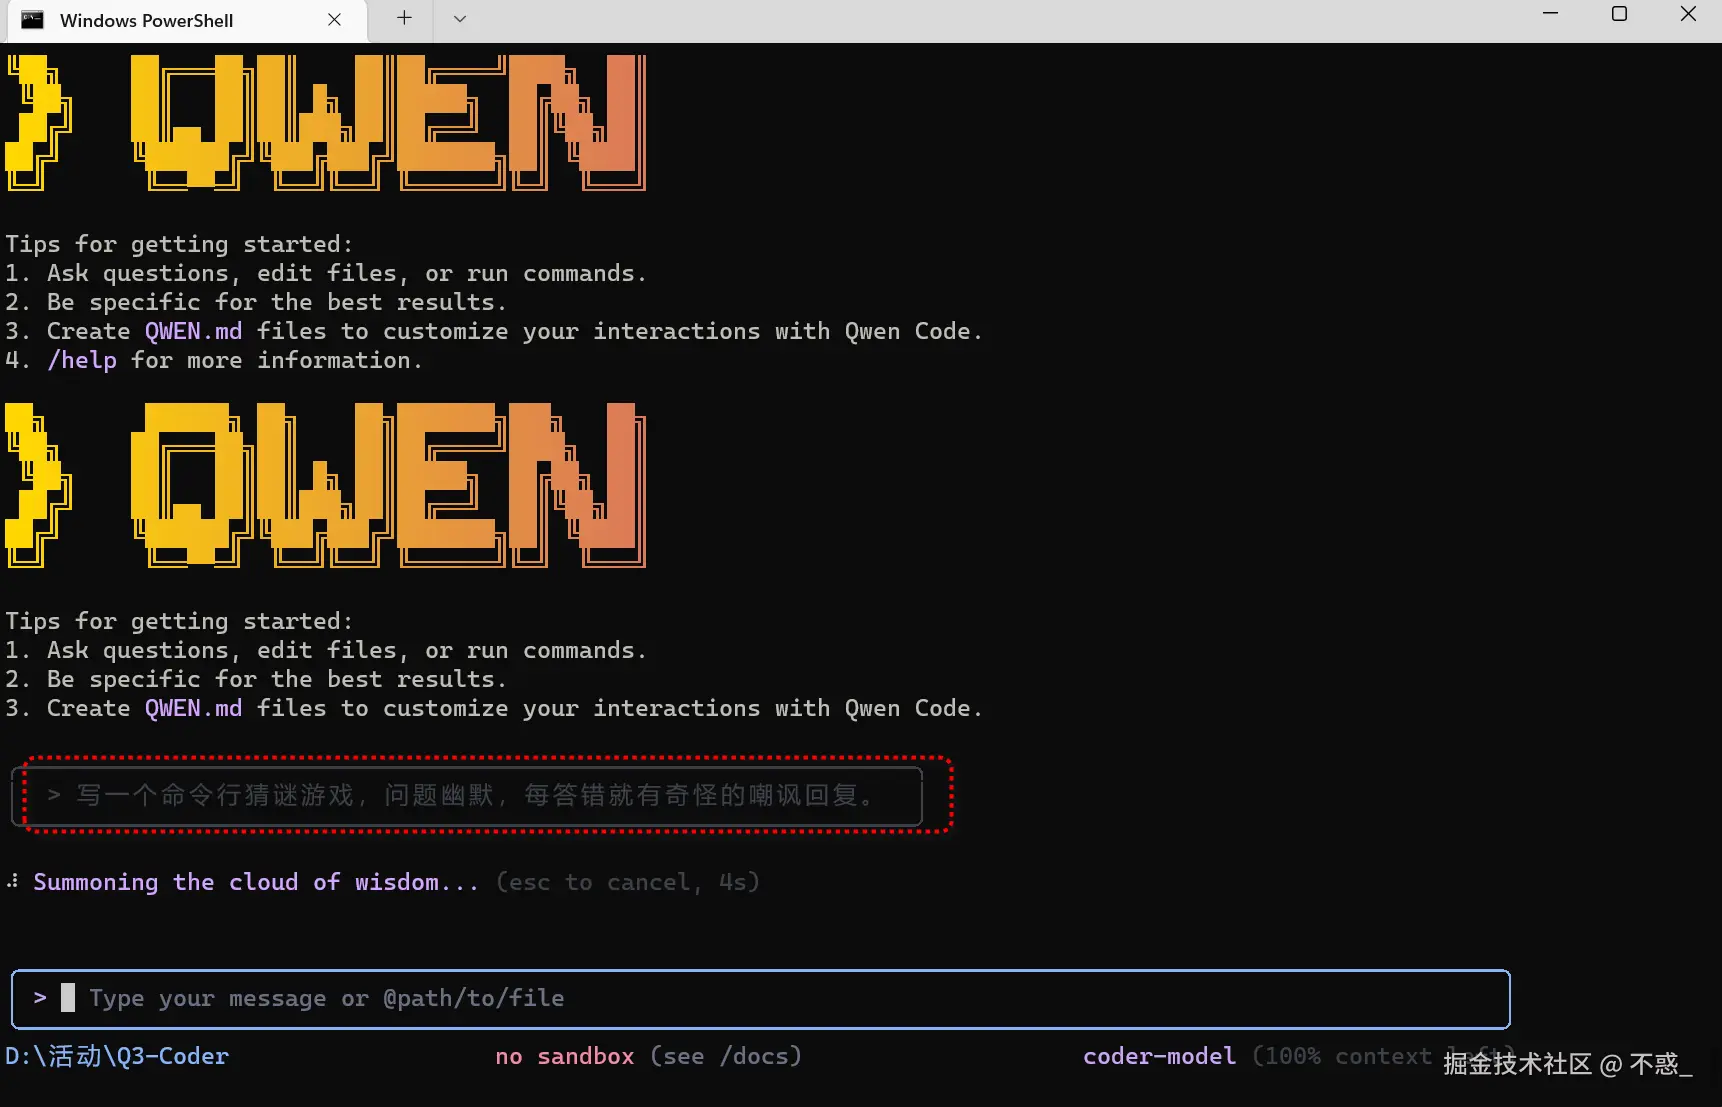 生成最终代码如下:
python
#!/usr/bin/env python3
# -*- coding: utf-8 -*-
"""
幽默猜谜游戏 - 带有奇怪嘲讽的命令行游戏
"""
import random
import time
class RiddleGame:
def __init__(self):
# 谜题库 - 格式: (问题, 答案, 提示)
self.riddles = [
("什么东西越洗越脏?", "水", "想想洗衣服的时候..."),
("什么动物的屁股比脸还干净?", "马", "它们经常被人骑..."),
("什么东西有头没有脚,有尾没有手?", "硬币", "你口袋里可能就有..."),
("什么东西晚上才生出尾巴?", "流星", "划过天空的那种..."),
("什么书你不能在书店买到?", "秘书", "这是个文字游戏..."),
("什么水不能喝?", "薪水", "每个月都盼着的那种..."),
("什么门永远关不上?", "球门", "足球场上的那种..."),
("什么路不能走?", "电路", "电器里面的那种..."),
("什么东西有眼看不见,有嘴不说话?", "针", "缝衣服用的..."),
("什么东西越热越爱出来?", "汗", "夏天运动后..."),
]
# 嘲讽回复库
self.taunts = [
"哎呀呀,这都不会?我家的金鱼都比你聪明!🐠",
"emmm...要不要我给你个放大镜看看题目?👓",
"这个答案就像你的智商一样...让人意外!😏",
"恭喜你!成功避开了正确答案!🎉",
"我觉得你需要回去重新上幼儿园...👶",
"哇哦,这个答案很有创意,就是不对而已~😅",
"你确定你的大脑今天在线吗?🧠❓",
"这个答案让我想起了我的前任...都很离谱!💔",
"建议你去买个彩票,运气这么差说不定会中奖!🎰",
"你这个答案让我想重新定义'错误'这个词!📚",
"我开始怀疑你是不是故意答错来逗我开心的...🤔",
"这个答案比我昨天的剩饭还要冷!🍚❄️",
]
# 正确回复库
self.correct_responses = [
"哇!你居然答对了!我都准备好嘲讽你了呢~😮",
"不错不错,看来你的脑子还没完全生锈!🧠✨",
"正确!奖励你一个虚拟的小红花!🌺",
"厉害了!这次没让我失望呢~👏",
"答对了!你成功拯救了自己的智商!🎯",
"哎呀,被你蒙对了!😏",
"正确!看来偶尔还是有奇迹发生的~✨",
]
self.score = 0
self.total_questions = 0
def display_welcome(self):
"""显示欢迎信息"""
print("=" * 50)
print("🎭 欢迎来到幽默猜谜游戏!🎭")
print("=" * 50)
print("规则很简单:")
print("1. 我会给你出谜题")
print("2. 你来猜答案")
print("3. 答错了我会嘲讽你(别介意哦~)")
print("4. 输入 'quit' 或 'exit' 退出游戏")
print("5. 输入 'hint' 获取提示")
print("=" * 50)
print()
def get_random_riddle(self):
"""随机获取一个谜题"""
return random.choice(self.riddles)
def get_random_taunt(self):
"""随机获取一个嘲讽"""
return random.choice(self.taunts)
def get_random_correct_response(self):
"""随机获取一个正确回复"""
return random.choice(self.correct_responses)
def play_round(self):
"""进行一轮游戏"""
question, answer, hint = self.get_random_riddle()
self.total_questions += 1
print(f"🤔 第{self.total_questions}题:{question}")
print()
attempts = 0
max_attempts = 3
while attempts < max_attempts:
user_input = input("你的答案是:").strip()
# 检查退出命令
if user_input.lower() in ['quit', 'exit', '退出']:
return False
# 检查提示命令
if user_input.lower() in ['hint', '提示']:
print(f"💡 提示:{hint}")
continue
attempts += 1
# 检查答案(不区分大小写)
if user_input.lower() == answer.lower():
print(f"✅ {self.get_random_correct_response()}")
self.score += 1
print(f"当前得分:{self.score}/{self.total_questions}")
print()
return True
else:
if attempts < max_attempts:
print(f"❌ {self.get_random_taunt()}")
print(f"还有 {max_attempts - attempts} 次机会哦~")
print()
else:
print(f"❌ {self.get_random_taunt()}")
print(f"正确答案是:{answer}")
print(f"当前得分:{self.score}/{self.total_questions}")
print()
return True
def show_final_score(self):
"""显示最终得分"""
print("=" * 50)
print("🎮 游戏结束!")
print("=" * 50)
if self.total_questions == 0:
print("你一题都没答?这也太懒了吧!😴")
return
percentage = (self.score / self.total_questions) * 100
print(f"最终得分:{self.score}/{self.total_questions} ({percentage:.1f}%)")
# 根据得分给出评价
if percentage >= 80:
print("🏆 哇!你是谜题大师!我收回之前的嘲讽!")
elif percentage >= 60:
print("👍 不错不错,智商还在线!")
elif percentage >= 40:
print("😐 勉强及格,继续努力吧~")
elif percentage >= 20:
print("😅 emmm...建议多读书?")
else:
print("🤦♂️ 我觉得你需要重新认识一下这个世界...")
print("感谢游玩!下次再来挑战吧~👋")
def run(self):
"""运行游戏主循环"""
self.display_welcome()
try:
while True:
if not self.play_round():
break
# 询问是否继续
while True:
continue_game = input("继续下一题吗?(y/n): ").strip().lower()
if continue_game in ['y', 'yes', '是', '继续', '']:
break
elif continue_game in ['n', 'no', '否', '不']:
self.show_final_score()
return
else:
print("请输入 y 或 n~")
except KeyboardInterrupt:
print("\n\n游戏被中断!")
self.show_final_score()
def main():
"""主函数"""
game = RiddleGame()
game.run()
if __name__ == "__main__":
main()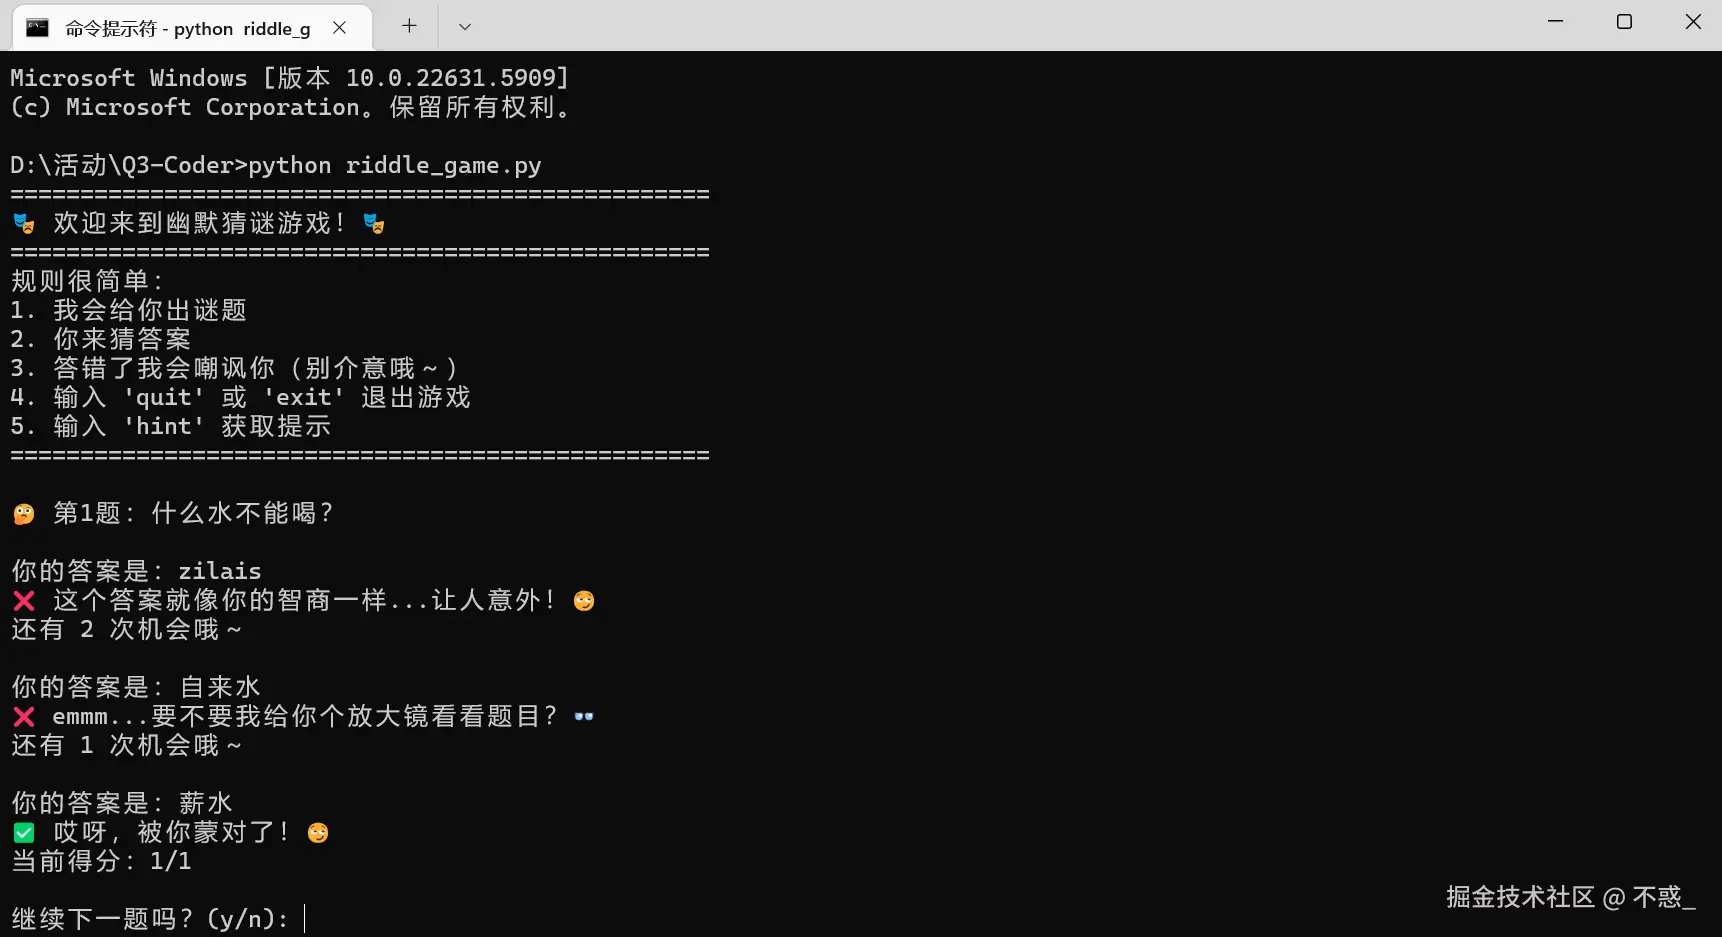
Qwen 自动生成游戏代码,并执行测试、修复 bug,全程无需手动复制代码!
💬 使用体验总结
-
✅ 终端编程体验丝滑,无需来回复制粘贴
-
✅ 原生支持文件编辑、注释、生成代码
-
✅ 性能堪比 Claude 4,但完全开源免费
-
✅ 极大提升编码效率,适合程序员和编程学习者
🌐 在线免费体验地址
如果不想本地部署,也可直接在网页使用 Qwen3-Coder: 👉 chat.qwen.ai
 如果你不会做旅游攻略,Qwen3-Coder也可以轻松帮你搞定。 输入要求:
我打算后天从杭州出发,一个人去上海玩三天,你能帮我安排一下行程吗?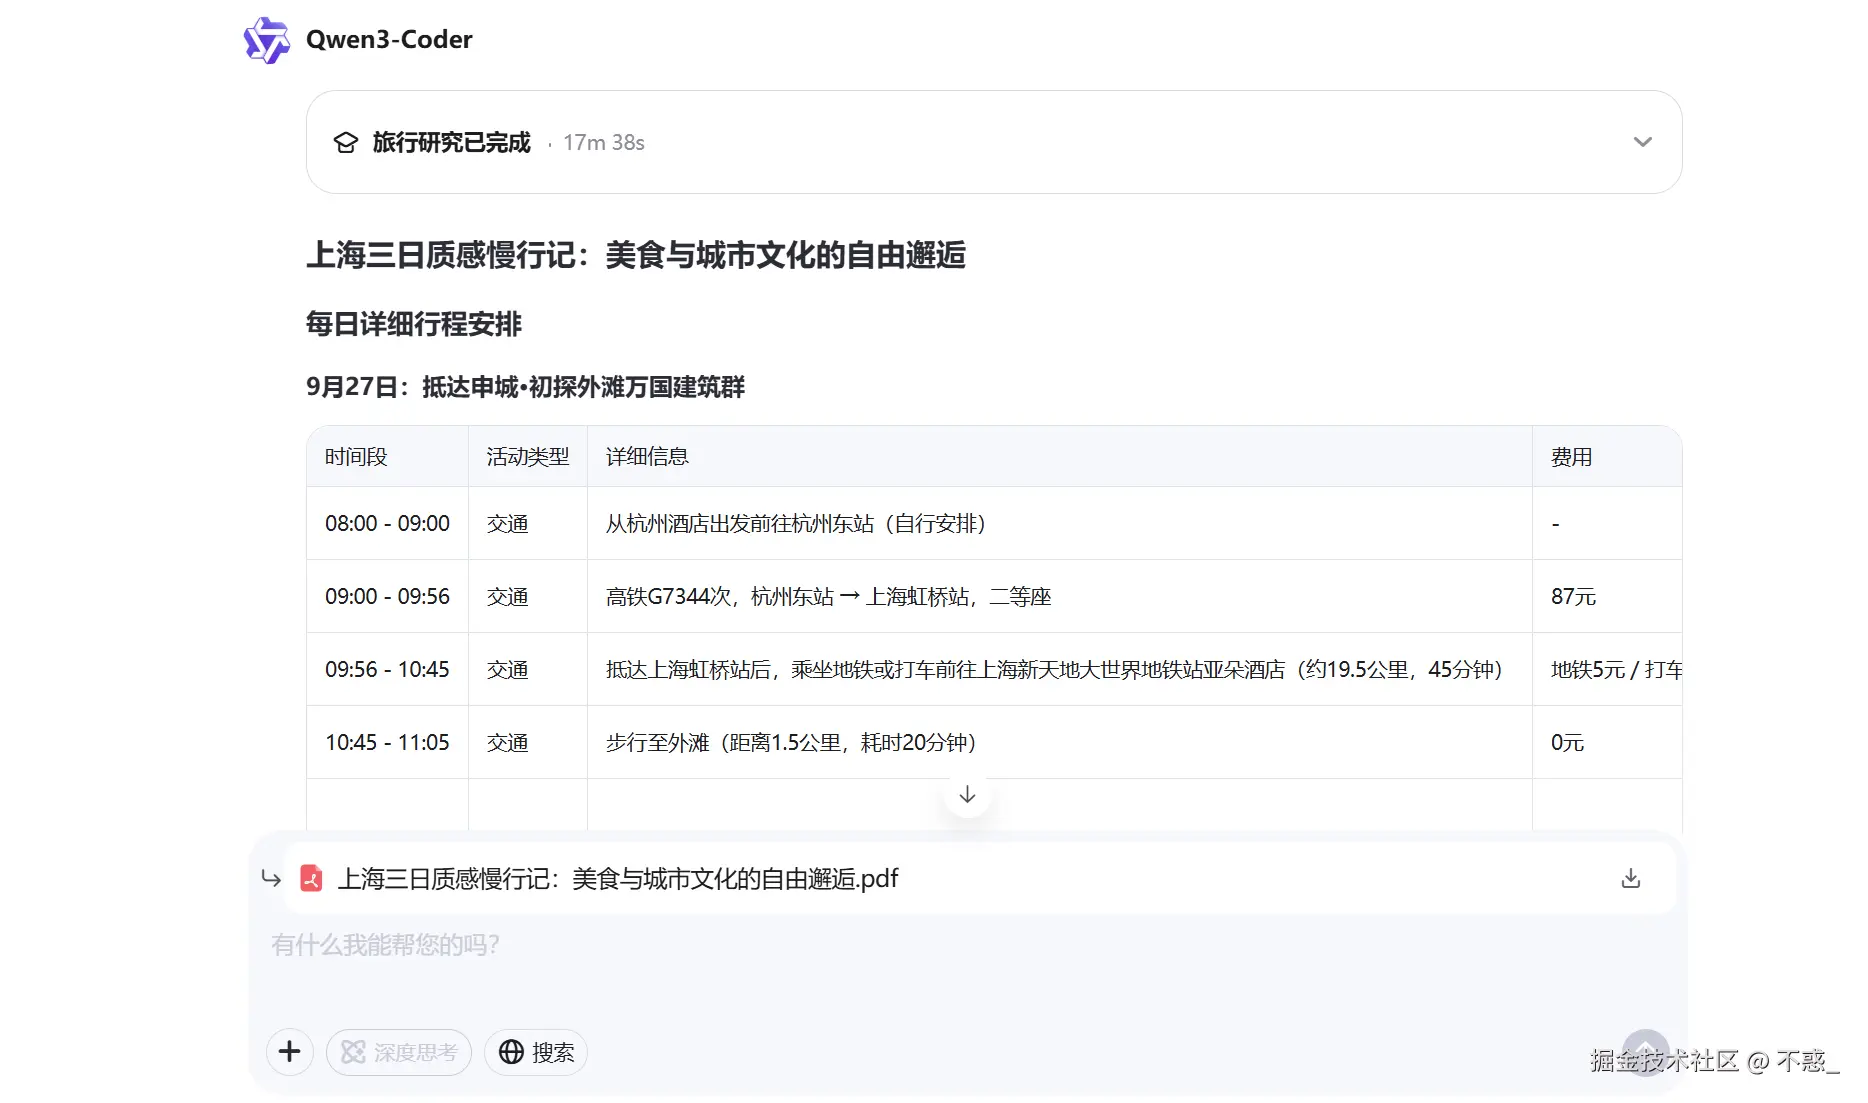
最终为会生成PDF文件供你参考。 
📝 写在最后
本文是一份 完整的终端接入 Qwen3-Coder 教程,从环境搭建到实战演示,力求细致易懂。 Qwen3-Coder 的开源不仅是技术进步,更是对开发者社区的馈赠。未来 AI 编码将不再是效率工具,更可能是我们新的创作伙伴。
太阳系模拟代码
xml
<!DOCTYPE html>
<html lang="en">
<head>
    <meta charset="UTF-8">
    <meta name="viewport" content="width=device-width, initial-scale=1.0">
    <title>Solar System Simulation</title>
    <style>
        body {
            margin: 0;
            padding: 0;
            background-color: #000;
            overflow: hidden;
            font-family: Arial, sans-serif;
        }

        #container {
            position: relative;
            width: 100vw;
            height: 100vh;
            display: flex;
            justify-content: center;
            align-items: center;
        }

        .sun {
            position: absolute;
            width: 60px;
            height: 60px;
            background: radial-gradient(circle, #ffd700, #ff8c00, #ff4500);
            border-radius: 50%;
            box-shadow: 0 0 40px #ff4500, 0 0 80px #ff8c00;
            z-index: 10;
        }

        .orbit {
            position: absolute;
            border: 1px solid rgba(255, 255, 255, 0.1);
            border-radius: 50%;
            transform-style: preserve-3d;
        }

        .planet {
            position: absolute;
            border-radius: 50%;
            top: 0;
            left: 50%;
            transform: translateX(-50%);
        }

        .mercury {
            width: 8px;
            height: 8px;
            background: #8c7853;
        }

        .venus {
            width: 15px;
            height: 15px;
            background: #ffc649;
        }

        .earth {
            width: 16px;
            height: 16px;
            background: #6b93d6;
        }

        .mars {
            width: 12px;
            height: 12px;
            background: #cd5c5c;
        }

        .jupiter {
            width: 35px;
            height: 35px;
            background: #d8ca9d;
        }

        .saturn {
            width: 30px;
            height: 30px;
            background: #fad5a5;
        }

        .uranus {
            width: 20px;
            height: 20px;
            background: #4fd0e7;
        }

        .neptune {
            width: 20px;
            height: 20px;
            background: #4b70dd;
        }

        .saturn-rings {
            position: absolute;
            width: 50px;
            height: 50px;
            border: 2px solid rgba(218, 165, 32, 0.6);
            border-radius: 50%;
            top: 50%;
            left: 50%;
            transform: translate(-50%, -50%) rotateX(75deg);
        }

        .controls {
            position: absolute;
            top: 20px;
            left: 20px;
            color: white;
            z-index: 100;
        }

        button {
            background: rgba(0, 0, 0, 0.7);
            color: white;
            border: 1px solid #fff;
            padding: 8px 15px;
            margin: 5px;
            cursor: pointer;
            border-radius: 4px;
        }

        button:hover {
            background: rgba(100, 100, 100, 0.7);
        }

        .info {
            position: absolute;
            bottom: 20px;
            left: 20px;
            color: white;
            font-size: 14px;
            z-index: 100;
        }
    </style>
</head>
<body>
    <div id="container">
        <div class="sun"></div>

        <!-- Mercury -->
        <div class="orbit" style="width: 140px; height: 140px;">
            <div class="planet mercury"></div>
        </div>

        <!-- Venus -->
        <div class="orbit" style="width: 180px; height: 180px;">
            <div class="planet venus"></div>
        </div>

        <!-- Earth -->
        <div class="orbit" style="width: 240px; height: 240px;">
            <div class="planet earth"></div>
        </div>

        <!-- Mars -->
        <div class="orbit" style="width: 300px; height: 300px;">
            <div class="planet mars"></div>
        </div>

        <!-- Jupiter -->
        <div class="orbit" style="width: 400px; height: 400px;">
            <div class="planet jupiter"></div>
        </div>

        <!-- Saturn -->
        <div class="orbit" style="width: 500px; height: 500px;">
            <div class="planet saturn">
                <div class="saturn-rings"></div>
            </div>
        </div>

        <!-- Uranus -->
        <div class="orbit" style="width: 600px; height: 600px;">
            <div class="planet uranus"></div>
        </div>

        <!-- Neptune -->
        <div class="orbit" style="width: 700px; height: 700px;">
            <div class="planet neptune"></div>
        </div>

        <div class="controls">
            <button id="speedUp">Speed Up</button>
            <button id="speedDown">Slow Down</button>
            <button id="pauseResume">Pause/Resume</button>
        </div>

        <div class="info">
            Solar System Simulation | Planets orbiting at different speeds
        </div>
    </div>

    <script>
        document.addEventListener('DOMContentLoaded', () => {
            const planets = document.querySelectorAll('.planet');
            const speedUpBtn = document.getElementById('speedUp');
            const speedDownBtn = document.getElementById('speedDown');
            const pauseResumeBtn = document.getElementById('pauseResume');

            let speedFactor = 1;
            let isPaused = false;

            // Define orbital speeds (in degrees per frame) for each planet
            const planetSpeeds = {
                mercury: 0.02,
                venus: 0.015,
                earth: 0.01,
                mars: 0.008,
                jupiter: 0.004,
                saturn: 0.003,
                uranus: 0.002,
                neptune: 0.001
            };

            // Store initial angles for each planet
            const planetAngles = {};
            planets.forEach(planet => {
                const planetClass = planet.classList[1];
                planetAngles[planetClass] = 0;
            });

            // Animation function
            function animate() {
                if (!isPaused) {
                    planets.forEach(planet => {
                        const planetClass = planet.classList[1];
                        const orbit = planet.parentElement;
                        const orbitWidth = parseInt(orbit.style.width);

                        // Update angle based on orbital speed and current speed factor
                        planetAngles[planetClass] += planetSpeeds[planetClass] * speedFactor;

                        // Calculate new position
                        const angle = planetAngles[planetClass];
                        const radius = orbitWidth / 2;
                        const centerX = window.innerWidth / 2;
                        const centerY = window.innerHeight / 2;

                        const x = centerX + radius * Math.cos(angle);
                        const y = centerY + radius * Math.sin(angle);

                        // Update position
                        planet.style.left = `${x}px`;
                        planet.style.top = `${y}px`;
                    });
                }

                requestAnimationFrame(animate);
            }

            // Start animation
            animate();

            // Event listeners for controls
            speedUpBtn.addEventListener('click', () => {
                speedFactor *= 1.5;
            });

            speedDownBtn.addEventListener('click', () => {
                speedFactor /= 1.5;
            });

            pauseResumeBtn.addEventListener('click', () => {
                isPaused = !isPaused;
            });
        });
    </script>
</body>
</html>