1、前言
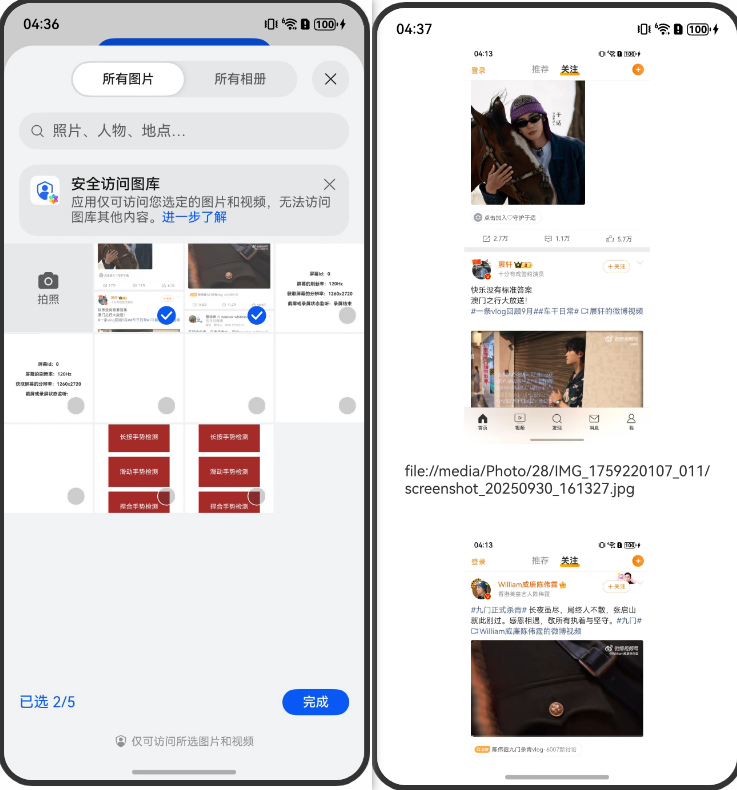
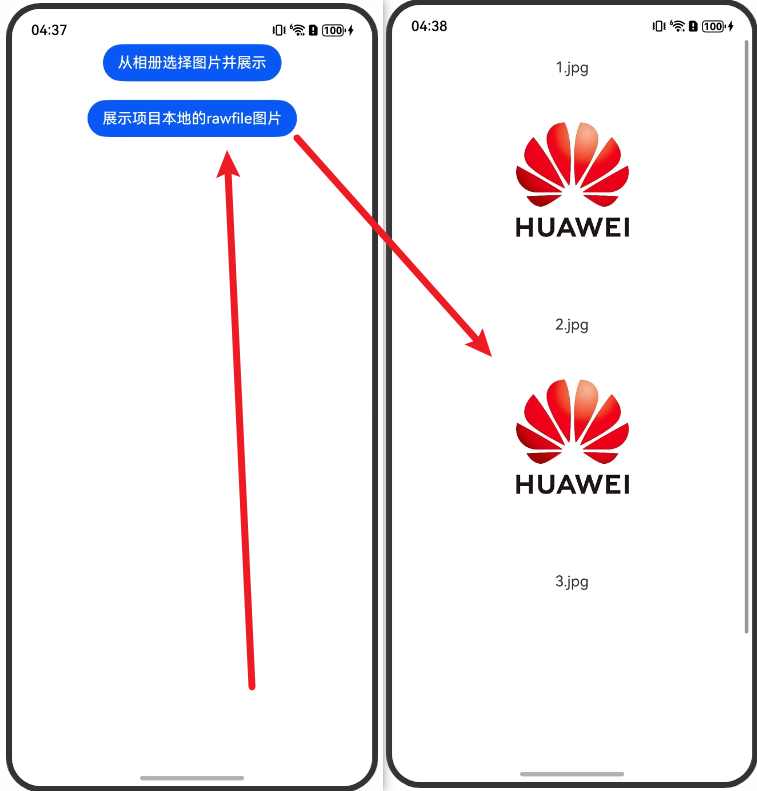
实现展示相册图片的方法,通过获取到图片的uri,将uri交给Image组件展示即可。如果是展示本地的rawfile图片,那么只需要获取图片的文件名及后缀,然后将这个字符串交给Image,通过$rawfile()方式展示即可。
2、参考文档
3、核心思路
- 通过媒体文件资源管理器拉起系统相册,然后获取到选择的图片uri,将uri数组每一项字符串交给Image组件渲染
- 项目rawfile目录下的图片加载则更为简单,将内部图片的文件名+后缀,放到同一个字符串数组中,我们直接循环渲染即可,每一项交给Image,通过$rawfile()展示。
4、运行效果


5、完整代码
Index.ets
import { photoAccessHelper } from '@kit.MediaLibraryKit';

async function selectImage(): Promise<Array<string>> {
  const photoSelectOptions = new photoAccessHelper.PhotoSelectOptions();
  photoSelectOptions.MIMEType = photoAccessHelper.PhotoViewMIMETypes.IMAGE_TYPE; // 过滤选择媒体文件类型为IMAGE。
  photoSelectOptions.maxSelectNumber = 5; // 选择媒体文件的最大数目。
  const photoViewPicker = new photoAccessHelper.PhotoViewPicker();
  const photoSelectResult = await photoViewPicker.select(photoSelectOptions)
  return photoSelectResult.photoUris
}

function selectImages(): Array<string> {
  const arr: Array<string> = ["1.jpg", "2.jpg", "3.jpg"]

  return arr
}

@Entry
@ComponentV2
export struct Index {
  @Local imageUri: string[] = []

  build() {
    List() {
      ListItem() {
        Column({ space: 20 }) {

          ForEach(this.imageUri, (uri: string) => {
            Image(uri)
              .width(200)
            Text(uri)
            Image($rawfile(uri))
              .width(200)
          })

          Button("从相册选择图片并展示")
            .onClick(async () => {
              this.imageUri = await selectImage()
            })

          Button("展示项目本地的rawfile图片")
            .onClick(() => {
              this.imageUri = selectImages()
            })

        }
        .width("100%")
        .justifyContent(FlexAlign.Center)

      }
    }
    .width("100%")
    .height("100%")
  }
}
有帮助的话,可以点赞或收藏