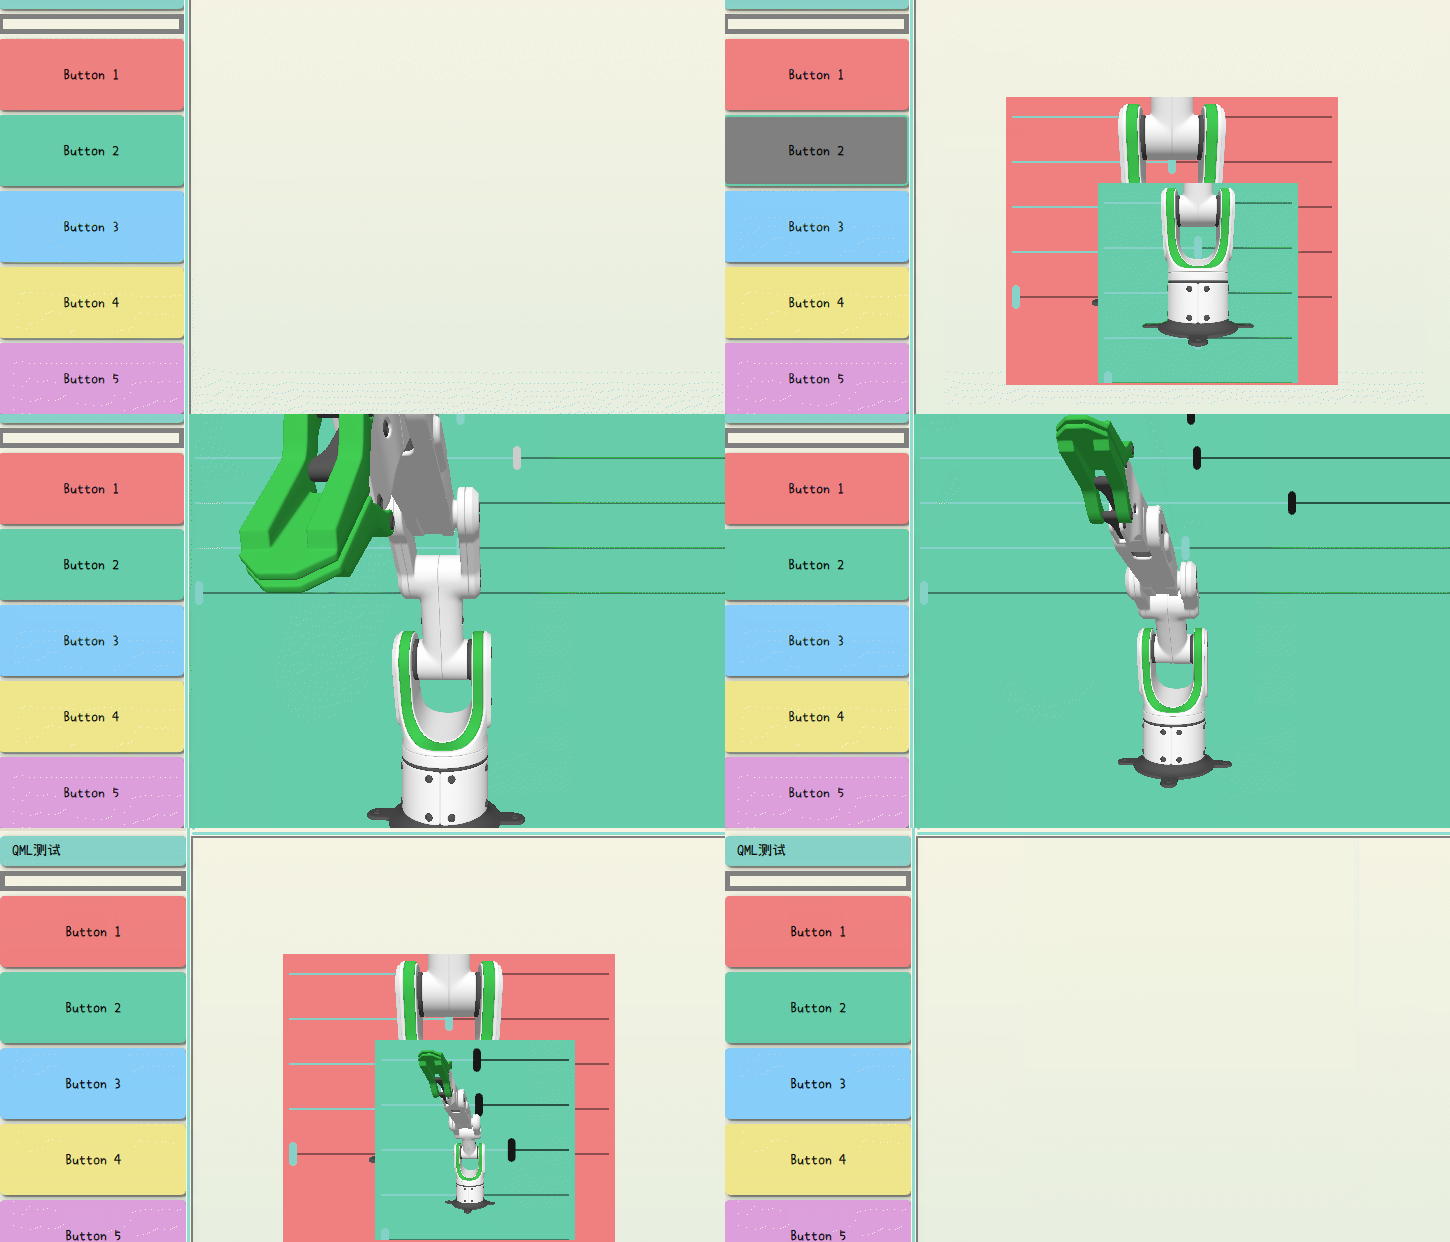
文章目录
简介
在很多时候有动态创建 组件的需求,其中,使用拖动添加组件执行起来更直观,操作更方便。文章给了一个实现方案Qt的Drag DropArea,并且给了一个可缩放以及拖拽 的通用组件。Qt的Drag是一个附加属性,在任何组件中都可以调用,当发生拖拽时会发出信号,在任何地方均可接收该槽,最方便的方式是使用一个DropArea组件用于接收该信号


可缩放拖拽组件
- 实现起来不是很复杂,可直接看代码,实现了鼠标放置顶端拖动,放在四个角落缩放,双击全屏的功能。不是本文重点,其中关键是调用,时需要指定一个Drag附加属性,用来发送拖拽信号给Drop区域。代码如下
ResizeHandler.qml
css
import QtQuick
import QtQuick.Window

/* 添加到组件中,提供组件拖拽和缩放功能 */
Item {
    id: rect
    required property var target // 变化的控件
    required property var root_screen // 全屏窗口
    property bool drag_active: top_drager.drag.active
    property int mouse_border: 10
    property bool is_full: false
    property var norm_postion: [0, 0, 10, 10]
    anchors.fill: target
    Rectangle {
        anchors.fill: parent
        color: "transparent"
        border.width: 4
        border.color: top_drager.drag.active ? "red" : "transparent"
    }

    function toggleFull() {
        if (is_full) {
            is_full = false
            target.x = norm_postion[0]
            target.y = norm_postion[1]
            target.width = norm_postion[2]
            target.height = norm_postion[3]
        } else {
            is_full = true
            norm_postion[0] = target.x
            norm_postion[1] = target.y
            norm_postion[2] = target.width
            norm_postion[3] = target.height
            target.x = 0
            target.y = 0
            target.width = root_screen.width
            target.height = root_screen.height
        }
    }

    Timer {
        running: is_full
        interval: 100
        repeat: true
        onTriggered: {
            target.x = 0
            target.y = 0
            target.width = root_screen.width
            target.height = root_screen.height
        }
    }
    /* 顶部移动部分 */
    MouseArea {
        id: top_drager
        hoverEnabled: true
        drag.target: is_full ? null : target
        cursorShape: Qt.SizeAllCursor
        height: 10
        anchors.left: parent.left
        anchors.right: parent.right
        anchors.top: parent.top
        anchors.rightMargin: 0
        anchors.leftMargin: 0
        anchors.topMargin: mouse_border
        onDoubleClicked: {
            toggleFull()
        }
    }
    MouseArea {
        id: left_x
        width: mouse_border
        anchors.left: parent.left
        anchors.top: parent.top
        anchors.bottom: parent.bottom
        cursorShape: Qt.SizeHorCursor
        onPositionChanged: function (mouse) {
            rect.target.x += mouse.x
            rect.target.width -= mouse.x
        }
        onDoubleClicked: {
            toggleFull()
        }
    }

    MouseArea {
        id: right_x
        width: mouse_border
        anchors.right: parent.right
        anchors.top: parent.top
        anchors.bottom: parent.bottom
        cursorShape: Qt.SizeHorCursor
        onPositionChanged: function (mouse) {
            rect.target.width += mouse.x
        }
        onDoubleClicked: {
            toggleFull()
        }
    }

    MouseArea {
        id: top_y
        height: mouse_border
        anchors.left: parent.left
        anchors.right: parent.right
        anchors.top: parent.top
        cursorShape: Qt.SizeVerCursor
        onPositionChanged: function (mouse) {
            rect.target.y += mouse.y
            rect.target.height -= mouse.y
        }
    }

    /* 底部 */
    MouseArea {
        id: bottom_y
        height: mouse_border
        anchors.left: parent.left
        anchors.right: parent.right
        anchors.bottom: parent.bottom
        cursorShape: Qt.SizeVerCursor
        onPositionChanged: function (mouse) {
            rect.target.height += mouse.y
        }
    }

    /* 左上 */
    MouseArea {
        id: left_top
        width: mouse_border
        height: mouse_border
        anchors.left: parent.left
        anchors.top: parent.top
        anchors.topMargin: 0
        anchors.leftMargin: 0
        cursorShape: Qt.SizeFDiagCursor
        onPositionChanged: function (mouse) {
            rect.target.x += mouse.x
            rect.target.width -= mouse.x
            rect.target.y += mouse.y
            rect.target.height -= mouse.y
        }
        onDoubleClicked: {
            toggleFull()
        }
    }

    /* 右上 */
    MouseArea {
        id: right_top
        width: mouse_border
        height: mouse_border
        anchors.right: parent.right
        anchors.top: parent.top
        cursorShape: Qt.SizeBDiagCursor
        onPositionChanged: function (mouse) {
            rect.target.width += mouse.x
            rect.target.y += mouse.y
            rect.target.height -= mouse.y
        }
        onDoubleClicked: {
            toggleFull()
        }
    }

    /* 左下 */
    MouseArea {
        id: left_bottom
        width: mouse_border
        height: mouse_border
        anchors.left: parent.left
        anchors.bottom: parent.bottom
        cursorShape: Qt.SizeBDiagCursor
        onPositionChanged: function (mouse) {
            rect.target.x += mouse.x
            rect.target.width -= mouse.x
            rect.target.height += mouse.y
        }
        onDoubleClicked: {
            toggleFull()
        }
    }

    /* 右下 */
    MouseArea {
        id: right_bottom
        width: mouse_border
        height: mouse_border
        anchors.right: parent.right
        anchors.bottom: parent.bottom
        cursorShape: Qt.SizeFDiagCursor
        onPositionChanged: function (mouse) {
            rect.target.width += mouse.x
            rect.target.height += mouse.y
        }
        onDoubleClicked: {
            toggleFull()
        }
    }
}
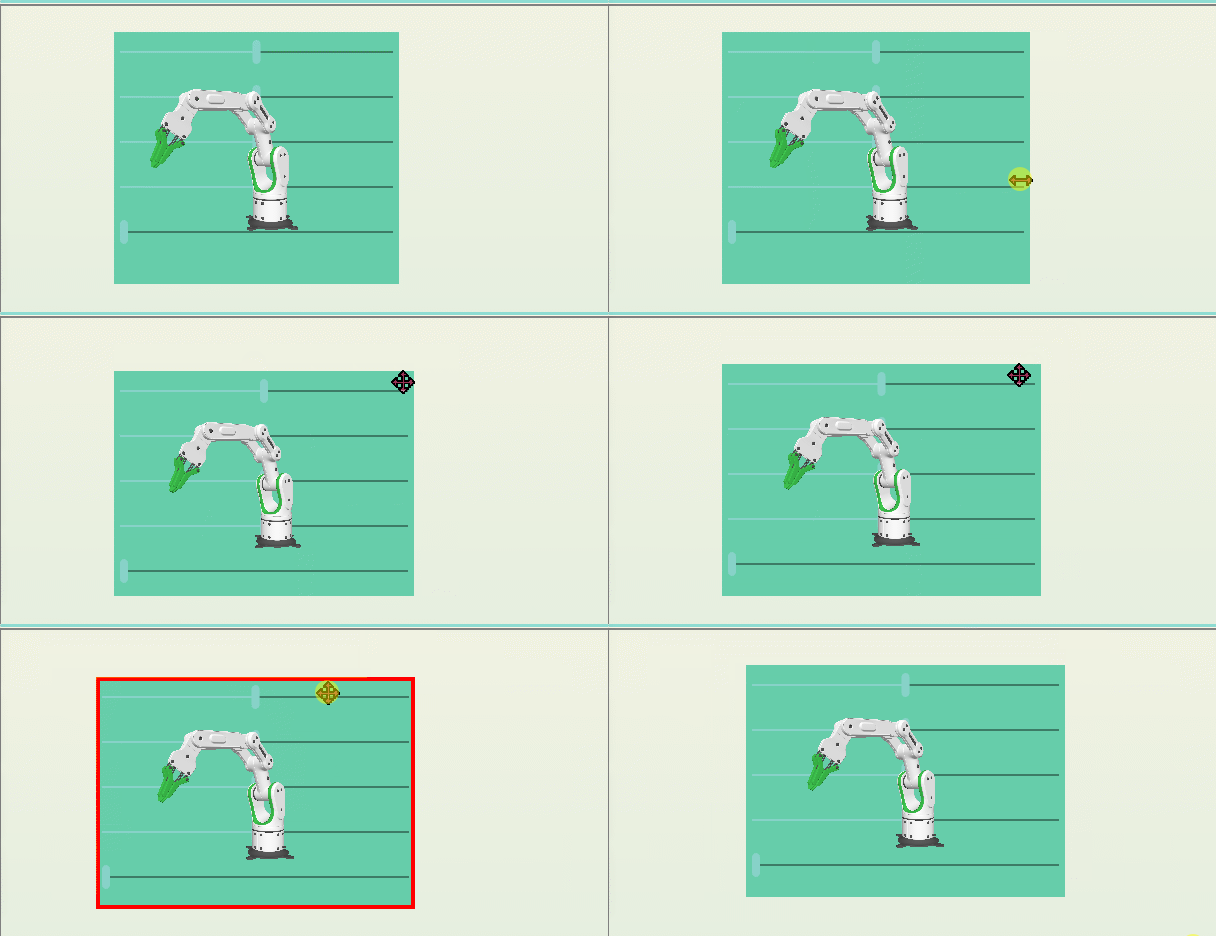
缩放组件演示如下
- 调用使用
CommonWidgte.qml,如下,其中Drag.keys用于匹配DropArea中的keys
css
import QtQuick

Rectangle {
    id: root
    clip: true
    color: "grey"
    property bool is_ready_delete: false
    z: resize.drag_active ? 100 : 0
    Drag.active: resize.drag_active
    Drag.keys: ["component"]
    ResizeHandler {
        id: resize
        target: parent
        z: 100
        root_screen: root.parent
        onDrag_activeChanged: {
            if (root.is_ready_delete) {
                root.destroy()
            }
        }
    }
}
对代码有疑问可以私信,整个逻辑优化的比较简洁。
缩放演示如下

放置区域DropArea实现
代码如下,其中实现了
- 接收带有
Drag.keys=["button"]属性的拖拽信号,当有该组件拖动进来时,会创建一个Widget下的一个名为Cube3D.qml组件,Cure3D的完整代码就不提供了,可查看上一篇博客,只需要将其中的Item删除,包裹在CommonWidget中即可。 - 理论上可根据传入的属性创建不同的组件(动态创建)
- 拖动放置区域内的组件,移出区域时,自动删除该组件
css
DropArea {
    /* 左侧独立控件显示区域 */
    id: drop_area
    SplitView.fillHeight: true
    SplitView.fillWidth: true
    /* 裁剪内部内容 */
    clip: true
    Rectangle {
        id: drop_rect
        anchors.fill: parent
        border.width: 5
        border.color: "grey"
        radius: 0
        color: "transparent"
    }
    property bool is_buttons: false
    property var drag_component;
    Component.onCompleted: {
        drag_component = Qt.createComponent("Widget/Cube3D.qml")
    }
    keys: ["button", "component"]
    onPositionChanged: function (drag) {
        const border = 10
        if (drag.keys[0] === "component") {
            if (drag.x < border || drag.y < border || drag.x > drop_rect.width - border - drag.source.width || drag.y > drop_rect.height - border - drag.source.height) {
                drag.source.is_ready_delete = true
            } else {
             /* 允许反悔 */                drag.source.is_ready_delete = false
            }
        }
    }
    /* drag active的时候也会触发 */
    onEntered: function (drag) {
        if (drag.keys[0] === "button") {
            drop_rect.border.color = "blue"
            drop_rect.border.width = 30
            is_buttons = true
        }
    }
    onExited: function () {
        /* 不要在拖动时删除对象 */
        /* drag.x 和 drag.y 相对于 drop area */
        drop_rect.border.color = "grey"
        drop_rect.border.width = 2
        if (is_buttons) {
            is_buttons = false
            drop_rect.border.color = "grey"
            drop_rect.border.width = 2
            // const component = Qt.createComponent("NiModule/NiButton.qml")
            const component = drag_component
            if (!component) {
                console.log("component create failed")
            }
            // const component = Qt.createComponent("NiModule/NiButton.qml")
            const border = 2
            if (drag.x > border && drag.y > border && drag.x < drop_rect.width - border && drag.y < drop_rect.height - border) {
                if (component.status === Component.Ready) {
                    component.
                    createObject(drop_rect, {
                        x: drag.x,
                        y: drag.y,
                        width: 200,
                        height: 200,
                        color: drag.source.Drag.mimeData.color
                    })
                } else {
                    console.log("note ready")
                }
            }
        }
    }
}
其他
演示如下

有疑问欢迎私信,里面有一些细节,不知从何讲起,逻辑都在代码里面了,说明就不详细写了。看博客的人也太少了