今天太久没写代码进行自动化测试了,所以让我们一起恶补一下知识点吧
创建新项目
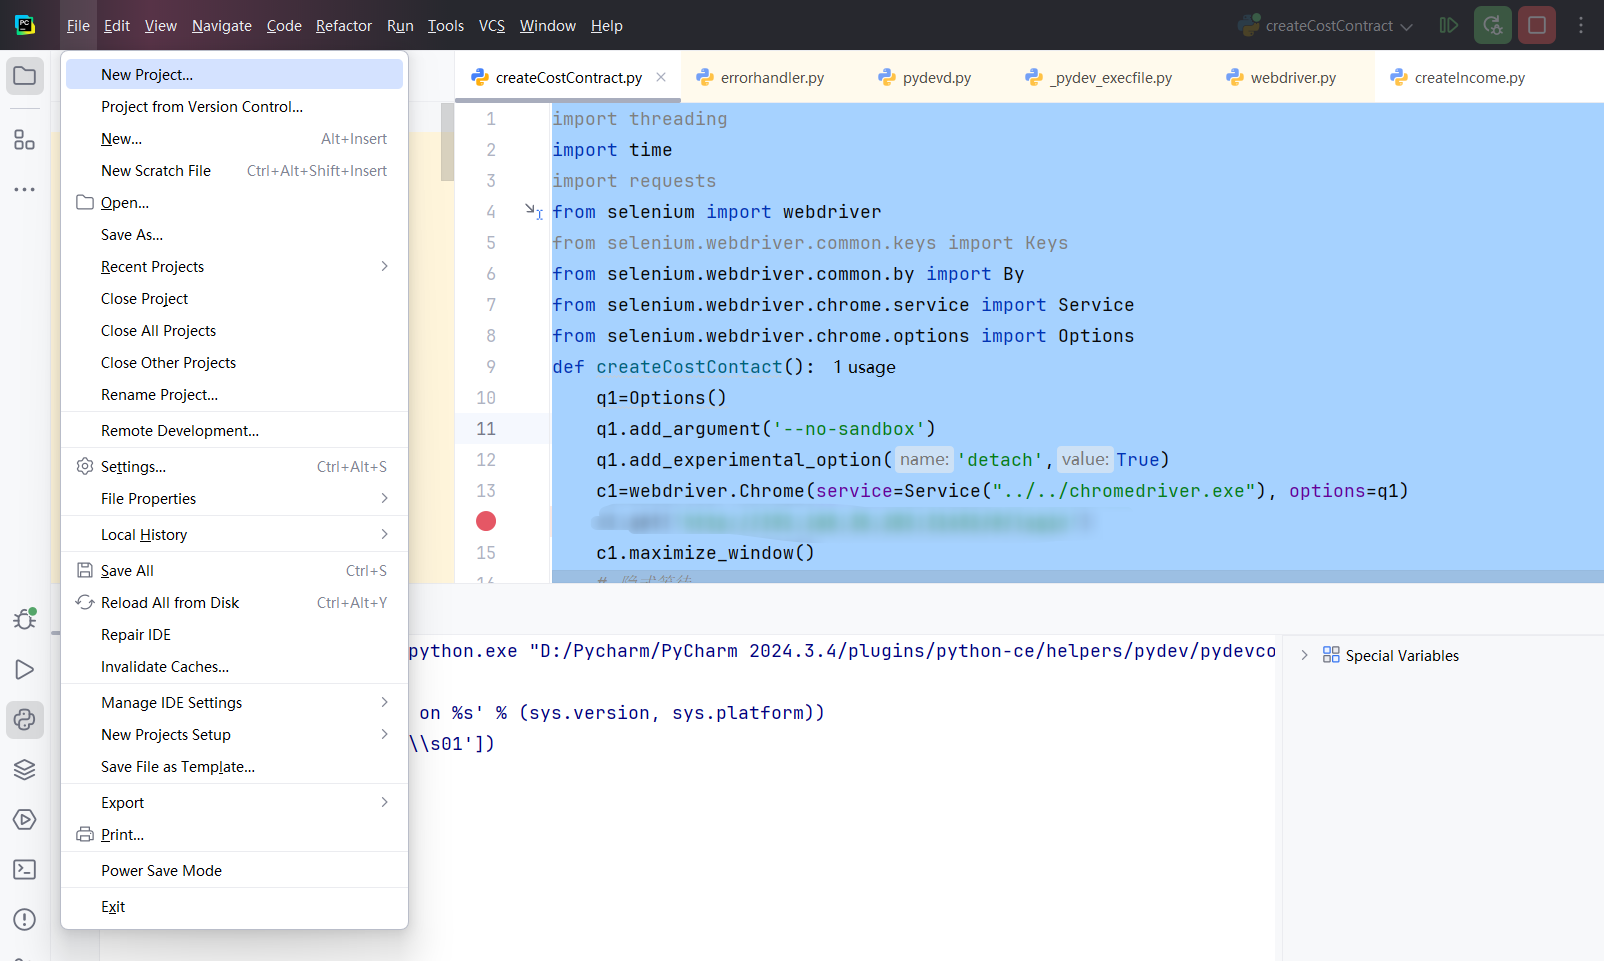
在PyCharm中点击菜单栏的"File",选择"New Project"。
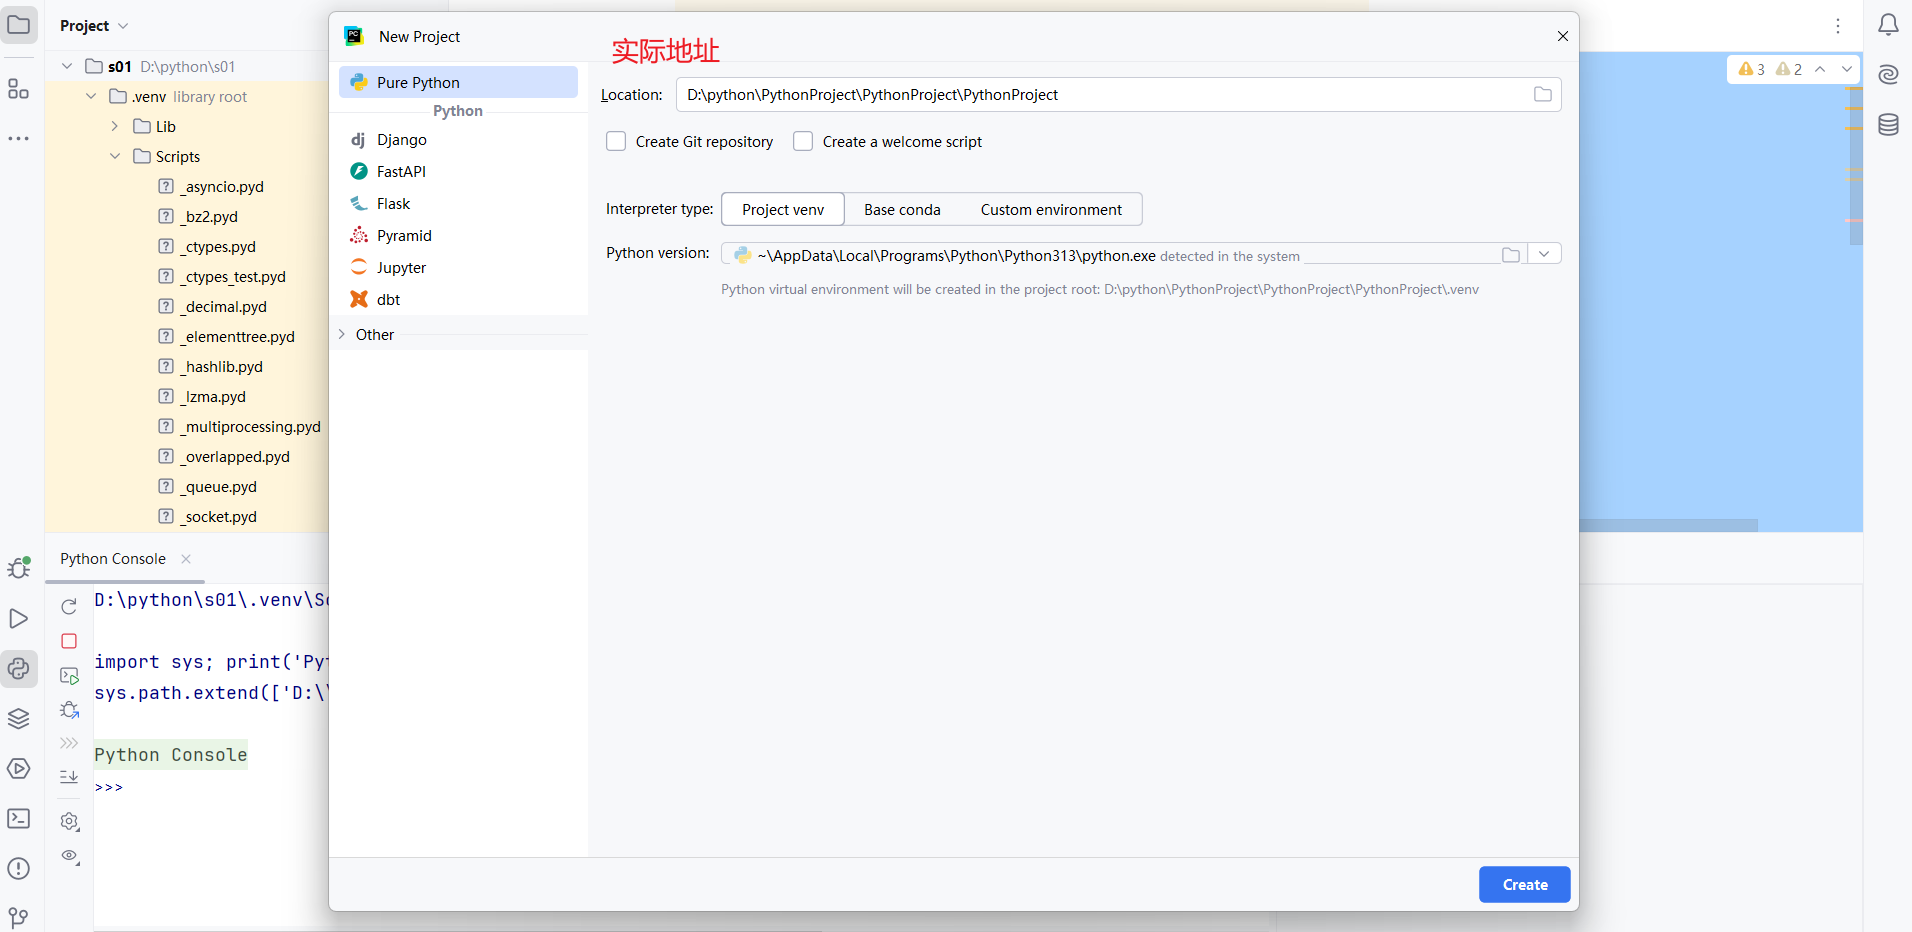
在弹出的创建页面中,定位到目标目录(如pythonproject文件夹),修改项目名称。建议使用驼峰命名法(如myTestProject)。
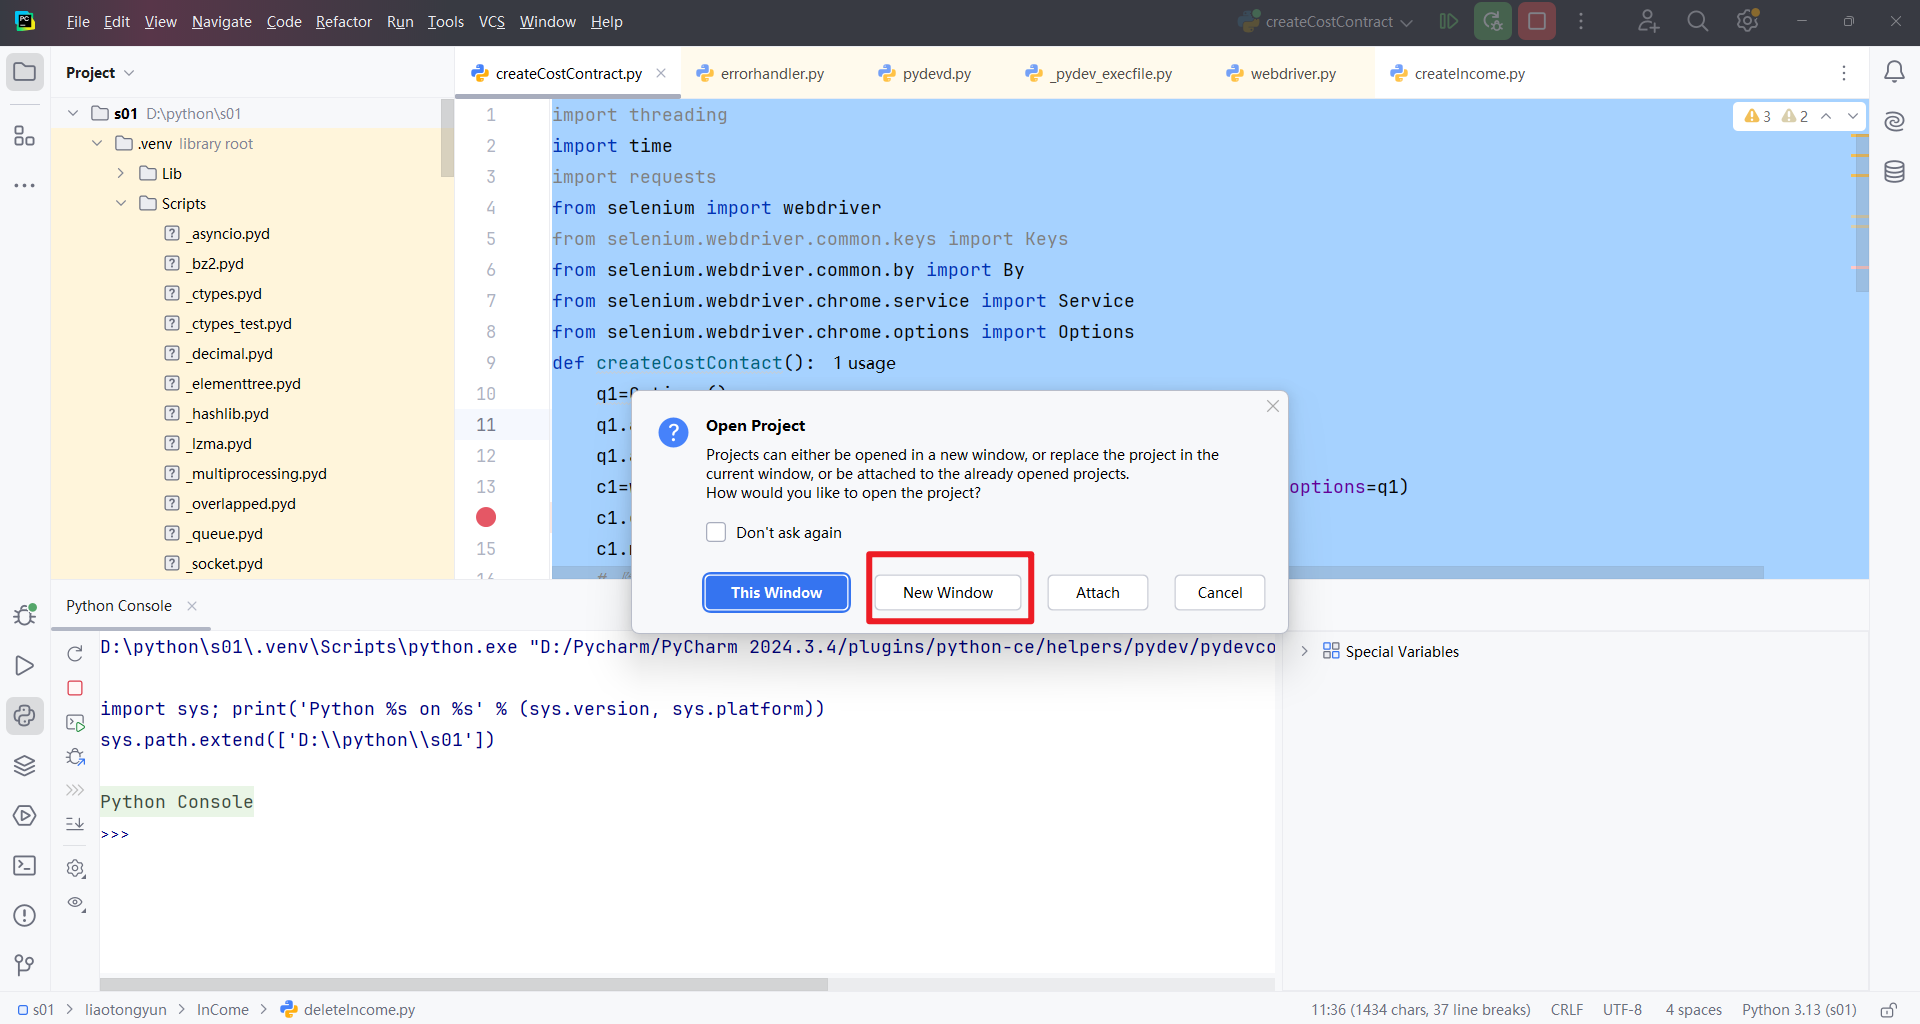
点击创建按钮,提示你要选择新的弹窗还是旧的弹窗,依旧个人习惯选择即可
配置项目环境
选择Python解释器版本,建议使用虚拟环境(Virtualenv)。PyCharm会自动创建venv文件夹隔离项目依赖。勾选"Create a main.py welcome script"可快速生成入口文件。
然后可以下载一些新的包
项目结构初始化
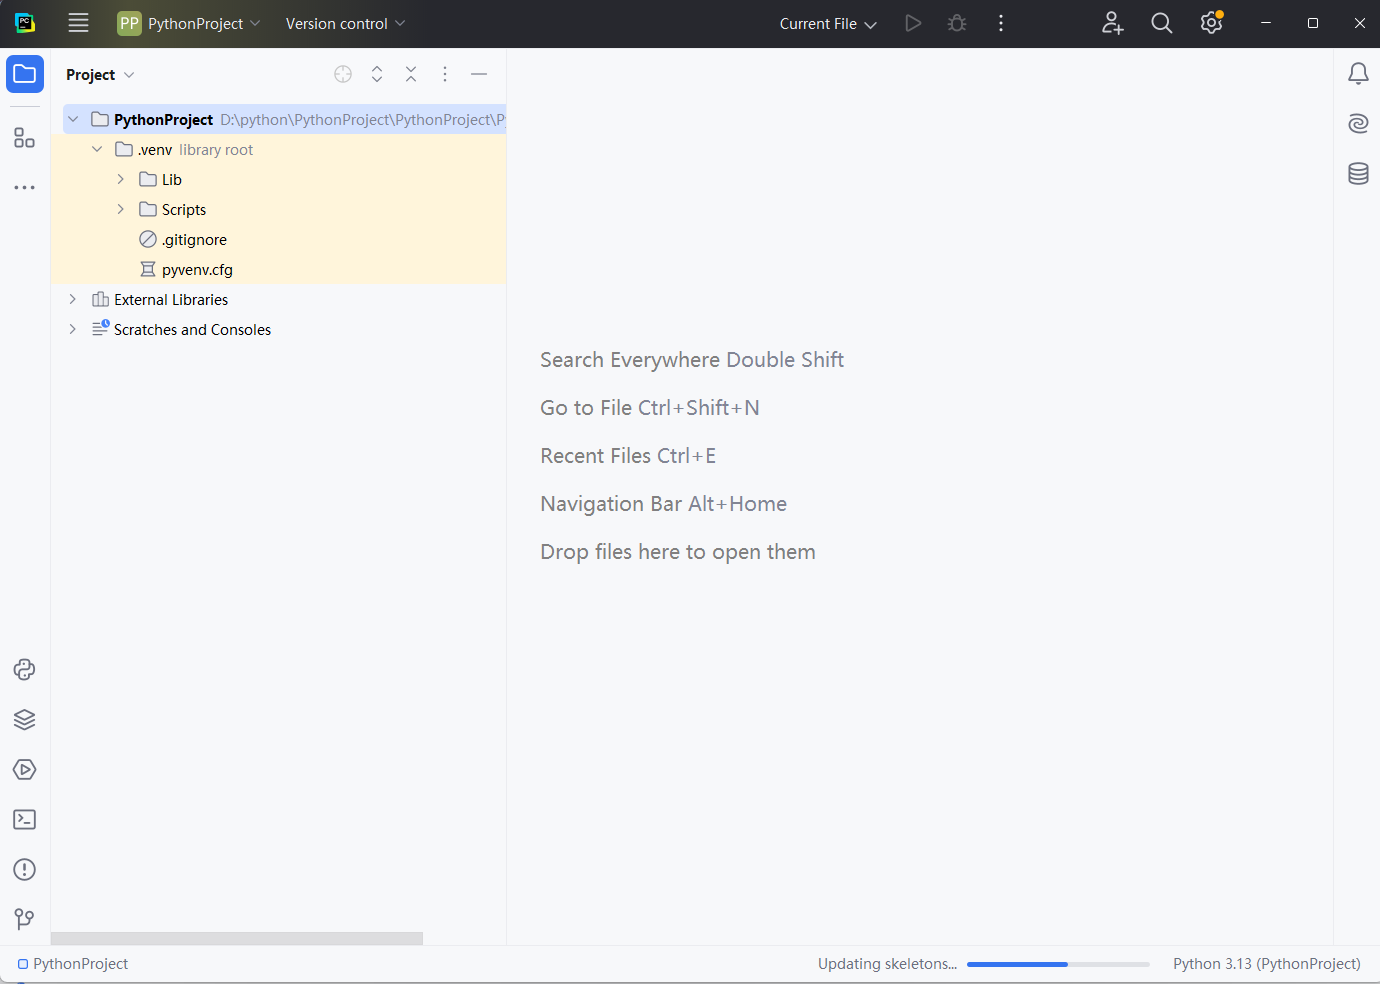
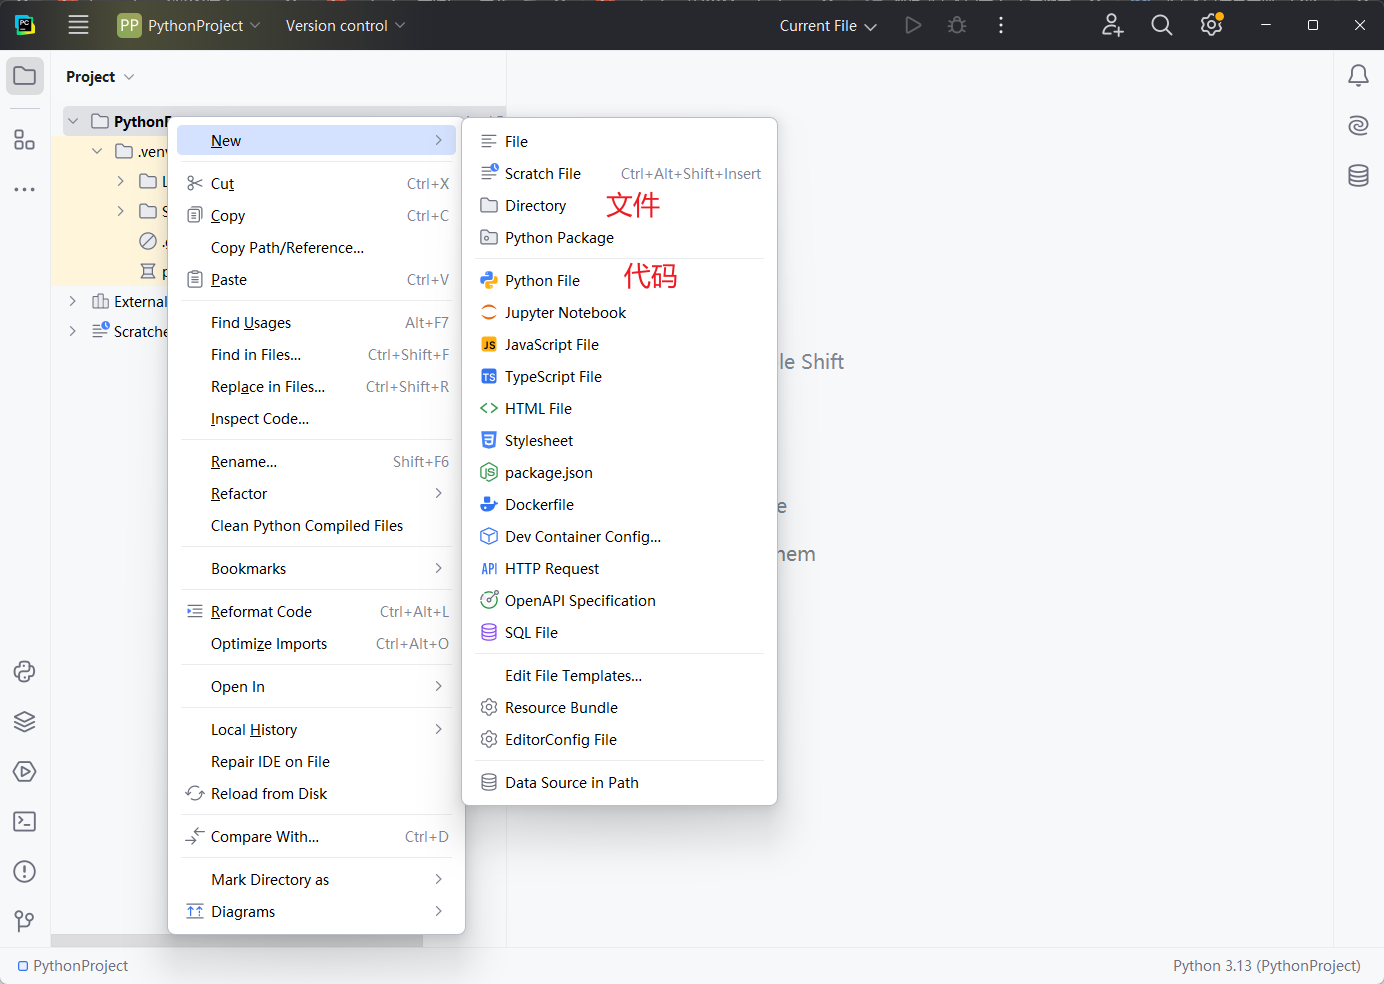
右键项目根目录选择"New"→"Python File"创建测试文件,如test_calculator.py。对于自动化测试项目,典型结构应包括:
/tests测试目录/src源代码目录requirements.txt依赖文件
安装测试框架
打开PyCharm的Terminal,安装常用测试包:
pip install pytest selenium unittest-xml-reporting对于Web自动化可添加:
pip install playwright && playwright install编写基础测试
在测试文件中使用pytest框架示例:
import pytest

    class TestCalculator:
        def test_addition(self):
            assert 1 + 1 == 2
        @pytest.mark.parametrize("a,b,expected", [(1,2,3), (5,5,10)])
        def test_multiple_cases(self, a, b, expected):
            assert a + b == expected
运行测试配置
点击PyCharm右上角的运行配置下拉框,选择"Edit Configurations"。添加新的pytest配置,设置目标为当前文件/目录。勾选"Add content roots to PYTHONPATH"确保路径正确。
生成测试报告
安装pytest-html后通过命令生成可视化报告:bash
pytest --html=report.html对于CI集成可使用Allure:
pip install allure-pytest
pytest --alluredir=./results
持续集成准备
在项目根目录创建.github/workflows/python-app.yml文件配置GitHub Actions:
name: Python CI
on: [push]
jobs:
  test:
    runs-on: ubuntu-latest
    steps:
      - uses: actions/checkout@v2
      - name: Set up Python
        uses: actions/setup-python@v2
      - name: Install dependencies
        run: pip install -r requirements.txt
      - name: Run tests
        run: pytest