目录
利用BottomNavigationView实现底部标签栏
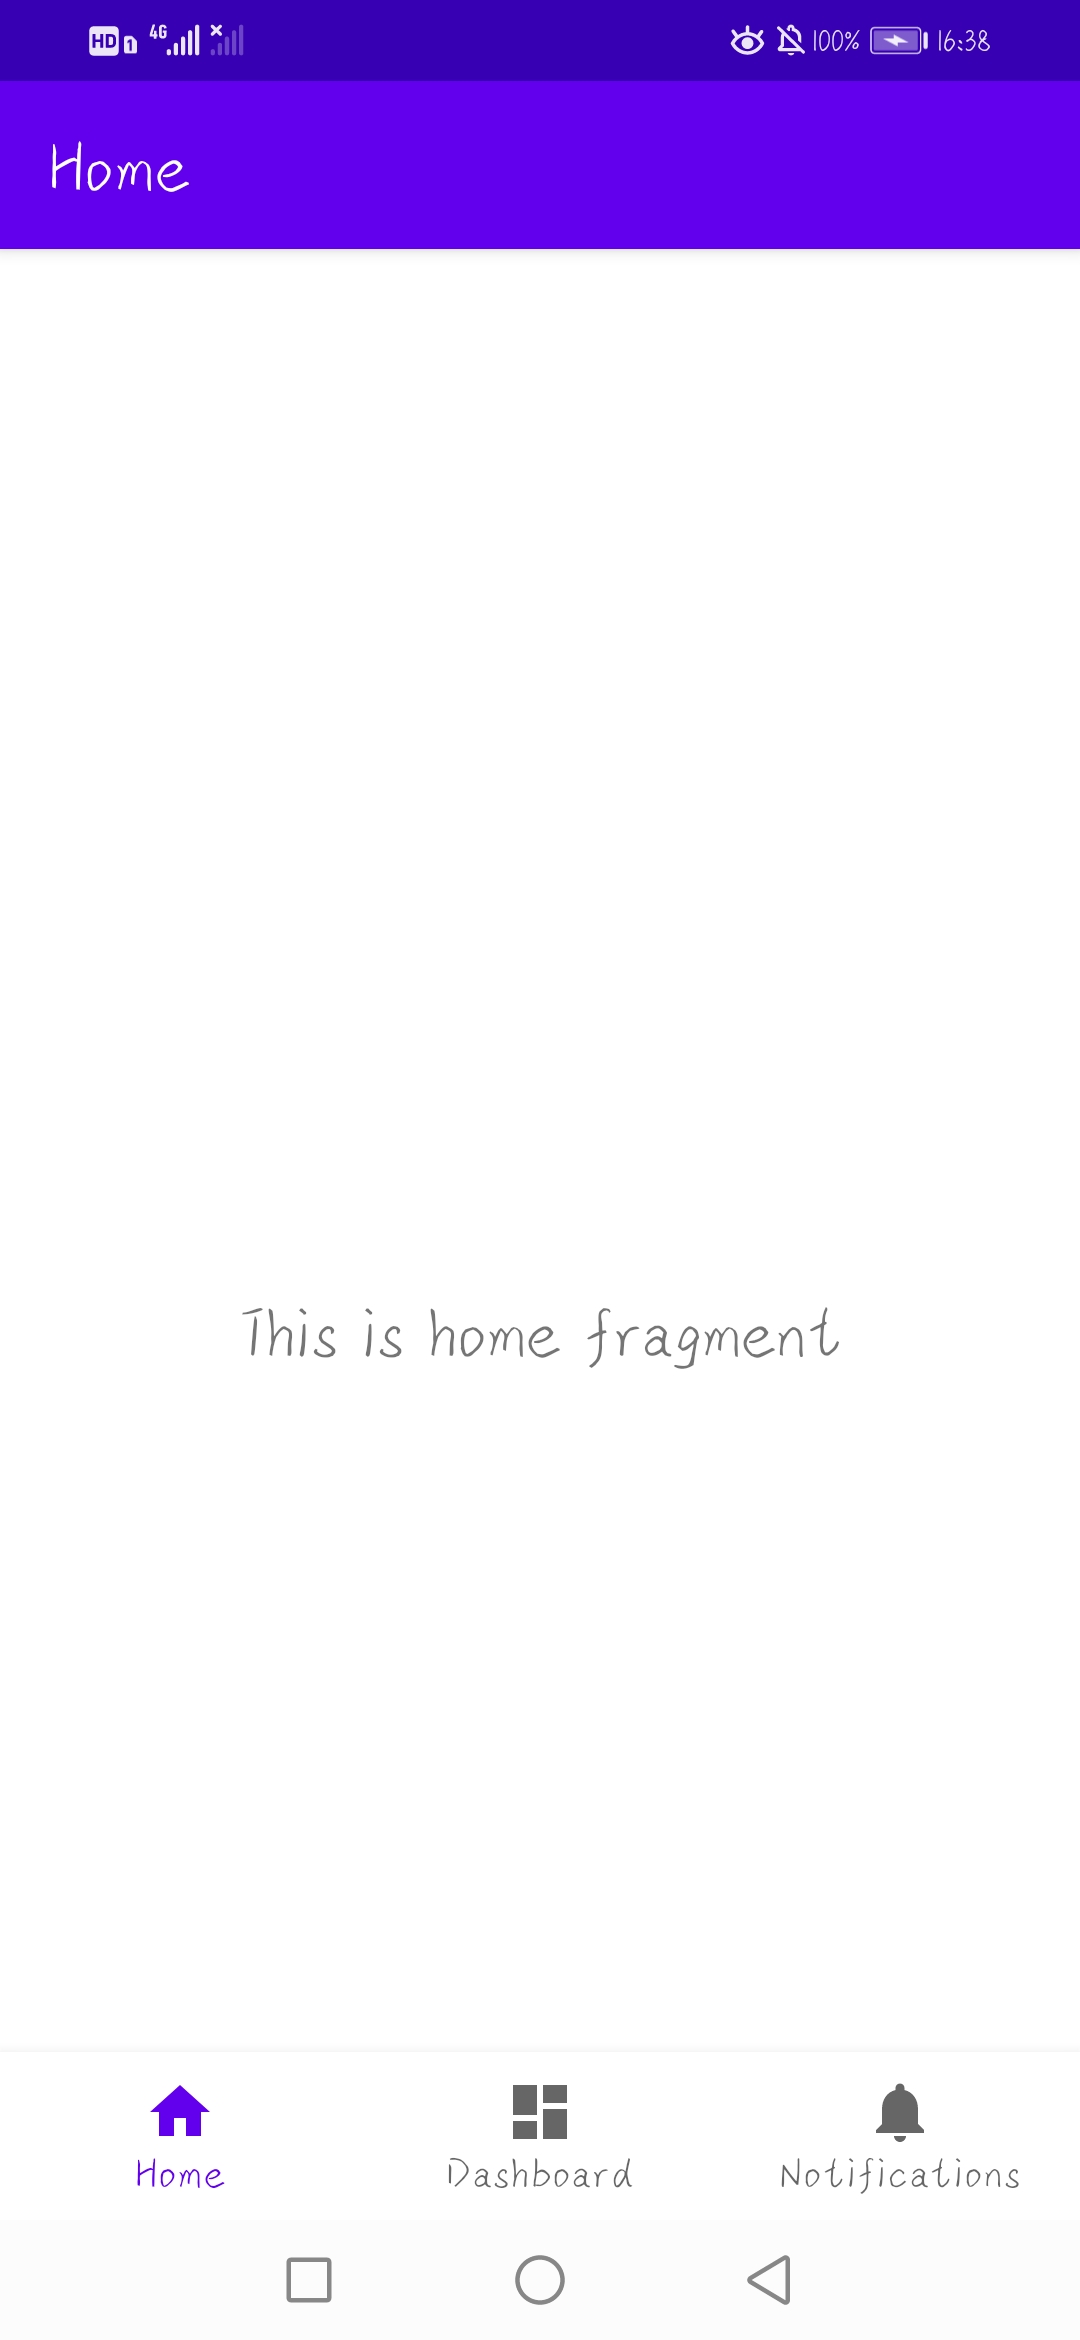
Android Studio可以直接生成带有底部标签栏的页面。右键依次选择New、Activity、选择Bottom Navigation Activity。运行APP可以看到如下界面,页面下方有三个导航标签,分别为Home、Dashboard、Notifications。Home频道的图片与文字与其他不同,这代表着当前频道为Home,点击其他频道可以切换到对应的频道上。此时虽然实现了简单的底部标签栏,但要修改一些属性时仍需了解它的实现方式,如修改标签栏的文本与图片、添加其他视图等。
首先打开模块的build.gradle,在dependencies节点内可以看到如下依赖库配置,表示引用了标签导航的navigation库。
XML
    implementation 'androidx.navigation:navigation-fragment:2.3.5'
    implementation 'androidx.navigation:navigation-ui:2.3.5'
再看看页面的布局文件中的代码,可以看到页面分为两个部分,一个是位于底部的BottomNavigationView,一个是位于标签栏上占据其余空间的碎片Fragment。标签栏中的属性app:menu用于设置标签栏中的菜单即底部标签栏。碎片中的属性app:navGraph用于设置各频道的主体部分。
XML
<com.google.android.material.bottomnavigation.BottomNavigationView
        android:id="@+id/nav_view"
        android:layout_width="0dp"
        android:layout_height="wrap_content"
        android:layout_marginStart="0dp"
        android:layout_marginEnd="0dp"
        android:background="?android:attr/windowBackground"
        app:layout_constraintBottom_toBottomOf="parent"
        app:layout_constraintLeft_toLeftOf="parent"
        app:layout_constraintRight_toRightOf="parent"
        app:menu="@menu/bottom_nav_menu" />

    <fragment
        android:id="@+id/nav_host_fragment_activity_bottom_navigation_view"
        android:name="androidx.navigation.fragment.NavHostFragment"
        android:layout_width="match_parent"
        android:layout_height="match_parent"
        app:defaultNavHost="true"
        app:layout_constraintBottom_toTopOf="@id/nav_view"
        app:layout_constraintLeft_toLeftOf="parent"
        app:layout_constraintRight_toRightOf="parent"
        app:layout_constraintTop_toTopOf="parent"
        app:navGraph="@navigation/mobile_navigation" />
打开属性menu中对应的文件,查看其中的代码,如下所示。可以看到标签栏中图片以及文本的定义在这里,可以在这里修改标签栏的图片以及文本内容
XML
<?xml version="1.0" encoding="utf-8"?>
<menu xmlns:android="http://schemas.android.com/apk/res/android">

    <item
        android:id="@+id/navigation_home"
        android:icon="@drawable/ic_home_black_24dp"
        android:title="@string/title_home" />

    <item
        android:id="@+id/navigation_dashboard"
        android:icon="@drawable/ic_dashboard_black_24dp"
        android:title="@string/title_dashboard" />

    <item
        android:id="@+id/navigation_notifications"
        android:icon="@drawable/ic_notifications_black_24dp"
        android:title="@string/title_notifications" />

</menu>
打开属性navGraph中对应的文件,查看其中的代码,如下所示。可以看到各个频道对应的碎片定义在这里,其中根节点的属性startDestination用于设置打开页面时显示的第一个频道。每个碎片都设置了四个属性id、name、label、layout,分别用于设置碎片id、设置碎片完整路径。设置碎片的标题文本即显示在碎片上方的文本、设置碎片的布局文件。
XML
<?xml version="1.0" encoding="utf-8"?>
<navigation xmlns:android="http://schemas.android.com/apk/res/android"
    xmlns:app="http://schemas.android.com/apk/res-auto"
    xmlns:tools="http://schemas.android.com/tools"
    android:id="@+id/mobile_navigation"
    app:startDestination="@+id/navigation_home">

    <fragment
        android:id="@+id/navigation_home"
        android:name="com.example.myapplicationforstudy.BottomNavigation.ui.home.HomeFragment"
        android:label="@string/title_home"
        tools:layout="@layout/fragment_home" />

    <fragment
        android:id="@+id/navigation_dashboard"
        android:name="com.example.myapplicationforstudy.BottomNavigation.ui.dashboard.DashboardFragment"
        android:label="@string/title_dashboard"
        tools:layout="@layout/fragment_dashboard" />

    <fragment
        android:id="@+id/navigation_notifications"
        android:name="com.example.myapplicationforstudy.BottomNavigation.ui.notifications.NotificationsFragment"
        android:label="@string/title_notifications"
        tools:layout="@layout/fragment_notifications" />
</navigation>
打开其中一个碎片如HomeFragment,查看其中的代码,如下所示。在碎片的方法onCreateView中根据布局文件生成页面元素,因此可以在碎片中修改页面元素。HomeViewModle类随页面建立时生成,与碎片类所在位置一致。
java
    private FragmentHomeBinding binding;
    public View onCreateView(@NonNull LayoutInflater inflater,
                             ViewGroup container, Bundle savedInstanceState) {
        //管理 UI 相关数据,在配置变更(如旋转)时保持数据,该类随页面建立时生成,与碎片类所在位置一致
        HomeViewModel homeViewModel =
                new ViewModelProvider(this).get(HomeViewModel.class);
        //将 XML 布局文件转换为绑定对象
        binding = FragmentHomeBinding.inflate(inflater, container, false);
        // 获取布局的根视图
        View root = binding.getRoot();
        //通过视图绑定直接访问布局中的 TextView,等价于 findViewById(R.id.text_home),但更安全、类型安全
        final TextView textView = binding.textHome;
        //从HomeViewModel中获取一个LiveData<String>(或类似的可观察数据)并开始观察它。
        //getViewLifecycleOwner()返回与Fragment视图生命周期关联的LifecycleOwner,这确保了观察只会在Fragment视图存在时进行。
        //当LiveData中的数据变化时,会调用textView.setText方法,更新TextView的文本。
        homeViewModel.getText().observe(getViewLifecycleOwner(), textView::setText);
        return root;
    }
查看HomeViewModle类的代码,如下所示。它的构造方法中设置了mText的文本。
java
public class HomeViewModel extends ViewModel {
private final MutableLiveData<String> mText;
public HomeViewModel() {
mText = new MutableLiveData<>();
mText.setValue("This is home fragment");
}
public LiveData<String> getText() {
return mText;
}
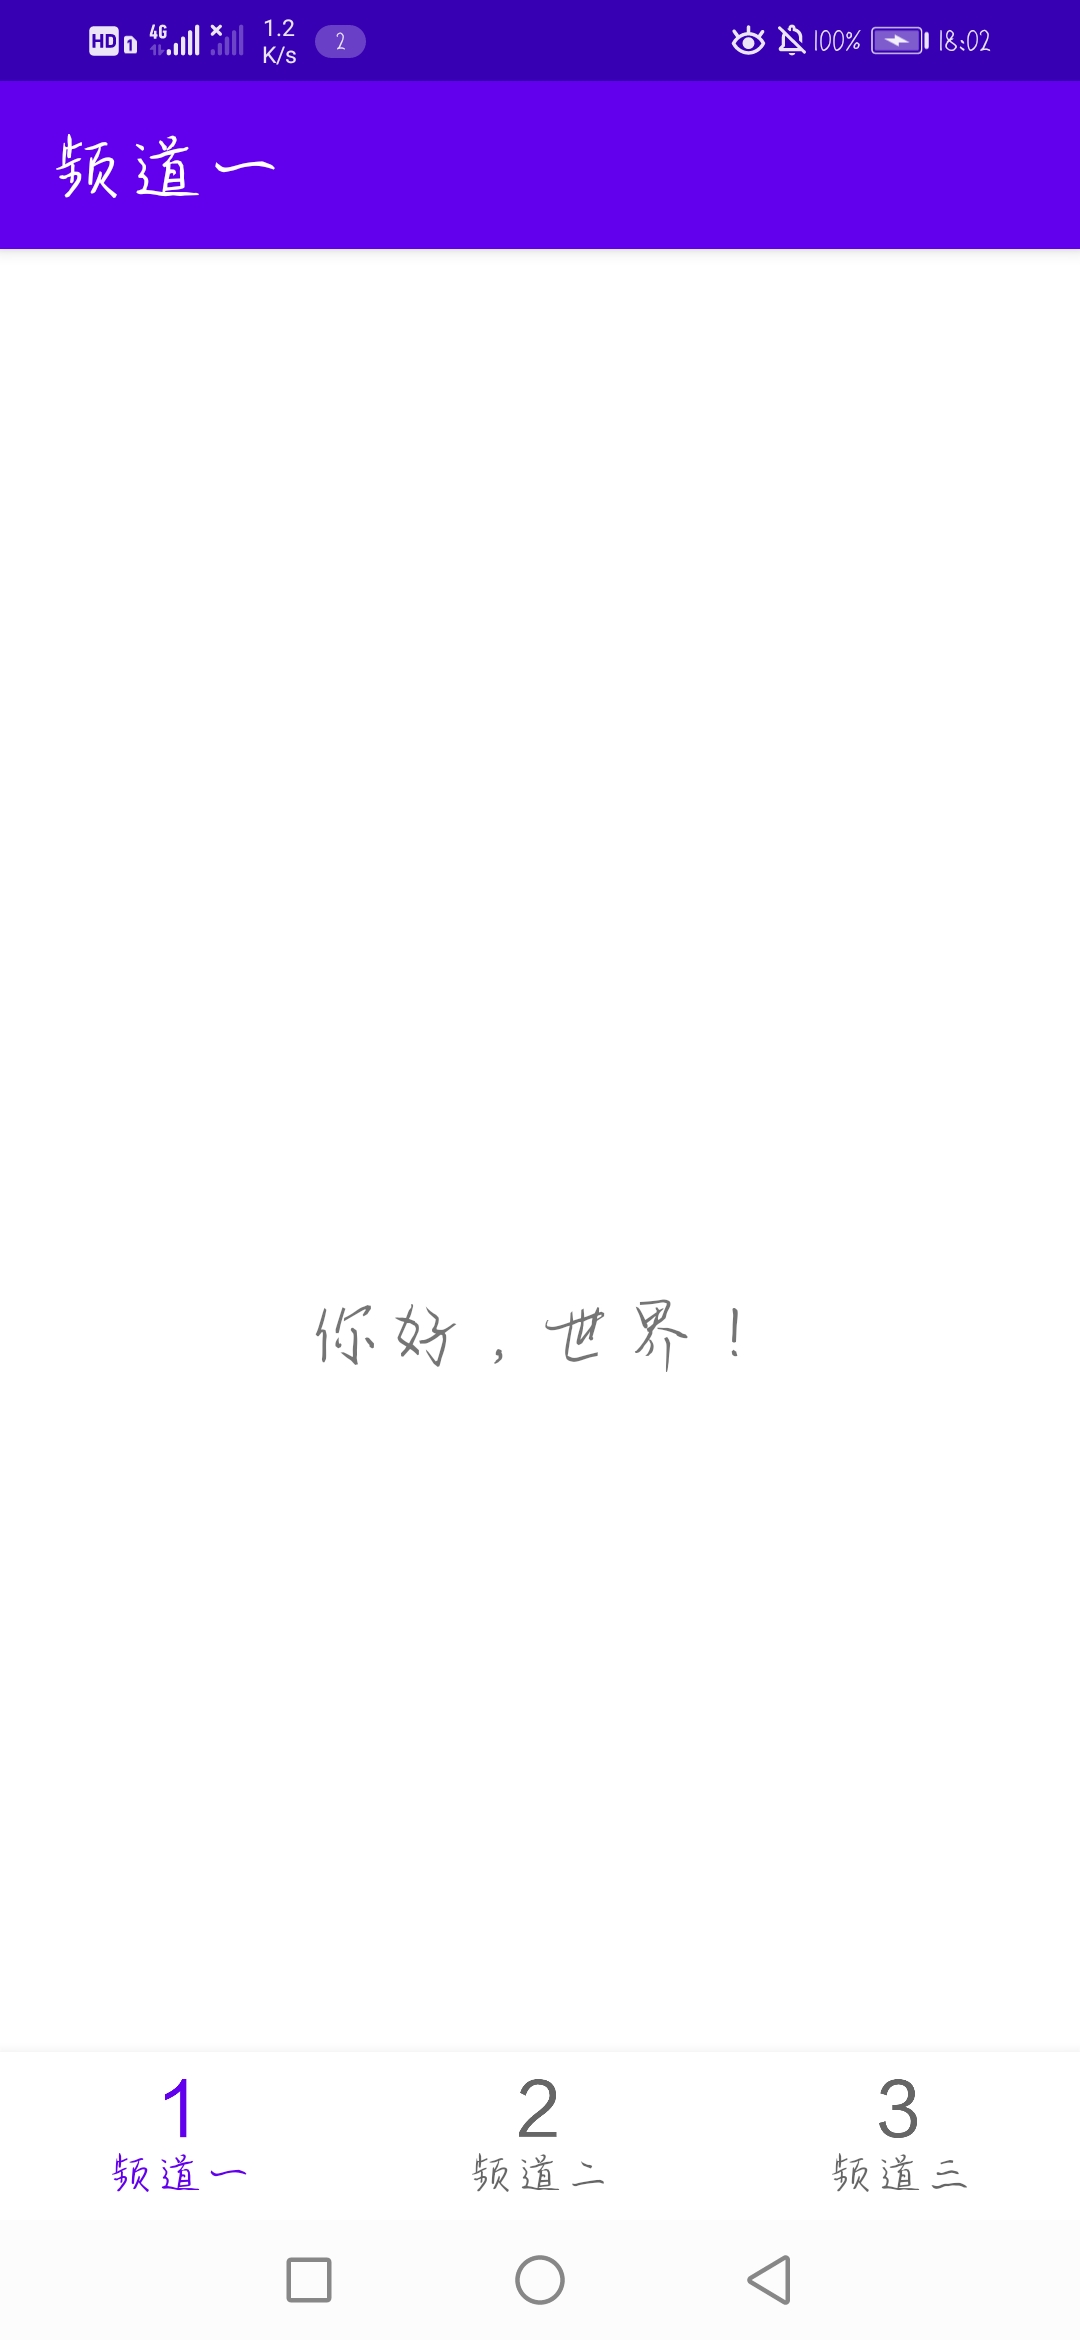
}接下来将原本的英文修改为中文,找到对应位置修改文本,修改后效果图如下。