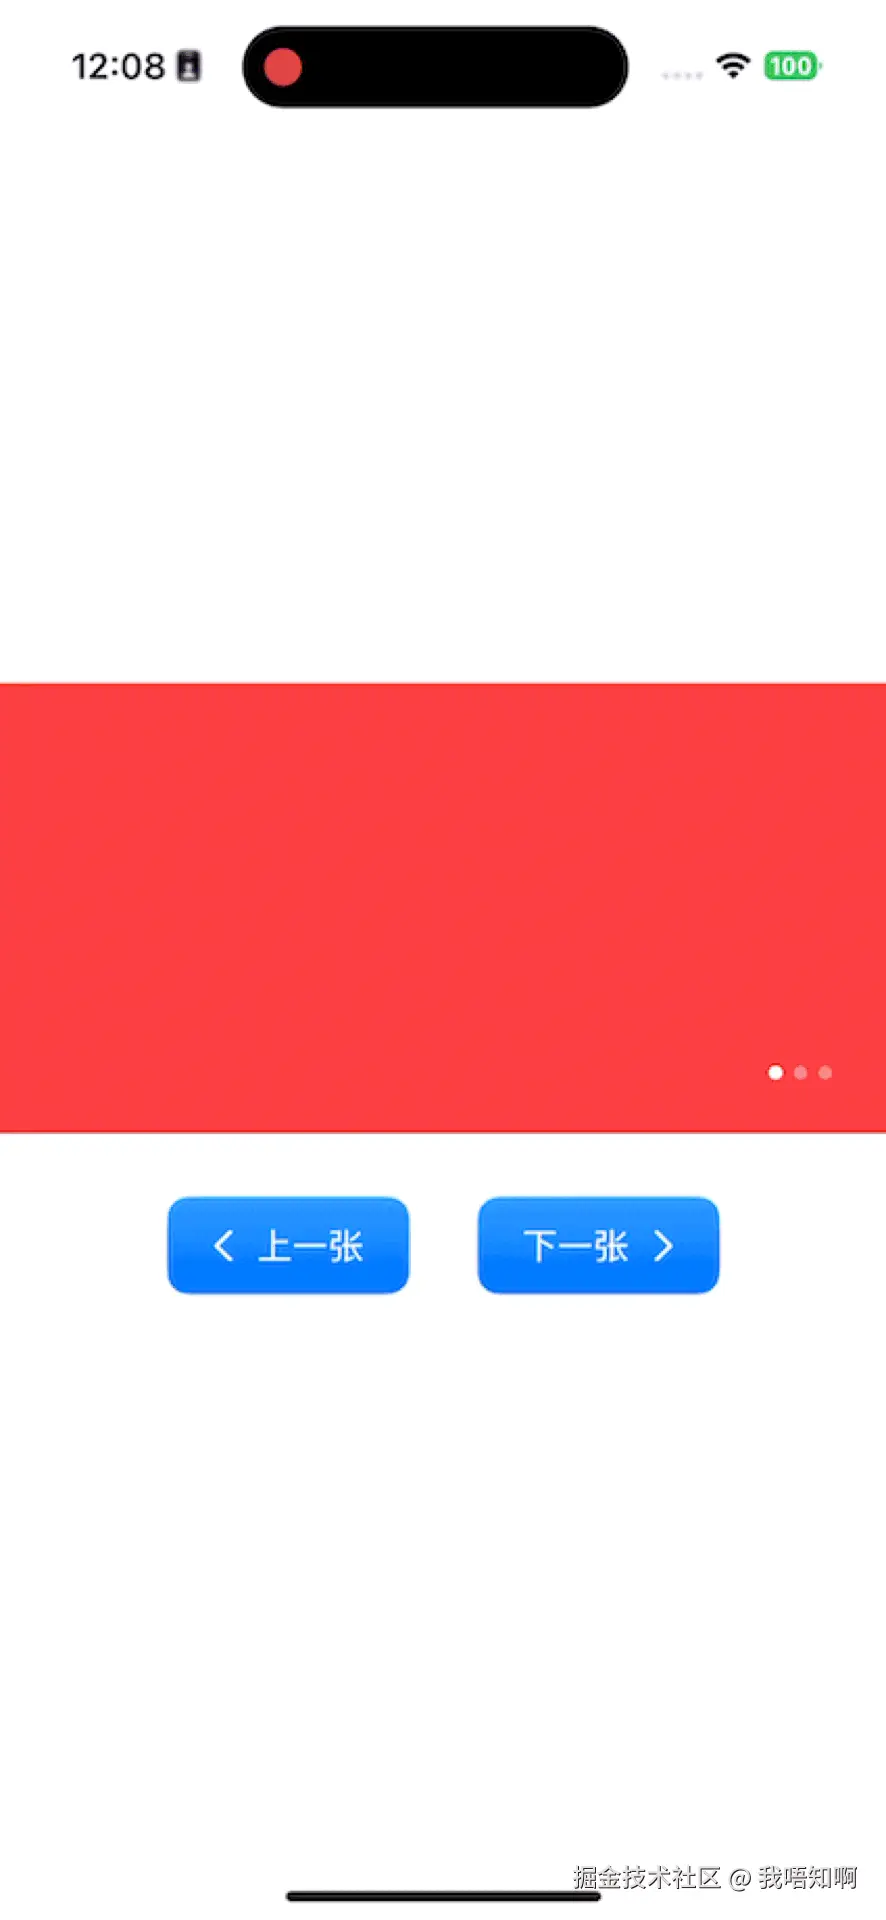
先看效果
前言
在移动应用开发中,轮播图(Banner)是一个非常常见的 UI 组件,用于展示广告、推荐内容或重要信息。虽然 SwiftUI 提供了 TabView 配合 .tabViewStyle(.page) 可以快速实现轮播效果,但它有一些局限性:
- 无法实现真正的无限循环滚动
- 难以实现精确的吸附效果
- 自定义控制能力有限
本文将介绍如何使用 SwiftUI + UIKit 结合的方式,实现一个功能完善的无限循环轮播图组件,支持以下特性:
- ✅ 真正的无限循环滚动
- ✅ 自动轮播功能
- ✅ 流畅的手势拖拽
- ✅ 精确的卡片吸附
- ✅ 外部控制接口(上一张、下一张、跳转指定索引)
- ✅ 防抖处理避免重复触发
核心设计思路
1. 无限循环的实现原理
无限循环的关键在于复制内容 。我们在原始内容的后面复制若干份相同的卡片,当滚动到边界时,通过瞬间重置 contentOffset 的方式跳转到等价位置,从而实现视觉上的无缝循环。
css
原始数据:[A, B, C]
实际渲染:[A, B, C, A, B, C, A, B, ...]
当用户滑到最后一张 C 继续向右滑时,会显示复制的 A,此时瞬间将 scrollView 的 offset 重置到第一个 A 的位置,用户完全感觉不到跳转。
2. 组件架构
整个轮播图组件由三部分组成:
- BannerView - SwiftUI 视图,负责 UI 渲染
- ScrollViewHelper - UIViewRepresentable,桥接 UIScrollView
- LoopingScrollController - 滚动控制器,提供外部控制接口
核心代码实现
1. BannerView - 主视图
swift
struct BannerView<Content: View, Item: RandomAccessCollection>: View where Item.Element: Identifiable {
    var width: CGFloat
    var spacing: CGFloat = 0
    var items: Item
    var controller: LoopingScrollController? = nil
    @Binding var currentIndex: Int
    @ViewBuilder var content: (Int, Item.Element) -> Content

    @State private var hasAppear = false

    var body: some View {
        GeometryReader {
            let size = $0.size
            let itemsArray = Array(items)

            guard !itemsArray.isEmpty, width > 0 else {
                return AnyView(EmptyView())
            }

            // 计算需要重复的次数,至少需要2倍来保证无缝循环
            let repeatingCount = max(Int((size.width / width).rounded()) + 2, 2)

            return AnyView(
                ScrollView(.horizontal) {
                    LazyHStack(spacing: spacing) {
                        // 原始卡片
                        ForEach(Array(itemsArray.enumerated()), id: \.element.id) { index, item in
                            content(index, item)
                                .frame(width: width)
                        }

                        // 复制的卡片 - 使用唯一的 id 避免冲突
                        ForEach(0 ..< repeatingCount, id: \.self) { repeatIndex in
                            let actualIndex = repeatIndex % itemsArray.count
                            let item = itemsArray[actualIndex]
                            content(actualIndex, item)
                                .frame(width: width)
                                .id("repeat_\(repeatIndex)_\(item.id)")
                        }
                    }
                    .background() {
                        ScrollViewHelper(
                            width: width,
                            spacing: spacing,
                            itemsCount: items.count,
                            repeatingCount: repeatingCount,
                            controller: controller,
                            currentIndex: $currentIndex
                        )
                    }
                }
                .scrollIndicators(.hidden)
                .onAppear {
                    guard hasAppear == false else { return }
                    hasAppear = true
                    controller?.startAutoScroll() // 自动切换
                }
            )
        }
    }
}
关键点:
- 使用
GeometryReader获取容器尺寸 - 通过
repeatingCount计算需要复制的次数 - 为重复卡片添加唯一 ID:
"repeat_\(repeatIndex)_\(item.id)" - 在
.background()中嵌入ScrollViewHelper获取底层 UIScrollView
2. ScrollViewHelper - UIKit 桥接
这是整个组件最核心的部分,通过 UIViewRepresentable 协议桥接 UIScrollView,实现精确的滚动控制。
swift
fileprivate struct ScrollViewHelper: UIViewRepresentable {
    var width: CGFloat
    var spacing: CGFloat
    var itemsCount: Int
    var repeatingCount: Int
    var controller: LoopingScrollController?
    @Binding var currentIndex: Int

    func makeCoordinator() -> Coordinator {
        let coordinator = Coordinator(
            width: width,
            spacing: spacing,
            itemsCount: itemsCount,
            repeatingCount: repeatingCount,
            currentIndex: $currentIndex
        )
        coordinator.controller = controller
        controller?.coordinator = coordinator
        return coordinator
    }

    func makeUIView(context: Context) -> UIView {
        return .init()
    }

    func updateUIView(_ uiView: UIView, context: Context) {
        if !context.coordinator.isAdded {
            if let scrollView = uiView.superview?.superview?.superview as? UIScrollView {
                scrollView.delegate = context.coordinator
                scrollView.decelerationRate = .fast // 快速减速,配合吸附效果
                context.coordinator.scrollView = scrollView
                context.coordinator.isAdded = true
            } else {
                // 延迟重试
                DispatchQueue.main.asyncAfter(deadline: .now() + 0.02) {
                    if let scrollView = uiView.superview?.superview?.superview as? UIScrollView,
                       !context.coordinator.isAdded {
                        scrollView.delegate = context.coordinator
                        scrollView.decelerationRate = .fast
                        context.coordinator.scrollView = scrollView
                        context.coordinator.isAdded = true
                    }
                }
            }
        }

        // 更新参数
        context.coordinator.width = width
        context.coordinator.spacing = spacing
        context.coordinator.itemsCount = itemsCount
        context.coordinator.repeatingCount = repeatingCount
    }
}
关键点:
- 通过视图层级关系获取底层 UIScrollView:
uiView.superview?.superview?.superview - 设置
decelerationRate = .fast实现快速减速 - 使用延迟重试机制确保 ScrollView 被正确获取
3. Coordinator - 滚动逻辑核心
Coordinator 负责处理所有的滚动逻辑,包括无限循环、吸附效果、用户交互等。
3.1 无限循环边界检测
swift
func scrollViewDidScroll(_ scrollView: UIScrollView) {
    guard itemsCount > 0 else { return }
    let minX = scrollView.contentOffset.x
    let mainContentSize = CGFloat(itemsCount) * width
    let spacingSize = CGFloat(itemsCount) * spacing
    let sumLength = mainContentSize + spacingSize

    // 手动控制滚动期间,跳过边界检查,避免干扰动画
    if !isProgrammaticScrolling {
        if minX > sumLength {
            scrollView.contentOffset.x -= sumLength
        }
        if minX < 0 {
            scrollView.contentOffset.x += sumLength
        }
    }

    // 更新当前索引(对 itemsCount 取模,返回实际的索引)
    let itemWidth = width + spacing
    if itemWidth > 0 {
        let rawIndex = Int((scrollView.contentOffset.x / itemWidth).rounded())
        currentIndex = rawIndex % itemsCount
    }
}
关键点:
- 当滚动超出原始内容范围时,瞬间重置 offset
- 通过取模运算
%计算真实的索引位置 - 使用
isProgrammaticScrolling标志避免在动画过程中触发边界检查
3.2 精确的卡片吸附
swift
func scrollViewWillEndDragging(
    _ scrollView: UIScrollView,
    withVelocity velocity: CGPoint,
    targetContentOffset: UnsafeMutablePointer<CGPoint>
) {
    guard itemsCount > 0, width > 0 else { return }

    let itemWidth = width + spacing
    let targetX = targetContentOffset.pointee.x

    // 计算最近的卡片索引(考虑速度方向)
    var targetIndex = round(targetX / itemWidth)

    // 如果速度较大,倾向于滑动到下一张/上一张
    if abs(velocity.x) > 0.5 {
        if velocity.x > 0 {
            targetIndex = ceil(targetX / itemWidth)
        } else {
            targetIndex = floor(targetX / itemWidth)
        }
    }

    // 计算应该吸附到的位置
    let snapOffset = targetIndex * itemWidth

    // 修改目标偏移量
    targetContentOffset.pointee.x = snapOffset
}
关键点:
- 在
scrollViewWillEndDragging中直接修改targetContentOffset实现吸附 - 根据速度方向智能判断应该吸附到哪一张
- 速度阈值
0.5可根据需求调整
3.3 滚动到下一张
swift
func scrollToNext(animated: Bool) {
    guard let scrollView = scrollView, itemsCount > 0, isAdded else { return }

    let itemWidth = width + spacing
    let sumLength = CGFloat(itemsCount) * (width + spacing)
    let currentOffset = scrollView.contentOffset.x

    // 找到当前最接近的卡片位置
    let currentIndex = round(currentOffset / itemWidth)
    let alignedCurrentOffset = currentIndex * itemWidth

    // 计算下一张的位置
    let nextOffset = alignedCurrentOffset + itemWidth

    isProgrammaticScrolling = true

    // 检查是否会超出边界(需要循环)
    if nextOffset > sumLength {
        // 跳转到主区域的等价位置
        let normalizedAligned = alignedCurrentOffset.truncatingRemainder(dividingBy: sumLength)
        let actualAligned = normalizedAligned < 0 ? normalizedAligned + sumLength : normalizedAligned

        scrollView.contentOffset.x = actualAligned

        // 然后从新位置滚动到下一张
        let finalOffset = actualAligned + itemWidth
        scrollView.setContentOffset(CGPoint(x: finalOffset, y: 0), animated: animated)
    } else {
        // 正常滚动
        if abs(currentOffset - alignedCurrentOffset) > 0.5 {
            scrollView.contentOffset.x = alignedCurrentOffset
        }
        scrollView.setContentOffset(CGPoint(x: nextOffset, y: 0), animated: animated)
    }

    if !animated {
        isProgrammaticScrolling = false
    }
}
关键点:
- 先对齐到当前卡片位置,再滚动到下一张
- 使用
isProgrammaticScrolling标志避免触发边界检查 - 通过
truncatingRemainder计算等价位置实现循环
4. LoopingScrollController - 外部控制器
提供外部控制接口,支持手动切换、自动轮播等功能。
swift
class LoopingScrollController: ObservableObject {
    fileprivate weak var coordinator: ScrollViewHelper.Coordinator?
    private var timer: Timer?
    private var autoScrollInterval: TimeInterval = 3.0
    @Published var isAutoScrolling: Bool = false

    // 防抖相关属性
    private var lastScrollToNextTime: Date?
    private var lastScrollToPreviousTime: Date?
    private let debounceInterval: TimeInterval = 0.3

    // 滚动到下一张(带防抖)
    func scrollToNext(animated: Bool = true) {
        guard let coordinator = coordinator else { return }

        // 检查是否正在滚动或用户正在拖拽
        if coordinator.isProgrammaticScrolling || coordinator.isUserScrolling {
            return
        }

        // 时间防抖
        let currentTime = Date()
        if let lastTime = lastScrollToNextTime {
            let timeInterval = currentTime.timeIntervalSince(lastTime)
            if timeInterval < debounceInterval {
                return
            }
        }

        lastScrollToNextTime = currentTime
        coordinator.scrollToNext(animated: animated)
    }

    // 开始自动滚动
    func startAutoScroll(interval: TimeInterval = 3.0) {
        autoScrollInterval = interval
        restartAutoScroll()
    }

    // 重启自动滚动
    fileprivate func restartAutoScroll() {
        stopTimer()
        isAutoScrolling = true
        timer = Timer.scheduledTimer(
            withTimeInterval: autoScrollInterval,
            repeats: true
        ) { [weak self] _ in
            self?.scrollToNext(animated: true)
        }
    }

    // 停止自动滚动
    func stopAutoScroll() {
        stopTimer()
        isAutoScrolling = false
    }

    // 暂停定时器(用户拖拽时)
    fileprivate func pauseTimer() {
        stopTimer()
    }

    private func stopTimer() {
        timer?.invalidate()
        timer = nil
    }
}
关键点:
- 使用
Timer实现自动轮播 - 通过双重防抖机制避免重复触发:状态检查 + 时间间隔
- 用户拖拽时暂停定时器,松手后恢复
使用示例
swift
struct ExploreTopView: View {
    @StateObject private var scrollController = LoopingScrollController()
    @State private var currentBannerIndex: Int = 0

    var body: some View {
        GeometryReader { geo in
            let bannerWidth = geo.size.width * 0.6

            // 创建数据
            let items: [Item] = bannerCards.map { Item(game: $0) }

            BannerView(
                width: bannerWidth,
                spacing: 10,
                items: items,
                controller: scrollController,
                currentIndex: $currentBannerIndex
            ) { index, item in
                // 自定义卡片内容
                WebImage(url: URL(string: item.game.content_img))
                    .resizable()
                    .aspectRatio(contentMode: .fill)
                    .frame(maxWidth: .infinity, maxHeight: .infinity)
                    .clipped()
                    .cornerRadius(12)
                    .onTapGesture {
                        print("点击了第 \(index) 张卡片")
                    }
                    .overlay(
                        // 添加渐变遮罩和文字
                        VStack(alignment: .leading) {
                            Spacer()
                            Text(item.game.title)
                                .font(.headline)
                                .foregroundColor(.white)
                                .padding()
                        }
                    )
            }
            .overlay(
                // 分页指示器
                HStack(spacing: 5) {
                    ForEach(0..<items.count, id: \.self) { i in
                        Circle()
                            .fill(i == currentBannerIndex ? Color.white : Color.white.opacity(0.4))
                            .frame(width: 6, height: 6)
                    }
                }
                .padding(.bottom, 24)
                , alignment: .bottomTrailing
            )
        }
    }
}
高级用法:外部控制
swift
// 焦点控制:获得焦点时停止自动轮播
.onChange(of: isFocused) { _, newValue in
    if newValue {
        scrollController.stopAutoScroll()
    } else {
        scrollController.startAutoScroll()
    }
}

// 手柄控制:左右切换
.onReceive(viewModel.$isNeedSwiftLeft) { need in
    guard need else { return }
    scrollController.scrollToPrevious()
}
.onReceive(viewModel.$isNeedSwiftRight) { need in
    guard need else { return }
    scrollController.scrollToNext()
}

// 跳转到指定索引
Button("跳转到第3张") {
    scrollController.scrollToIndex(2, animated: true)
}
优化要点
1. 性能优化
- 使用 LazyHStack:只渲染可见区域的视图,减少内存占用
- 复制次数动态计算:根据屏幕宽度动态计算需要复制的次数,避免过度渲染
- 防抖机制:避免频繁触发滚动导致的性能问题
2. 用户体验优化
- 快速减速 :设置
decelerationRate = .fast让滑动更跟手 - 智能吸附:根据滑动速度判断应该停在哪一张
- 拖拽时暂停:用户拖拽时暂停自动轮播,松手后恢复
3. 边界情况处理
- 空数据保护 :
guard !itemsArray.isEmpty避免崩溃 - 延迟重试:确保 UIScrollView 被正确获取
- 动画期间保护 :使用
isProgrammaticScrolling标志避免冲突
总结
本文介绍了一个功能完善的 SwiftUI 无限循环轮播图实现方案,核心思路是:
- 内容复制 - 通过复制卡片实现视觉上的无限循环
- UIKit 桥接 - 利用 UIScrollView 的强大能力实现精确控制
- 边界重置 - 在滚动到边界时瞬间重置 offset
- 智能吸附 - 根据速度和位置智能判断停靠位置
- 防抖保护 - 多重防抖机制避免重复触发
相比 SwiftUI 原生的 TabView,这个方案具有更好的可控性和扩展性,适合复杂的业务场景。
完整代码已在生产环境验证,运行流畅稳定。希望这篇文章能帮助你实现更优秀的轮播图组件!
参考资料
如果觉得这篇文章对你有帮助,欢迎点赞收藏!有任何问题欢迎在评论区讨论 🎉