将mysql 的压缩包上传到
192.168.88.128 主
192.168.88.102 从
192.168.88.103 从
三台机器上
分别在三台机器上执行下面的步骤
创建用户和组
groupadd mysql
useradd -r -g mysql -s /bin/false mysql
安装依赖
yum install -y libaio numactl-libs
安装MySQL解压安装包
tar -xvf mysql-8.4.6-linux-glibc2.17-x86_64.tar -C /usr/local/
cd /usr/local
ll
-rw-r--r-- 1 7155 31415 911882512 7月 12 00:19 mysql-8.4.6-linux-glibc2.17-x86_64.tar.xz
-rw-r--r-- 1 7155 31415 81416460 7月 12 00:33 mysql-router-8.4.6-linux-glibc2.17-x86_64.tar.xz
-rw-r--r-- 1 7155 31415 452460516 7月 12 00:51 mysql-test-8.4.6-linux-glibc2.17-x86_64.tar.xz
tar -xf mysql-8.4.6-linux-glibc2.17-x86_64.tar.xz
ll
drwxr-xr-x 9 root root 129 10月 29 13:01 mysql-8.4.6-linux-glibc2.17-x86_64
mv mysql-8.4.6-linux-glibc2.17-x86_64 mysql
mkdir -p /usr/local/mysql/data
mkdir -p /usr/local/mysql/logs
chown -R mysql:mysql /usr/local/mysql
设置环境变量
echo 'export PATH=/usr/local/mysql/bin:$PATH' >> /etc/profile
source /etc/profile
以上步骤都是公用的
=======================================================
下面开始先在主(192.158.88.128)执行
vim /etc/my.cnf
加入如下内容
mysqld
基本设置
basedir=/usr/local/mysql
datadir=/usr/local/mysql/data
socket=/tmp/mysql.sock
port=3306
主从复制设置
server-id=1
log-bin=mysql-bin
binlog-format=ROW
#expire_logs_days=7(旧版本支持,8.4的版本已经不支持了,需要binlog_expire_logs_seconds 来替换)
binlog_expire_logs_seconds = 604800
binlog_cache_size=1M
max_binlog_size=100M
需要复制的数据库
binlog-do-db=test_db
不需要复制的数据库
binlog-ignore-db=mysql
其他配置
character-set-server=utf8mb4
collation-server=utf8mb4_unicode_ci
default-storage-engine=INNODB
innodb_buffer_pool_size=1G
max_connections=1000
mysql
default-character-set=utf8mb4
client
default-character-set=utf8mb4
socket=/tmp/mysql.sock
按 ESC 并输入:wq 保存
初始化主库
cd /usr/local/mysql
./bin/mysqld --initialize --user=mysql --basedir=/usr/local/mysql --datadir=/usr/local/mysql/data
此时会生成一个临时密码,需要记录下来后面使用
2025-10-29T05:23:11.366683Z 6 Note MY-010454 Server A temporary password is generated for
root@localhost: rFoAuf0AuL?g
启动主库 使用安全模式
./bin/mysqld_safe --user=mysql &
启动完成之后
如果没有报错 可以使用 ps -ef | grep mysql 来验证
使用root + 临时密码 登录
mysql -uroot -p
password: rFoAuf0AuL?g 临时密码
-- 修改root密码
ALTER USER 'root'@'localhost' IDENTIFIED BY '#Wa123456!';
FLUSH PRIVILEGES;
指定网段可以从客户端使用 root 用户 密码 #Wa123456! 访问数据库
mysql> CREATE USER 'root'@'192.168.88.%' IDENTIFIED BY '#Wa123456!';
Query OK, 0 rows affected (0.04 sec)
mysql> GRANT ALL PRIVILEGES ON *.* TO 'root'@'192.168.88.%';
Query OK, 0 rows affected (0.01 sec)
mysql> FLUSH PRIVILEGES;
Query OK, 0 rows affected (0.00 sec)
此时可以使用navcat 或者 DBveaver 等工具 ,主节点配置完成
在主库上创建用于主从复制的用户
-- 创建复制用户
CREATE USER 'repl'@'%' IDENTIFIED BY '#Wa123456!';
GRANT REPLICATION SLAVE ON *.* TO 'repl'@'%';
-- 刷新权限
FLUSH PRIVILEGES;
-- 查看主库状态
SHOW MASTER STATUS;(旧版本) 新版本 SHOW BINARY LOG STATUS;
mysql> SHOW BINARY LOG STATUS;
+------------------+----------+--------------+------------------+-------------------+
| File | Position | Binlog_Do_DB | Binlog_Ignore_DB | Executed_Gtid_Set |
+------------------+----------+--------------+------------------+-------------------+
| mysql-bin.000002 | 2551 | test_db | | |
+------------------+----------+--------------+------------------+-------------------+
1 row in set (0.00 sec)
2551 和 mysql-bin.000002 在后续从库中需要用到
============================================================
开始第一个从节点(192.168.88.102) 从库配置
vim /etc/my.cnf
mysqld
基本设置
basedir=/usr/local/mysql
datadir=/usr/local/mysql/data
socket=/tmp/mysql.sock
port=3306
主从复制设置
server-id=2
relay-log=mysql-relay-bin
read_only=1
super_read_only=1
其他配置
character-set-server=utf8mb4
collation-server=utf8mb4_unicode_ci
default-storage-engine=INNODB
innodb_buffer_pool_size=1G
max_connections=1000
mysql
default-character-set=utf8mb4
client
default-character-set=utf8mb4
socket=/tmp/mysql.sock
初始化从库
cd /usr/local/mysql
./bin/mysqld --initialize --user=mysql --basedir=/usr/local/mysql --datadir=/usr/local/mysql/data
记录临时密码
2025-10-29T06:22:04.807296Z 6 Note MY-010454 Server A temporary password is generated for
root@localhost: sqyP?+K))9u/
启动从库
./bin/mysqld_safe --user=mysql &
配置从库复制
mysql -uroot -p
password: sqyP?+K))9u/
-- 修改root密码
ALTER USER 'root'@'localhost' IDENTIFIED BY '#Wa123456!';
FLUSH PRIVILEGES;
-- 配置主从复制
CHANGE MASTER TO
MASTER_HOST='192.168.88.128',
MASTER_USER='repl',
MASTER_PASSWORD='#Wa123456!',
MASTER_LOG_FILE='mysql-bin.000002',
MASTER_LOG_POS=2551; (旧版本)
新版本完整步骤
-- 停止从库复制
STOP REPLICA; -- 或者 STOP SLAVE;
-- 设置复制源(新语法)
CHANGE REPLICATION SOURCE TO
SOURCE_HOST='192.168.88.128',
SOURCE_USER='repl',
SOURCE_PASSWORD='#Wa123456!',
SOURCE_LOG_FILE='mysql-bin.000002',
SOURCE_LOG_POS=2551;
START REPLICA;
检查状态发现报错
mysql 从库 Last_IO_Error: Error connecting to source 'repl@192.168.88.128:3306'. This was attempt 1/10, with a delay of 60 seconds between attempts. Message: Authentication plugin 'caching_sha2_password' reported error: Authentication requires secure connection.
Replica_IO_Running: Connecting 一直处于这个状态
这是还差一个参数
SOURCE_SSL=1;
将这个配置放进去重新启动复制集
CHANGE REPLICATION SOURCE TO
SOURCE_HOST='192.168.88.128',
SOURCE_USER='repl',
SOURCE_PASSWORD='#Wa123456!',
SOURCE_LOG_FILE='mysql-bin.000002',
SOURCE_LOG_POS=2551,
SOURCE_SSL=1;
-- 启动从库复制
START REPLICA; -- 或者 START SLAVE;
-- 检查复制状态
SHOW REPLICA STATUS\G -- 或者 SHOW SLAVE STATUS\G
-- 启动从库复制
START SLAVE;
-- 查看从库状态
SHOW SLAVE STATUS\G
当看到 下面两个状态都为yes时说明主从复制搭建成功了
Relay_Source_Log_File: mysql-bin.000002
Replica_IO_Running: Yes
Replica_SQL_Running: Yes
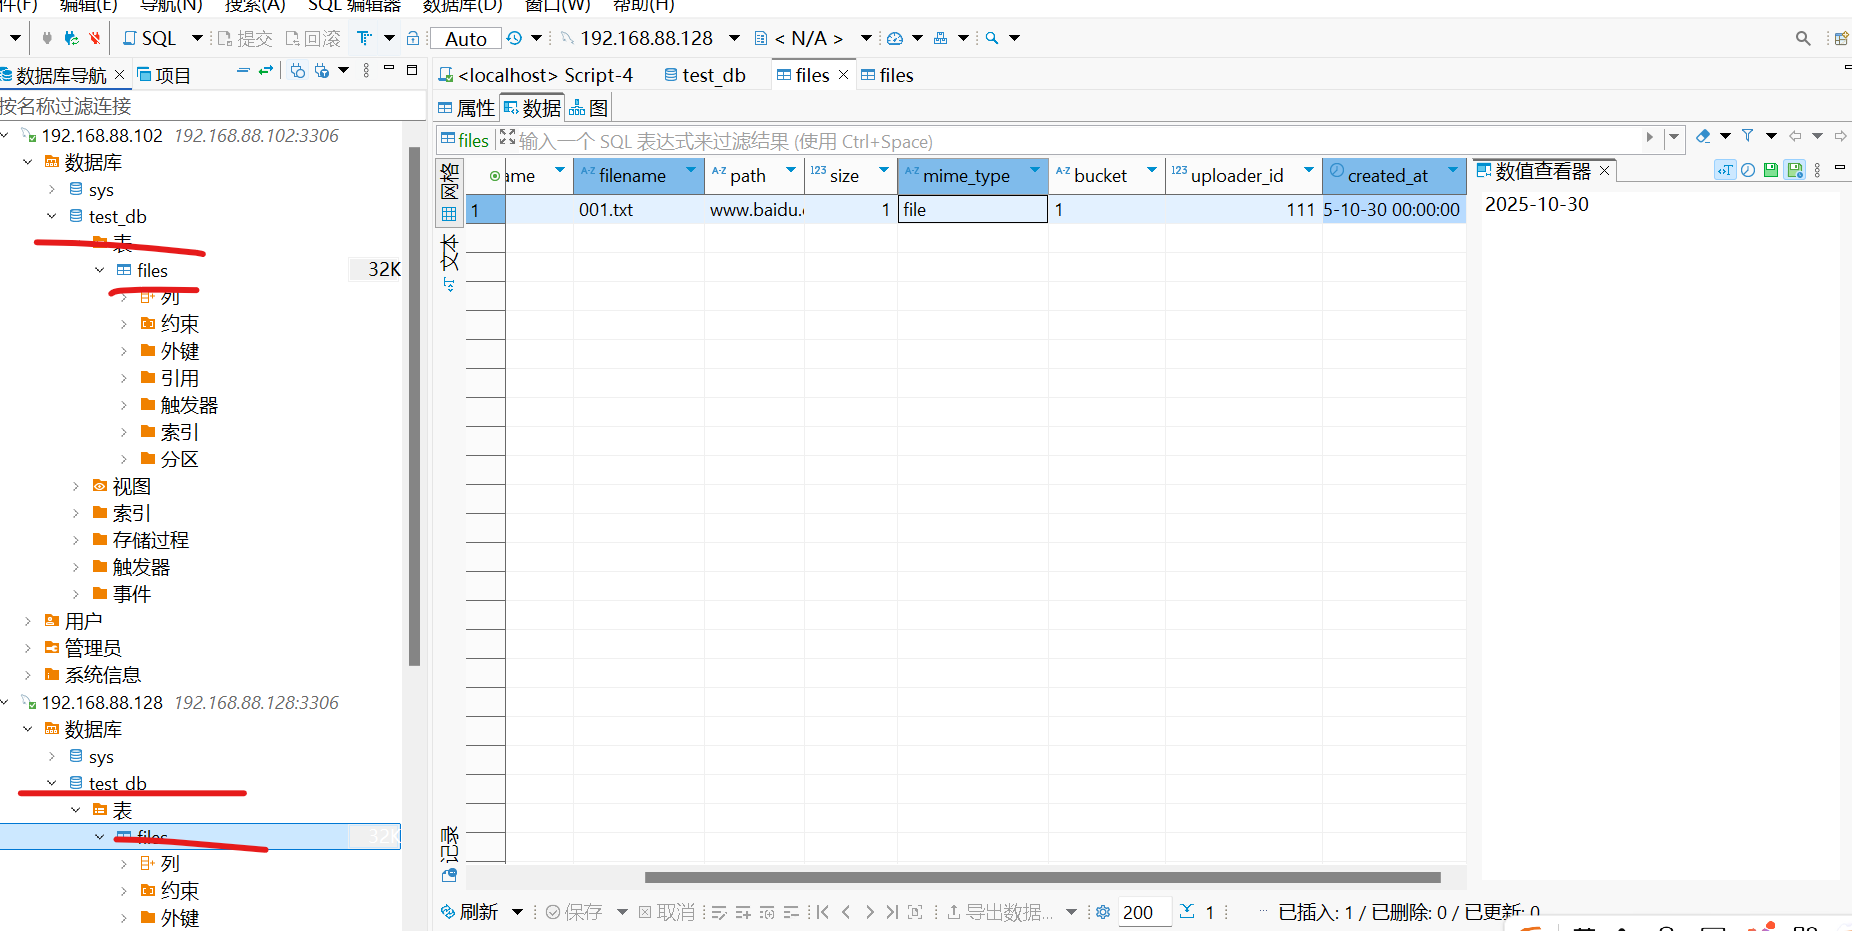
验证一把:
在主库上创建一个数据库,创建表,创建数据 检查从库是否成功同步数据
===================================================
另一个从库也是和当前这个一样 这里省略
===================================================
mysql8.4.6 设置mysqld.service 用于mysql 开机自动启动
sudo vim /etc/systemd/system/mysqld.service
Unit
Description=MySQL Server
After=network.target
Install
WantedBy=multi-user.target
Service
Type=forking
User=mysql
Group=mysql
ExecStart=/usr/local/mysql/bin/mysqld --defaults-file=/etc/my.cnf --daemonize
ExecStop=/usr/local/mysql/bin/mysqladmin -uroot -p shutdown
Restart=on-failure
RestartSec=5
TimeoutSec=300
:wq
root@hadoop \~# cat /etc/systemd/system/mysqld.service
systemctl daemon-reload
sudo systemctl stop mysqld
sudo systemctl start mysqld
sudo systemctl enable mysqld
错误处理
10月 29 16:19:14 hadoop mysqld5156: 2025-10-29T08:19:14.904603Z 0 ERROR MY-010270 Server Can't start server : Bind on unix socket: Address alread
10月 29 16:19:14 hadoop mysqld5156: 2025-10-29T08:19:14.904685Z 0 ERROR MY-010258 Server Do you already have another mysqld server running on soc
10月 29 16:19:14 hadoop mysqld5156: 2025-10-29T08:19:14.904866Z 0 ERROR MY-010119 Server Aborting
10月 29 16:19:14 hadoop mysqld5156: 2025-10-29T08:19:14.905320Z 0 ERROR MY-010946 Server Failed to start mysqld daemon. Check mysqld error log.
10月 29 16:19:14 hadoop systemd1: mysqld.service: control process exited, code=exited status=1
root@hadoop \~# cat /etc/my.cnf | grep socket
socket=/tmp/mysql.sock
socket=/tmp/mysql.sock
删除socket 文件再次重启
删除 socket 文件(先确保 MySQL 已停止)
sudo systemctl stop mysqld
sudo rm -f tmp/mysql*
sudo systemctl start mysqld
sudo systemctl enable mysqld