以下是基于Vue+Python+Orange Pi Zero3的完整视频监控方案,包含两端完整代码和详细注释,确保各环节清晰可懂。
一、整体方案架构
Orange Pi Zero3 (服务端)          Vue前端 (客户端)
┌───────────────────────┐       ┌───────────────────┐
│ 1. Python视频流服务    │       │ 1. 视频播放组件    │
│    - 读取摄像头        │◄─────►│ 2. 控制按钮        │
│    - 提供MJPEG流      │       │ 3. 状态显示        │
│    - 处理视频帧        │       │                   │
└───────────────────────┘       └───────────────────┘
二、Orange Pi端(Python服务端)
1. 环境准备
bash
# 安装依赖
sudo apt update && sudo apt upgrade -y
sudo apt install python3 python3-pip -y
# 安装Python库(opencv用于摄像头操作,flask提供web服务)
pip3 install opencv-python flask flask-cors numpy
安装过程中会报错,需要创建并激活一个独立的虚拟环境,在其中安装包(不会影响系统 Python):
bash
# 创建虚拟环境(路径可自定义,比如 ~/myenv)
python3 -m venv ~/myenv

# 激活虚拟环境
source ~/myenv/bin/activate  # Linux/Mac 系统
# 激活后命令行前会显示 (myenv) 表示成功

# 此时可正常使用 pip 安装包
pip install 你需要的包名

# 退出虚拟环境(可选)
deactivate
由于镜像问题下载的时候可能会因为超时报错,所以我选择切换仓库镜像提高下载的速率:
bash
pip install opencv-python -i https://mirrors.aliyun.com/pypi/simple/
pip install flask -i https://mirrors.aliyun.com/pypi/simple/
pip install  flask-cors -i https://mirrors.aliyun.com/pypi/simple/
pip install numpy -i https://mirrors.aliyun.com/pypi/simple/
pip install requests -i https://mirrors.aliyun.com/pypi/simple/
2. 完整Python服务代码(video_server.py)
python
# -*- coding: utf-8 -*-
import cv2  # 摄像头操作库
import numpy as np  # 图像处理
from flask import Flask, Response, jsonify  # Web服务
from flask_cors import CORS  # 解决跨域问题
import threading  # 多线程处理(避免阻塞)
import time  # 时间相关
import requests  # 发送HTTP请求

# 初始化Flask应用
app = Flask(__name__)
# 允许跨域访问(前端Vue和后端Python可能不同端口)
CORS(app, resources=r"/*")

# -------------------------- 配置参数 --------------------------
# CAMERA_INDEX = 0  # 摄像头设备索引(通常为0)
DEFAULT_WIDTH = 640  # 默认宽度
DEFAULT_HEIGHT = 480  # 默认高度
DEFAULT_FPS = 15  # 默认帧率
SERVER_PORT = 5000  # 服务端口
# --------------------------------------------------------------

# 全局变量(多线程共享)
frame = None  # 当前视频帧
is_running = False  # 摄像头运行状态
lock = threading.Lock()  # 线程锁(防止资源竞争)
current_width = DEFAULT_WIDTH
current_height = DEFAULT_HEIGHT
current_fps = DEFAULT_FPS


def capture_frames():
    """
    从摄像头捕获视频帧并进行处理
    运行在独立线程中,避免阻塞Web服务
    """
    global frame, is_running, current_width, current_height, current_fps

    CAMERA_INDEX = 0  # 摄像头设备索引(通常为0)
    # 测试0-10之间的索引(通常足够覆盖大多数情况)
    for index in range(10):
        cap = cv2.VideoCapture(index, cv2.CAP_V4L2)
        if cap.isOpened():
            print(f"找到可用摄像头,索引:{index}")
            cap.release()  # 释放资源
            CAMERA_INDEX = index
            break
        elif index == 9:
            print(f"无可用摄像头")

    # 打开摄像头
    cap = cv2.VideoCapture(CAMERA_INDEX, cv2.CAP_V4L2)
    if not cap.isOpened():
        print(f"❌ 无法打开摄像头,请检查设备是否连接(video index: {CAMERA_INDEX})")
        is_running = False
        return

    # 设置摄像头参数
    cap.set(cv2.CAP_PROP_FRAME_WIDTH, current_width)
    cap.set(cv2.CAP_PROP_FRAME_HEIGHT, current_height)
    cap.set(cv2.CAP_PROP_FPS, current_fps)

    print(f"✅ 摄像头启动成功 (分辨率: {current_width}x{current_height}, 帧率: {current_fps})")
    is_running = True

    # 用于运动检测的背景帧
    background_frame = None

    # 获取初始帧以添加IP信息水印
    ip_info = get_ip_info()  # 获取公网IP信息

    while is_running:
        # 读取一帧画面
        ret, img = cap.read()
        if not ret:
            print("⚠️ 无法获取视频帧,尝试重连...")
            time.sleep(1)
            continue

        # ---------------------- 视频处理示例 ----------------------
        # 1. 添加IP水印
        cv2.putText(
            img,
            ip_info,
            (10, 30),  # 位置
            cv2.FONT_HERSHEY_SIMPLEX,  # 字体
            0.8,  # 大小
            (0, 255, 0),  # 颜色(绿)
            2  # 线条粗细
        )
        # 2. 添加时间水印
        current_time = time.strftime("%Y-%m-%d %H:%M:%S", time.localtime())
        cv2.putText(
            img,
            current_time,
            (10, 30+30),  # 位置
            cv2.FONT_HERSHEY_SIMPLEX,  # 字体
            0.8,  # 大小
            (0, 255, 0),  # 颜色(绿)
            2  # 线条粗细
        )

        # 2. 简单运动检测(可选)
        gray = cv2.cvtColor(img, cv2.COLOR_BGR2GRAY)  # 转为灰度图
        gray = cv2.GaussianBlur(gray, (21, 21), 0)  # 模糊处理降噪

        # 初始化背景帧
        if background_frame is None:
            background_frame = gray
            continue

        # 计算当前帧与背景帧的差异
        frame_delta = cv2.absdiff(background_frame, gray)
        thresh = cv2.threshold(frame_delta, 25, 255, cv2.THRESH_BINARY)[1]
        thresh = cv2.dilate(thresh, None, iterations=2)  # 膨胀处理

        # 检测运动区域
        contours, _ = cv2.findContours(thresh.copy(), cv2.RETR_EXTERNAL, cv2.CHAIN_APPROX_SIMPLE)
        for c in contours:
            if cv2.contourArea(c) < 500:  # 忽略小面积变动(避免误判)
                continue
            (x, y, w, h) = cv2.boundingRect(c)
            cv2.rectangle(img, (x, y), (x + w, y + h), (0, 0, 255), 2)  # 画红色矩形
        # ---------------------------------------------------------

        # 线程安全地更新当前帧
        with lock:
            frame = img.copy()

        # 控制帧率(避免CPU占用过高)
        time.sleep(1.0 / current_fps)

    # 释放资源
    cap.release()
    print("🔌 摄像头已关闭")


def generate_stream():
    """
    生成MJPEG视频流
    前端通过HTTP请求获取该流并实时播放
    """
    global frame
    while True:
        with lock:
            # 检查是否有可用帧
            if frame is None:
                time.sleep(0.1)
                continue

            # 将OpenCV的BGR格式转为JPEG格式
            ret, buffer = cv2.imencode('.jpg', frame)
            if not ret:
                continue
            frame_bytes = buffer.tobytes()  # 转为字节流

        # 按照MJPEG格式协议返回(多部分替换格式)
        yield (b'--frame\r\n'
               b'Content-Type: image/jpeg\r\n\r\n' + frame_bytes + b'\r\n')

# 获取公网IP信息
def get_ip_info():
    try:
        # 访问 ipinfo.io,默认返回本机公网 IP 信息
        response = requests.get("https://ipinfo.io/json")
        response.raise_for_status()  # 检查请求是否成功
        data = response.json()

        # 提取关键信息
        # info = {
        #     "IP 地址": data.get("ip"),
        #     "国家": data.get("country"),
        #     "地区": data.get("region"),
        #     "城市": data.get("city"),
        #     "经纬度": data.get("loc"),  # 格式:纬度,经度
        #     "运营商": data.get("org"),
        #     "时区": data.get("timezone")
        # }
        # for key, value in info.items():
        #     print(f"{key}: {value}")
        return f'{data.get("country")} {data.get("region")} {data.get("city")}'
    except requests.exceptions.RequestException as e:
        print(f"查询失败:{e}")
        return None

# -------------------------- API接口 --------------------------
@app.route('/video_feed')
def video_feed():
    """视频流接口:供前端播放"""
    return Response(
        generate_stream(),
        mimetype='multipart/x-mixed-replace; boundary=frame'
    )


@app.route('/api/start', methods=['GET'])
def start_stream():
    """启动摄像头接口"""
    global is_running
    if not is_running:
        # 启动独立线程运行摄像头捕获函数
        threading.Thread(target=capture_frames, daemon=True).start()
        return jsonify({"status": "success", "message": "摄像头启动中..."})
    return jsonify({"status": "warning", "message": "摄像头已在运行"})


@app.route('/api/stop', methods=['GET'])
def stop_stream():
    """停止摄像头接口"""
    global is_running, frame
    if is_running:
        is_running = False
        frame = None  # 清空帧缓存
        return jsonify({"status": "success", "message": "摄像头已停止"})
    return jsonify({"status": "warning", "message": "摄像头未运行"})


@app.route('/api/status', methods=['GET'])
def get_status():
    """获取当前状态接口"""
    return jsonify({
        "is_running": is_running,
        "resolution": f"{current_width}x{current_height}",
        "fps": current_fps
    })


@app.route('/api/set_resolution/<int:w>/<int:h>', methods=['GET'])
def set_resolution(w, h):
    """设置分辨率接口(需要重启摄像头生效)"""
    global current_width, current_height
    # 简单验证分辨率是否合理
    if 320 <= w <= 1920 and 240 <= h <= 1080:
        current_width = w
        current_height = h
        return jsonify({"status": "success", "message": f"分辨率已设置为 {w}x{h},请重启摄像头"})
    return jsonify({"status": "error", "message": "分辨率范围无效(320-1920 x 240-1080)"})


# --------------------------------------------------------------


if __name__ == '__main__':
    print(f"🚀 视频监控服务启动中... 端口: {SERVER_PORT}")
    # 启动Web服务(host=0.0.0.0允许局域网访问)
    app.run(host='0.0.0.0', port=SERVER_PORT, debug=False)
3. 启动Python服务
bash
# 直接运行(测试用)
python3 video_server.py

# 后台运行(生产用)
nohup python3 video_server.py > /var/log/orangepi_camera.log 2>&1 &
4. 设置开机自启(可选)
创建系统服务文件:
bash
sudo nano /etc/systemd/system/orangepi-camera.service内容如下:
ini
[Unit]
Description=Orange Pi Camera Service
After=network.target

[Service]
User=orangepi
Group=orangepi
# 直接使用虚拟环境的python路径,替代系统python
ExecStart=/home/orangepi/python3/CAMERA/camera_video_server/myenv/bin/python /home/orangepi/python3/CAMERA/camera_video_server/video_server.py
WorkingDirectory=/home/orangepi/python3/CAMERA/camera_video_server
Restart=on-failure

[Install]
WantedBy=multi-user.target
启用服务:
bash
sudo systemctl enable orangepi-camera
sudo systemctl start orangepi-camera
三、Vue前端(客户端)
1. 环境准备
bash
# 创建Vue项目(如果没有)
vue create camera-monitor
cd camera-monitor

# 安装依赖(axios用于HTTP请求)
npm install axios --save
2. 完整Vue组件(src/components/CameraMonitor.vue)
vue
/**
* CameraMonitor.vue Orange Pi Zero3视频监控系统
* @Author ZhangJun
* @Date  2025/11/2 16:16
**/
<template>
  <div class="camera-monitor">
    <h1>Orange Pi Zero3视频监控系统</h1>

    <!-- 视频显示区域 -->
    <div class="video-container">
      <img
          ref="videoStream"
          class="video-feed"
          :src="streamUrl"
          alt="监控画面"
          v-if="isStreaming"
      >
      <div class="video-placeholder" v-else>
        <p>{{ placeholderText }}</p>
      </div>
    </div>

    <!-- 控制按钮区域 -->
    <div class="control-panel">
      <button
          @click="handleStart"
          :disabled="isStreaming || isLoading"
          class="btn start-btn"
      >
        <span v-if="!isLoading">启动监控</span>
        <span v-if="isLoading">启动中...</span>
      </button>

      <button
          @click="handleStop"
          :disabled="!isStreaming || isLoading"
          class="btn stop-btn"
      >
        停止监控
      </button>

      <div class="resolution-setting">
        <label>分辨率:</label>
        <select v-model="selectedResolution" @change="handleResolutionChange">
          <option value="320x240">320x240 (流畅)</option>
          <option value="640x480">640x480 (平衡)</option>
          <option value="1280x720">1280x720 (清晰)</option>
        </select>
      </div>
    </div>

    <!-- 状态信息区域 -->
    <div class="status-bar">
      <p>状态:{{ statusText }}</p>
      <p>当前分辨率:{{ currentResolution }}</p>
      <p>更新时间:{{ lastUpdateTime }}</p>
    </div>
  </div>
</template>

<script setup>
import { ref, onMounted, onBeforeUnmount } from 'vue';
import axios from 'axios';

// 核心状态
const isStreaming = ref(false);
const isLoading = ref(false);
const streamUrl = ref('');
const videoStream = ref(null);

// 配置信息
const orangePiIp = ref('127.0.0.1');
const serverPort = ref(5000);

// 显示信息
const statusText = ref('未连接');
const placeholderText = ref('请点击"启动监控"按钮开始');
const currentResolution = ref('640x480');
const selectedResolution = ref('640x480');
const lastUpdateTime = ref('');

// 定时器变量
let statusInterval= null;

orangePiIp.value=import.meta.env.VITE_SERVICE_IP

// 初始化视频流地址
const getStreamUrl = () => {
  return `http://${orangePiIp.value}:${serverPort.value}/video_feed`;
};

/** 检查摄像头当前状态 */
const checkStatus = async () => {
  try {
    const res = await axios.get(`http://${orangePiIp.value}:${serverPort.value}/api/status`);
    isStreaming.value = res.data.is_running;
    currentResolution.value = res.data.resolution;
    selectedResolution.value = res.data.resolution;
    lastUpdateTime.value = new Date().toLocaleString();
    statusText.value = isStreaming.value ? '监控中' : '已停止';
  } catch (err) {
    console.error('获取状态失败:', err);
    statusText.value = '无法连接到设备';
  }
};

/** 启动监控 */
const handleStart = async () => {
  isLoading.value = true;
  statusText.value = '正在启动摄像头...';
  try {
    const res = await axios.get(`http://${orangePiIp.value}:${serverPort.value}/api/start`);
    console.log('启动响应:', res.data);

    // 延迟刷新状态
    setTimeout(() => {
      checkStatus();
      isLoading.value = false;
    }, 1000);
  } catch (err) {
    console.error('启动失败:', err);
    statusText.value = '启动失败,请检查设备';
    isLoading.value = false;
  }
};

/** 停止监控 */
const handleStop = async () => {
  try {
    const res = await axios.get(`http://${orangePiIp.value}:${serverPort.value}/api/stop`);
    console.log('停止响应:', res.data);
    await checkStatus();
  } catch (err) {
    console.error('停止失败:', err);
    statusText.value = '停止失败';
  }
};

/** 切换分辨率 */
const handleResolutionChange = async () => {
  if (!selectedResolution.value) return;

  const [w, h] = selectedResolution.value.split('x').map(Number);
  try {
    const res = await axios.get(
        `http://${orangePiIp.value}:${serverPort.value}/api/set_resolution/${w}/${h}`
    );
    alert(res.data.message);

    // 如果正在运行,重启生效
    if (isStreaming.value) {
      await handleStop();
      setTimeout(() => handleStart(), 1000);
    }
  } catch (err) {
    console.error('设置分辨率失败:', err);
    alert('设置分辨率失败');
  }
};

// 生命周期钩子
onMounted(() => {
  streamUrl.value = getStreamUrl();
  checkStatus();
  statusInterval = setInterval(() => checkStatus(), 5000);
});

onBeforeUnmount(() => {
  if (statusInterval) {
    clearInterval(statusInterval);
  }
});
</script>

<style scoped>
/* 样式部分保持不变 */
.camera-monitor {
  max-width: 1200px;
  margin: 0 auto;
  padding: 20px;
  font-family: Arial, sans-serif;
}

h1 {
  color: #333;
  text-align: center;
  margin-bottom: 30px;
}

.video-container {
  width: 100%;
  background: #000;
  border-radius: 8px;
  overflow: hidden;
  min-height: 400px;
  position: relative;
}

.video-feed {
  width: 100%;
  height: auto;
  max-height: 800px;
}

.video-placeholder {
  width: 100%;
  height: 400px;
  display: flex;
  align-items: center;
  justify-content: center;
  color: #999;
}

.control-panel {
  margin-top: 20px;
  display: flex;
  flex-wrap: wrap;
  gap: 15px;
  align-items: center;
}

.btn {
  padding: 10px 20px;
  border: none;
  border-radius: 4px;
  cursor: pointer;
  font-size: 16px;
  transition: opacity 0.3s;
}

.btn:disabled {
  opacity: 0.6;
  cursor: not-allowed;
}

.start-btn {
  background: #4CAF50;
  color: white;
}

.stop-btn {
  background: #f44336;
  color: white;
}

.resolution-setting {
  margin-left: auto;
  display: flex;
  align-items: center;
  gap: 10px;
}

select {
  padding: 8px;
  border-radius: 4px;
  border: 1px solid #ddd;
}

.status-bar {
  margin-top: 20px;
  padding: 15px;
  background: #f5f5f5;
  border-radius: 4px;
  color: #666;
  font-size: 14px;
  display: flex;
  flex-wrap: wrap;
  gap: 20px;
}
</style>
3. 使用组件(src/App.vue)
vue
<template>
  <div id="app">
    <CameraMonitor />
  </div>
</template>

<script>
import CameraMonitor from './components/CameraMonitor.vue';

export default {
  name: 'App',
  components: {
    CameraMonitor
  }
};
</script>

<style>
#app {
  font-family: Avenir, Helvetica, Arial, sans-serif;
  -webkit-font-smoothing: antialiased;
  -moz-osx-font-smoothing: grayscale;
  text-align: center;
  color: #2c3e50;
  margin-top: 30px;
}
</style>
4. 运行前端
bash
# 开发环境运行
npm run serve

# 构建生产版本(可选)
npm run build
四、使用说明
-
配置修改:
- Python端:根据摄像头情况调整
CAMERA_INDEX(通常为0) - Vue端:在
CameraMonitor.vue中修改orangePiIp为你的Orange Pi局域网IP
- Python端:根据摄像头情况调整
-
启动流程:
- 先启动Orange Pi上的Python服务
- 再启动Vue前端,访问前端页面(默认
http://localhost:8080) - 点击"启动监控"按钮开始显示画面
-
功能说明:
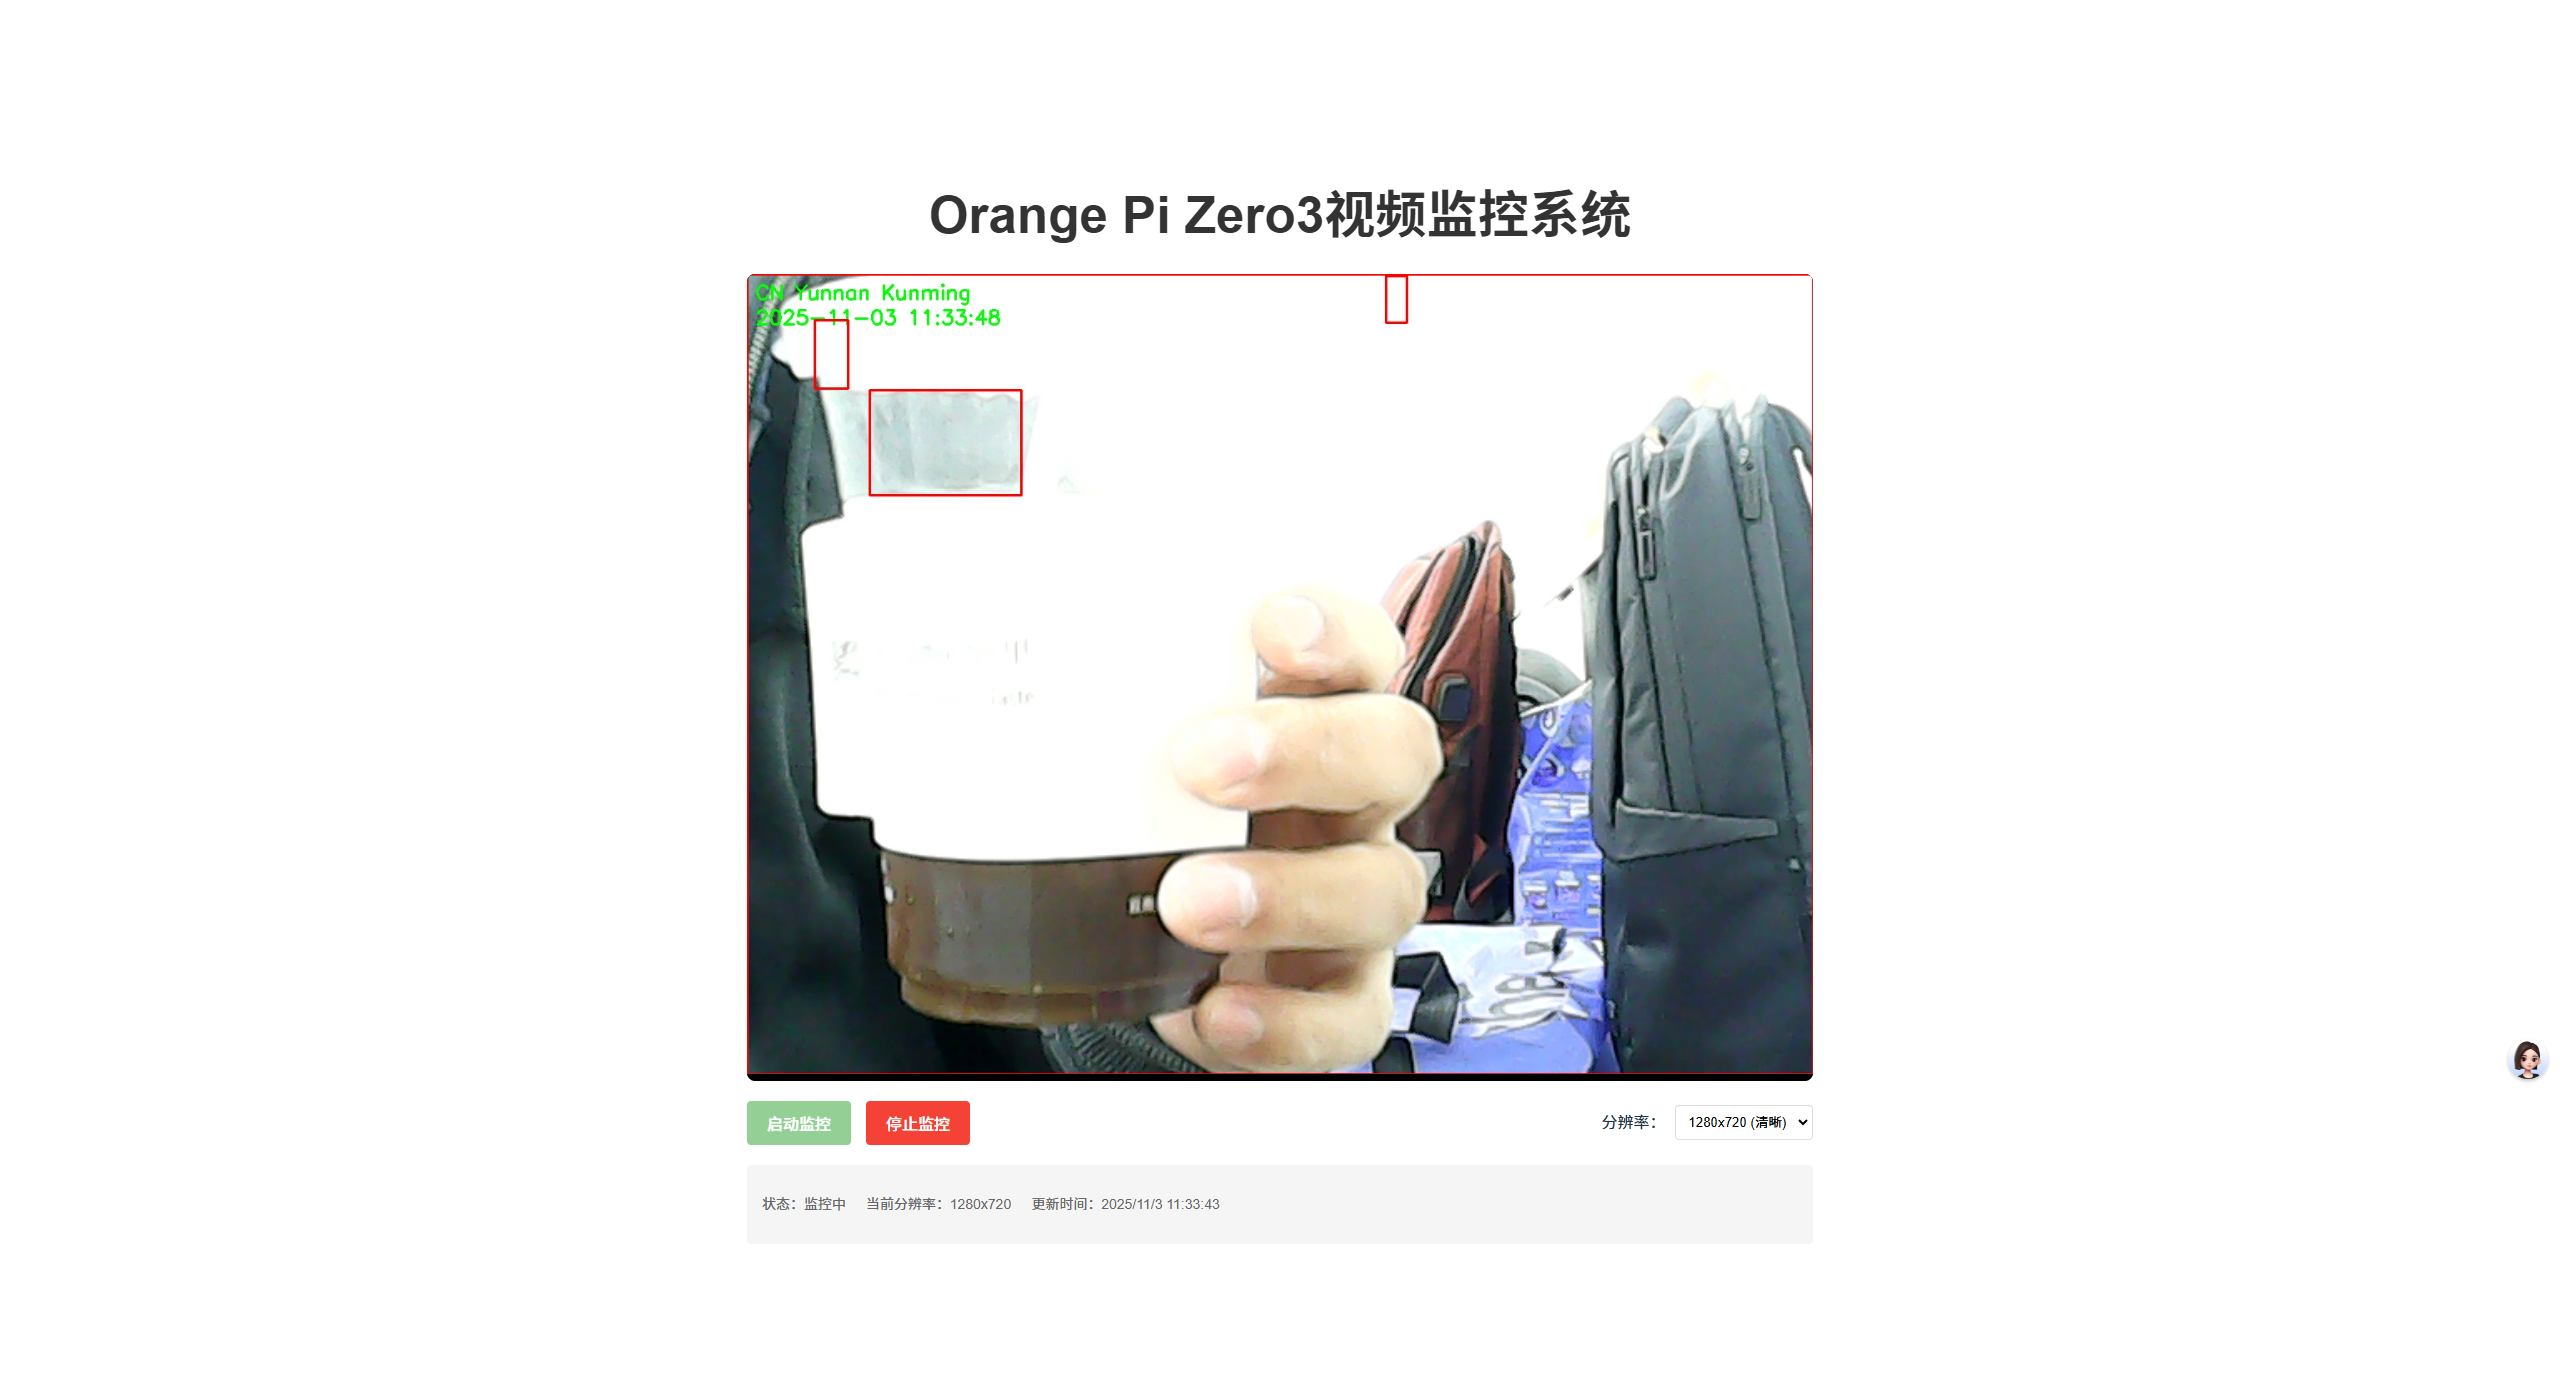
- 实时显示摄像头画面,带时间水印
- 支持运动检测(自动框选移动目标)
- 可切换分辨率(需重启生效)
- 显示当前状态和设备信息
五、常见问题解决
-
摄像头无法启动:
- 检查设备是否存在:
ls /dev/video* - 安装摄像头驱动(部分USB摄像头可能需要)
- 检查设备是否存在:
-
前端无法连接:
- 确认Orange Pi和前端设备在同一局域网
- 检查防火墙:
sudo ufw allow 5000 - 替换正确的IP地址
-
画面卡顿:
- 降低分辨率或帧率
- 检查网络稳定性(建议使用有线连接)
通过以上方案,你可以实现一个功能完整、可交互的视频监控系统,且代码结构清晰,便于后续扩展功能(如录像、截图、远程控制等)。