提示:算家云平台"青春版"模式下无法使用该框架
一、介绍
Glyph 是一个通过视觉文本压缩缩放上下文长度的框架。 Glyph 没有扩展基于标记的上下文窗口,而是将长文本序列渲染为图像并使用视觉语言模型 (VLM) 对其进行处理。 这种设计将长上下文建模的挑战转化为多模态问题,在保留语义信息的同时大幅降低了计算和内存成本。
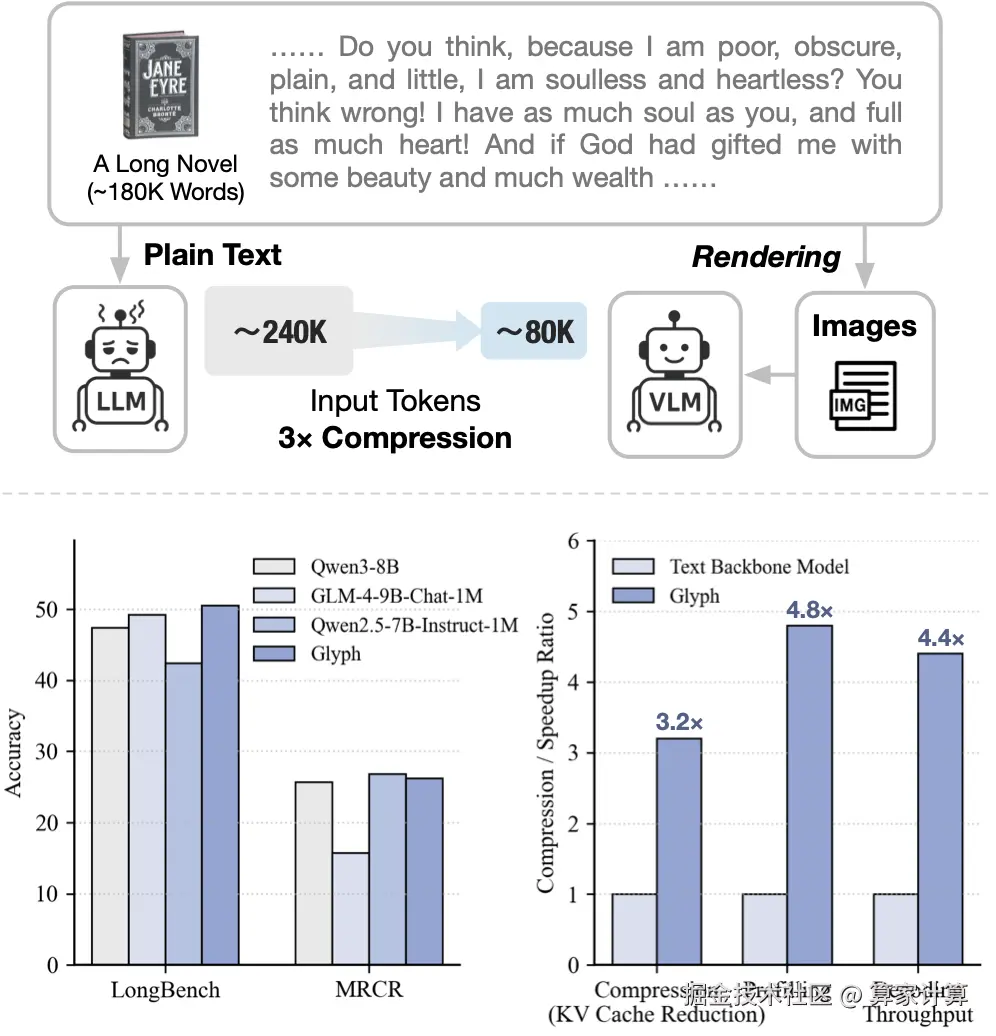
(上)长上下文任务的两种范式的比较:直接将纯文本输入 LLM 的传统方法,以及提出的基于 VLM 的范式 Glyph,它将文本渲染为紧凑的图像以实现大量的输入标记压缩。(下)Glyph 在 LongBench 和 MRCR 上获得了具有竞争力的性能,同时在 128K 令牌输入上提供了比其文本主干模型显着的压缩和推理加速。
二、本地部署步骤
部署环境
| Uubuntu | 22.04 |
|---|---|
| Cuda | 12.4 |
| Python | 3.12.2 |
| NVIDIA Corporation | rtx4090*2 |
1.更新基础的软件包
查看系统版本信息
bash
#查看系统的版本信息,包括ID(如ubuntu、centos等)、版本号、名称、版本号ID等
cat /etc/os-release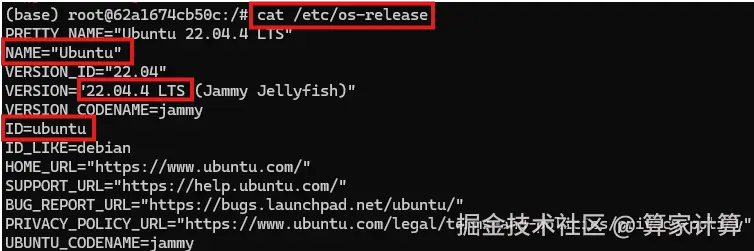
配置国内源
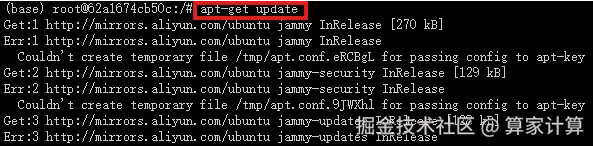
apt 配置阿里源

将以下内容粘贴进文件中
arduino
deb http://mirrors.aliyun.com/debian/ bullseye main non-free contrib
deb-src http://mirrors.aliyun.com/debian/ bullseye main non-free contrib
deb http://mirrors.aliyun.com/debian-security/ bullseye-security main
deb-src http://mirrors.aliyun.com/debian-security/ bullseye-security main
deb http://mirrors.aliyun.com/debian/ bullseye-updates main non-free contrib
deb-src http://mirrors.aliyun.com/debian/ bullseye-updates main non-free contrib
deb http://mirrors.aliyun.com/debian/ bullseye-backports main non-free contrib
deb-src http://mirrors.aliyun.com/debian/ bullseye-backports main non-free contrib
2.基础 Miniconda3 环境
查看系统是否有 miniconda 的环境
conda -V
显示如上输出,即安装了相应环境,若没有 miniconda 的环境,通过以下方法进行安装
bash
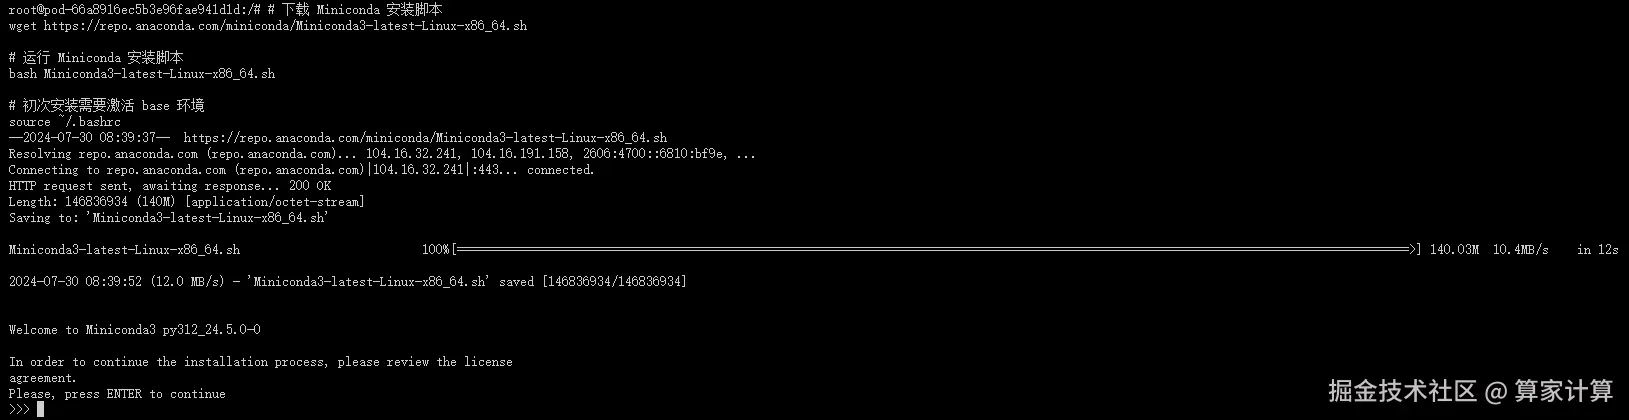
#下载 Miniconda 安装脚本
wget https://repo.anaconda.com/miniconda/Miniconda3-latest-Linux-x86_64.sh
#运行 Miniconda 安装脚本
bash Miniconda3-latest-Linux-x86_64.sh
#初次安装需要激活 base 环境
source ~/.bashrc
按下回车键(enter)
输入 yes
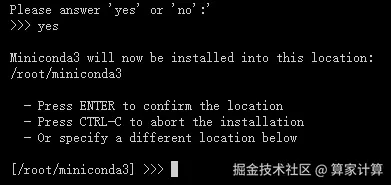
输入 yes

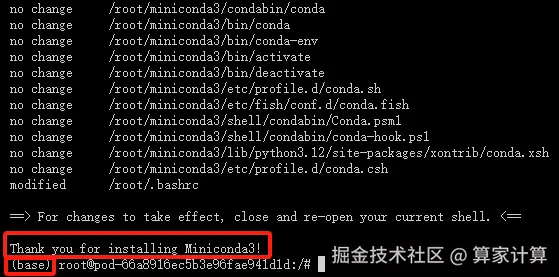
安装成功如下图所示
3.克隆项目仓库
bash
git clone https://github.com/thu-coai/Glyph.git 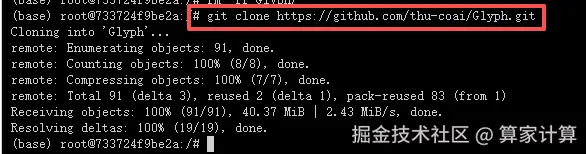
ini
apt-get install poppler-utils
pip install transformers==4.57.1
# Optional
pip install vllm==0.10.2 sglang==0.5.2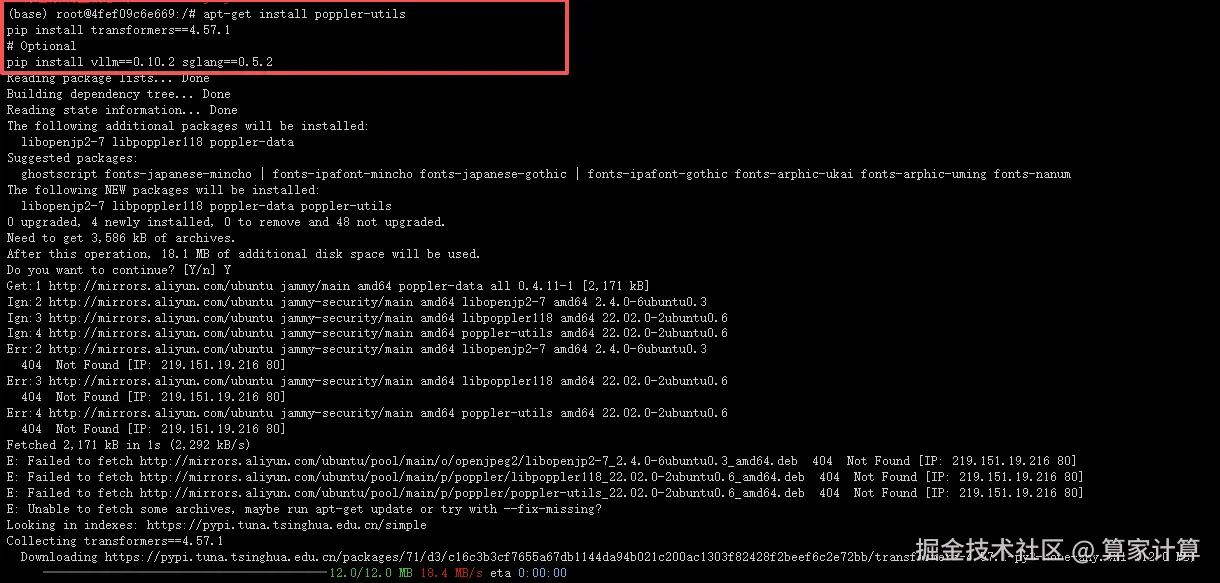
4.下载具体的模型
css
modelscope download --model ZhipuAI/Glyph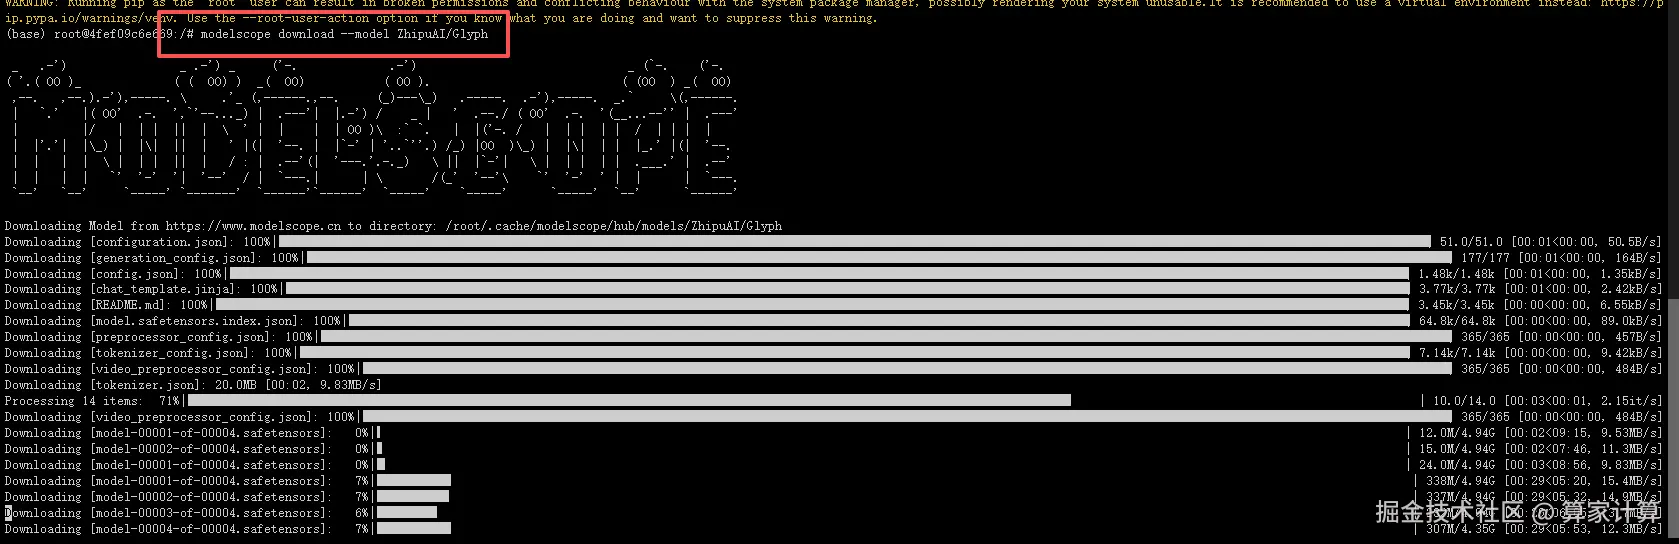
5.执行命令启动模型以及启动页面
启动模型
css
vllm serve /Glyph/Glyph --port 5002 --served-model-name glyph --allowed-local-media-path / --media-io-kwargs '{"video": {"num_frames": -1}}' --gpu-memory-utilization 0.9 --tensor-parallel-size 2
模型启动成功

启动界面
python glyph_debug.py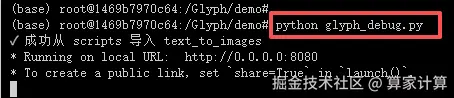
6.打开页面进行模型使用
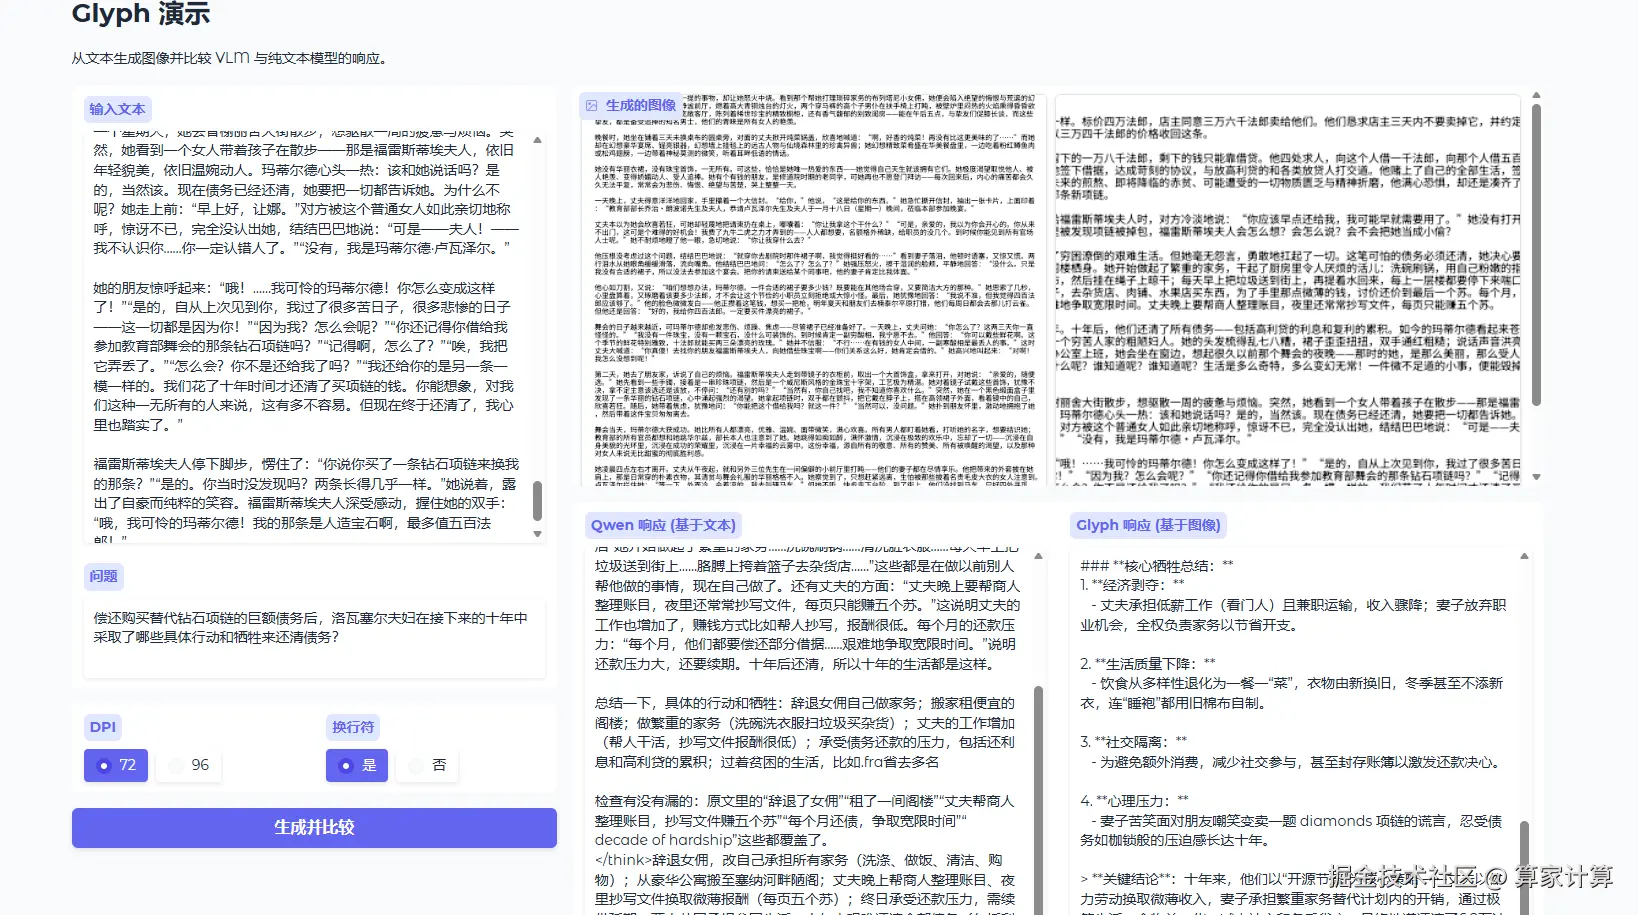
界面使用方法
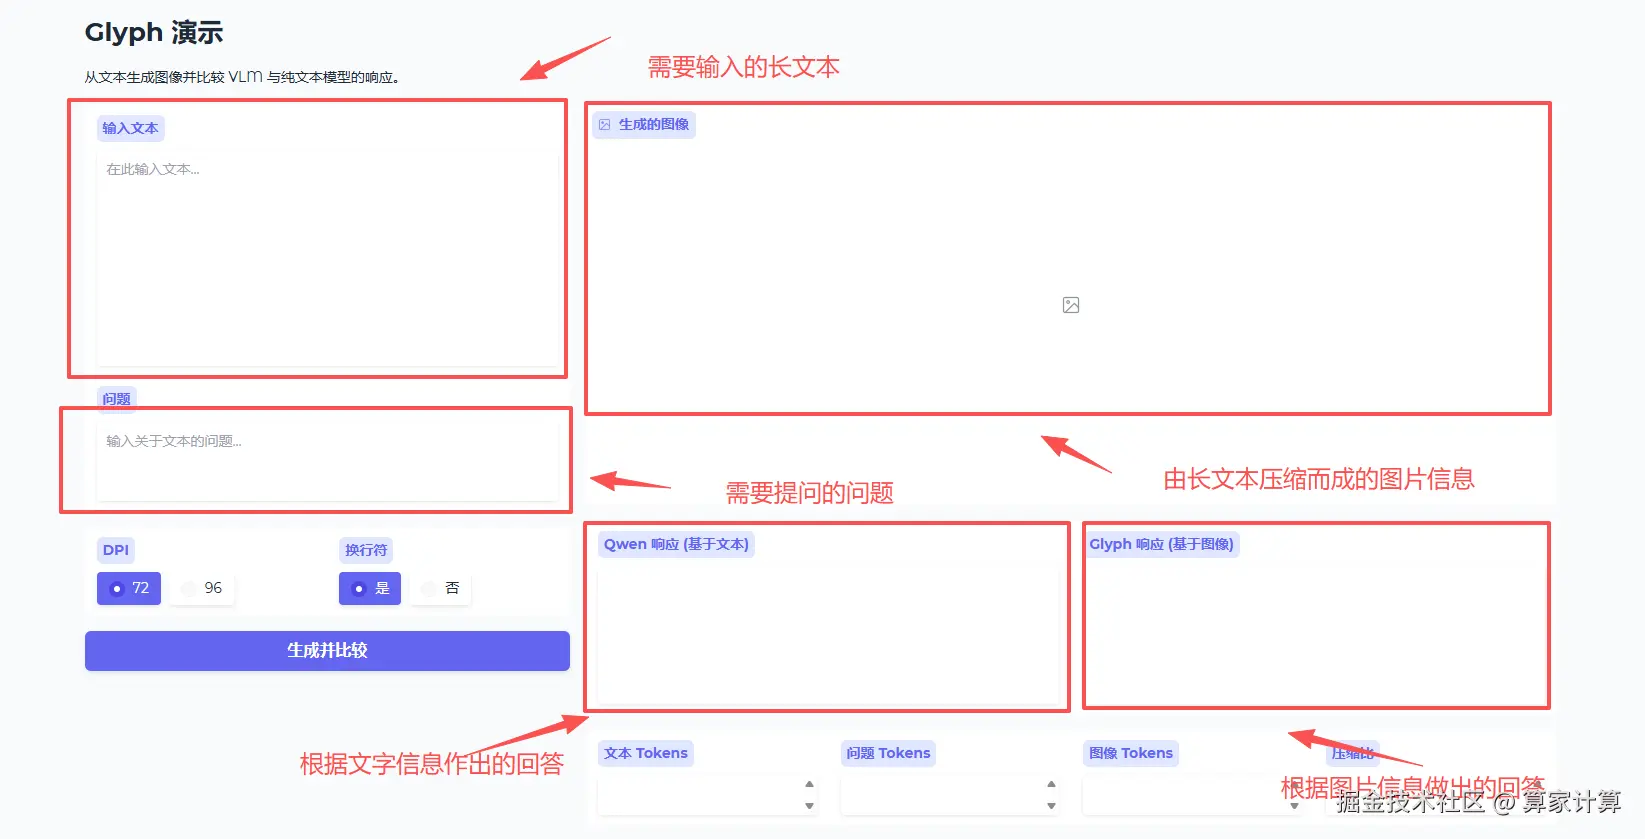
使用案例