我将创建一个展示HTML <output>标签功能和用途的交互式页面。这个标签虽然不常用,但在表单计算和结果显示方面非常强大。
设计思路
-
创建一个直观的界面,展示<output>标签的基本用法
-
实现几个实际应用场景:简单计算器、表单数据汇总、颜色混合器
-
提供清晰的代码示例和解释
-
使用现代、美观的UI设计
下面是完整的实现代码:
html
<!DOCTYPE html>
<html lang="zh-CN">
<head>
<meta charset="UTF-8">
<meta name="viewport" content="width=device-width, initial-scale=1.0">
<title>HTML隐藏宝藏:<output>标签</title>
<style>
* {
margin: 0;
padding: 0;
box-sizing: border-box;
font-family: 'Segoe UI', Tahoma, Geneva, Verdana, sans-serif;
}
body {
background: linear-gradient(135deg, #6a11cb 0%, #2575fc 100%);
color: #333;
line-height: 1.6;
padding: 20px;
min-height: 100vh;
}
.container {
max-width: 1200px;
margin: 0 auto;
}
header {
text-align: center;
color: white;
padding: 40px 0;
margin-bottom: 40px;
}
h1 {
font-size: 3rem;
margin-bottom: 10px;
text-shadow: 2px 2px 4px rgba(0, 0, 0, 0.3);
}
.subtitle {
font-size: 1.2rem;
opacity: 0.9;
max-width: 600px;
margin: 0 auto;
}
.card {
background: white;
border-radius: 12px;
box-shadow: 0 10px 30px rgba(0, 0, 0, 0.1);
padding: 30px;
margin-bottom: 30px;
transition: transform 0.3s ease, box-shadow 0.3s ease;
}
.card:hover {
transform: translateY(-5px);
box-shadow: 0 15px 35px rgba(0, 0, 0, 0.15);
}
h2 {
color: #2575fc;
margin-bottom: 20px;
border-bottom: 2px solid #f0f0f0;
padding-bottom: 10px;
}
.demo-section {
display: grid;
grid-template-columns: repeat(auto-fit, minmax(300px, 1fr));
gap: 30px;
margin-bottom: 40px;
}
.demo-box {
background: #f8f9fa;
border-radius: 10px;
padding: 20px;
border-left: 4px solid #2575fc;
}
.form-group {
margin-bottom: 15px;
}
label {
display: block;
margin-bottom: 5px;
font-weight: 600;
}
input[type="number"], input[type="range"], input[type="text"] {
width: 100%;
padding: 10px;
border: 1px solid #ddd;
border-radius: 5px;
font-size: 1rem;
}
button {
background: #2575fc;
color: white;
border: none;
padding: 12px 20px;
border-radius: 5px;
cursor: pointer;
font-size: 1rem;
transition: background 0.3s ease;
}
button:hover {
background: #1a68e3;
}
output {
display: block;
padding: 12px;
background: #e9f2ff;
border-radius: 5px;
margin-top: 10px;
font-weight: bold;
font-size: 1.1rem;
text-align: center;
border: 1px dashed #2575fc;
}
.code-example {
background: #2d2d2d;
color: #f8f8f2;
padding: 20px;
border-radius: 8px;
overflow-x: auto;
margin-top: 20px;
font-family: 'Courier New', monospace;
}
.color-box {
width: 100%;
height: 80px;
border-radius: 5px;
margin-top: 10px;
border: 1px solid #ddd;
}
.explanation {
margin-top: 40px;
}
.features {
display: grid;
grid-template-columns: repeat(auto-fit, minmax(250px, 1fr));
gap: 20px;
margin-top: 20px;
}
.feature {
background: #f0f7ff;
padding: 15px;
border-radius: 8px;
}
footer {
text-align: center;
color: white;
margin-top: 50px;
padding: 20px;
opacity: 0.8;
}
@media (max-width: 768px) {
.demo-section {
grid-template-columns: 1fr;
}
h1 {
font-size: 2.2rem;
}
}
</style>
</head>
<body>
<div class="container">
<header>
<h1>HTML隐藏宝藏:<output>标签</h1>
<p class="subtitle">探索这个被低估的HTML元素如何简化表单计算和结果显示</p>
</header>
<div class="card">
<h2>什么是<output>标签?</h2>
<p><code><output></code> 是HTML5引入的一个语义化标签,用于表示计算或用户操作的结果。它通常与表单元素结合使用,可以显示计算值、脚本执行结果或其他动态内容。</p>
<div class="features">
<div class="feature">
<h3>语义化</h3>
<p>明确表示内容是计算或操作的结果,提高代码可读性和可访问性。</p>
</div>
<div class="feature">
<h3>与表单关联</h3>
<p>使用<code>for</code>属性可以与特定表单控件关联,或使用<code>form</code>属性关联到特定表单。</p>
</div>
<div class="feature">
<h3>动态更新</h3>
<p>可以通过JavaScript轻松更新内容,适合显示实时计算结果。</p>
</div>
</div>
</div>
<h2 style="color: white; text-align: center; margin: 30px 0;">实际应用示例</h2>
<div class="demo-section">
<div class="card">
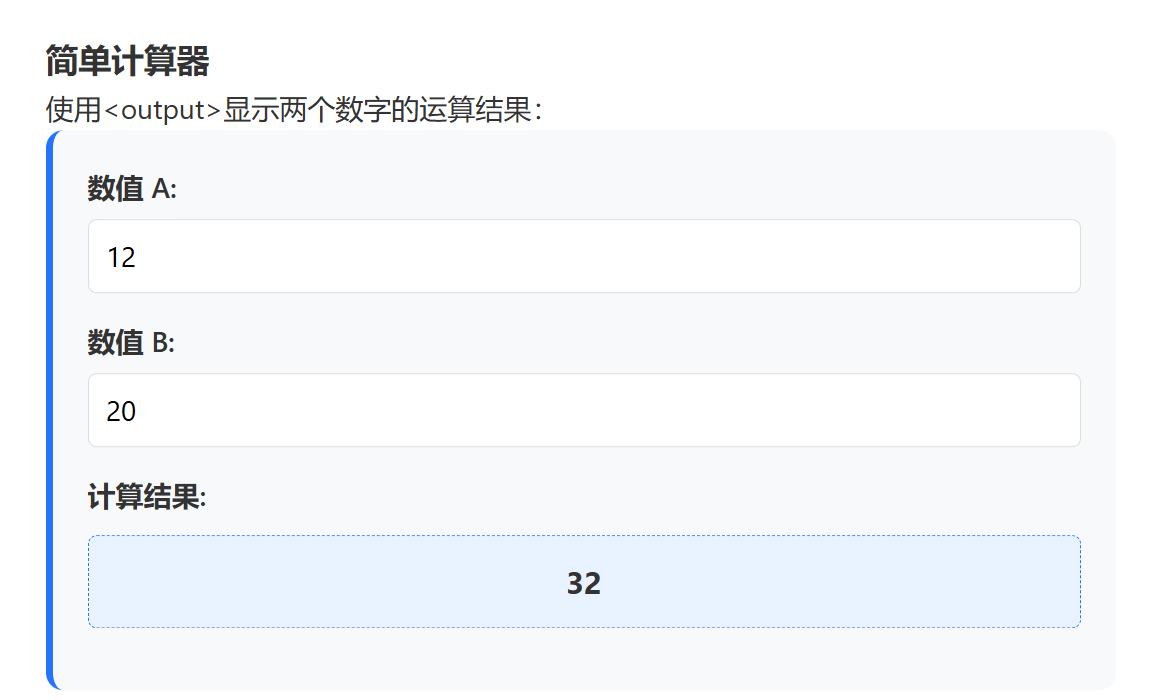
<h3>简单计算器</h3>
<p>使用<code><output></code>显示两个数字的运算结果:</p>
<div class="demo-box">
<form οninput="result1.value = parseInt(a.value) + parseInt(b.value)">
<div class="form-group">
<label for="a">数值 A:</label>
<input type="number" id="a" value="10">
</div>
<div class="form-group">
<label for="b">数值 B:</label>
<input type="number" id="b" value="20">
</div>
<div class="form-group">
<label>计算结果:</label>
<output name="result1" for="a b">30</output>
</div>
</form>
</div>
<div class="code-example">
<form οninput="result1.value = parseInt(a.value) + parseInt(b.value)"><br>
<input type="number" id="a" value="10"><br>
<input type="number" id="b" value="20"><br>
<output name="result1" for="a b">30</output><br>
</form>
</div>
</div>
<div class="card">
<h3>范围滑块与显示</h3>
<p>使用<code><output></code>实时显示滑块的值:</p>
<div class="demo-box">
<form οninput="result2.value = range.value">
<div class="form-group">
<label for="range">选择数值: <output name="result2">50</output></label>
<input type="range" id="range" value="50" min="0" max="100">
</div>
</form>
</div>
<div class="code-example">
<form οninput="result2.value = range.value"><br>
<label for="range"><br>
选择数值: <output name="result2">50</output><br>
</label><br>
<input type="range" id="range" value="50" min="0" max="100"><br>
</form>
</div>
</div>
<div class="card">
<h3>颜色混合器</h3>
<p>使用<code><output></code>显示RGB颜色混合结果:</p>
<div class="demo-box">
<form οninput="
colorDisplay.style.backgroundColor = `rgb(${red.value}, ${green.value}, ${blue.value})`;
rgbValue.value = `RGB(${red.value}, ${green.value}, ${blue.value})`;
">
<div class="form-group">
<label for="red">红色 (R): <output id="redValue">128</output></label>
<input type="range" id="red" value="128" min="0" max="255">
</div>
<div class="form-group">
<label for="green">绿色 (G): <output id="greenValue">128</output></label>
<input type="range" id="green" value="128" min="0" max="255">
</div>
<div class="form-group">
<label for="blue">蓝色 (B): <output id="blueValue">128</output></label>
<input type="range" id="blue" value="128" min="0" max="255">
</div>
<div class="form-group">
<label>混合结果:</label>
<div class="color-box" id="colorDisplay" style="background-color: rgb(128, 128, 128);"></div>
<output name="rgbValue" for="red green blue" id="rgbValue">RGB(128, 128, 128)</output>
</div>
</form>
</div>
<div class="code-example">
<form οninput="<br>
colorDisplay.style.backgroundColor = `rgb(${red.value}, ${green.value}, ${blue.value})`;<br>
rgbValue.value = `RGB(${red.value}, ${green.value}, ${blue.value})`;"><br>
...<br>
<output name="rgbValue" for="red green blue">RGB(128, 128, 128)</output><br>
</form>
</div>
</div>
</div>
<div class="card explanation">
<h2>为什么使用<output>标签?</h2>
<div class="features">
<div class="feature">
<h3>语义清晰</h3>
<p>与使用<code><div></code>或<code><span></code>相比,<code><output></code>明确表示该元素包含计算或用户操作的结果,使代码更易理解。</p>
</div>
<div class="feature">
<h3>内置关联</h3>
<p><code>for</code>属性允许您指定与输出结果相关的输入元素,增强表单元素之间的语义关系。</p>
</div>
<div class="feature">
<h3>更好的可访问性</h3>
<p>屏幕阅读器可以识别<code><output></code>元素的用途,为用户提供更好的体验。</p>
</div>
</div>
<h3 style="margin-top: 30px;">注意事项</h3>
<ul style="padding-left: 20px; margin-top: 10px;">
<li><code><output></code>元素默认是行内元素,但可以通过CSS改变显示方式</li>
<li>与表单关联时,输出值不会随表单一起提交</li>
<li>在现代浏览器中支持良好,但旧版浏览器可能需要polyfill</li>
</ul>
</div>
<footer>
<p>HTML隐藏宝藏系列 - <output>标签示例</p>
<p>探索更多被低估的HTML元素,提升您的Web开发技能!</p>
</footer>
</div>
<script>
// 为颜色混合器添加实时数值更新
document.addEventListener('DOMContentLoaded', function() {
const redSlider = document.getElementById('red');
const greenSlider = document.getElementById('green');
const blueSlider = document.getElementById('blue');
const redValue = document.getElementById('redValue');
const greenValue = document.getElementById('greenValue');
const blueValue = document.getElementById('blueValue');
redSlider.addEventListener('input', function() {
redValue.textContent = this.value;
});
greenSlider.addEventListener('input', function() {
greenValue.textContent = this.value;
});
blueSlider.addEventListener('input', function() {
blueValue.textContent = this.value;
});
});
</script>
</body>
</html>功能亮点
-
直观的演示:展示了三个实际使用场景
-
简单计算器:两个数字相加
-
范围滑块:实时显示滑块值
-
颜色混合器:RGB颜色混合与显示
-
-
代码示例:每个演示都附带相应的HTML代码
-
响应式设计:适配各种屏幕尺寸
-
现代UI:使用卡片式布局、渐变背景和悬停效果
-
语义化解释:详细说明了<output>标签的优势和用途
这个页面不仅展示了<output>标签的功能,还解释了为什么它是有用的HTML元素,以及如何在真实场景中使用它。