在Canvas绘图的世界里,理解坐标系统是绘制一切图形的基础。就像在地图上找位置需要经纬度一样,在Canvas中绘制图形也需要精确的坐标定位。今天,我们将深入探索Canvas的坐标系统,并学习如何利用这个系统绘制线条和圆形------这两种构成复杂图形的基本元素。
Canvas坐标系统
基本概念
Canvas使用基于左上角的二维笛卡尔坐标系,这与我们数学中常见的坐标系有所不同:
- 原点(0,0) :位于画布的左上角
- X轴:向右为正方向
- Y轴:向下为正方向
HTML
<!DOCTYPE html>
<html lang="zh-CN">
<head>
    <meta charset="UTF-8">
    <meta name="viewport" content="width=device-width, initial-scale=1.0">
    <title>Canvas坐标系统演示</title>
    <style>
        canvas {
            border: 1px solid #333;
            background: #f9f9f9;
        }
    </style>
</head>
<body>
    <canvas id="coordinateCanvas" width="600" height="400"></canvas>

    <script>
        const canvas = document.getElementById('coordinateCanvas');
        const ctx = canvas.getContext('2d');

        // 绘制坐标轴
        ctx.strokeStyle = '#333';
        ctx.lineWidth = 1;

        // X轴
        ctx.beginPath();
        ctx.moveTo(0, 200);
        ctx.lineTo(600, 200);
        ctx.stroke();

        // Y轴
        ctx.beginPath();
        ctx.moveTo(300, 0);
        ctx.lineTo(300, 400);
        ctx.stroke();

        // 标记原点
        ctx.fillStyle = 'red';
        ctx.fillRect(298, 198, 4, 4);
        ctx.fillText('原点 (0,0)', 310, 190);

        // 标记坐标点示例
        ctx.fillStyle = 'blue';
        ctx.fillRect(100, 100, 4, 4); // 点(100,100)
        ctx.fillText('(100,100)', 110, 90);

        ctx.fillStyle = 'green';
        ctx.fillRect(400, 300, 4, 4); // 点(400,300)
        ctx.fillText('(400,300)', 410, 290);
    </script>
</body>
</html>
绘制线条
基本语法
绘制线条需要使用路径(Path) API,遵循以下步骤:
beginPath()- 开始新路径moveTo(x, y)- 移动到起点lineTo(x, y)- 绘制到终点stroke()- 描边路径
线条样式属性:
| 属性名 | 说明 | 可选值/示例 |
|---|---|---|
lineWidth |
设置线条的宽度(单位:像素) | 3、5、10 |
strokeStyle |
设置线条的颜色或样式 | 'red'、'#ff0000'、'rgba(255,0,0,0.5)' |
lineCap |
设置线条末端的样式 | 'butt'(平直)、'round'(圆形)、'square'(方形) |
lineJoin |
设置两条线段连接处的样式 | 'miter'(尖角)、'round'(圆角)、'bevel'(斜角) |
setLineDash() |
设置虚线模式 | [5, 3](5px实线,3px空白) |
绘制圆形和圆弧
基本语法
Canvas使用arc()方法绘制圆形和圆弧:
javascript
ctx.arc(x, y, radius, startAngle, endAngle, anticlockwise);属性说明:
| 参数名 | 说明 | 例子 |
|---|---|---|
x |
圆心的X坐标 | 100 |
y |
圆心的Y坐标 | 150 |
radius |
圆的半径 | 50 |
startAngle |
起始角度(弧度制) | 0 |
endAngle |
结束角度(弧度制) | Math.PI * 2 |
anticlockwise |
绘制方向 | false |
角度与弧度转换
Canvas使用弧度制而非角度制:
- 180° = π 弧度
- 360° = 2π 弧度
- 转换公式:
弧度 = 角度 * (Math.PI / 180)
代码示例:绘制完整圆形,圆形边框,半圆,四分之一圆,复杂圆弧(扇形),使用arcTo绘制圆角
HTML
<!DOCTYPE html>
<html lang="zh-CN">
<head>
    <meta charset="UTF-8">
    <meta name="viewport" content="width=device-width, initial-scale=1.0">
    <title>Canvas圆形绘制</title>
    <style>
        canvas {
            border: 1px solid #333;
            background: #fff;
        }
    </style>
</head>
<body>
    <canvas id="circleCanvas" width="600" height="400"></canvas>

    <script>
        const canvas = document.getElementById('circleCanvas');
        const ctx = canvas.getContext('2d');

        // 示例1:绘制完整圆形(填充)
        ctx.beginPath();
        ctx.arc(100, 100, 60, 0, Math.PI * 2); // 完整圆形
        ctx.fillStyle = 'rgba(52, 152, 219, 0.7)';
        ctx.fill();

        // 示例2:绘制圆形边框
        ctx.beginPath();
        ctx.arc(250, 100, 60, 0, Math.PI * 2);
        ctx.strokeStyle = '#e74c3c';
        ctx.lineWidth = 5;
        ctx.stroke();

        // 示例3:绘制半圆
        ctx.beginPath();
        ctx.arc(400, 100, 60, 0, Math.PI); // 0到π = 180度
        ctx.fillStyle = '#2ecc71';
        ctx.fill();

        // 示例4:绘制四分之一圆
        ctx.beginPath();
        ctx.arc(100, 250, 60, 0, Math.PI / 2); // 0到π/2 = 90度
        ctx.strokeStyle = '#f39c12';
        ctx.lineWidth = 5;
        ctx.stroke();

        // 示例5:绘制复杂圆弧(扇形)
        ctx.beginPath();
        ctx.moveTo(250, 250); // 移动到圆心
        ctx.arc(250, 250, 60, Math.PI / 4, Math.PI * 1.5); // 45度到270度
        ctx.closePath(); // 连接回圆心形成扇形
        ctx.fillStyle = 'rgba(155, 89, 182, 0.7)';
        ctx.fill();

        // 示例6:使用arcTo绘制圆角
        ctx.beginPath();
        ctx.moveTo(350, 200);
        ctx.arcTo(450, 200, 450, 300, 30); // 创建圆角
        ctx.lineTo(450, 300);
        ctx.strokeStyle = '#34495e';
        ctx.lineWidth = 3;
        ctx.stroke();

        // 添加说明文字
        ctx.fillStyle = '#333';
        ctx.font = '12px Arial';
        ctx.fillText('完整圆形', 80, 180);
        ctx.fillText('圆形边框', 230, 180);
        ctx.fillText('半圆', 385, 180);
        ctx.fillText('四分之一圆', 75, 330);
        ctx.fillText('扇形', 240, 330);
        ctx.fillText('arcTo圆角', 370, 330);
    </script>
</body>
</html>
圆弧绘制方法
- arc() - 绘制标准圆弧,最常用
- arcTo() - 通过两个控制点绘制圆弧,适合创建圆角
- ellipse() - 绘制椭圆弧(可控制椭圆半径和旋转)
综合示例:绘制简单笑脸
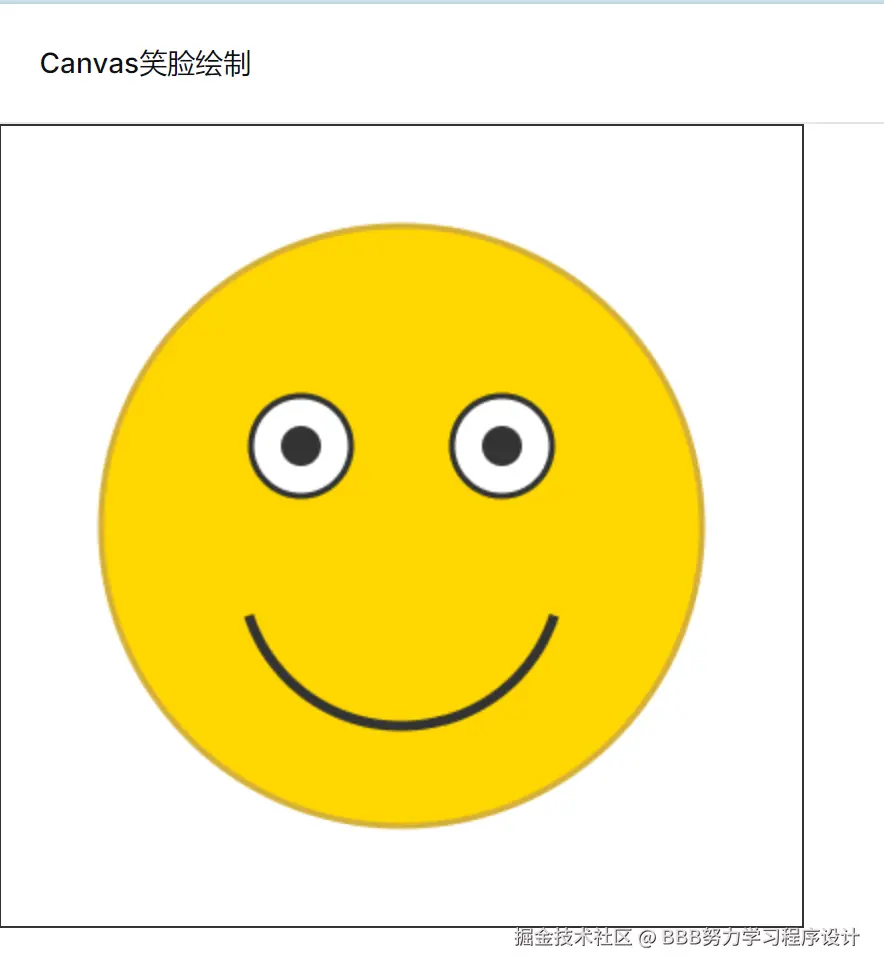
HTML
<!DOCTYPE html>
<html lang="zh-CN">
<head>
    <meta charset="UTF-8">
    <meta name="viewport" content="width=device-width, initial-scale=1.0">
    <title>Canvas笑脸绘制</title>
    <style>
        canvas {
            border: 1px solid #333;
            background: #fff;
        }
    </style>
</head>
<body>
    <canvas id="smileyCanvas" width="400" height="400"></canvas>

    <script>
        const canvas = document.getElementById('smileyCanvas');
        const ctx = canvas.getContext('2d');

        // 绘制脸部(圆形)
        ctx.beginPath();
        ctx.arc(200, 200, 150, 0, Math.PI * 2);
        ctx.fillStyle = '#FFD700'; // 金黄色
        ctx.fill();
        ctx.strokeStyle = '#D4AF37';
        ctx.lineWidth = 3;
        ctx.stroke();

        // 绘制左眼
        ctx.beginPath();
        ctx.arc(150, 160, 25, 0, Math.PI * 2);
        ctx.fillStyle = 'white';
        ctx.fill();
        ctx.strokeStyle = '#333';
        ctx.stroke();

        // 绘制左眼珠
        ctx.beginPath();
        ctx.arc(150, 160, 10, 0, Math.PI * 2);
        ctx.fillStyle = '#333';
        ctx.fill();

        // 绘制右眼
        ctx.beginPath();
        ctx.arc(250, 160, 25, 0, Math.PI * 2);
        ctx.fillStyle = 'white';
        ctx.fill();
        ctx.strokeStyle = '#333';
        ctx.stroke();

        // 绘制右眼珠
        ctx.beginPath();
        ctx.arc(250, 160, 10, 0, Math.PI * 2);
        ctx.fillStyle = '#333';
        ctx.fill();

        // 绘制嘴巴(微笑弧线)
        ctx.beginPath();
        ctx.arc(200, 220, 80, 0.1 * Math.PI, 0.9 * Math.PI); // 微笑弧度
        ctx.strokeStyle = '#333';
        ctx.lineWidth = 5;
        ctx.stroke();
    </script>
</body>
</html>
总结
Canvas绘图的三个核心基础:
- 坐标系统:理解基于左上角的坐标系是精确定位的基础
- 线条绘制:学会使用路径API创建直线、折线和虚线
- 圆形绘制 :掌握使用
arc()方法绘制圆形、圆弧和扇形