文章目录
- 一、硬件要求和前置条件
- [二、Ubuntu 安装](#二、Ubuntu 安装)
- 三、新建虚拟机
- [四、安装编译 AOSP 所需的环境和依赖包](#四、安装编译 AOSP 所需的环境和依赖包)
- [五、安装 Repo](#五、安装 Repo)
- 六、初始化源代码仓库
- 七、同步代码
- [八、安装 JDK](#八、安装 JDK)
- 九、编译
- 十、编译错误处理
一、硬件要求和前置条件
- 运行内存:16G 以上
- 硬盘:300G 以上
- VMware 虚拟机
二、Ubuntu 安装
- 版本对应:
- Android 6.0 (Marshmallow) -- AOSP master: Ubuntu 14.04 (Trusty)
- Android 2.3.x (Gingerbread) -- Android 5.x (Lollipop): Ubuntu 12.04 (Precise)
- Android 1.5 (Cupcake) -- Android 2.2.x (Froyo): Ubuntu 10.04 (Lucid)
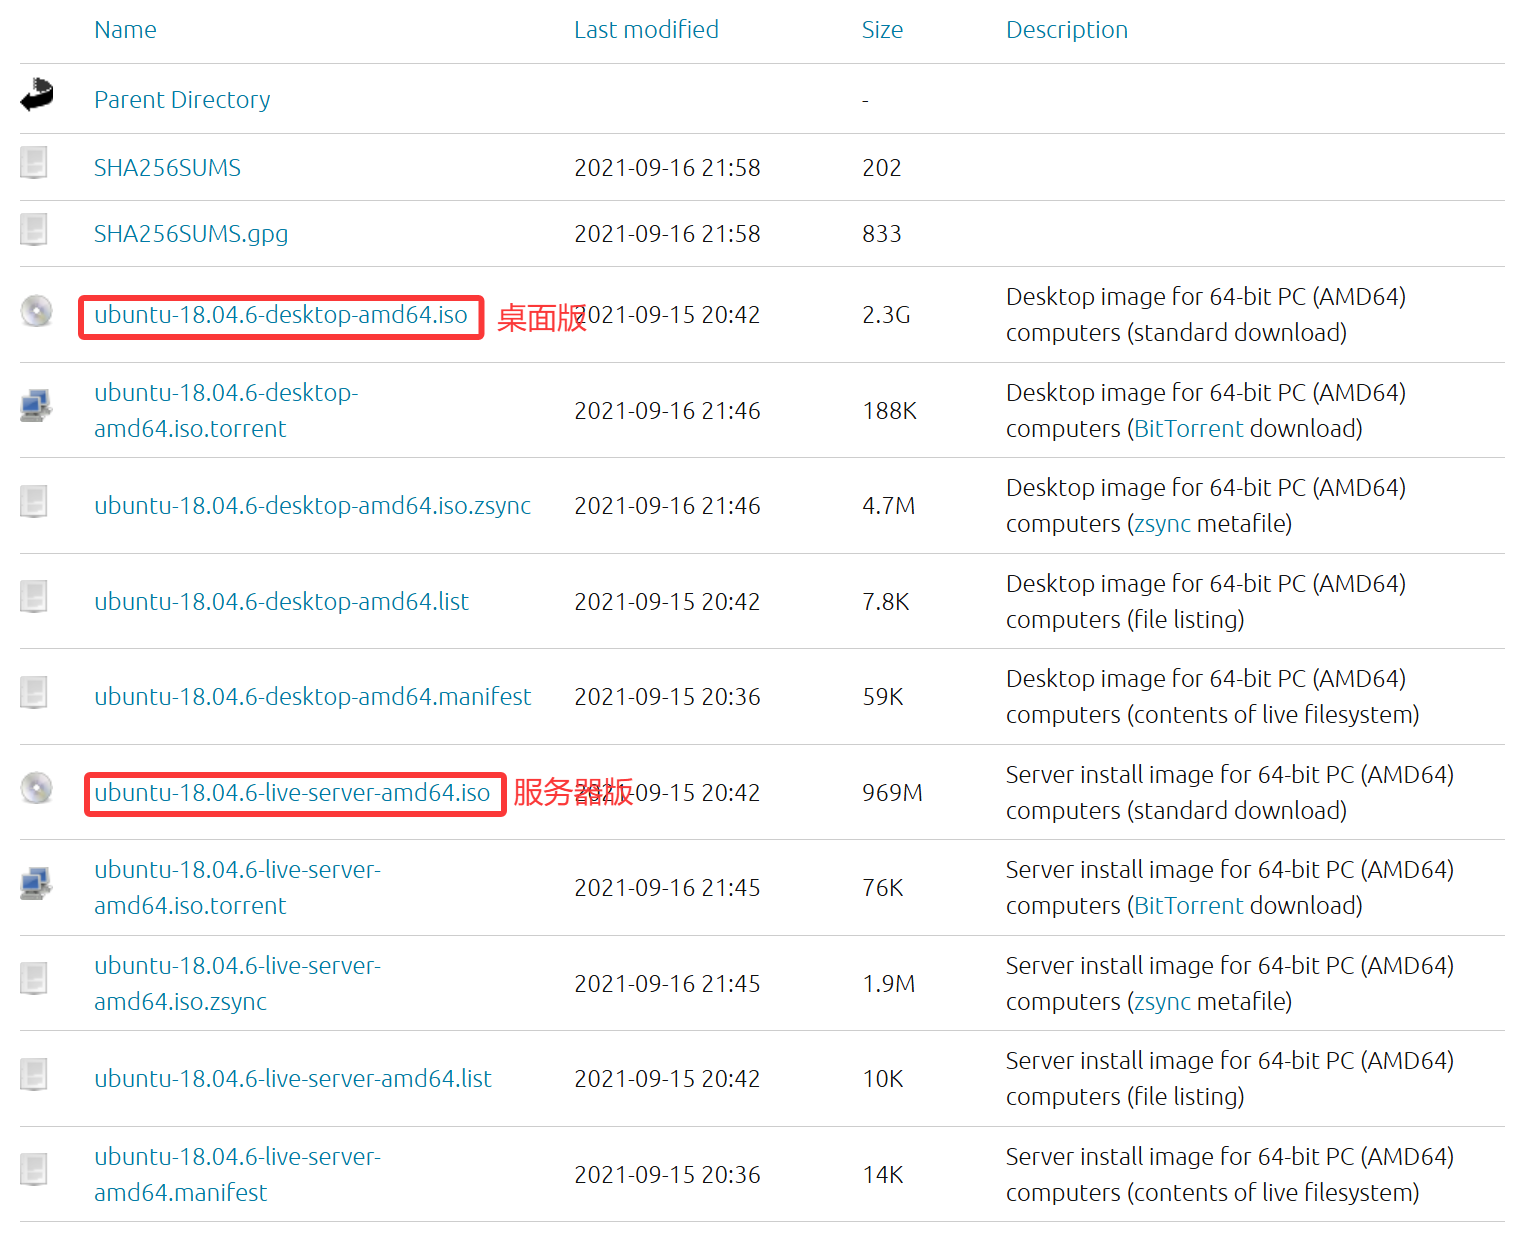
- 下载网址:
https://cn.ubuntu.com/download,根据自己情况下载桌面版或服务器版,根据所需查找对应版本。这里我用 18.04 版本来做演示,对应网址为:https://releases.ubuntu.com/18.04/,只需要下载对应 iso 文件即可
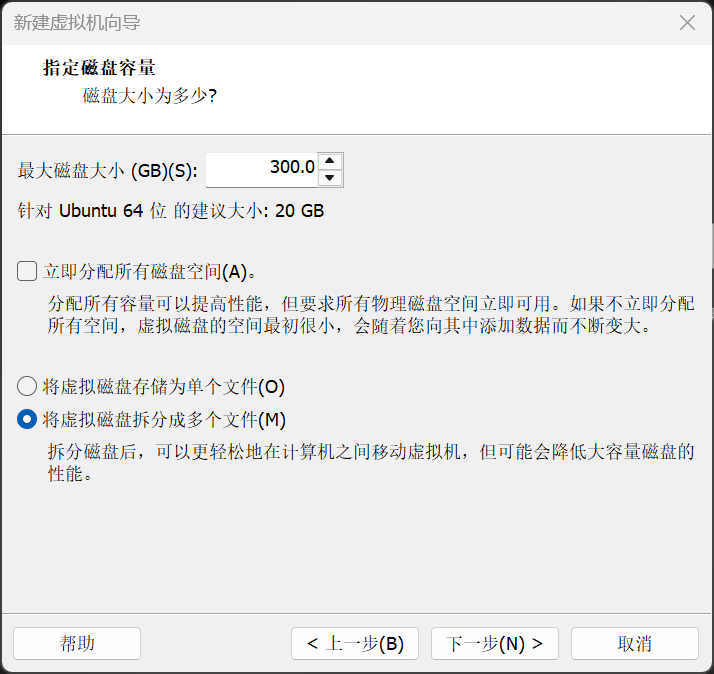
三、新建虚拟机
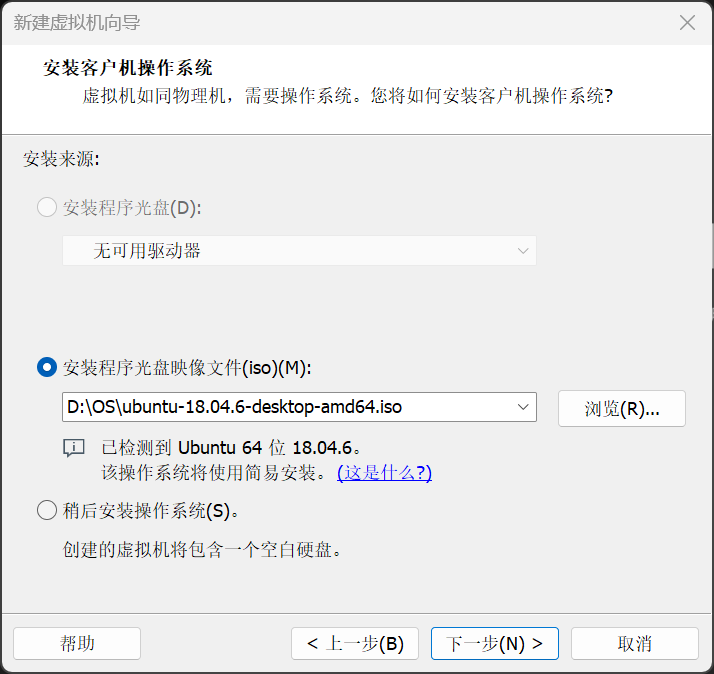
该步骤网上有大量的相关教程,就不在此细说,主要提醒几个重要的地方
- 选择刚刚下载的对应镜像(根据自己的路径)
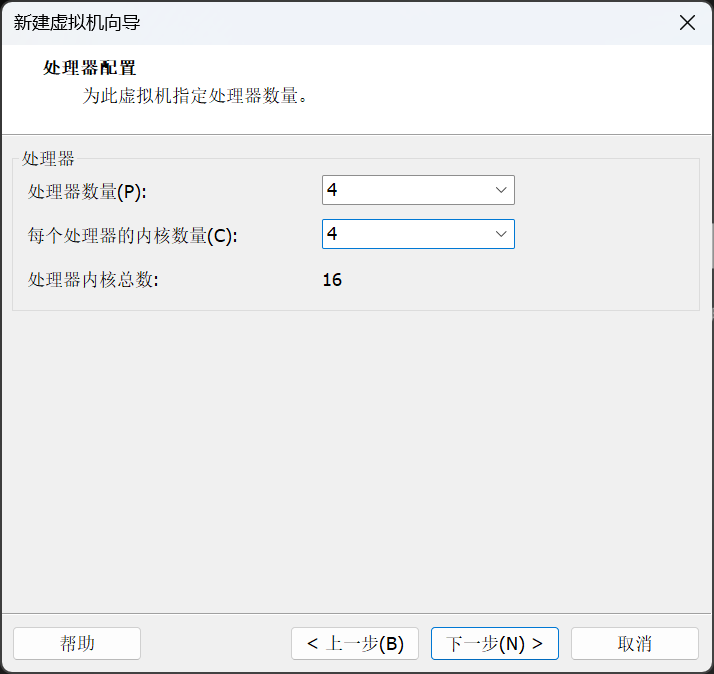
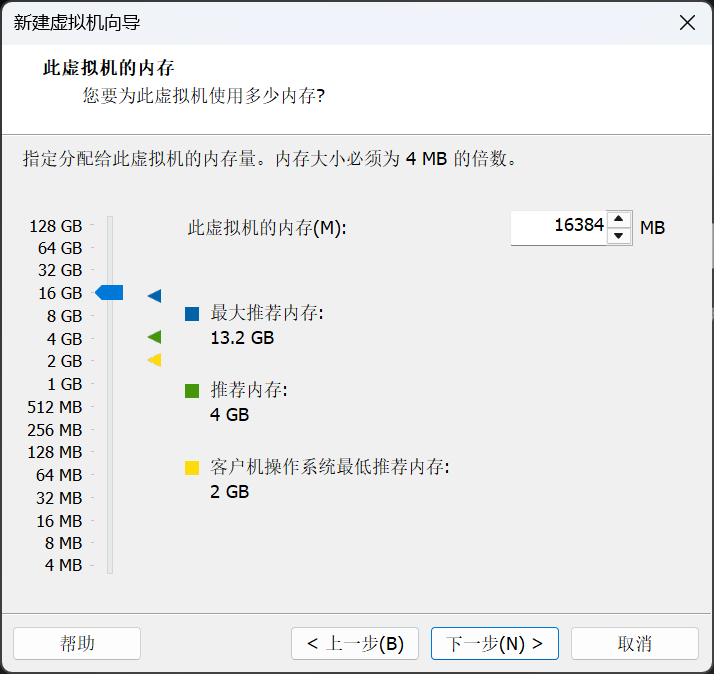
- 处理器配置和虚拟机内存可以根据自己电脑配置选择(CPU 核数可以在设备管理器中查看)
- 磁盘容量设置 300G
四、安装编译 AOSP 所需的环境和依赖包
- 打开虚拟机终端,输入以下命令:(下面命令对应版本为 18.04,如果是其他版本需要自己在安卓源码官网查找)
shell
sudo apt-get install git-core gnupg flex bison build-essential zip curl zlib1g-dev gcc-multilib g++-multilib libc6-dev-i386 lib32z1-dev libncurses5-dev x11proto-core-dev libx11-dev lib32z1-dev libgl1-mesa-dev libxml2-utils xsltproc unzip fontconfig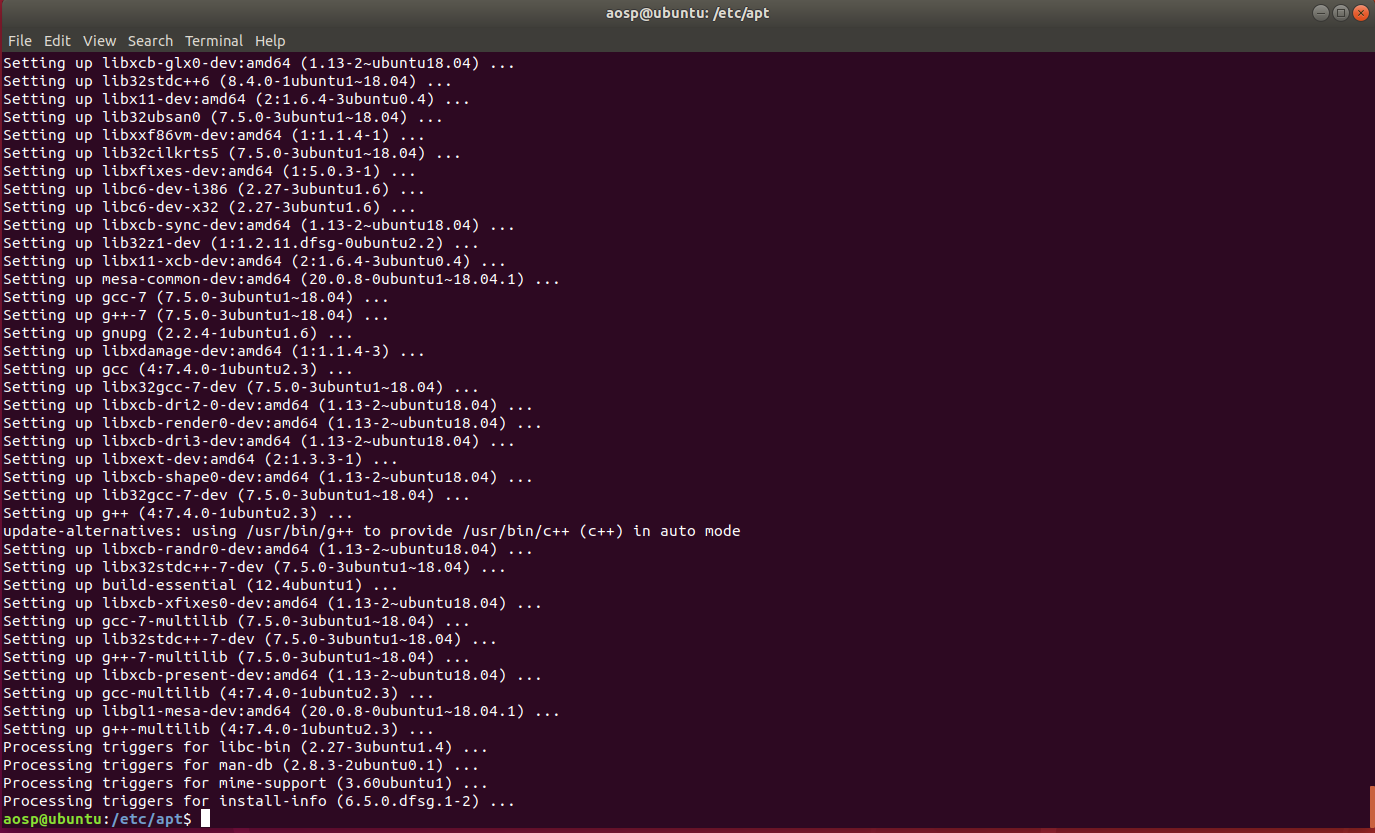
-
如果安装失败,如何换源:
- 打开 source.list 文件对应文件夹
shellcd /etc/apt/- 备份 source.list 文件
shellsudo cp source.list source.list.bak- 编辑 source.list 文件
shellsudo vi source.list- 按
i进入插入模式,插入以下镜像源(中科院)
shelldeb https://mirrors.ustc.edu.cn/ubuntu/ bionic main restricted universe multiverse deb https://mirrors.ustc.edu.cn/ubuntu/ bionic-updates main restricted universe multiverse deb https://mirrors.ustc.edu.cn/ubuntu/ bionic-backports main restricted universe multiverse deb https://mirrors.ustc.edu.cn/ubuntu/ bionic-security main restricted universe multiverse deb https://mirrors.ustc.edu.cn/ubuntu/ bionic-proposed main restricted universe multiverse deb-src https://mirrors.ustc.edu.cn/ubuntu/ bionic main restricted universe multiverse deb-src https://mirrors.ustc.edu.cn/ubuntu/ bionic-updates main restricted universe multiverse deb-src https://mirrors.ustc.edu.cn/ubuntu/ bionic-backports main restricted universe multiverse deb-src https://mirrors.ustc.edu.cn/ubuntu/ bionic-security main restricted universe multiverse deb-src https://mirrors.ustc.edu.cn/ubuntu/ bionic-proposed main restricted universe multiverse- 按
ESC,接着输入:wq保存退出 - 更新
shellsudo apt get update
五、安装 Repo
Repo 是 Google 为了高效管理上百个 Git 仓库而开发的封装工具,它通过一个清单文件统一控制版本,让你能用一条命令同步所有项目代码。
- 安装 Python
shell
sudo apt-get install python- 创建一个 bin 目录
shell
mkdir ~/bin- 把 bin 添加到环境变量中去
shell
PATH=~/bin:$PATH- 下载 Repo,并且修改它的权限
shell
curl https://storage.googleapis.com/git-repo-downloads/repo > ~/bin/repo- 修改其权限,使其可执行
shell
chmod a+x ~/bin/repo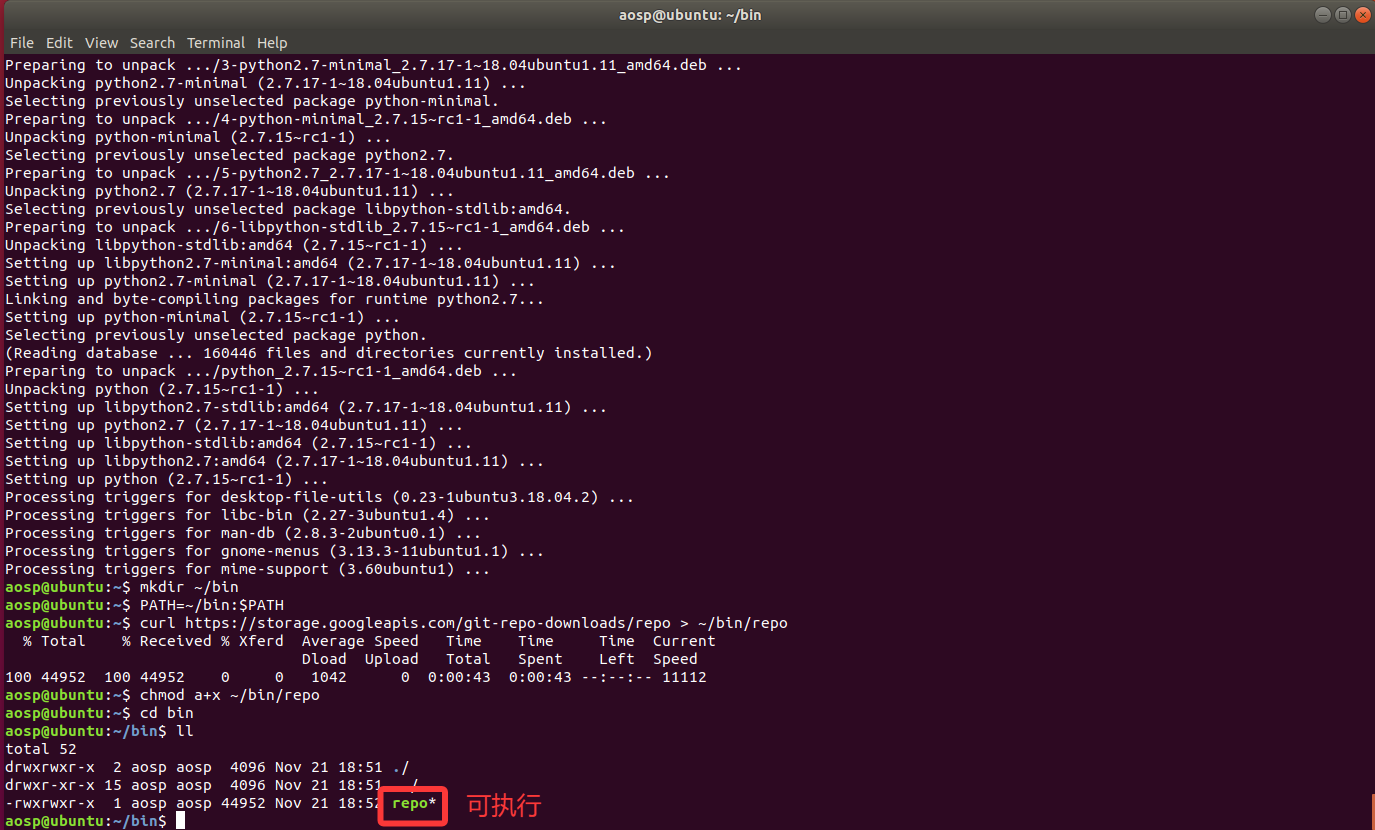
- 打开
~/.bashrc
shell
vi ~/.bashrc- 改 Repo 的更新使用源,其中添加以下代码
shell
export REPO_URL='https://mirrors.tuna.tsinghua.edu.cn/git/git-repo'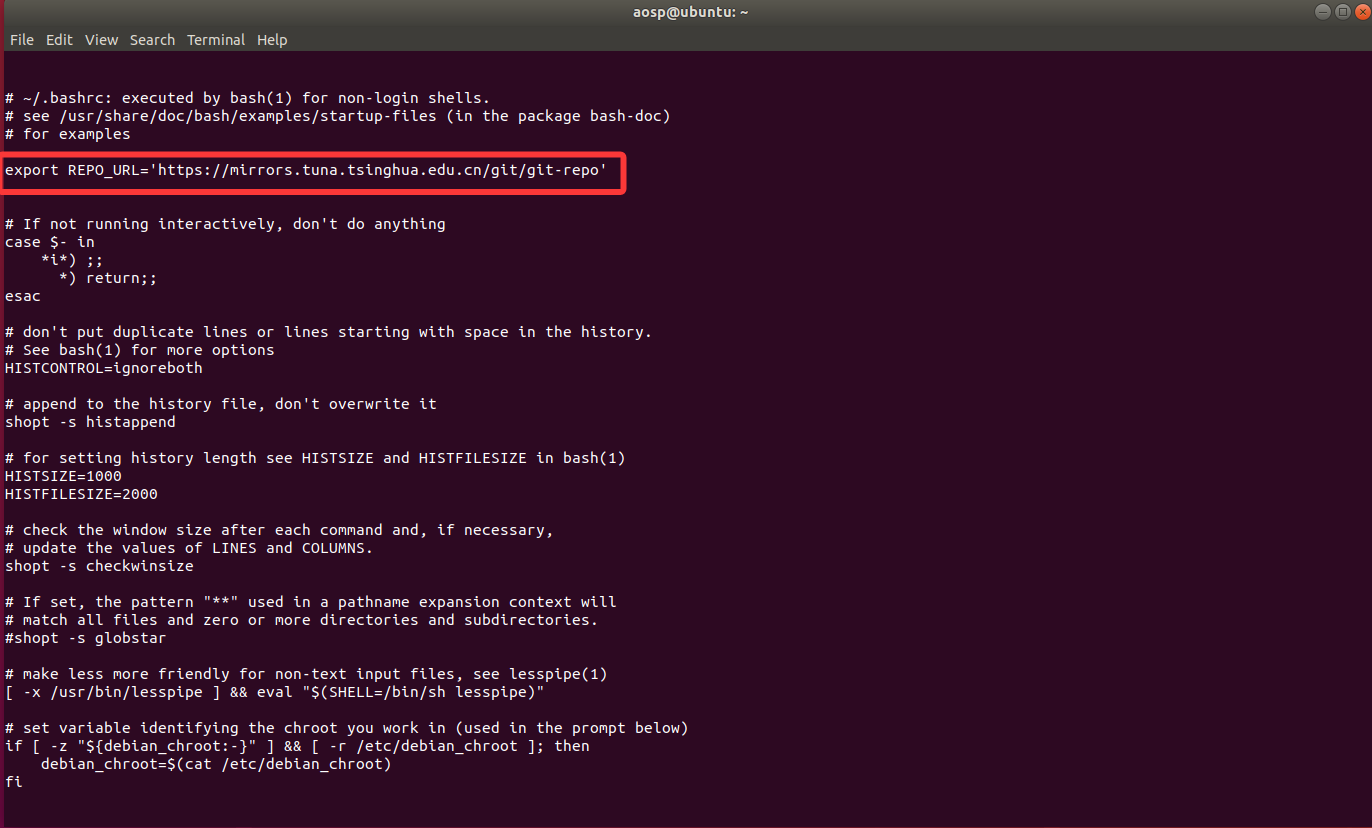
- 重新打开终端
六、初始化源代码仓库
- 创新目录,并进入
shell
mkdir android5.1
cd android5.1/- 设置邮箱和名称(随便写)
shell
git config --global user.email "aosp@user.com"
git config --global user.name "aosp"- 初始化仓库(可根据自己需求选择版本)
shell
repo init -u https://mirrors.tuna.tsinghua.edu.cn/git/AOSP/platform/manifest -b android-5.1.1_r38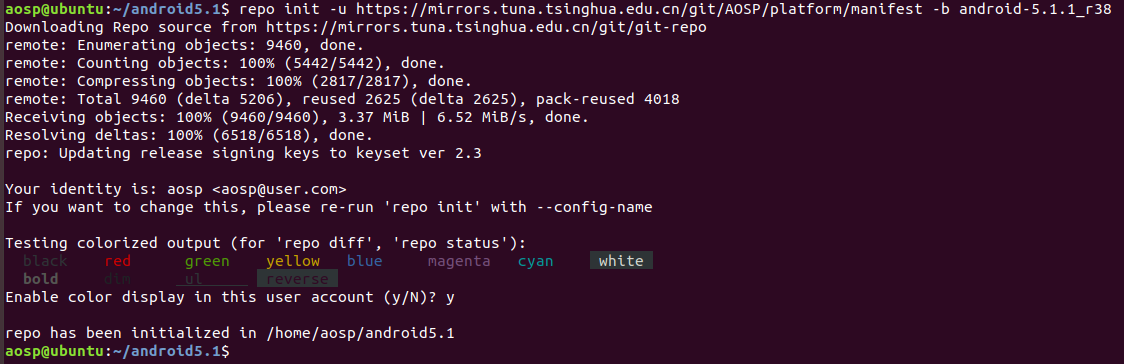
七、同步代码
- 在
~/android5.1文件里输入
shell
repo sync -j4- 如果此处报错
Could not resolve host: mirrors.tuna.tsinghua.edu.cn,是因为本地 DNS 代理失效,可以直接使用公共DNS,跳过问题
shell
sudo cp /etc/resolv.conf /etc/resolv.conf.backup

sudo bash -c 'cat > /etc/resolv.conf << EOF
nameserver 8.8.8.8
nameserver 114.114.114.114
nameserver 223.5.5.5
options timeout:2
options attempts:2
EOF'

:wq #保存- 这里问题可能会比较多,需要根据自己情况进行处理,如果下载不了可以参考这篇文章
https://zwc365.com/2020/08/30/android10-baiduwangpan,直接从网盘进行下载,解压的时候报错可以用p7zip -d android-5.1.0_r3.7z,p7zip兼容性有时候会更好一些
八、安装 JDK
- 创建文件夹
~/devTools,存放 JDK
shell
mkdir devTools
cd devTools- 下载对应版本的 JDK(本例子中对应的是 1.7 版本,必须是 Linux 版本,不要下载错了),放到
~/devTools文件夹中 - 解压
shell
tar -xvf jdk-7u80-linux-x64.tar.gz- 打开
~/.profile
shell
vi .profile- 添加环境变量,将以下语句添加进入
~/.profile
shell
#JAVA_HOME
export JAVA_HOME=/home/aosp/devTools/jdk1.7.0_80
export PATH=$PATH:$JAVA_HOME/bin- 使配置生效
shell
source ~/.profile
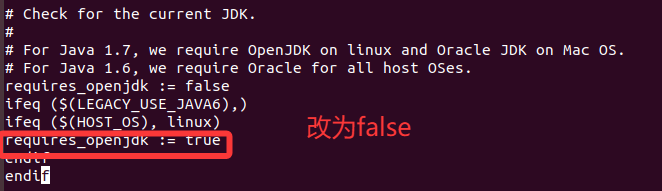
- 解决必须使用 OpenJDK 的问题,找到对应文件
shell
vi ./build/core/main.mk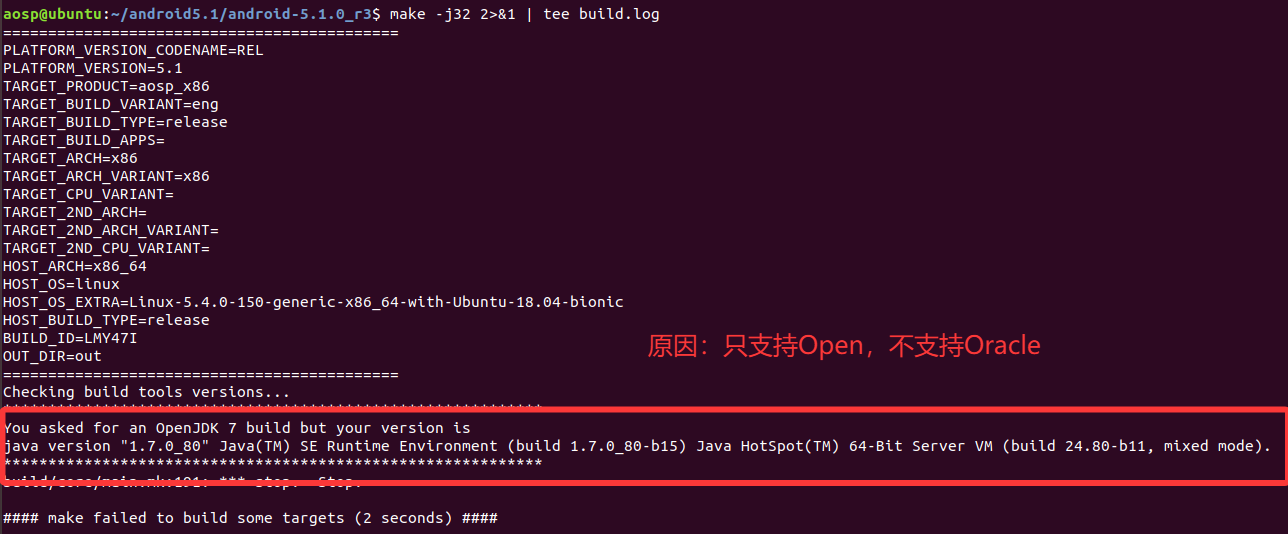
- 搜索相关条件
shell
:/requires_openjdk- 修改条件,注意只改第二个条件
九、编译
- 编辑环境设置脚本(当前是在
~/android5.1下输入的)
shell
cd build/
vi envsetup.sh- 在最开始添加以下代码(目的:将所有的本地化/国际化设置强制设为 POSIX 标准,确保所有命令和编译输出都是英文,防止因语言/区域设置导致的编译错误)
shell
export LC_ALL=C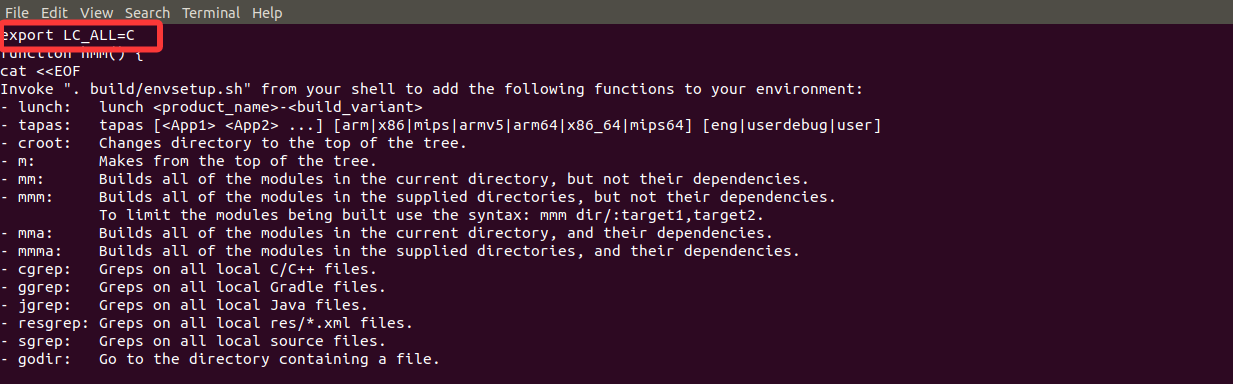
- 清理编译生成的文件
shell
make clean- 初始化编译环境(当前是在
~/android5.1下输入的)
shell
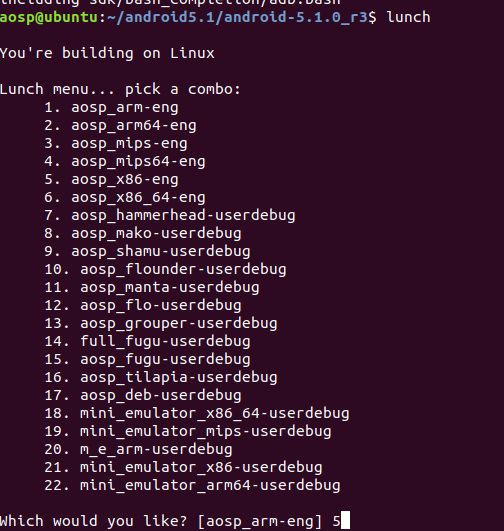
source build/envsetup.sh- 加载编译目标,可以直接回车,选择对应的目标号码
shell
lunch| 构建类型 | 使用情况 |
|---|---|
| user | 权限受限;适用于生产环境 |
| userdebug | 与 "user" 类似,但具有 root 权限和调试功能;是进行调试时的首选编译类型 |
| eng | 具有额外调试工具的开发配置 |
- 开始构建,并保存日志(任务数一般是线程两倍,不加
-j会自动选择最适合的并行任务数)
shell
make -j32 2>&1 | tee build.log- 编译完成(在这一步根据反馈,处理了很多报错,放在了第十部分)

十、编译错误处理
AOSP在编译过程中除了以上提到的还存在很多无法预料的问题,如果出现错误可以参考各个平台的相关博客,比如:
- 报错:
shell
Import includes file: out/target/product/generic_x86/obj/STATIC_LIBRARIES/third_party_WebKit_Source_platform_blink_platform_gyp_intermediates/import_includes
/bin/bash: gperf: command not found
解决方法:
shell
sudo apt-get install libswitch-perl
sudo apt-get install gperf- 报错:
shell
clang: error: linker command failed with exit code 1 (use -v to see invocation)
build/core/host_shared_library_internal.mk:44: recipe for target 'out/host/linux-x86/obj32/lib/libnativehelper.so' failed
解决方法:
shell
make clean- 报错:
shell
prebuilts/gcc/linux-x86/host/x86_64-linux-glibc2.11-4.6//x86_64-linux/include/c++/4.6/bits/basic_string.h:270: error: unsupported reloc 43
prebuilts/gcc/linux-x86/host/x86_64-linux-glibc2.11-4.6//x86_64-linux/include/c++/4.6/bits/basic_string.h:270: error: unsupported reloc 43
prebuilts/gcc/linux-x86/host/x86_64-linux-glibc2.11-4.6//x86_64-linux/include/c++/4.6/bits/basic_string.h:235: error: unsupported reloc 43
prebuilts/gcc/linux-x86/host/x86_64-linux-glibc2.11-4.6//x86_64-linux/include/c++/4.6/bits/basic_string.h:235: error: unsupported reloc 43
libnativehelper/JNIHelp.cpp:310: error: unsupported reloc 43
libnativehelper/JNIHelp.cpp:311: error: unsupported reloc 43
libnativehelper/JNIHelp.cpp:332: error: unsupported reloc 43
libnativehelper/JNIHelp.cpp:322: error: unsupported reloc 43
libnativehelper/JNIHelp.cpp:338: error: unsupported reloc 43
libnativehelper/JniConstants.cpp:89: error: unsupported reloc 43
libnativehelper/JniConstants.cpp:90: error: unsupported reloc 43
解决方法:
shell
cp /usr/bin/ld.gold prebuilts/gcc/linux-x86/host/x86_64-linux-glibc2.11-4.6/x86_64-linux/bin/ld- 报错:
shell
internal compiler error: Killed (program cc1plus)解决方法:
shell
# 1. 创建分区
sudo dd if=/dev/zero of=/swapfile bs=1M count=1024    # 1 * 1024 = 1024 创建 1 g 的内存分区
sudo mkswap /swapfile
sudo swapon /swapfile

#free -m    #可以查看内存使用
#创建完交换分区之后就可以继续编译
#编译若是还不成功,试着创建更大的分区,比如count=2048
#2g的分区,基本可以解决。

#2. 关闭分区
sudo swapoff /swapfile
sudo rm /swapfile- 报错:
shell
build/core/tasks/apicheck.mk:62: recipe for target 'out/target/common/obj/PACKAGING/checkpublicapi-current-timestamp' failed
make: *** [out/target/common/obj/PACKAGING/checkpublicapi-current-timestamp] Error 38
解决方法:
shell
make update-api