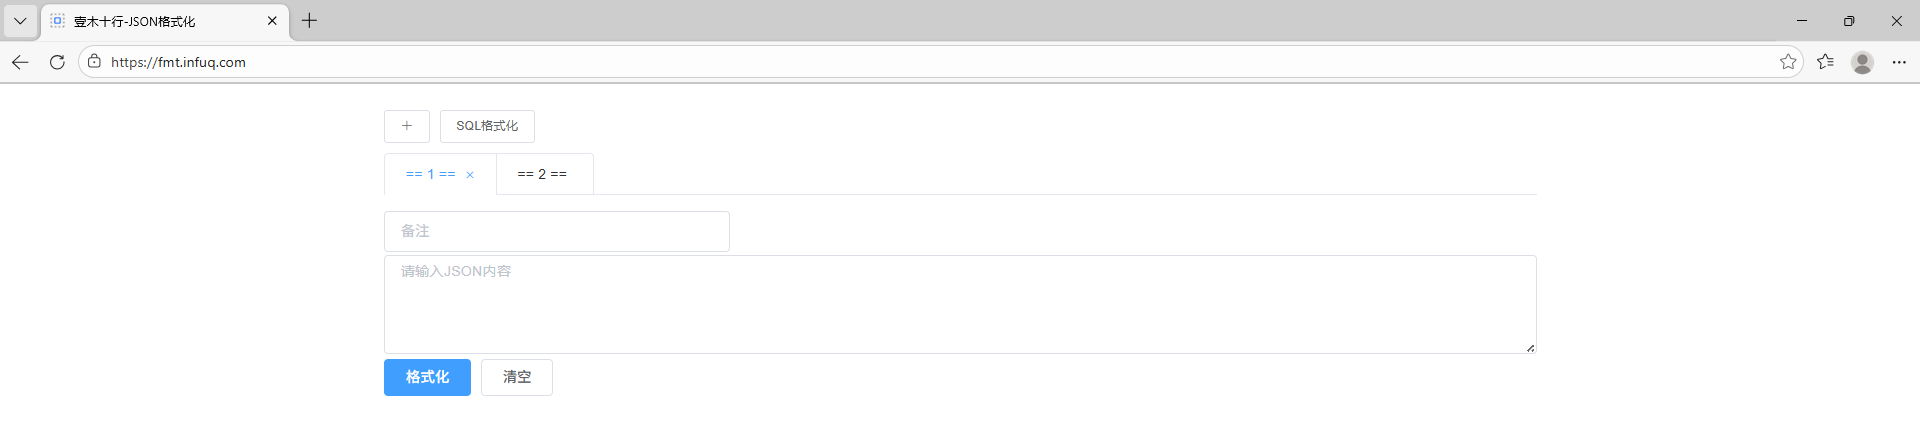
【目标】
使用HTTPS方式访问子域名, 例如 https://fmt.infuq.com
【说明】
1.一台阿里云ECS服务器CentOS7部署了Nginx
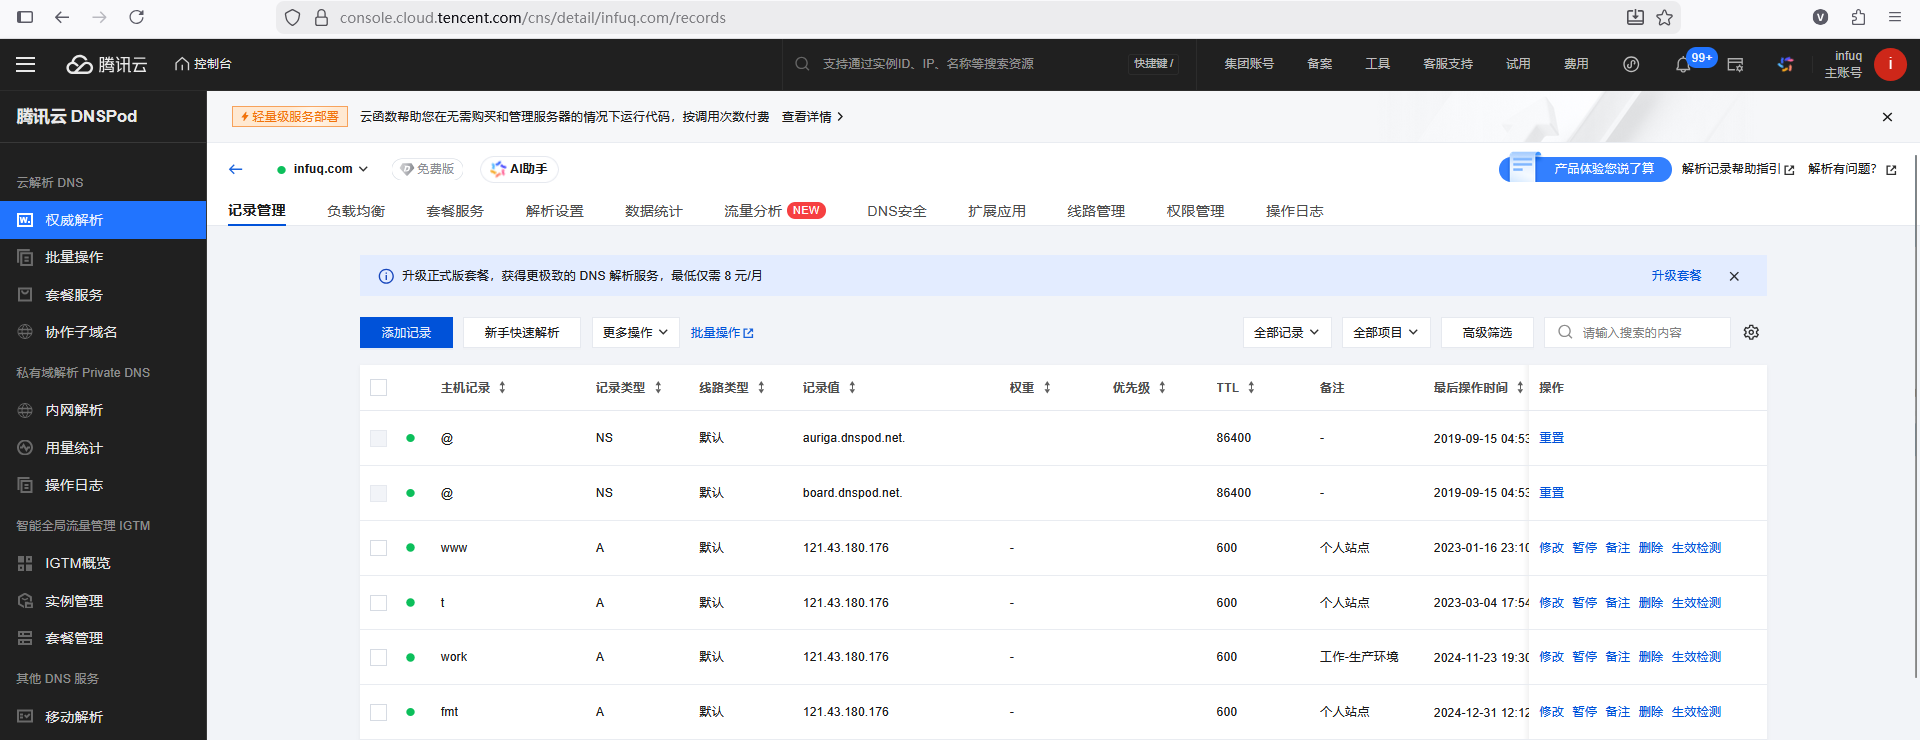
2.使用腾讯云 DNSPod 进行域名解析配置
【实现方式】
使用 certbot 工具
【操作流程】
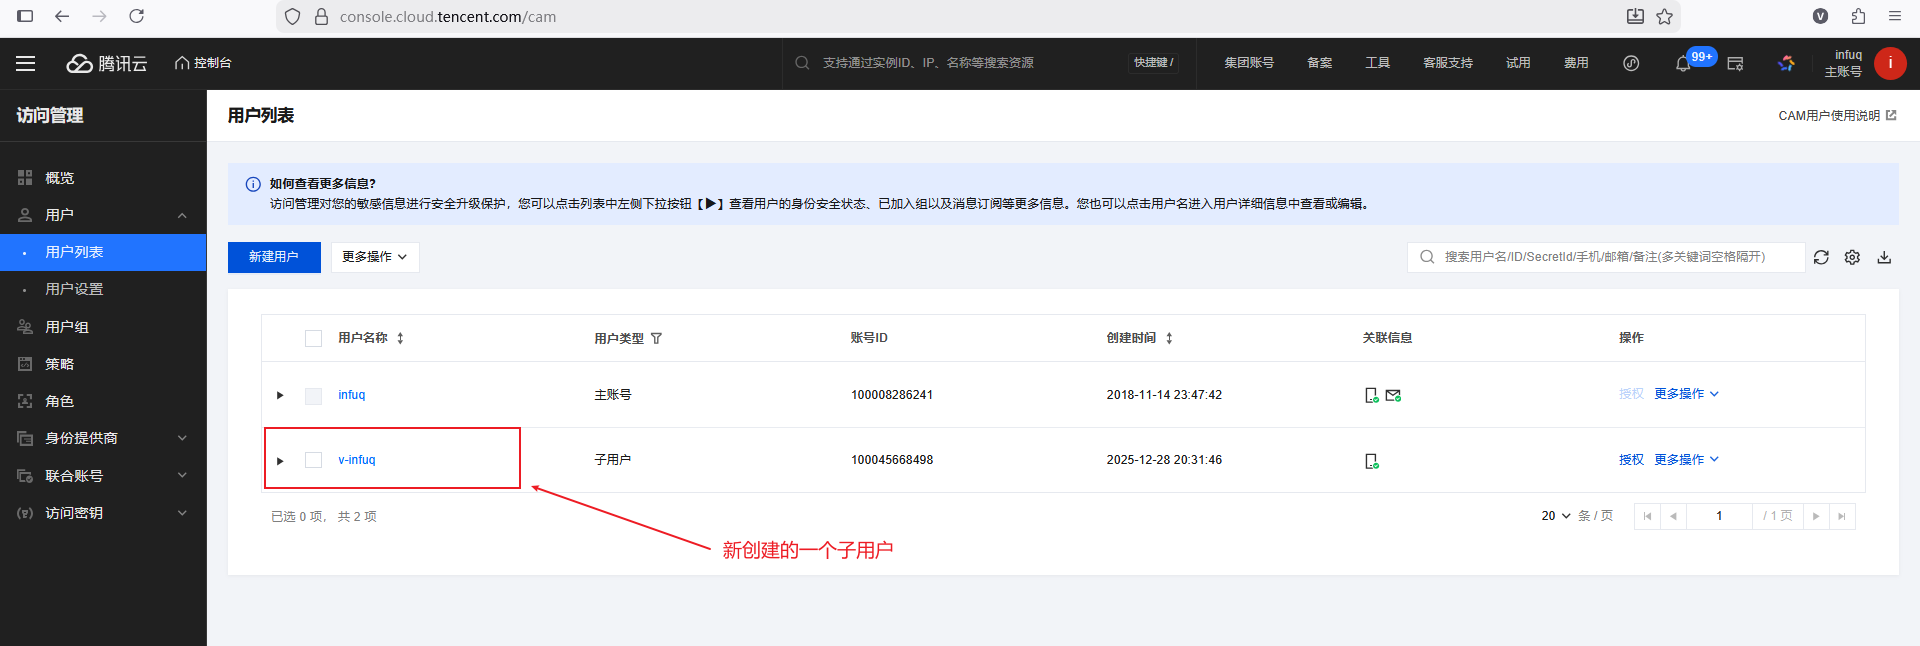
1.主账号登录腾讯云, 通过主账号创建一个子用户
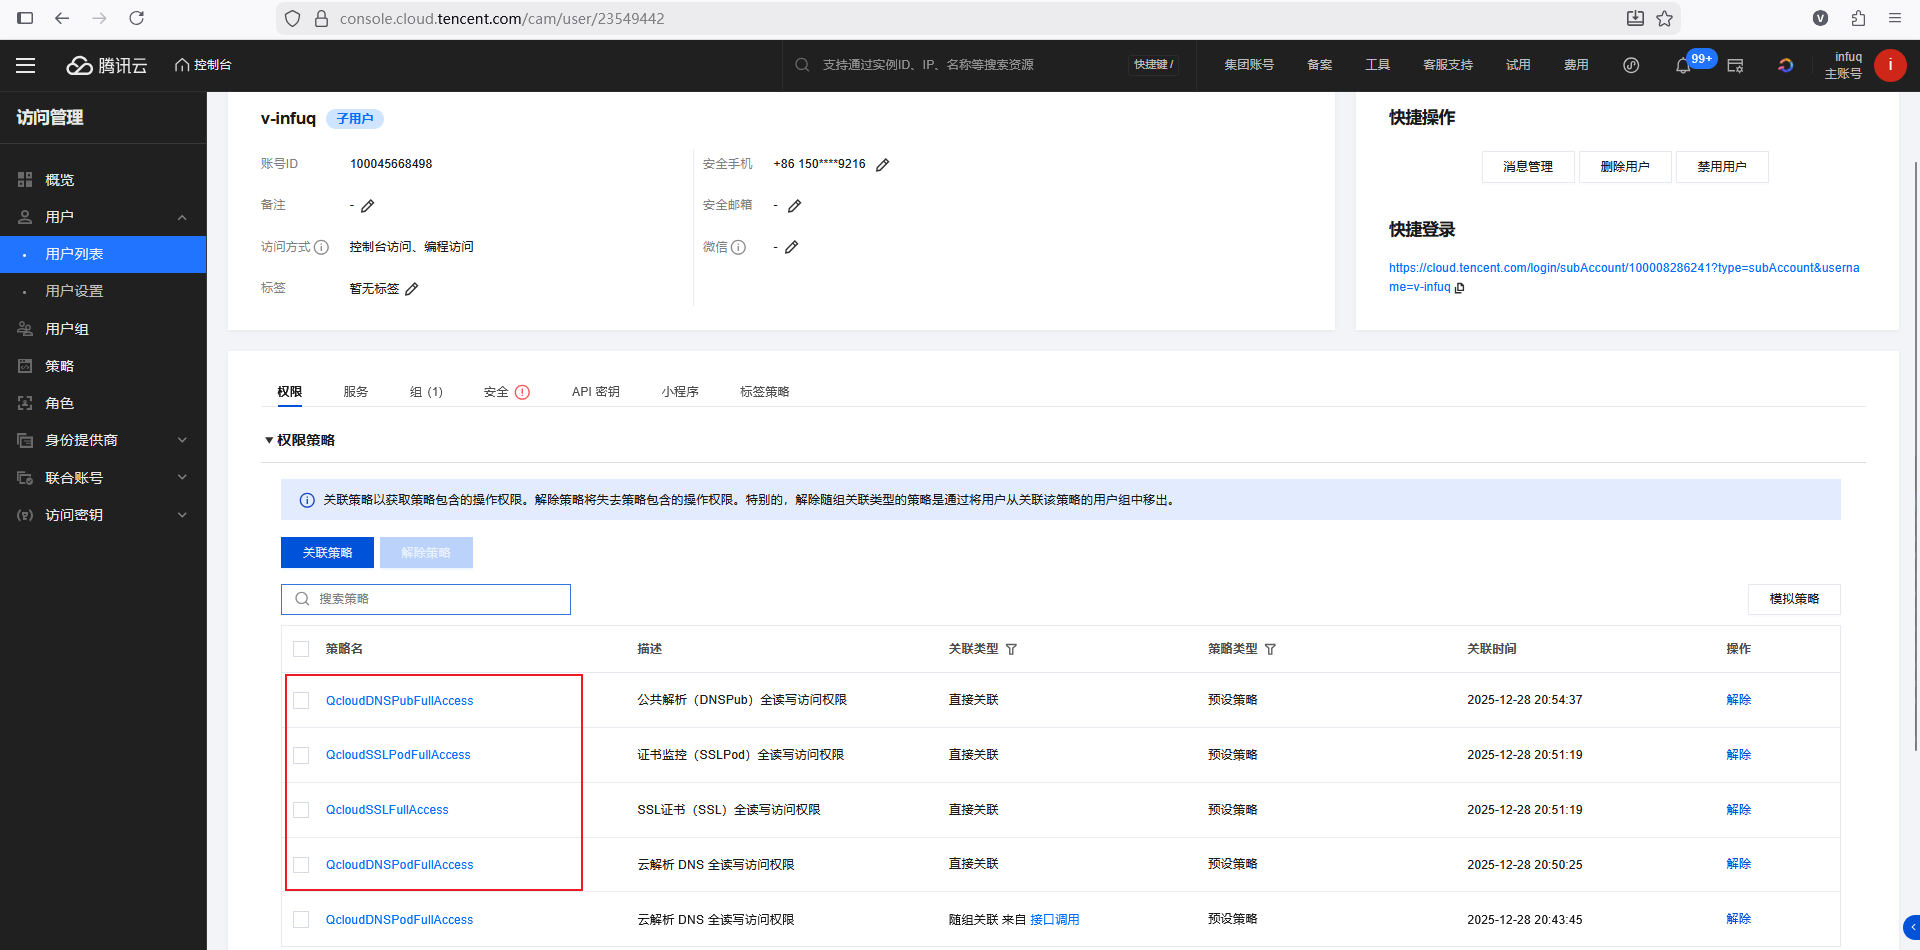
2.给该子用户授权(4个权限)
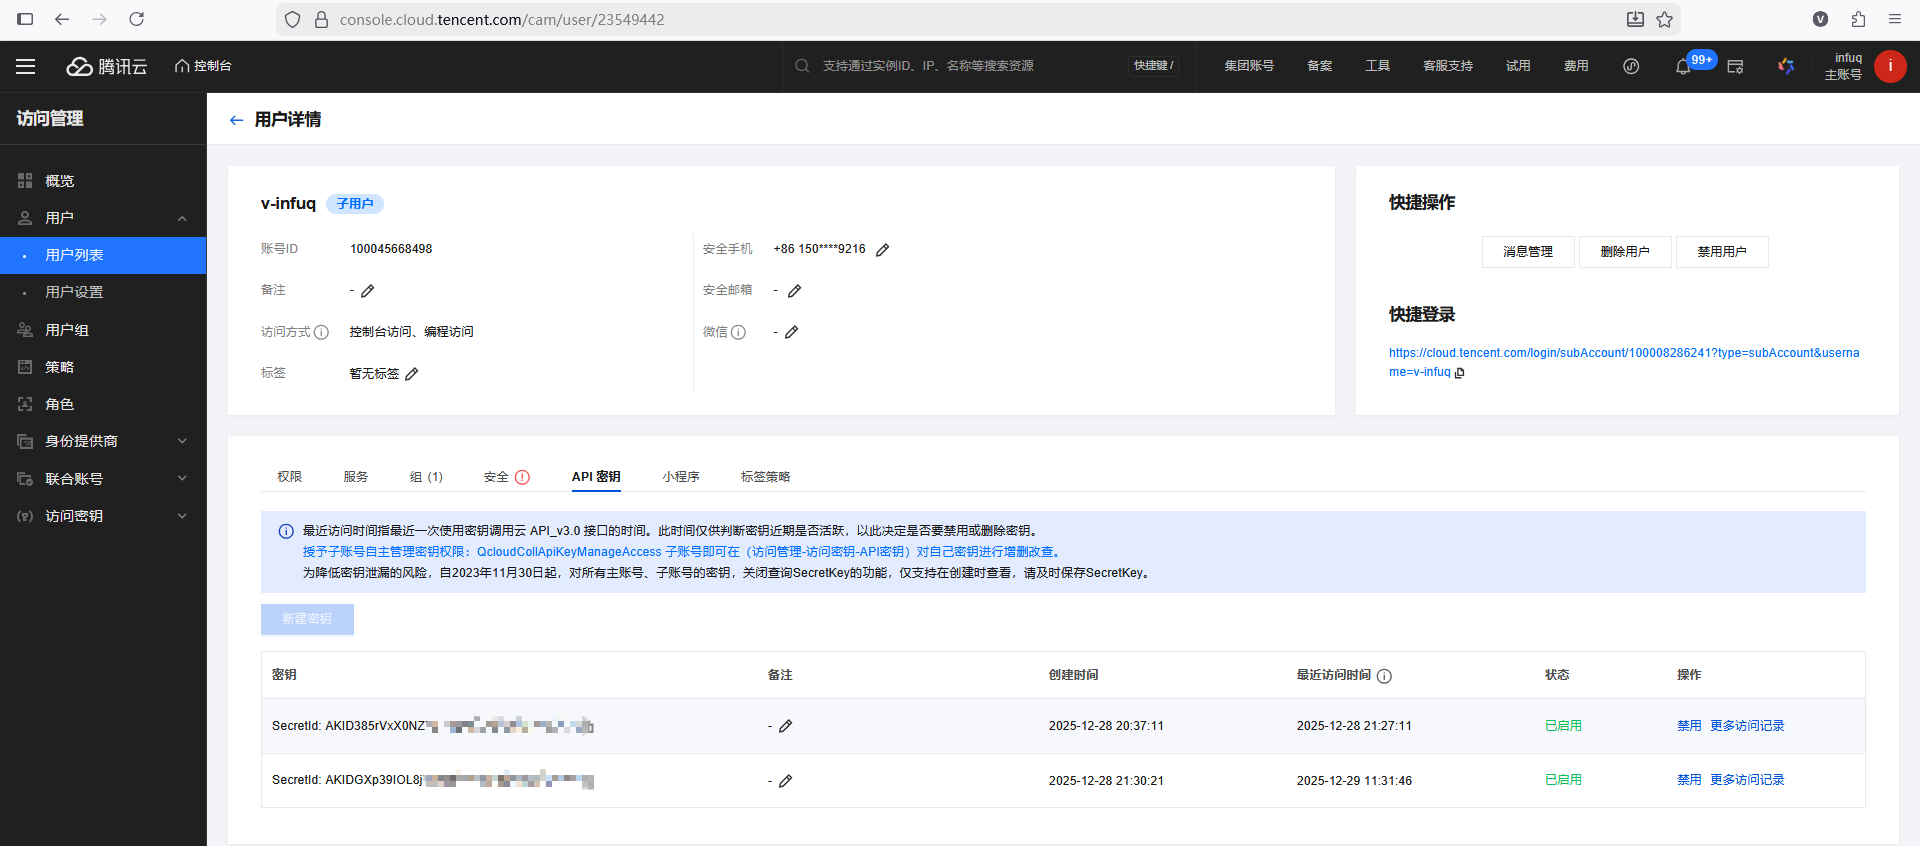
3.创建密钥, 记住 SecretId 和 SecretKey
4.临时关闭Nginx服务(即关闭占用80和443端口的服务)
5.需要部署Python3.10环境, 这里选择使用 Docker Python3.10, 直接使用即可
bash
docker pull registry.cn-hangzhou.aliyuncs.com/infuq/python:3.106.进入容器, 依次执行如下命令(关键操作)
bash
6.1
sh-4.2#  yum install -y epel-release

6.2
sh-4.2#  pip3 install --upgrade pip

6.3
sh-4.2#  pip3 install setuptools_rust

6.4
sh-4.2#  pip3 install certbot

6.5
sh-4.2#  certbot --version    // 验证 certbot 是否安装成功
certbot 5.2.2

6.6
sh-4.2#  pip3 install certbot-dns-tencentcloud

6.7
sh-4.2#  certbot plugins      // 验证 dns-tencentcloud 是否安装成功

6.8
sh-4.2#  mkdir -p /etc/letsencrypt/tencentcloud

6.9
sh-4.2#  tee /etc/letsencrypt/tencentcloud/credentials.ini <<EOF
> dns_tencentcloud_secret_id = <腾讯云自己的SECRET_ID>
> dns_tencentcloud_secret_key = <腾讯云自己的SECRET_KEY>
> EOF

6.10
sh-4.2# chmod 600 /etc/letsencrypt/tencentcloud/credentials.ini

6.11
sh-4.2# pip3 install --upgrade certifi

6.12
sh-4.2# export SSL_CERT_FILE=$(python -c "import certifi; print(certifi.where())")

6.13
sh-4.2# export REQUESTS_CA_BUNDLE=$SSL_CERT_FILE

6.14
sh-4.2# which certbot     // 查看certbot命令绝对位置
/usr/local/bin/python3.10/bin/certbot


6.15 生成密钥
sh-4.2# /usr/local/bin/python3.10/bin/certbot certonly \
-d "infuq.com" -d "*.infuq.com" \
-a dns-tencentcloud \
--dns-tencentcloud-credentials /etc/letsencrypt/tencentcloud/credentials.ini \
--dns-tencentcloud-propagation-seconds 60 \
--server https://acme-v02.api.letsencrypt.org/directory \
--agree-tos --non-interactive --preferred-challenges dns-01

输出内容
Saving debug log to /var/log/letsencrypt/letsencrypt.log
Requesting a certificate for infuq.com and *.infuq.com
Waiting 60 seconds for DNS changes to propagate
Encountered exception during recovery: certbot_dns_tencentcloud.certbot_tencentcloud_plugins.APIException: {'Code': 'InvalidParameter.RecordIdInvalid', 'Message': '记录编号错误。'}

Successfully received certificate.
Certificate is saved at: /etc/letsencrypt/live/infuq.com/fullchain.pem
Key is saved at:         /etc/letsencrypt/live/infuq.com/privkey.pem
This certificate expires on 2026-03-29.
These files will be updated when the certificate renews.
7.将生成的 fullchain.pem 和 privkey.pem 文件拷贝到Nginx所在的ECS服务器, 在nginx的conf文件里配置 ssl_certificate 和 ssl_certificate_key
powershell
server {
    charset      utf-8;
    listen       443 ssl;
    server_name  fmt.infuq.com;

    ssl_certificate      /root/letsencrypt/fullchain.pem;
    ssl_certificate_key  /root/letsencrypt/privkey.pem;
    ssl_protocols        TLSv1.2 TLSv1.3;


    # 其他内容

}

server {
    charset      utf-8;
    listen       80;
    server_name  fmt.infuq.com;

    # http://fmt.infuq.com/ -> https://fmt.infuq.com/
    return 301 https://$host$request_uri;

}
8.重启Nginx
9.访问正常