前言
使用QML可以实现很多酷炫的动效,在日常开发中很常见,以下是使用QML实现的一些组件展示,包括光影、粒子等动效,可在项目中引用或者学习。
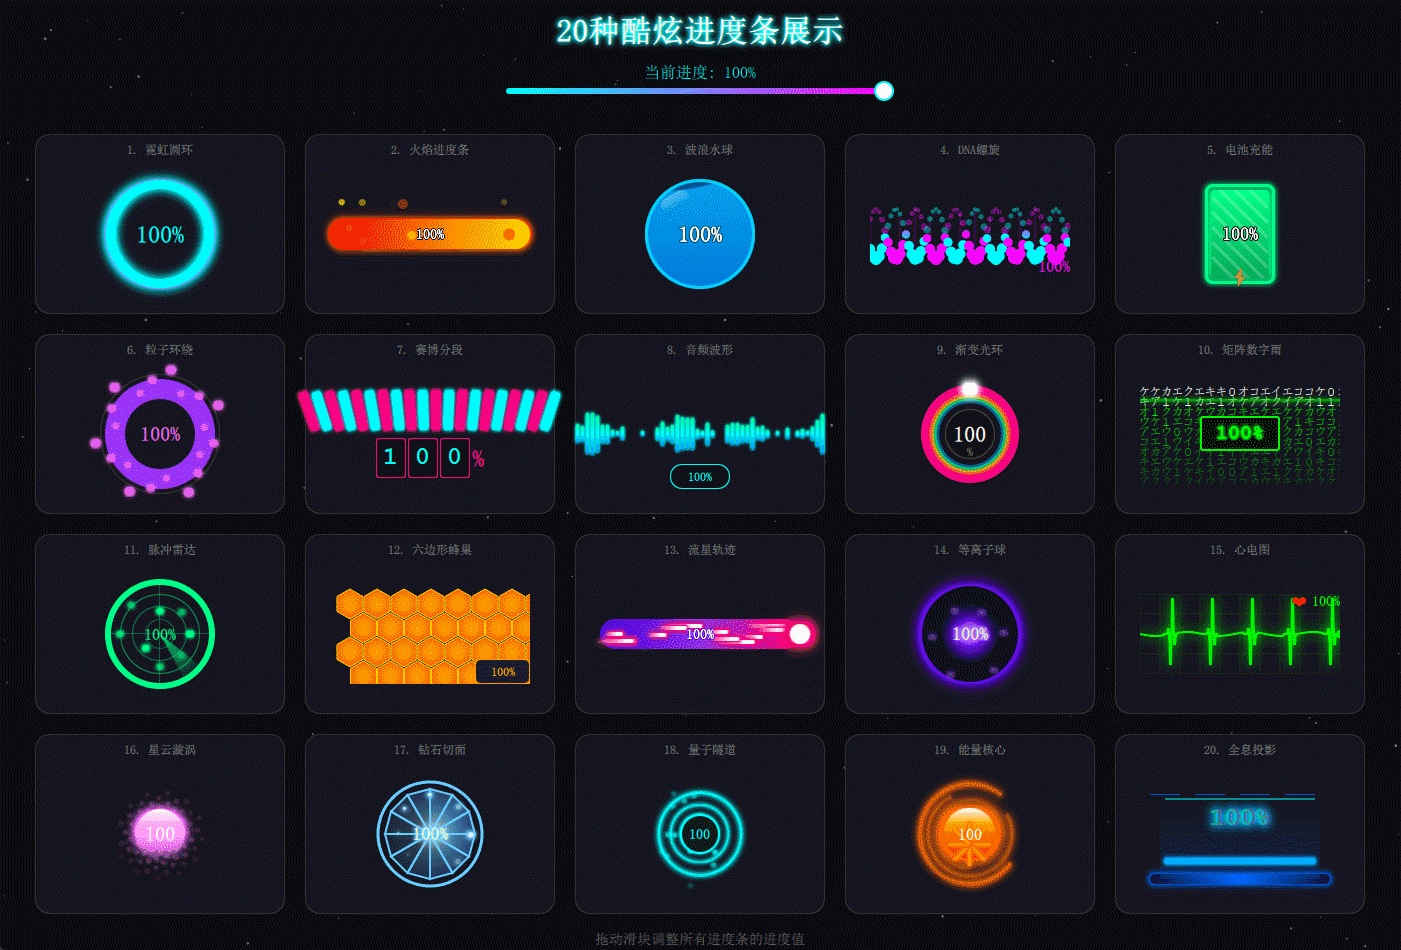
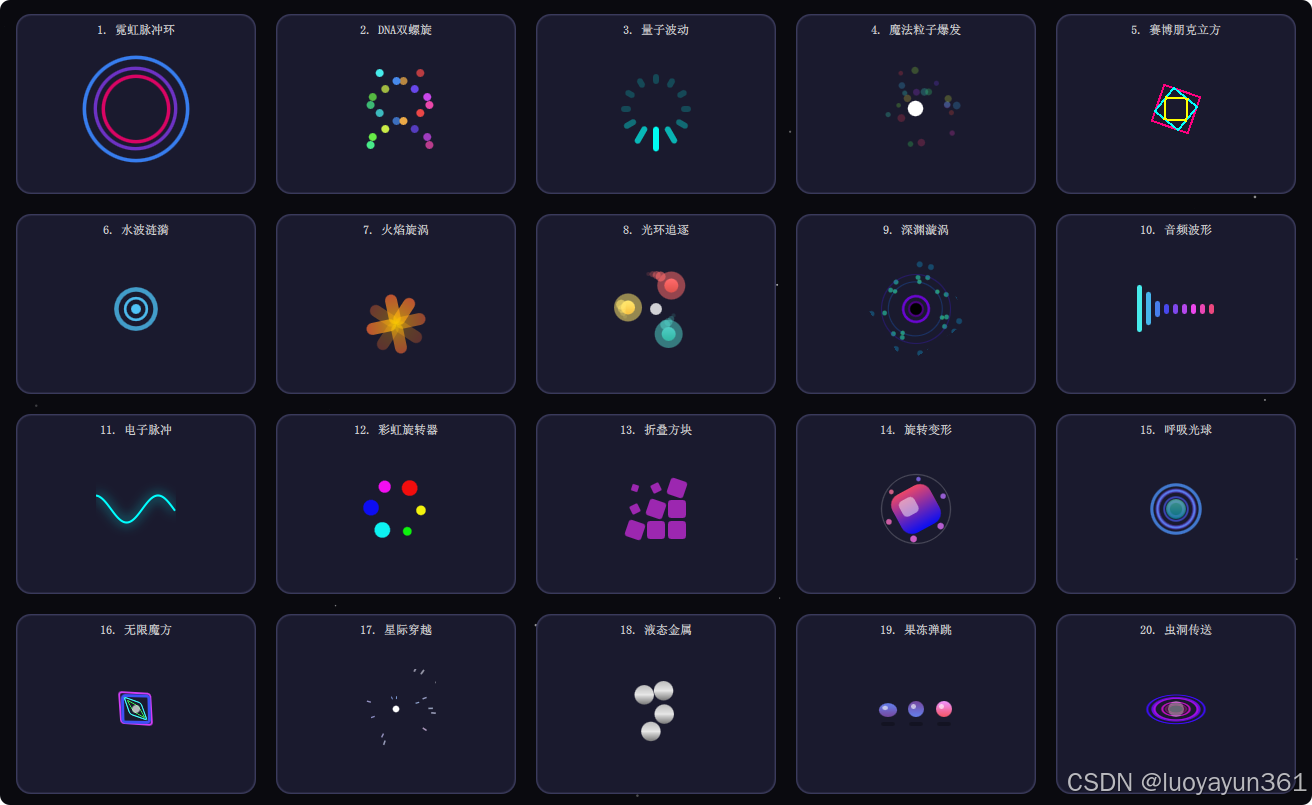
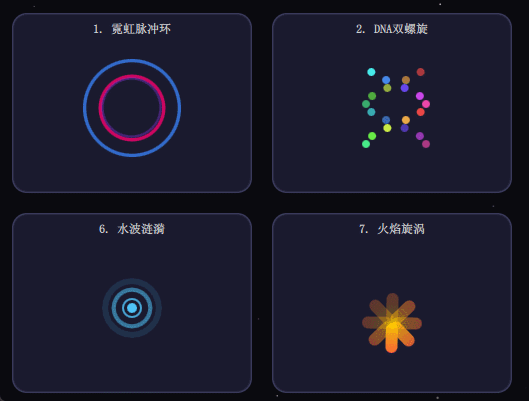
先来看看效果图:
20种进度条组件:
20种Loading组件:
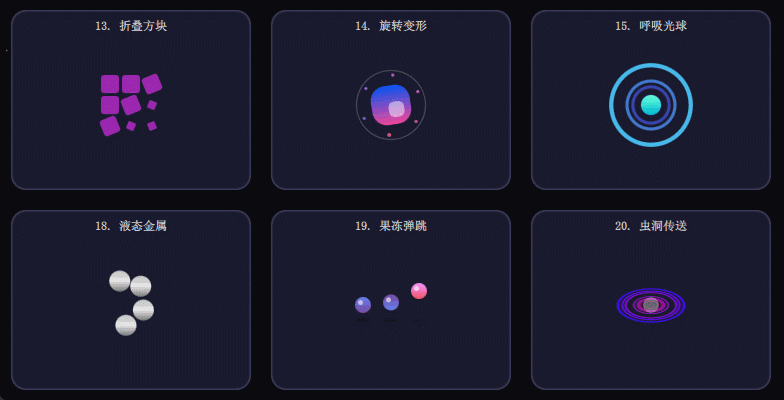
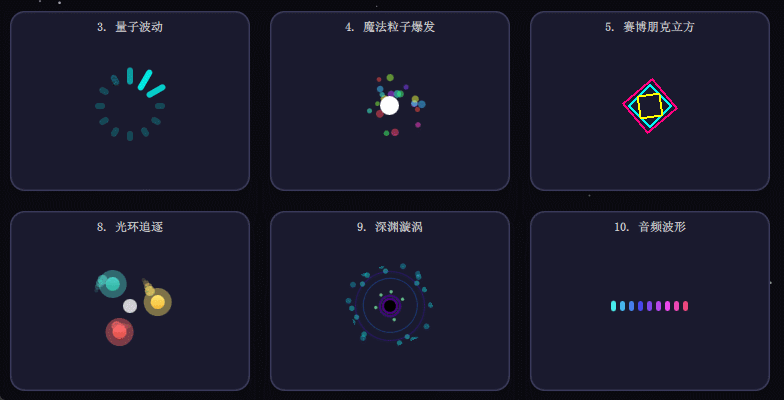
Loading组件部分动图:
正文
QML 动画基础与实现
QML 提供了丰富的动画类型,如 PropertyAnimation、NumberAnimation、ColorAnimation 等,通过直接绑定属性实现平滑过渡。例如,移动一个矩形:
qml
Rectangle {
    id: rect
    width: 100; height: 100
    color: "red"

    PropertyAnimation {
        id: anim
        target: rect
        property: "x"
        to: 200
        duration: 1000
    }

    MouseArea {
        anchors.fill: parent
        onClicked: anim.start()
    }
}
通过 Behavior 可以自动触发动画:
qml
Behavior on x {
    NumberAnimation { duration: 500 }
}
光影效果实现
QML 通过 ShaderEffect 实现高级光影效果。例如,创建一个简单的发光阴影:
qml
ShaderEffect {
    width: 200; height: 200
    property variant source: Image { source: "image.png" }
    property real glowRadius: 10.0

    fragmentShader: "
        uniform sampler2D source;
        uniform float glowRadius;
        varying vec2 qt_TexCoord0;
        void main() {
            vec4 color = texture2D(source, qt_TexCoord0);
            gl_FragColor = vec4(color.rgb * glowRadius, color.a);
        }"
}
动态调整光影参数可通过动画绑定:
qml
NumberAnimation on glowRadius {
    from: 1.0; to: 5.0
    duration: 2000
    loops: Animation.Infinite
}
粒子系统应用
QML 的 ParticleSystem 模块可创建复杂粒子效果。以下是一个火焰粒子示例:
qml
ParticleSystem {
    id: fireSystem
    ImageParticle {
        source: "particle.png"
        color: "#FFA000"
        colorVariation: 0.2
    }

    Emitter {
        anchors.bottom: parent.bottom
        width: parent.width
        emitRate: 100
        lifeSpan: 2000
        size: 20
        velocity: PointDirection { y: -100; yVariation: 50 }
    }

    Turbulence {
        anchors.fill: parent
        strength: 50
    }
}
复合特效与性能优化
结合多个特效时需注意性能:
- 使用
opacity而非visible控制显示,避免重建渲染树。 - 粒子系统的
emitRate和maximumAmount需根据设备性能调整。 - 复杂着色器优先在桌面端测试,再适配移动端。
示例:动态粒子背景
qml
Item {
    ParticleSystem {
        // 系统配置...
    }

    ShaderEffect {
        // 背景模糊效果...
    }

    ParallelAnimation {
        // 同步控制多个属性动画...
    }
}