项目中如何接入
Deepseek API?这个问题看是很难,实际真的不简单呀,研究了七七四十九天,中间遇到了很多坑,查了很多资料,大多数都是拿官方文档抄了抄,远远不是自己想要的,现在终于会了,瞬间感觉一点都不难了,写此文章宽慰自己七七四十九天的辛苦。
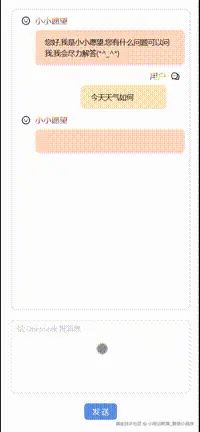
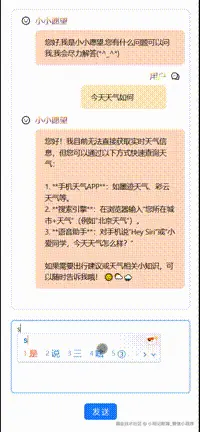
添加了打字机效果和自动滚动的最下面功能,先看效果图:
一、申请deepseek访问key值
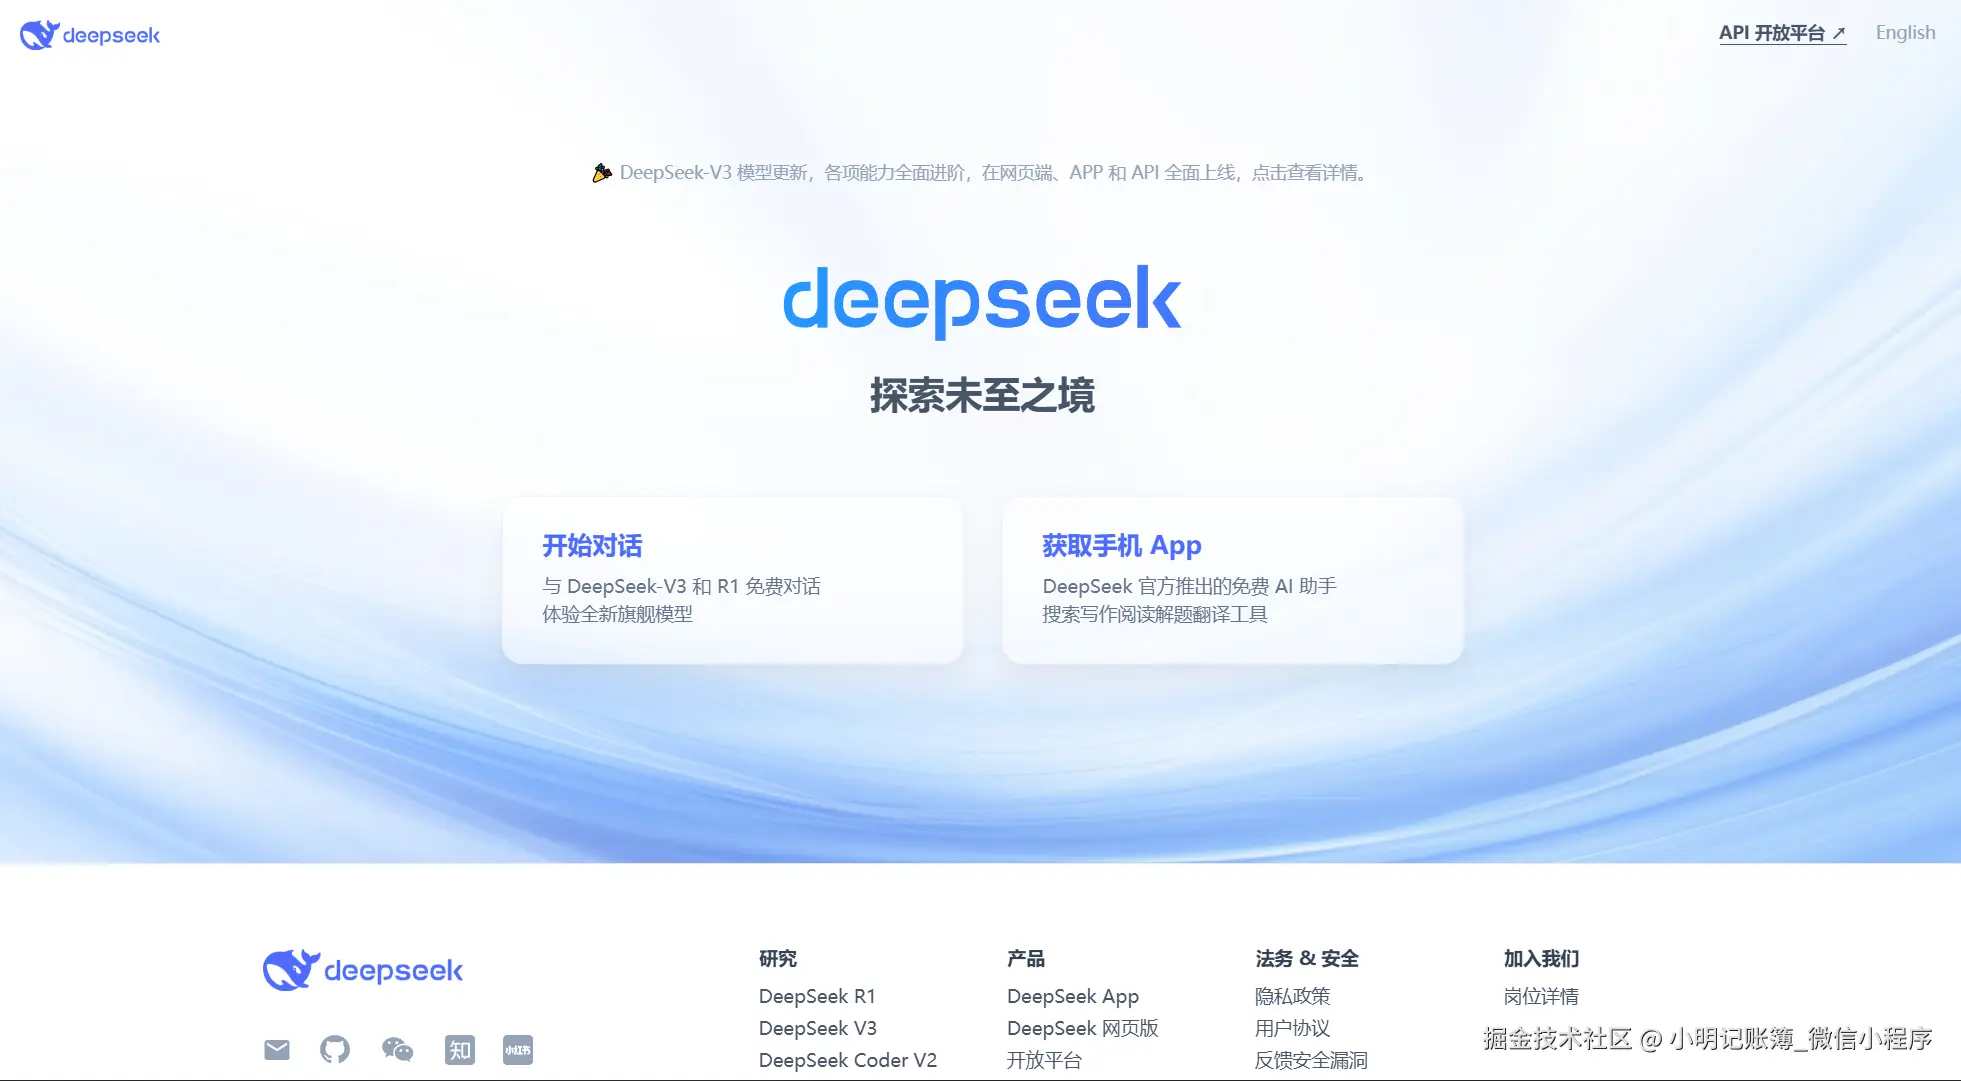
进入Deepseek官网,然后点击右上角【API开放平台】。
 点击左侧菜单栏中的【API keys】,创建API key。
 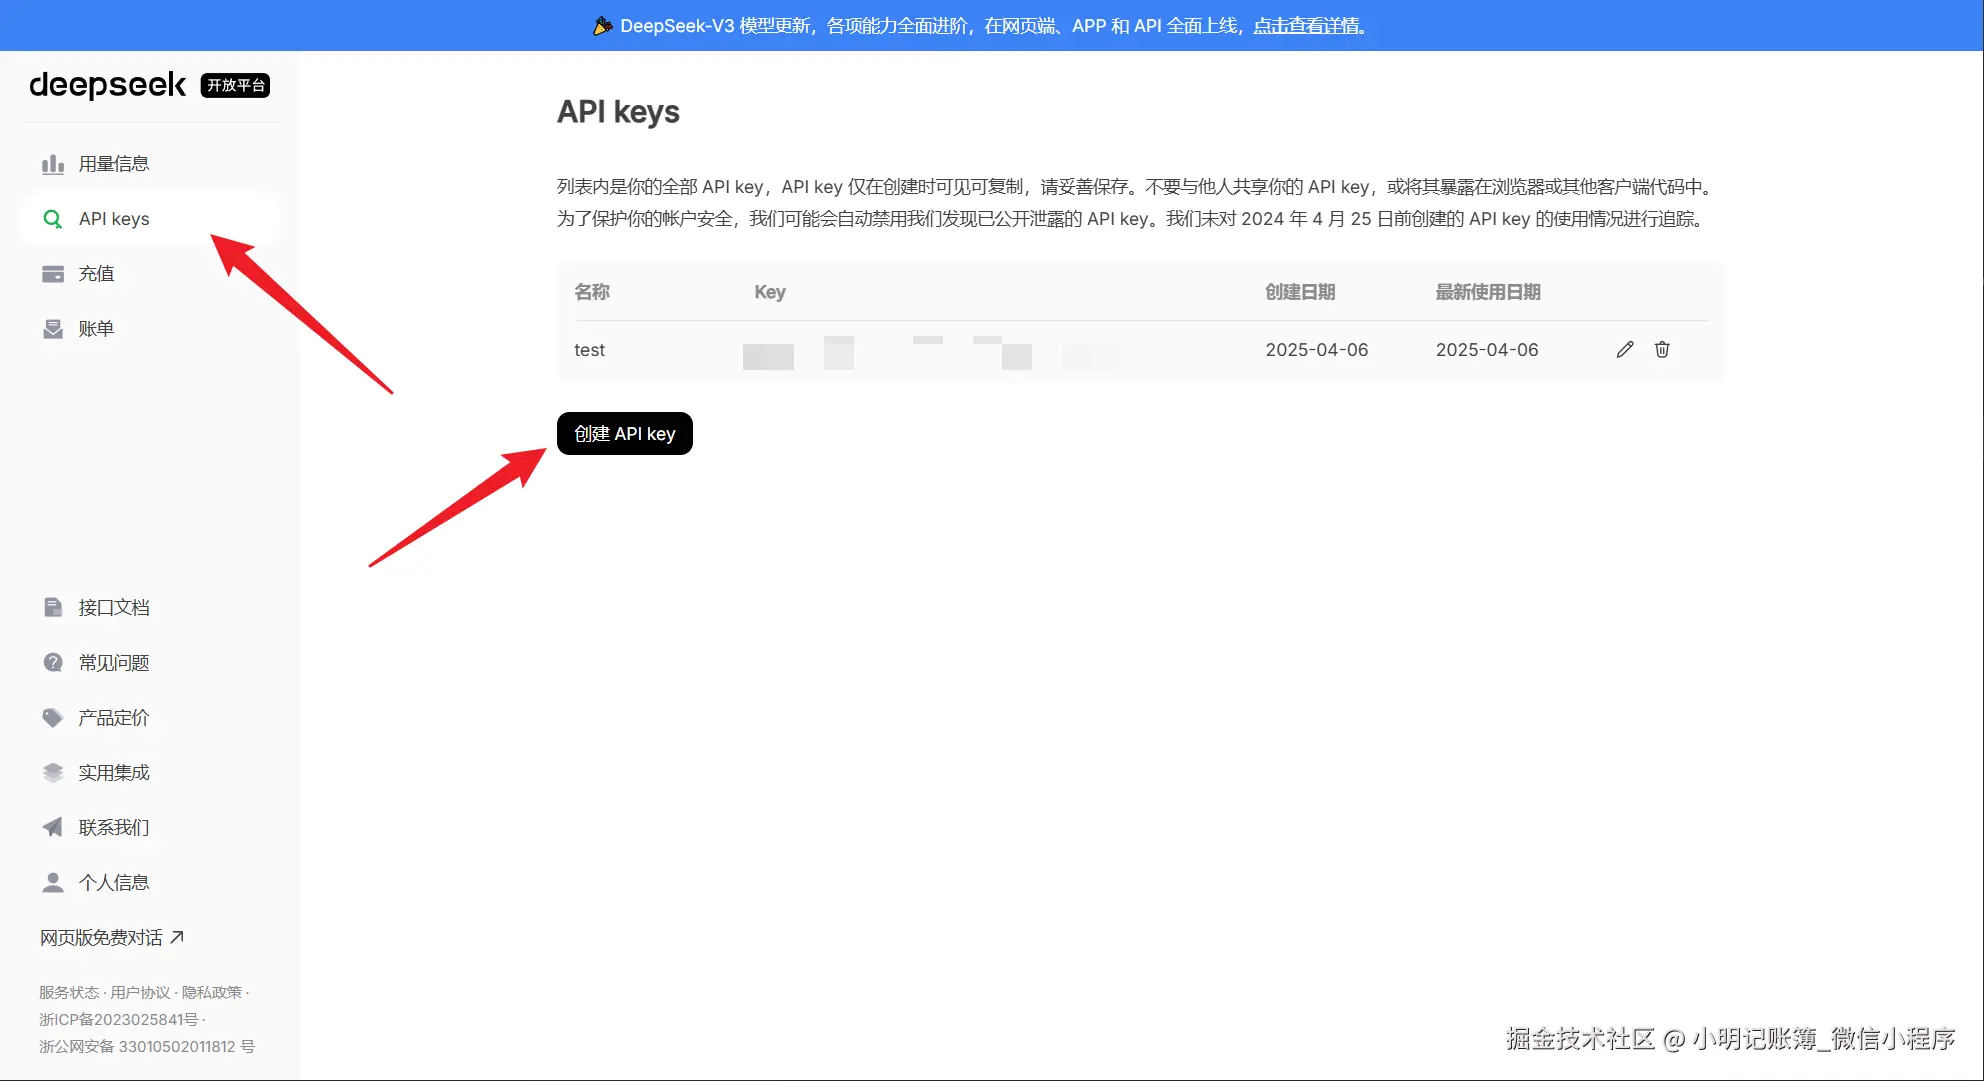 API调用是收费的,点击左侧菜单栏中的【充值】,最低充值一元,然后就可以使用了。
二、项目实践
先看代码,后面会有说明。 项目代码如下:
javascript
import React, { useState, useRef, useEffect } from 'react'
import axios from 'axios'
import { Input, Button } from 'antd';
import { SmileOutlined, CommentOutlined } from '@ant-design/icons'
import './App.css';
const { TextArea } = Input;
let currentIndex = 0
const App = () => {
  const [sendValue, setSendValue] = useState('')
  const [loading, setLoading] = useState(false)
  const scrollE = useRef(null)
  const scrollEPosition = useRef(null)
  const [chatList, setShatList] = useState([{ role: "assistant", content: "您好,我是小小愿望.您有什么问题可以问我,我会尽力解答(*^_^*)" }])
  const onChangeFun = (e) => {
    setSendValue(e.target.value)
  }
  useEffect(() => {
    // 滚动的最下面
    scrollE.current.scrollTo({
      top: scrollEPosition.current.offsetTop, // 元素的顶部距离文档顶部的距离
      left: 0, // 可选,如果要滚动到元素的左边位置
      behavior: 'smooth' // 可选,实现平滑滚动效果
    });
  }, [chatList])
  const sendMessagesFun = () => {
    setLoading(true)
    let ls = [...chatList, { role: "user", content: sendValue }]
    var data = {
      // 要把之前所有对话历史拼接好后,传递给对话 API
      messages: ls,
      // stream: true,
      model: "deepseek-chat",
      frequency_penalty: 0,
      max_tokens: 2048,
      presence_penalty: 0,
      response_format: {
        type: "text"
      },
      stop: null,
      stream: false,
      stream_options: null,
      temperature: 1,
      top_p: 1,
      tools: null,
      tool_choice: "none",
      logprobs: false,
      top_logprobs: null

    }
    ls = ls.concat([{ role: "assistant", content: "信息接收中......" }])
    setShatList(ls)
    setSendValue('')
    axios({
      method: 'POST',
      url: 'https://api.deepseek.com/chat/completions',
      data: data,
      headers: {
        'Content-Type': 'application/json',
        'Authorization': "Bearer 你申请的key"
      },
    }).then(res => {
      let resMessage = res.data.choices[0].message
      ls[ls.length - 1] = { role: "assistant", content: "" }
      let content = resMessage.content
      // 添加打字机效果
      const interval = setInterval(() => {
        if (currentIndex < content.length) {
          ls[ls.length - 1].content = ls[ls.length - 1].content + content.charAt(currentIndex)
          currentIndex = currentIndex + 1
          setShatList([...ls])
        } else {
          currentIndex = 0
          clearInterval(interval);
        }
      }, 100);


      setLoading(false)
    })
      .catch((error) => {
        setLoading(false)
        console.log(error);
      });
  }
  return (
    <div className="App">
      <div className='chatWrapper' ref={scrollE}>
        {
          chatList.map((item, idx) => {
            if (item.role === 'assistant') {
              return <div key={idx} className='assistantWrapper'>
                <div className='avatarWrapper'>
                  <SmileOutlined />
                </div>
                <div className='item'>
                  <div className='usertitle'>
                    小小愿望
                  </div>
                  <div className='contentWrapper' >
                    <TextArea className='contentInfo' disabled autoSize={{ minRows: 1, maxRows: 100 }} value={item.content} />
                  </div>
                </div>
              </div>
            } else if (item.role === 'user') {
              return <div key={idx} className='userWrapper'>
                <div className='avatarWrapper'>
                  <CommentOutlined />
                </div>
                <div className='itemWrapper item'>
                  <div className='usertitle'>
                    用户
                  </div>
                  <div className='contentWrapperUser'>
                    <TextArea className='contentInfo' disabled autoSize={{ minRows: 1, maxRows: 100 }} value={item.content} />
                  </div>
                </div>
              </div>
            } else {
              return null
            }
          })
        }
        <div ref={scrollEPosition}></div>
      </div>
      <TextArea placeholder="给 Deepseek 发消息" autoSize={{ minRows: 6, maxRows: 6 }} value={sendValue} onChange={onChangeFun} />
      <div className='sendBtn'>
        <Button type="primary" loading={loading} onClick={sendMessagesFun}>发送</Button>
      </div>
    </div>
  );
}

export default App;
css 样式
javascript
.App {
  padding: 20px;
}

.chatWrapper {
  border: 1px solid #ccc;
  border-radius: 10px;
  padding: 10px;
  margin-bottom: 20px;
  height: calc(100vh - 280px);
  overflow: auto;
}

.sendBtn {
  margin-top: 20px;
  text-align: center;
}

.assistantWrapper {
  display: flex;
  padding-bottom: 10px;
}

.avatarWrapper {
  padding: 0 10px;
}

.usertitle {
  background: linear-gradient(to bottom right, #ff0000, #ffa500, #4b0082, #ffff00, #008000, #0000ff);
  background-clip: text;
  -webkit-background-clip: text;
  -webkit-text-fill-color: transparent;
}

.userWrapper {
  display: flex;
  flex-direction: row-reverse;
  padding-bottom: 10px;
}

.itemWrapper {
  display: flex;
  flex-direction: column;
  align-items: flex-end;
}

.item {
  flex: 1;
}

.contentWrapper {
  margin-top: 8px;
  background: #ffd8bf;
  padding: 8px;
  border-radius: 8px;
}

.contentInfo {
  background-color: transparent !important;
  border: none !important;
  color: #000 !important;
}

.contentWrapperUser {
  margin-top: 8px;
  background: #ffe7ba;
  padding: 8px;
  border-radius: 8px;
}
说明: