一、概述
最近在学习 Rust 和 gpui,基于我学到的和遇到的问题,总结了一下,也顺便记录一下。
1、创建项目并用 Zed 打开
cmd
cargo new ws-gpui
zed ws-gpui
2、安装依赖
cmd
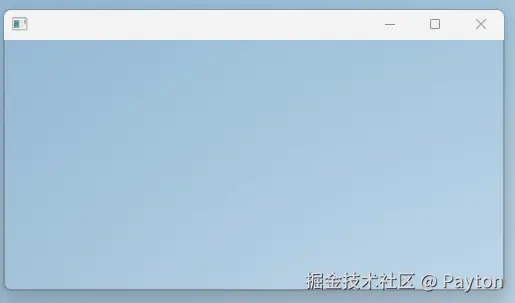
cargo add gpui3、创建一个空窗口
rust
use gpui::{
    App, Application, Bounds, Empty, Entity, Window, WindowBounds, WindowOptions, prelude::*, px,
    size,
};

struct WebSocketUi {}

impl WebSocketUi {
    fn new() -> Self {
        Self {}
    }
}

impl Render for WebSocketUi {
    fn render(&mut self, _window: &mut Window, _cx: &mut Context<Self>) -> impl IntoElement {
        Empty {}
    }
}

fn build_root_view(_window: &mut Window, cx: &mut App) -> Entity<WebSocketUi> {
    cx.new(|_cx| WebSocketUi::new())
}

fn on_finish_launching(cx: &mut App) {
    let bounds = Bounds::centered(None, size(px(500.), px(250.0)), cx);
    cx.open_window(
        WindowOptions {
            window_bounds: Some(WindowBounds::Windowed(bounds)),
            ..Default::default()
        },
        build_root_view,
    )
    .unwrap();
}

fn main() {
    let app = Application::new();
    app.run(on_finish_launching);
}
二、拆开来看看
1、创建 app 并运行
rust
fn main() {
    let app = Application::new();
    app.run(on_finish_launching);
}
2、app 运行后,创建一个窗口。
rust
fn on_finish_launching(cx: &mut App) {
    let bounds = Bounds::centered(None, size(px(500.), px(250.0)), cx);
    cx.open_window(
        WindowOptions {
            window_bounds: Some(WindowBounds::Windowed(bounds)),
            ..Default::default()
        },
        build_root_view,
    )
    .unwrap();
}
创建一个在主显示器居中的,500px * 250px 的窗口,窗口的其它选项用默认的。
3、窗口打开后,实例化一个实体(Entity), T -> WebSocketUi
rust
fn build_root_view(_window: &mut Window, cx: &mut App) -> Entity<WebSocketUi> {
    cx.new(|_cx| WebSocketUi::new())
}
4、WebScoketUi 需要实现 Render
rust
impl Render for WebSocketUi {
    fn render(&mut self, _window: &mut Window, _cx: &mut Context<Self>) -> impl IntoElement {
        Empty {}
    }
}
render 方法现在是返回一个 Empty ,所以窗口里面什么内容都没有。
5、运行看看效果。
cmd
cargo run6、效果
三、实现业务需要的 UI
1、创建一个简单示例。
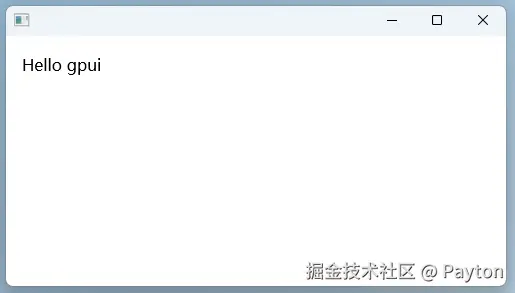
1.1、创建背景和示例文字
需要创建一个内容撑满窗口的白色背景的内边距是 16px 的 UI。
rust
impl Render for WebSocketUi {
    fn render(&mut self, _window: &mut Window, _cx: &mut Context<Self>) -> impl IntoElement {
        div()
            .size_full()
            .p_4()
            .bg(rgb(0xffffff))
            .child("Hello gpui")
    }
}
如果你熟悉 Tailwind CSS,你应该对这种语法很熟悉。请参考 Tailwind CSS
1.2、看看效果
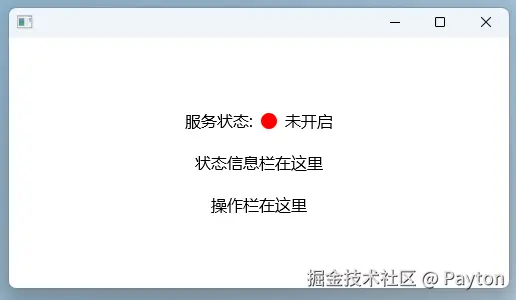
2、创建整体结构
2.1、代码实现
rust
impl Render for WebSocketUi {
    fn render(&mut self, _window: &mut Window, _cx: &mut Context<Self>) -> impl IntoElement {
        div().size_full().p_4().bg(rgb(0xffffff)).child(
            div()
                .flex()
                .flex_col()
                .gap_4()
                .size_full()
                .justify_center()
                .items_center()
                .child("服务运行状态栏在这里")
                .child("状态信息栏在这里")
                .child("操作栏在这里"),
        )
    }
}这种代码对前端开发来说特别亲切。
2.2、看看效果

3、实现服务运行状态栏。
3.1、代码实现
rust
struct WebSocketUi {
    is_running: bool, // 组件状态,和 React 的 const [isRunning, setIsRunning] = useState(false) 有点像
}

impl WebSocketUi {
    fn new() -> Self {
        Self { is_running: false }
    }

    fn status_bar(&mut self, _window: &mut Window, _cx: &mut Context<Self>) -> impl IntoElement {
        let (connection_status, status_color) = if self.is_running {
            ("已开启", rgb(0x00ff00))
        } else {
            ("未开启", rgb(0xff0000))
        };

        div()
            .flex()
            .items_center()
            .gap_2()
            .child("服务状态:")
            .child(div().w_4().h_4().rounded_full().bg(status_color))
            .child(connection_status)
    }
}

impl Render for WebSocketUi {
    fn render(&mut self, window: &mut Window, cx: &mut Context<Self>) -> impl IntoElement {
        div().size_full().p_4().bg(rgb(0xffffff)).child(
            div()
                .flex()
                .flex_col()
                .gap_4()
                .size_full()
                .justify_center()
                .items_center()
                .child(self.status_bar(window, cx))
                .child("状态信息栏在这里")
                .child("操作栏在这里"),
        )
    }
}
3.2、看看效果
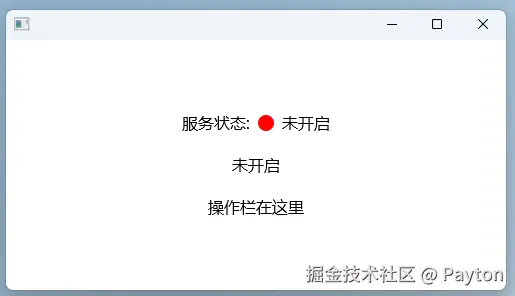
4、实现状态信息栏
4.1、代码实现
rust
struct WebSocketUi {
    is_running: bool,
    status_message: String,
}

impl WebSocketUi {
    fn new() -> Self {
        Self {
            is_running: false,
            status_message: "未开启".into(),
        }
    }

    // 省略了 status_bar 方法
}

impl Render for WebSocketUi {
    fn render(&mut self, window: &mut Window, cx: &mut Context<Self>) -> impl IntoElement {
        let status_message = self.status_message.clone();

        div().size_full().p_4().bg(rgb(0xffffff)).child(
            div()
                // 省略了一些代码
                .child(status_message)
                .child("操作栏在这里"),
        )
    }
}
4.2、看看效果
5、实现操作栏
5.1、代码实现
rust
impl WebSocketUi {
fn start(this: &mut WebSocketUi, _evt: &ClickEvent, _win: &mut Window, cx: &mut Context<Self>) {
if !this.is_running {
this.is_running = true;
this.status_message = "已连接".into();
cx.notify();
}
}
fn disconnect(
this: &mut WebSocketUi,
_evt: &ClickEvent,
_win: &mut Window,
cx: &mut Context<Self>,
) {
if this.is_running {
this.is_running = false;
this.status_message = "未连接".into();
cx.notify();
}
}
fn send_test_message(
this: &mut WebSocketUi,
_evt: &ClickEvent,
_win: &mut Window,
cx: &mut Context<Self>,
) {
if this.is_running {
this.status_message = "消息已发送".into();
cx.notify();
}
}
fn actions_bar(&mut self, _window: &mut Window, cx: &mut Context<Self>) -> impl IntoElement {
let (start_cursor, start_bg, stop_cursor, stop_bg) = if self.is_running {
(
CursorStyle::OperationNotAllowed,
gpui::black().opacity(0.4),
CursorStyle::PointingHand,
gpui::black(),
)
} else {
(
CursorStyle::PointingHand,
gpui::black(),
CursorStyle::OperationNotAllowed,
gpui::black().opacity(0.4),
)
};
div()
.flex()
.gap_2()
.child(
div()
.id("connect") // 这里要注意,和用户交互的 div 必须要加上 id,比如点击、滚动
.child("开启")
.text_color(gpui::white())
.bg(start_bg)
.rounded_md()
.py_0p5()
.px_1()
.cursor(start_cursor)
.on_click(cx.listener(Self::start)),
)
.child(
div()
.id("disconnect")
.child("关闭")
.text_color(gpui::white())
.bg(stop_bg)
.rounded_md()
.py_0p5()
.px_1()
.cursor(stop_cursor)
.on_click(cx.listener(Self::disconnect)),
)
.child(
div()
.id("send")
.child("发送测试消息")
.text_color(gpui::white())
.bg(stop_bg)
.rounded_md()
.py_0p5()
.px_1()
.cursor(stop_cursor)
.on_click(cx.listener(Self::send_test_message)),
)
}
}
impl Render for WebSocketUi {
fn render(&mut self, window: &mut Window, cx: &mut Context<Self>) -> impl IntoElement {
div().size_full().p_4().bg(rgb(0xffffff)).child(
div()
// 省略了一些代码
.child(self.actions_bar(window, cx)),
)
}
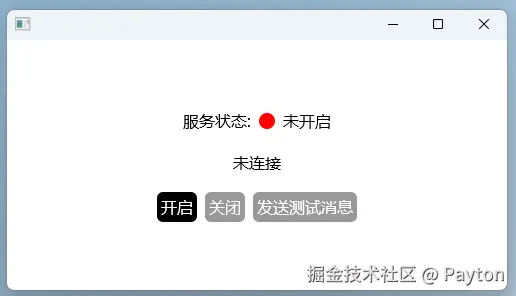
}5.2、看看效果
四、总结
1、分清楚不同的 Context(cx)
| 上下文类型 | 线程 | 主要用途 |
|---|---|---|
| AppContext | 主线程 | 应用启动、打开窗口 |
| Context<T> | 主线程 | 组件逻辑、UI 更新 |
2、熟悉 Tailwind CSS
3、熟悉 gpui 的例子
对于做前端的我来说,实现 UI 还是很容易的,把它和 WebScoket 服务集成在一起,才是最有挑战的。
等我有空了,我再写另一篇文章记录一下我掉进的深坑(主要是不熟悉多线程、异步任务)。