Vue项⽬虽然只有index.html⼀个⻚⾯,但是可以通过路由机制 实现多⻚⾯跳转的效果。访问不同链接,展示不同的⻚⾯内容,形成多⻚⾯的效果。
4.1 Vue-Router实现页面跳转基本使用方法
步骤1:安装vue-router插件
Vue官⽅提供了Vue-Router组件实现路由管理,官⽹地址:https://router.vuejs.org/zh/ 。该组件可以在创建 Vue项⽬时选择引⼊。如果创建时没有安装,也可以⼿动安装。
npm install vue-router@4
vue3要求使⽤router组件最新版本。⽬前最新版本是4
步骤2:创建路由规则及路由实例
新建router.ts文件,代码如下:
TypeScript
import { createRouter, createWebHistory } from 'vue-router'
import HomePage from '../views/HomePage.vue'
import AboutPage from '../views/AboutPage.vue'


// 1. 定义路由规则
const routes = [
    {
    path: '/', //根路径,访问根路径时会自动重定向到/home路径
    name: 'home',
    component: HomePage,//也可以redirect: '/home',重定向到home页面
  },
  {
    path: '/home',
    name: 'home',
    component: HomePage,
  },
  {
    path: '/about',
    name: 'about',
    component: AboutPage,
  },
  {
    path: '/news',
    name: 'news',
    component: () => import('../views/NewsPage.vue'),
  },
]

// 2. 创建路由实例
const router = createRouter({
  history: createWebHistory(import.meta.env.BASE_URL),// 使用 HTML5 History 模式,还有一种是 hash模式 createWebHashHistory,
  routes,
})


// 3. 导出路由实例,在 main.ts 中引入并使用
export default router
步骤3:在app中引用路由实例
TypeScript
import './assets/main.css'

import { createApp } from 'vue'
import { createPinia } from 'pinia'

import App from './App.vue'
import router from './router/router'

const app = createApp(App)
app.use(router) //使用路由实例


//app.use(createPinia())

app.mount('#app')
步骤4:新建多个页面组件.vue
HomePage.vue
TypeScript
<template>
   首页
</template>

<script setup lang="ts">
</script>

<style scoped>
</style>
AboutPage.vue
TypeScript
<template>
    关于页
</template>

<script setup lang="ts">
</script>

<style scoped>
</style>
NewsPage.vue
TypeScript
<template>
<ul>
<li>新闻1</li>
<li>新闻2</li>
<li>新闻3</li>
</ul>
</template>
<script setup lang="ts">
</script>
<style scoped>
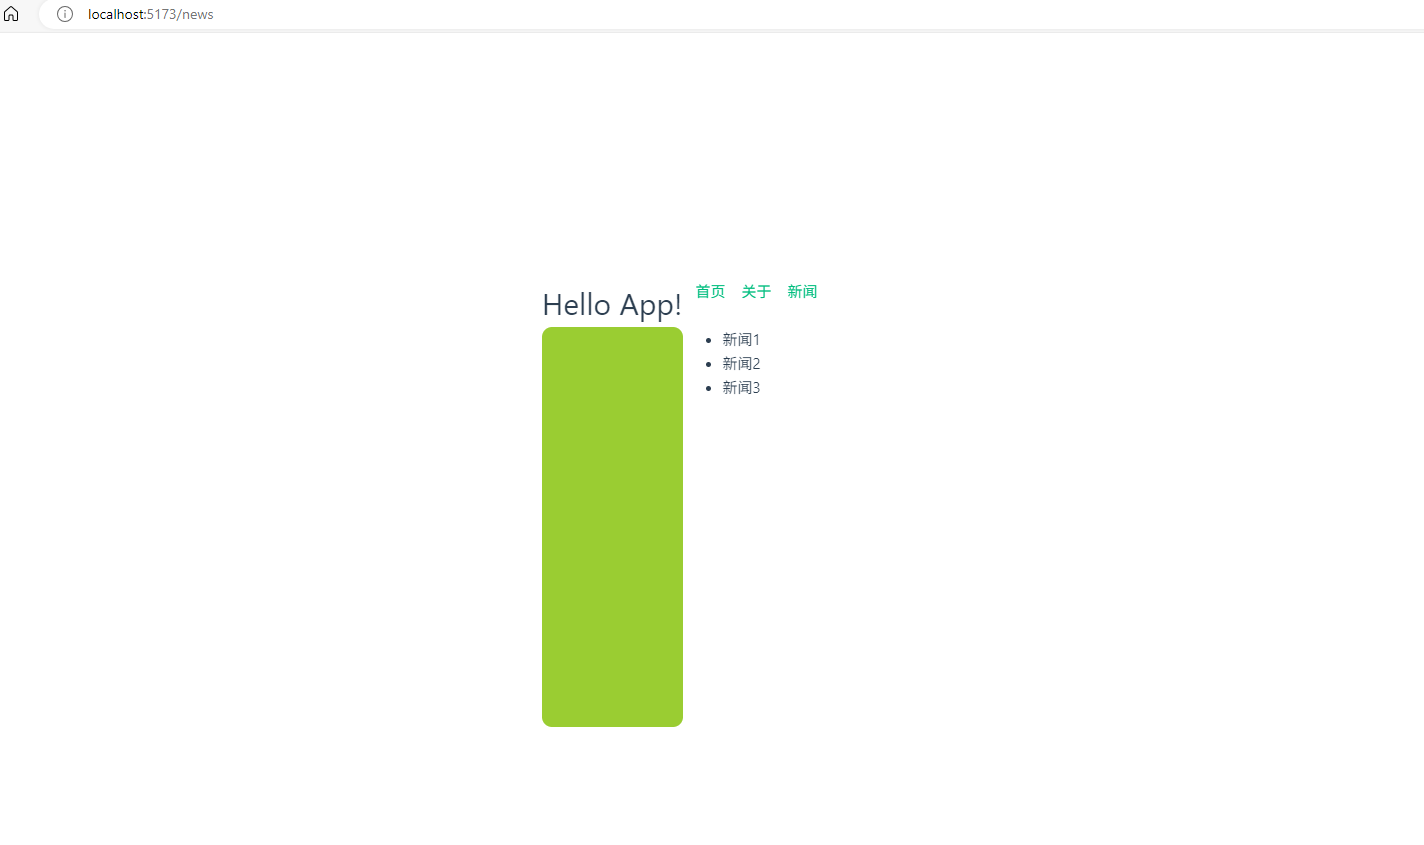
</style>步骤5:在主页面上利用路由实现页面跳转
TypeScript
<template>

  <!-- 在HTML中,id 和 class 属性虽然都可以用来标识元素,但它们的用途和语义有所不同。id 属性用于唯一标识一个元素,
  而 class 属性则用于给元素分组 -->
<div id="app" >
  <h1>Hello App!</h1>
  <p> <!-- P标签定义段落-->
    <!-- 路由链接 -->
    <RouterLink to="/home">首页</RouterLink>   <!--字符串跳转 -->
    <RouterLink :to="{path:'/about'}">关于</RouterLink>   <!--对象跳转 -->
    <RouterLink replace :to="{name:'news'}">新闻</RouterLink>   <!--命名路由跳转 -->
  </p>
  <div class="content"></div>
     <!-- 路由出口 -->
    <RouterView></RouterView>
</div>
</template>

<script setup lang="ts">

import {ref} from 'vue'

</script>


<style scoped>
a{
  margin-left: 10px; /*a标签之间的间距*/

}
.content{
  background: yellowgreen;
  widows: 10%;
  height: 400px;
  border: 1cap;
  border-radius: 10px;
}

</style>
步骤6,多页面跳转效果
4.2 路由模式
在router配置中的history项为路由⼯作模式。Vue提供了两种⼯作模式:
- history模式: 访问路径:URL不带#,斜杠链接,接近传统⽹站。缺点:容易产⽣404错误。
TypeScript
const router = createRouter({
 history:createWebHistory(), //history模式
 /******/
})- hash模式: 访问路径:URL带有#。缺点:对SEO(搜索引擎优化)不太友好。⽐较适合内部系统。
TypeScript
const router = createRouter({
 history:createWebHashHistory(), //hash模式
 /******/
})
4.3 replace属性
<route-link>标签可以添加replace属性。有两种可选配置: push和replace
- push 追加浏览器历史记录(默认值)。追加历史记录后,可以使⽤浏览器的返回按钮,跳回历史⻚
- replace 替换浏览器历史记录。替换历史记录后,浏览器的返回按钮不可⽤。
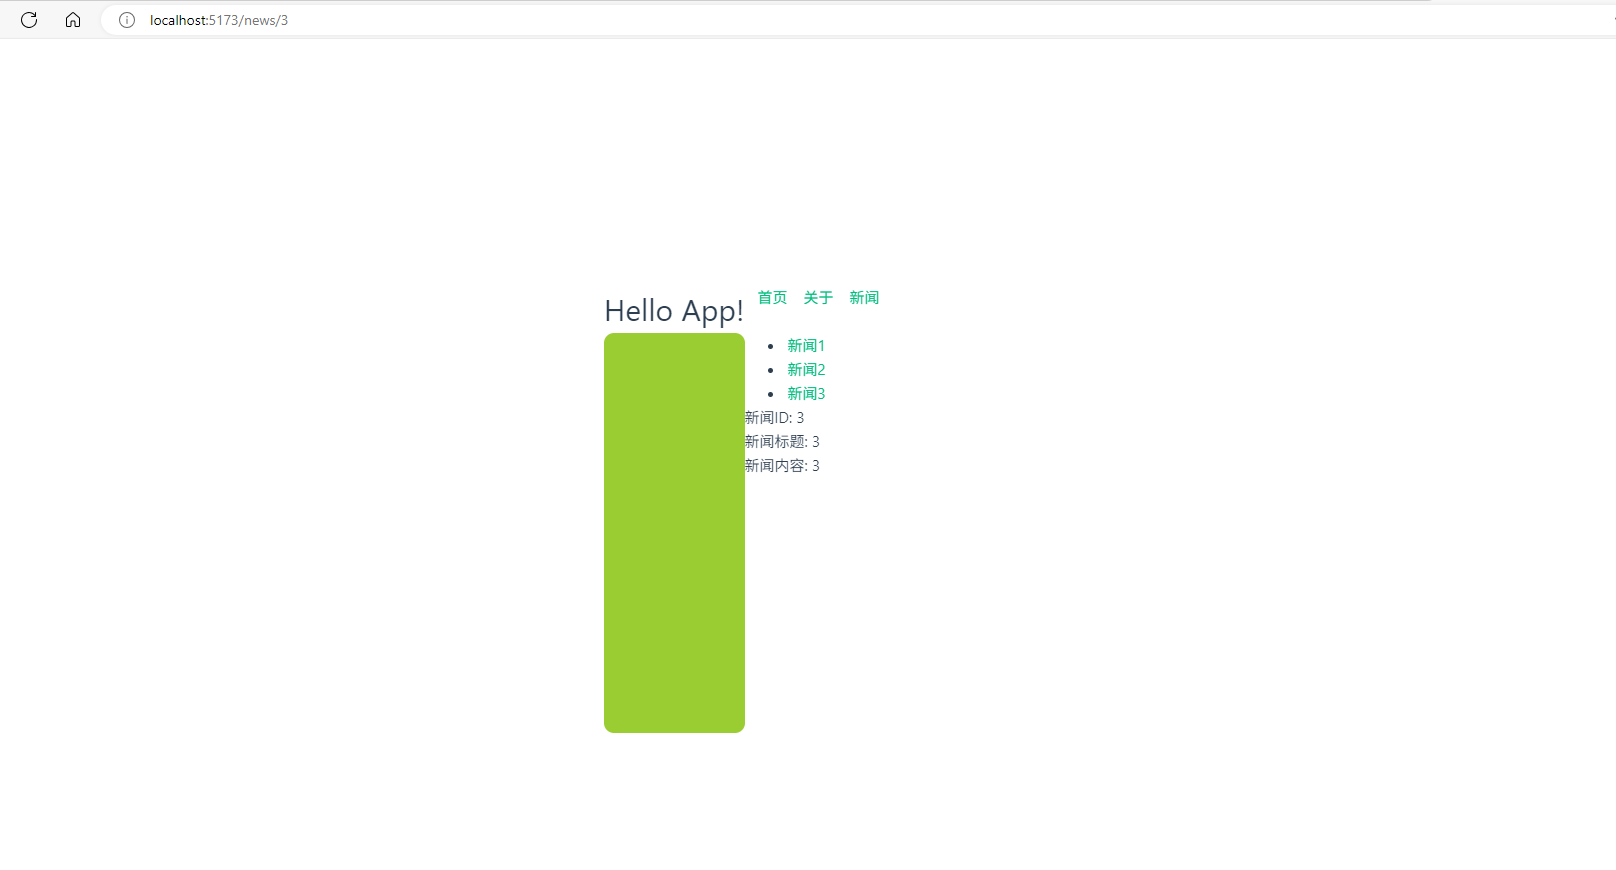
4.4 嵌套路由
<route-view>标签嵌⼊的⻚⾯中⽀持进⼀步嵌套⼦菜单。例如,新闻⻚希望进⼀步嵌套新闻路由。新闻⻚有多条 新闻,希望在新闻⻚展示多条新闻的标题。点击标题,可以查看对应新闻的详情。
步骤1:定义三个新闻对应的详情⻚。
每个详情⻚包含简单的内容,代码如下
TypeScript
<!-- NewsDetail1.vue -->
<template>
    <p>新闻ID: 1</p>
    <p>新闻标题: 1 </p>
    <p>新闻内容: 1 </p>
</template>

<script lang="ts" setup>
</script>

<style>
</style>
TypeScript
<!-- NewsDetail2.vue -->
<template>
    <p>新闻ID: 2</p>
    <p>新闻标题: 2 </p>
    <p>新闻内容: 2 </p>
</template>

<script lang="ts" setup>
</script>

<style>
</style>
TypeScript
<!-- NewsDetail1.vue -->
<template>
    <p>新闻ID: 3</p>
    <p>新闻标题: 3 </p>
    <p>新闻内容: 3 </p>
</template>

<script lang="ts" setup>
</script>

<style>
</style>
步骤2,修改路由规则,添加子路由规则
TypeScript
import { createRouter, createWebHistory } from 'vue-router'
import HomePage from '../views/HomePage.vue'
import AboutPage from '../views/AboutPage.vue'


// 1. 定义路由规则
const routes = [
    {
    path: '/', //根路径,访问根路径时会自动重定向到/home路径
    name: 'home',
    component: HomePage,//也可以redirect: '/home',重定向到home页面
  },
  {
    path: '/home',
    name: 'home',
    component: HomePage,
  },
  {
    path: '/about',
    name: 'about',
    component: AboutPage,
  },
  {
    path: '/news',
    name: 'news',
    component: () => import('../views/NewsPage.vue'),
    children:[ //⼦路由
      {
        name: "news1",
        path: "1",
        component: () => import('../views/NewsDetail1.vue')
    },
    {
        name: "news2",
        path: "2",
        component: () => import('../views/NewsDetail2.vue')
    },
    {
        name: "news3",
        path: "3",
        component: () => import('../views/NewsDetail3.vue')
    },
]
  },
]

// 2. 创建路由实例
const router = createRouter({
  history: createWebHistory(import.meta.env.BASE_URL),// 使用 HTML5 History 模式,还有一种是 hash模式 createWebHashHistory,
  routes,
})


// 3. 导出路由实例,在 main.ts 中引入并使用
export default router
步骤3:修改NewsPages页,实现子页面跳转
TypeScript
<template>
<div class="news">
<!-- 导航区 -->
    <ul>
        <li><RouterLink to="/news/1">新闻1</RouterLink></li>
        <li><RouterLink to="/news/2">新闻2</RouterLink></li>
        <li><RouterLink to="/news/3">新闻3</RouterLink></li>
    </ul>
<!-- 展示区 -->
    <div class="news-content">
        <RouterView></RouterView>
    </div>
</div>
</template>

<script setup lang="ts">
</script>

<style scoped>
</style>
步骤4:子页面跳转效果
4.5 路由传参
上⾯的示例显然太呆板,现实的场景当然是希望查出⼀个完整的新闻列表,然后每个新闻⻚都是展示新闻列表中的内容,⽽不是每个组件内固定的内容。这也就需要进⾏路由传参,也就是NewsDetail中的内容是从新闻列表中传 递进来的。
Vue3中提供了两种传参⽅式,query传参和param传参。
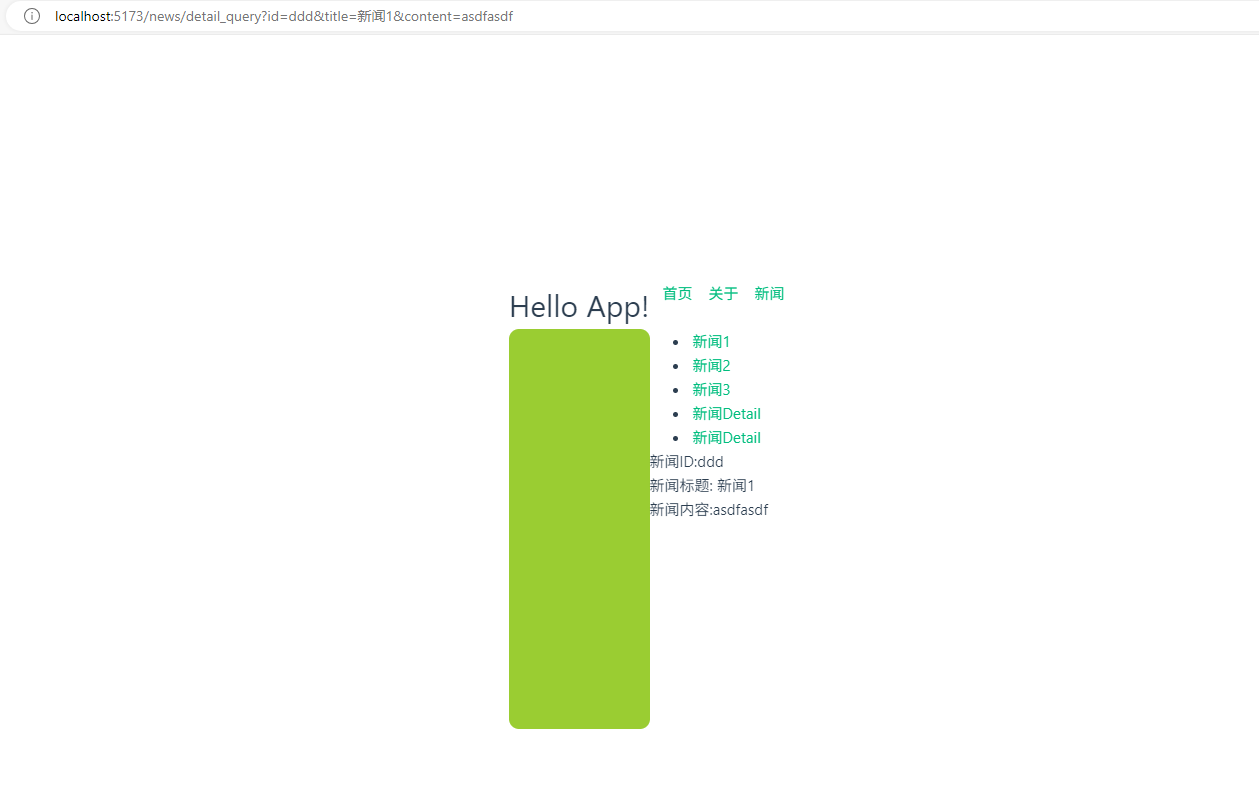
4.5.1 query方式传参
步骤1:新建NewsDetail_query.vue组件vue,接收传参的数据
子组件获取由父组件通过路由传递的数据,并双向绑定至控件中
TypeScript
<!-- NewsDetail_query.vue -->
<template>
    <p>新闻ID:{{query.id}}</p>
    <p>新闻标题: {{query.title}} </p>
    <p>新闻内容:{{query.content}} </p>
</template>

<script lang="ts" setup>

import {useRoute} from 'vue-router'
import {ref} from 'vue'
// 获取当前路由信息
const route = useRoute()
//获取query数据,并转成双向绑定数据
let query = ref(route.query);

</script>


<style>
</style>
步骤2:配置NewsDetail_query页面路由规则
TypeScript
....
    {
        name: "newsdetail_query",
        path: "detail_query",
        component: () => import('../views/NewsDetail_query.vue')
    },
....
步骤3:父组件通过路由传递数据给子组件
TypeScript
....
<!--路由传参演示,相当于父组件向子组件传递数据-->
        <!-- 通过query传递参数 -->
        <!--query的字符串传参 -->
        <li><RouterLink to="/news/detail_query?id=ddd&title=新闻1&content=asdfasdf">新闻Detail</RouterLink></li>
         <!--query的对象传参 -->
        <li><RouterLink :to ="{path:'/news/detail_query',query:{id:'ddd',title:'新闻1',content:'asdfasdf'}}">新闻Detail</RouterLink></li>
....
步骤4:实现效果
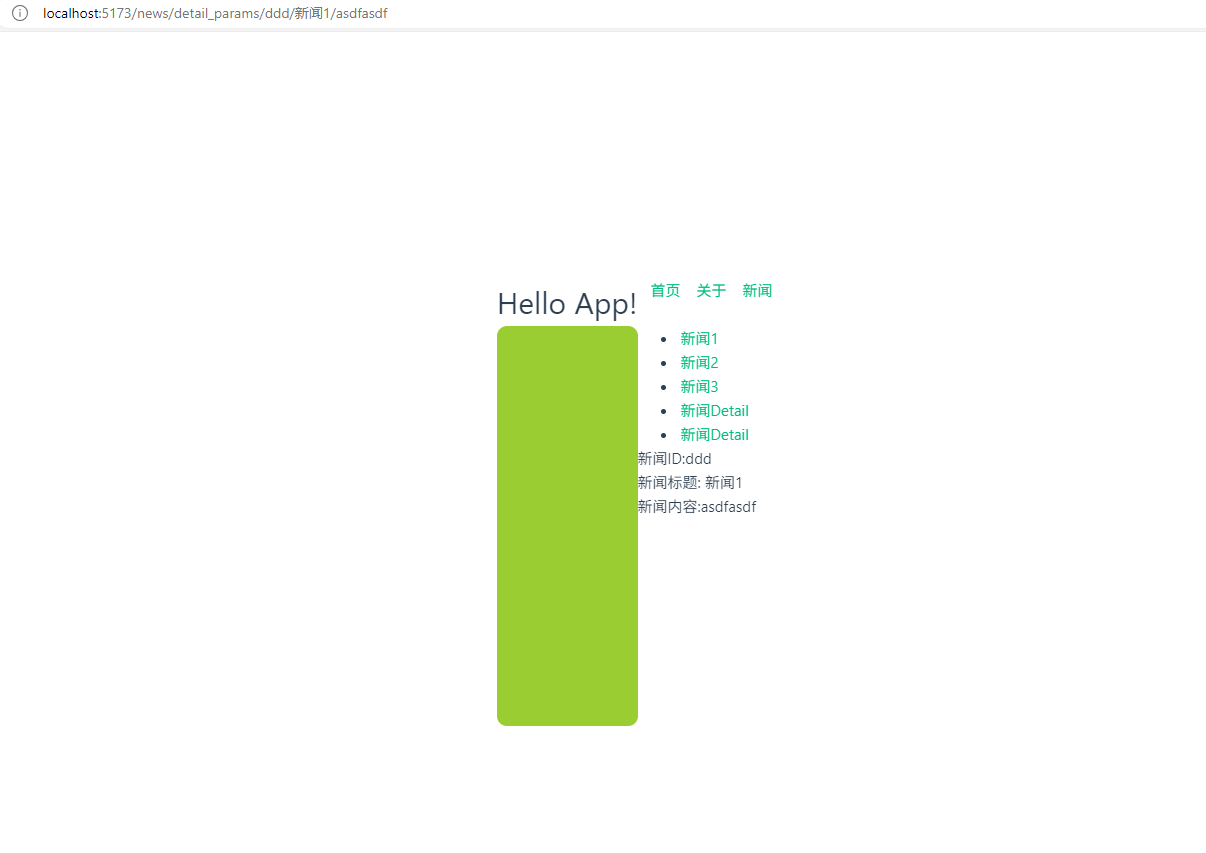
4.5.2 param3方式传参
步骤1:新建NewsDetail_query.vue组件vue,接收传参的数据
子组件获取由父组件通过路由传递的数据,并双向绑定至控件中
TypeScript
<!-- NewsDetail_params.vue -->
<template>
    <p>新闻ID:{{params.id}}</p>
    <p>新闻标题: {{params.title}} </p>
    <p>新闻内容:{{params.content}} </p>
</template>

<script lang="ts" setup>

import {useRoute} from 'vue-router'
import {ref} from 'vue'
// 获取当前路由信息
const route = useRoute()
//获取params数据,并转成双向绑定数据
let params = ref(route.params);

</script>


<style>
</style>
步骤2:配置NewsDetail_query页面路由规则
TypeScript
....
    {
        name: "newsdetail_params",
        //表示可选参数,这里会导致通过对象传参时,不能使用path,只能使用name来传参
        path: "detail_params/:id/:title/:content?", //限定参数,params传参 ?
        component: () => import('../views/NewsDetail_params.vue')
    },
....
步骤3:父组件通过路由传递数据给子组件
TypeScript
  <!-- 通过query传递参数 -->
         <!--params的字符串传参 -->
        <li><RouterLink to="/news/detail_params/ddd/新闻1/asdfasdf">新闻Detail</RouterLink></li>
        <!--params的对象传参,因为params传参路由配置的path是/detail_params/:id/:title/:content?,因此要使用name方式传参 -->
        <li><RouterLink :to ="{name:'newsdetail_params',params:{id:'ddd',title:'新闻1',content:'asdfasdf'}}">新闻Detail</RouterLink></li>
步骤4:实现效果
- 用 query:当需要分享链接、传递非敏感的过滤条件(如 ?category=electronics&page=1)、或希望参数在刷新后依然存在时。不太安全
- 用 params:当传递资源的唯一标识(如 /user/123)、追求 URL 美观、或传递敏感信息(如用户 ID)时。更加安全,推荐使用