登陆页面剩下就记住密码和登录按钮了,我们接下来封装记住密码组件。我们在 LoginPage 的 View 新建一个 RememberPasswordContentView.swift.
swift
struct RememberPasswordContentView: View {
    @Binding var isRememberPassword:Bool
    @StateObject private var appColor:AppColor = AppColor.share
    var body: some View {
        HStack {
            Rectangle()
                .frame(width:15 ,height:15)
                .foregroundColor(foregroundColor)
                .border(Color(uiColor: appColor.c_cccccc), width: 1)
            Text("记住密码")
                .foregroundColor(Color(uiColor: appColor.c_cccccc))
        }
      	.onTapGesture {
            isRememberPassword.toggle()
        }
    }

    private var foregroundColor: Color {
        isRememberPassword ? Color(uiColor: appColor.c_209090) : .clear
    }
}
使用 Rectangle 设置选中和未选中状态
我们让 Rectangle 有边框无前景色作为未选中状态,将 Rectangle 有边框有前景色作为选中状态。
我们将记住密码的组件和 用户名和密码放在一起,左侧对齐。
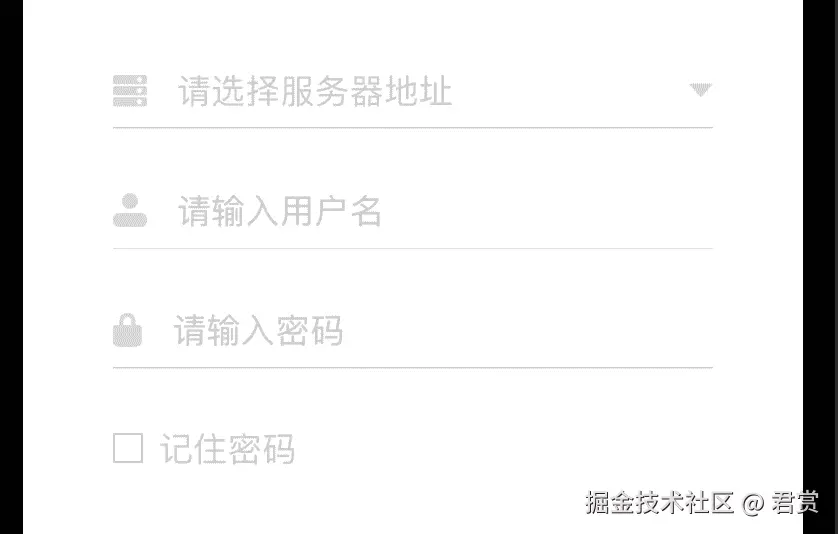
我们发现记住密码和输入密码组件的间隙也是 30。这个对于我们来说,间隙太大了,我们同时为了让 记住密码的组件点击范围增加,我们设置 Padding如下。
swift
RememberPasswordContentView(isRememberPassword: $viewModel.isRememberPassword)
    .padding(EdgeInsets(top: -20, leading: 0, bottom: 10, trailing: 0))
使用 Button 封装登录按钮
下面我们添加登录按钮的组件。
swift
Button("登录") {
}
.frame(maxWidth:.infinity)
.frame(height: 45)
.background(Color(uiColor: appColor.c_209090))
.foregroundColor(.white)
.cornerRadius(5)这里我们用到了Button 的组件,对于 Button的创建有两种。
文本类型
swift
Button("按钮") {}自定义内容
swift
Button {
} label: {
    HStack {
        Image("password_icon_34x34")
        Text("密码按钮")
    }
}
修复按钮其他区域无法点击
本来我想着这个按钮就是简单的一个文本按钮,结果发现运行只有点击文本的地方才有反应,因此按钮的响应区域在于Label组件的大小。
使用 cornerRadius 设置圆角
我们修改创建的按钮的代码如下。
swift
 Button {
  } label: {
      Text("登陆")
          .frame(maxWidth:.infinity)
          .frame(height: 45)
          .background(Color(uiColor: appColor.c_209090))
          .foregroundColor(.white)
          .cornerRadius(5)
  }
虽然是同样的按钮,但是上面的代码整个按钮点击都有响应。
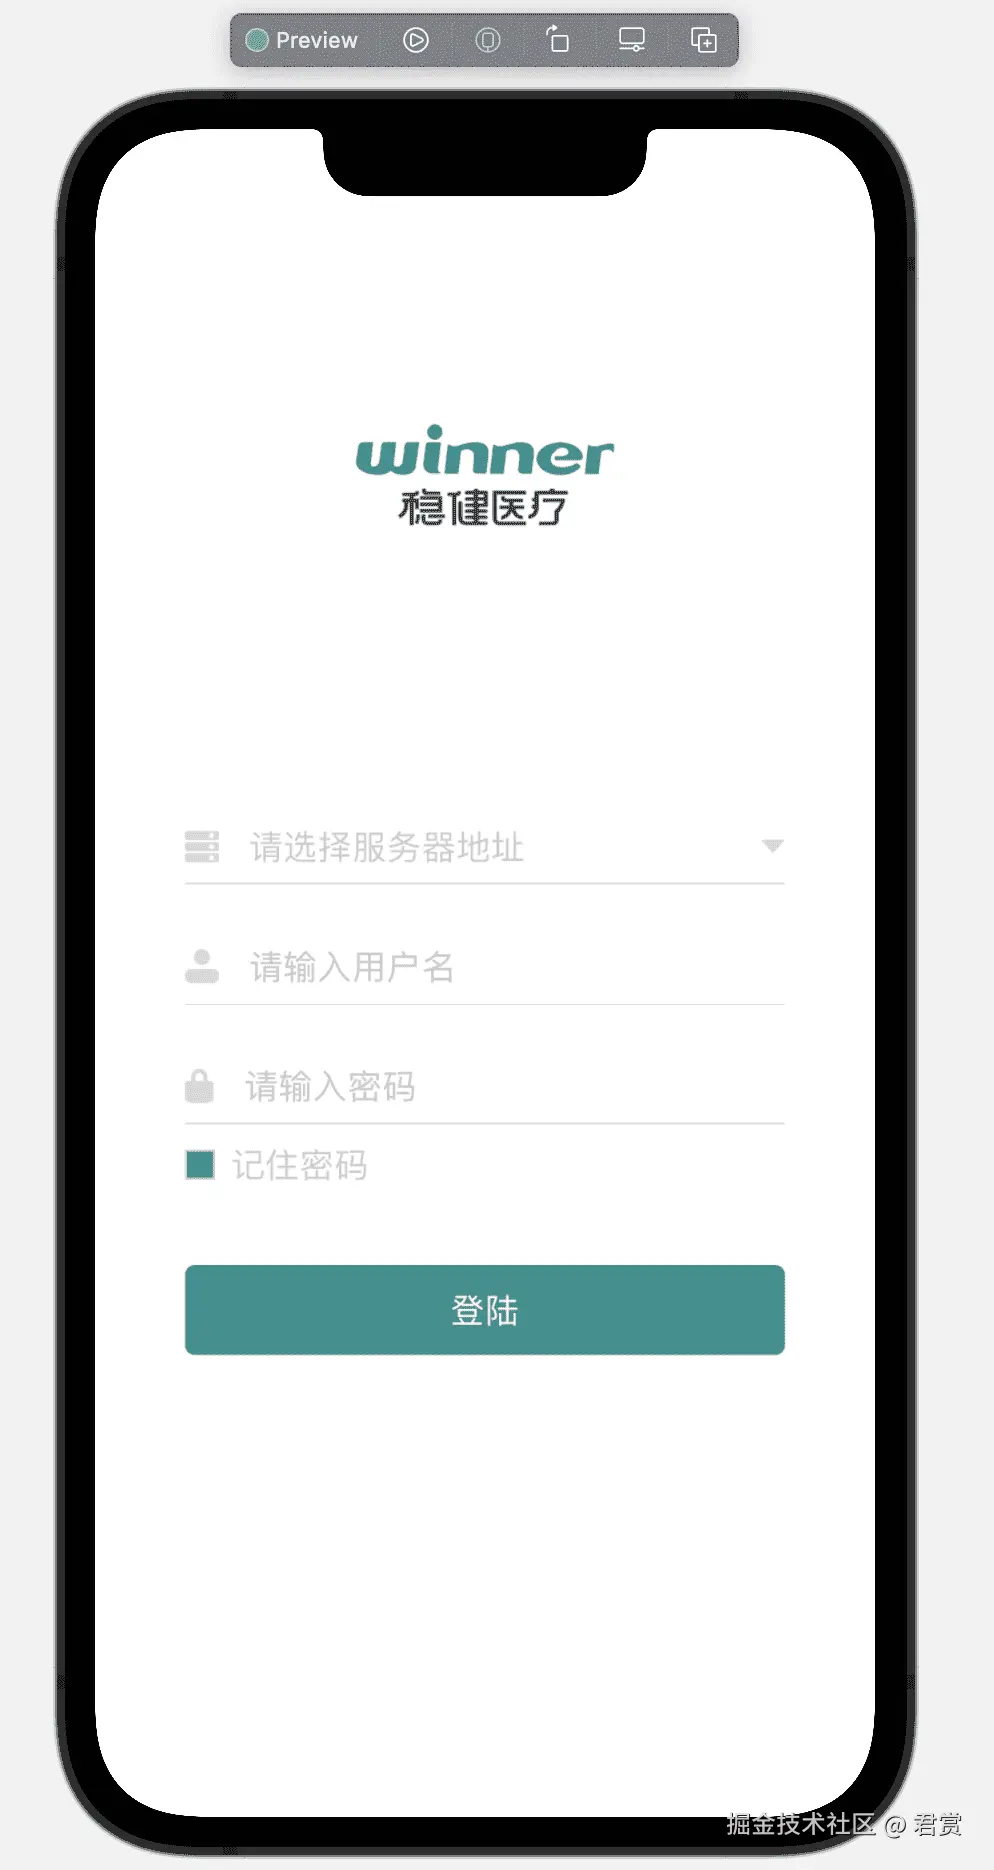
到此我们对于登陆页面的界面已经做完了,虽然简单,但是我们竟然用到那么多的控件和知识。接下来,我们就将登陆界面的逻辑完成。