之前已经讲过SpringAI的一些核心概念,现在也是时候让我们的第一个SpringAI应用跑起来了。
在正式编写第一个 Spring AI 示例之前,我们先整体了解一下大模型应用的技术架构,以及搭建开发环境时需要准备哪些模型运行环境。
LLM应用技术架构
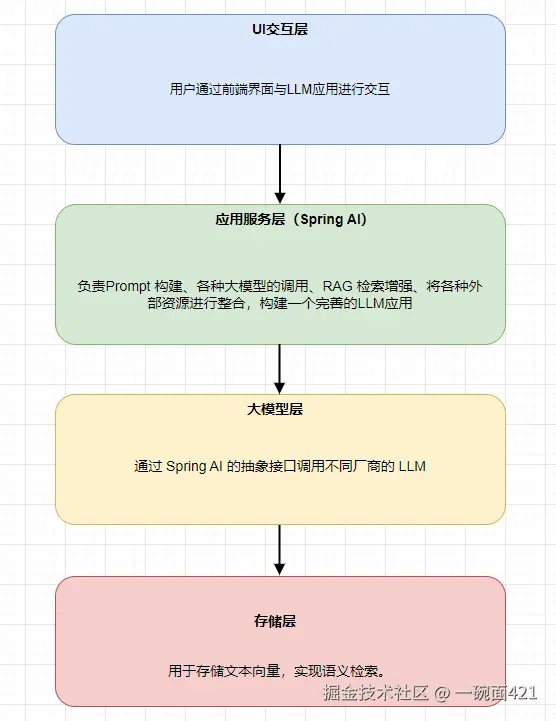
通过上图我们可以知道,SpringAI底层需要依赖大模型。所以我们需要先将大模型的环境准备好,我们可以选择调用第三方平台提供的大模型(OpenAI,DeepSeek,阿里云百炼等等),也可以选择自己本地部署一个离线大模型,在下文中会对这两种情况进行演示。
而SpringAI调用大模型主要有一个三件套理论,那就是:汉堡,可乐,薯条。不好意思,有点饿了。
所谓三件套,实际上就是三个参数:
- ApiKey: 我是谁?(身份认证)
- BaseUrl: 我连哪里?(服务地址)
- 模型的名字: 我要用哪个模型?(具体能力)
模型环境准备
下方以DeepSeek和阿里云百炼平台为例获取大模型调用的三个参数,其他平台的模型类似。
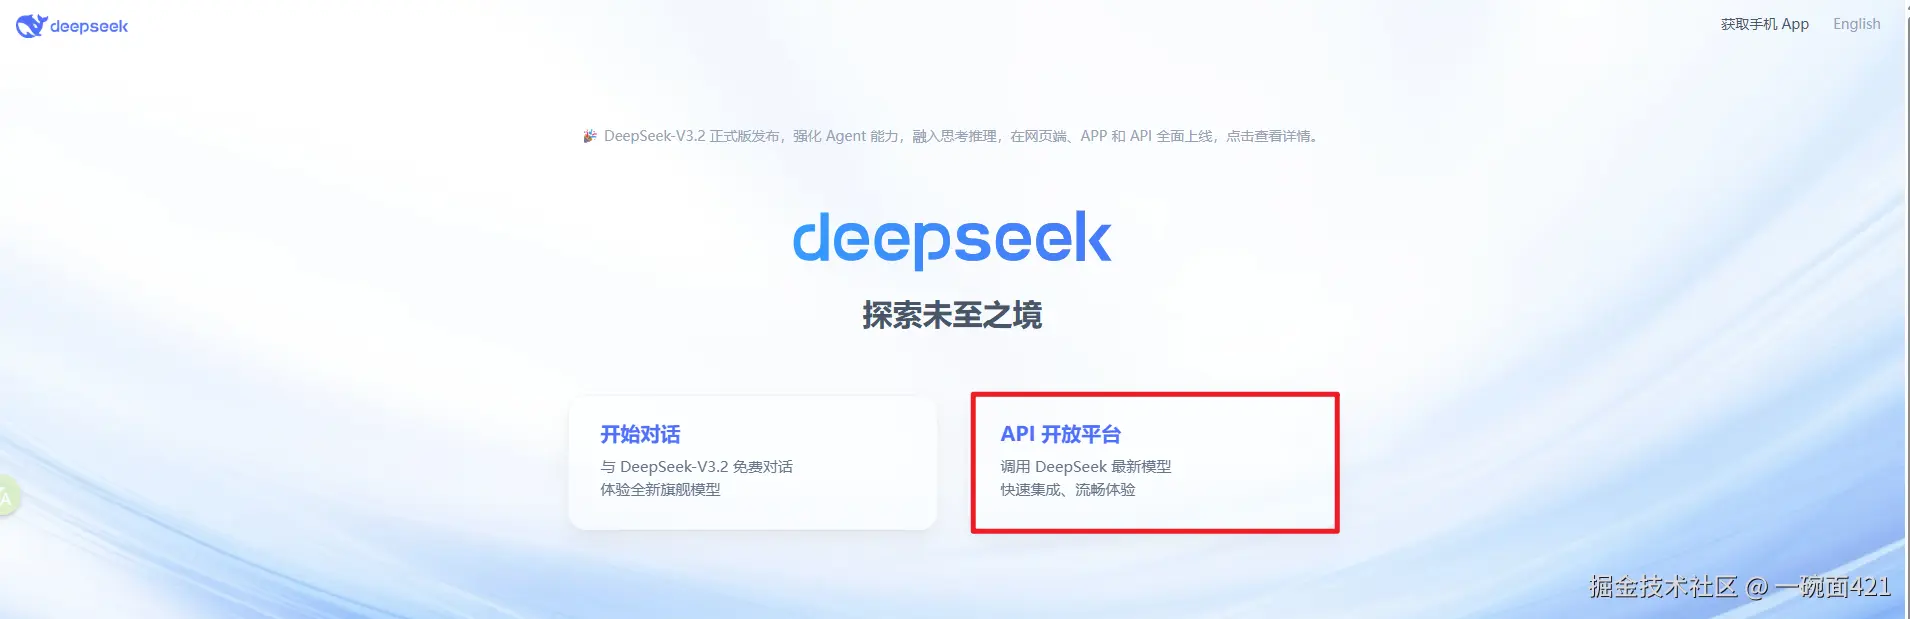
1.DeepSeek
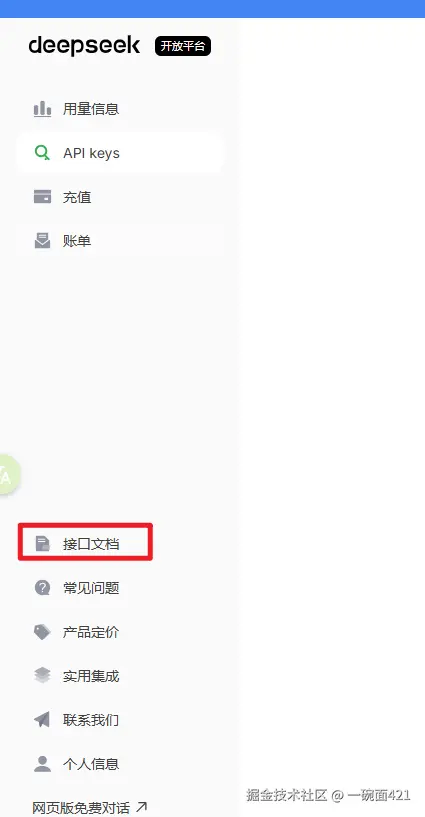
- 打开DeepSeek官网 www.deepseek.com/ ,找到API开放平台,点击后需要进行注册登录
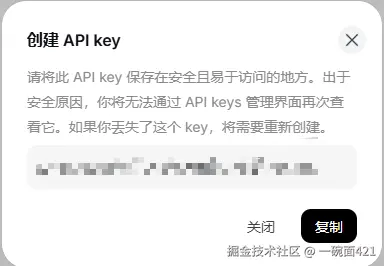
- 登录完成找到API keys,并且创建一个API key
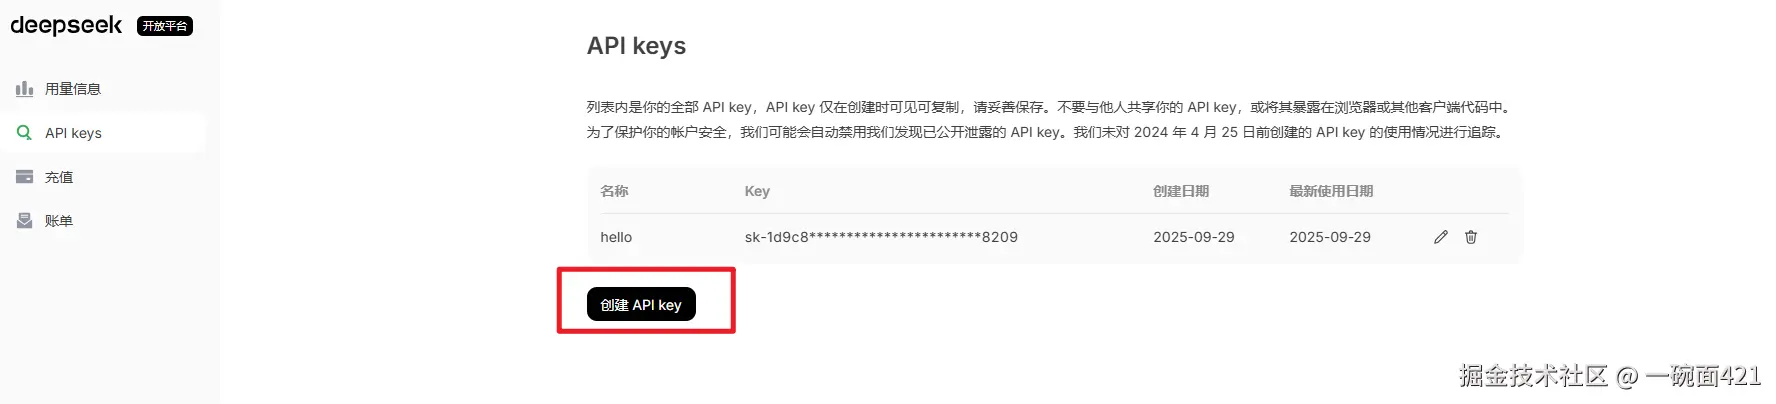
- 创建成功后就得到我们需要的ApiKey参数
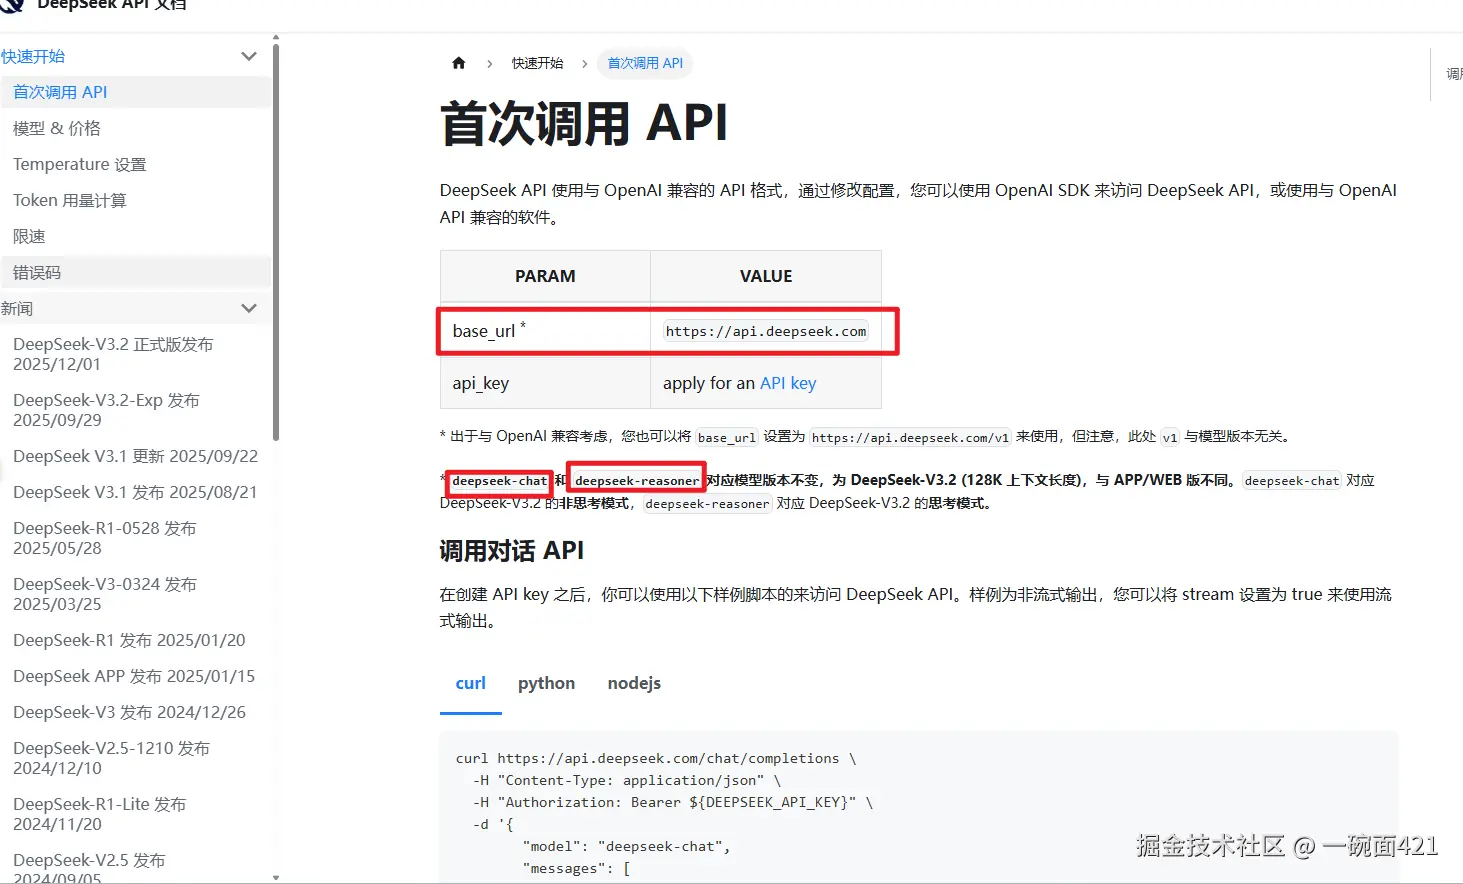
- 打开接口文档
- 得到BaseUrl 和模型名称
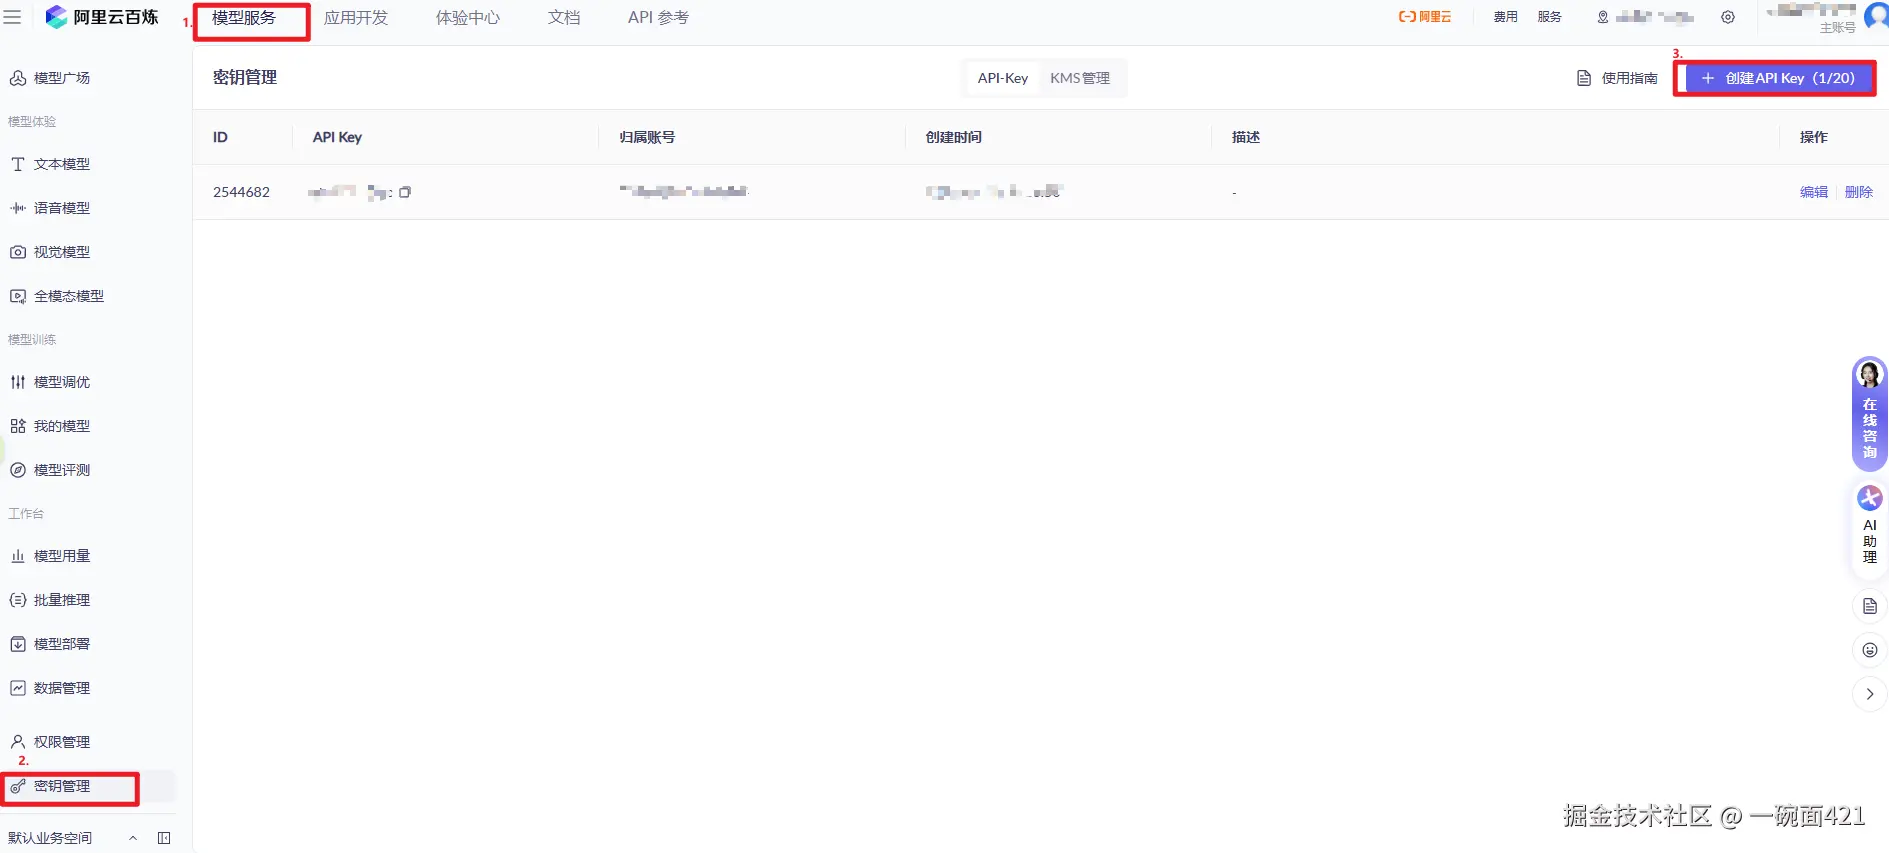
2.阿里云百炼

- 创建ApiKey
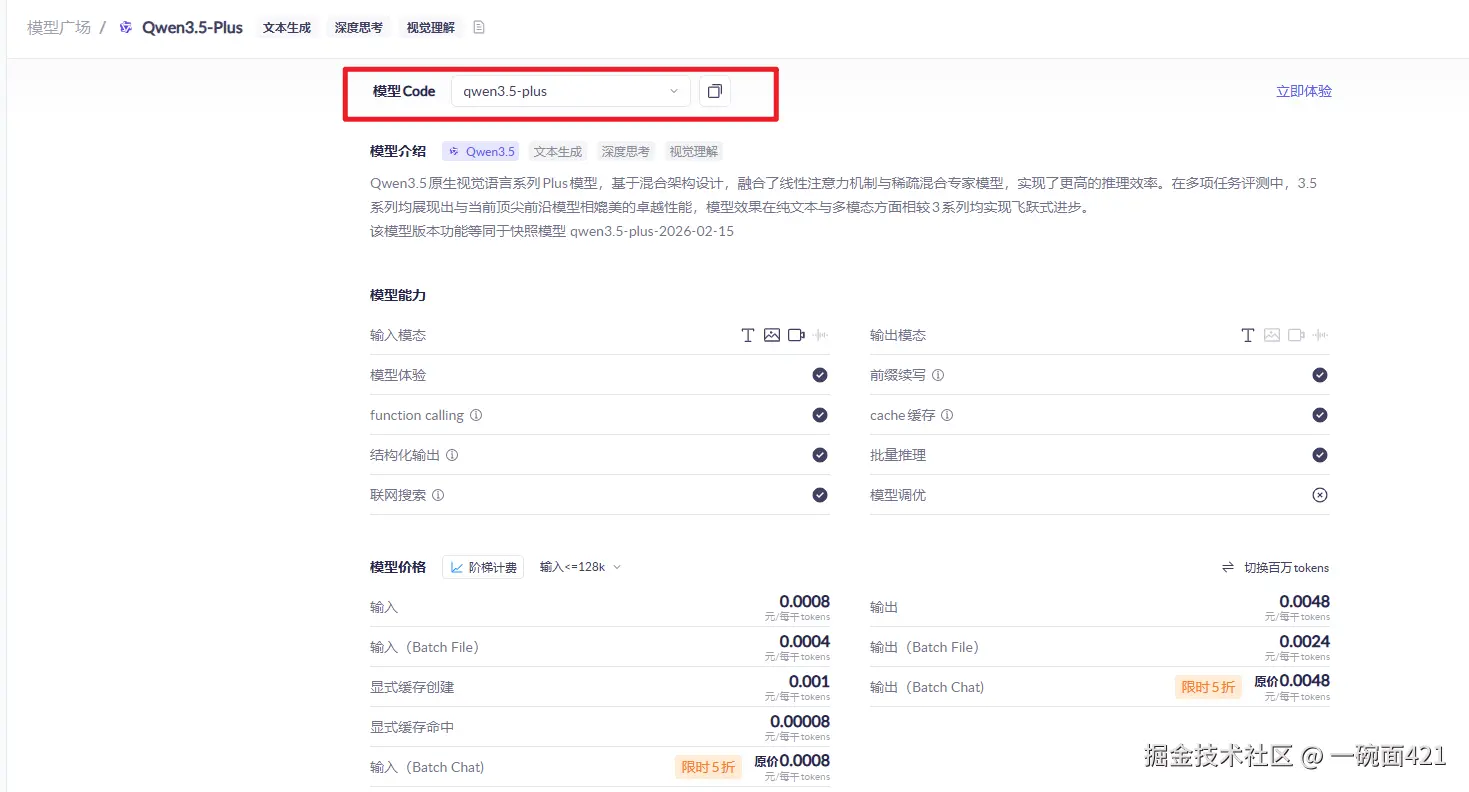
- 在模型广场中找到自己想使用的模型
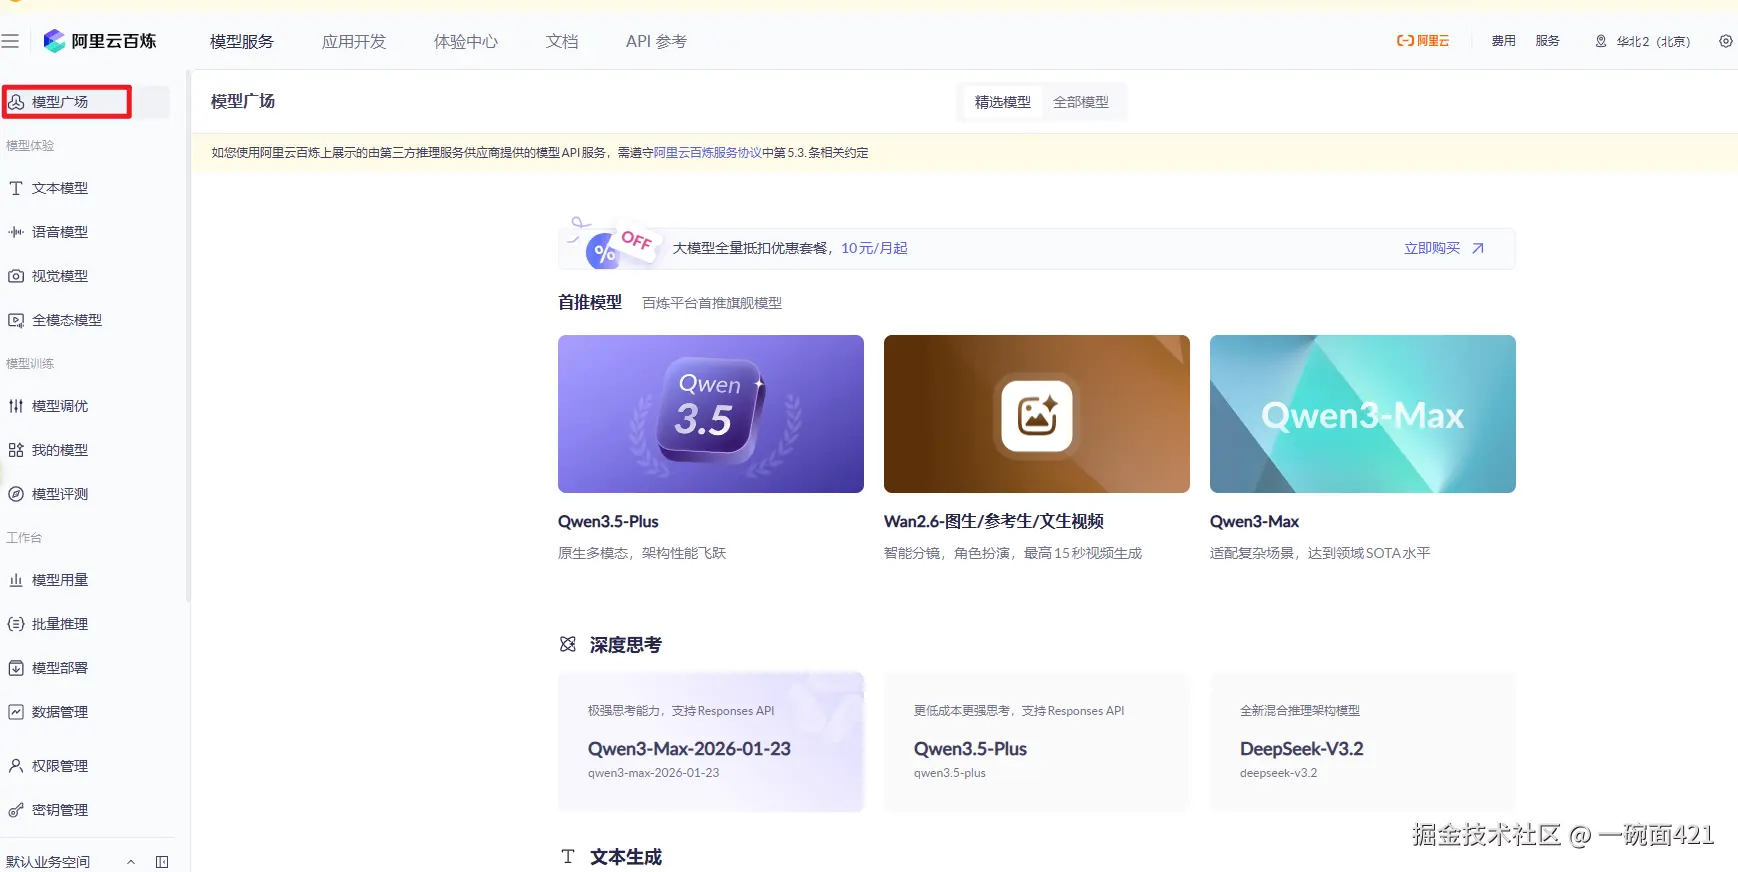
- 详情中有模型名称
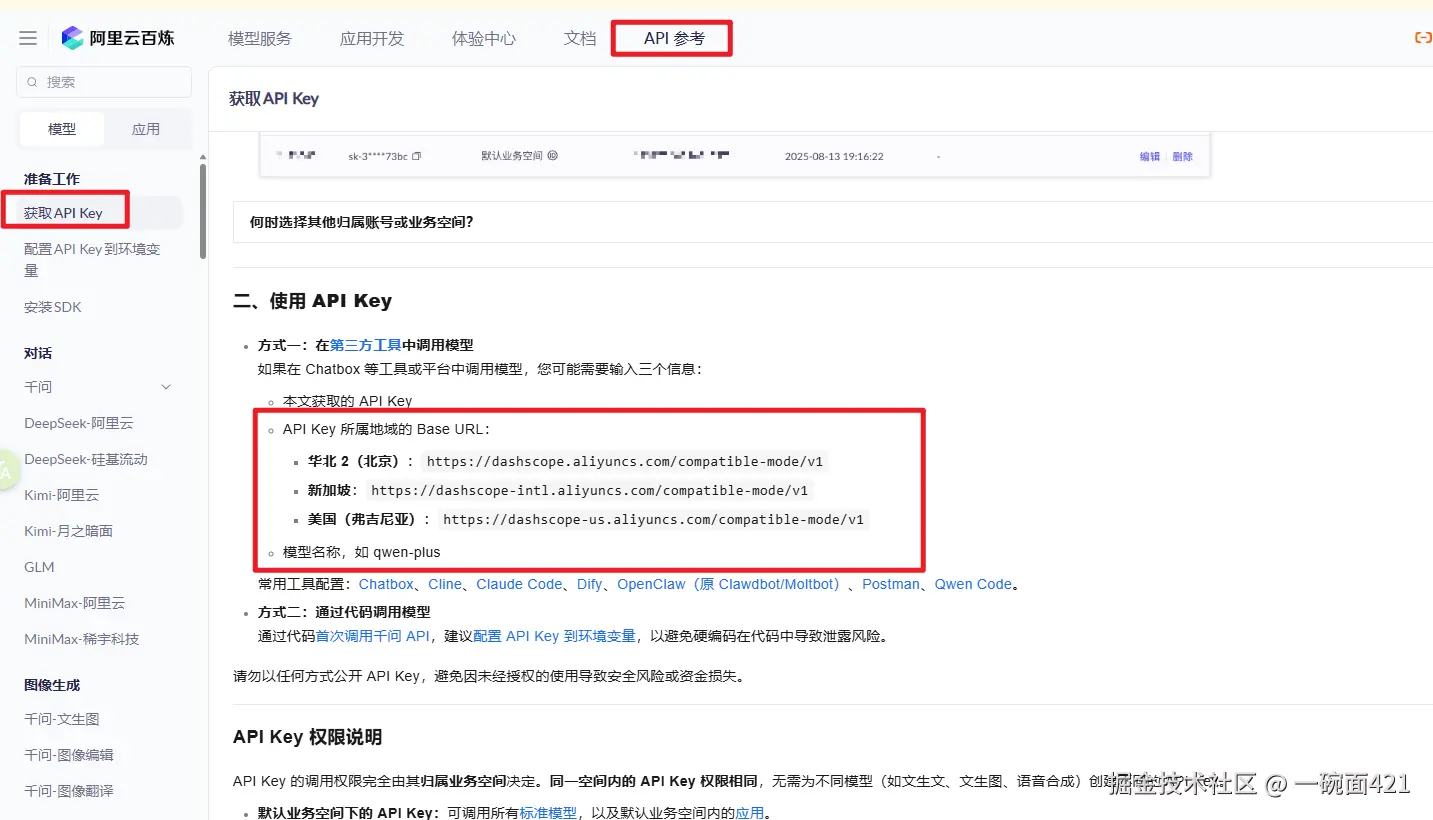
- 在API文档中找到BaseUrl
3.使用Ollama安装本地模型
对于第三方平台提供的模型API都是需要付费使用的。我们可以利用Ollma在本地安装一些模型使用。
什么是Ollama
Ollama 是一个本地运行大语言模型(LLM)的工具。
安装Ollama
- 前往 https://ollama.com/download/windows 官网下载ollama

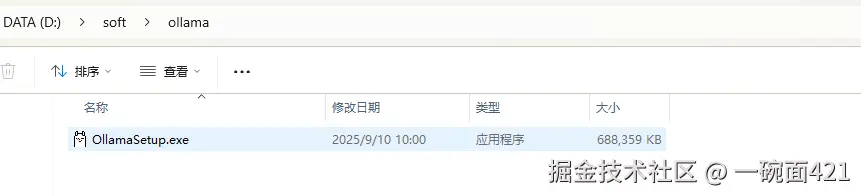
- 安装到指定的目录
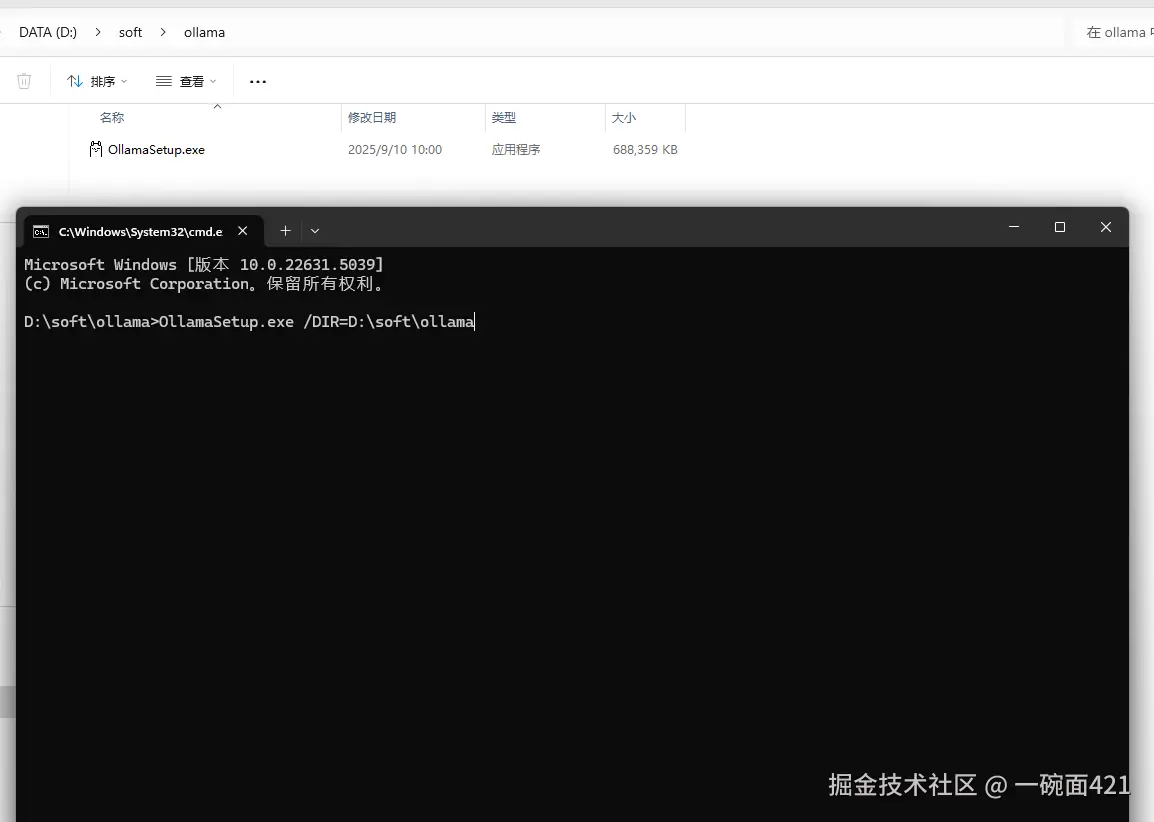
在当前目录打开cmd执行下面的命令
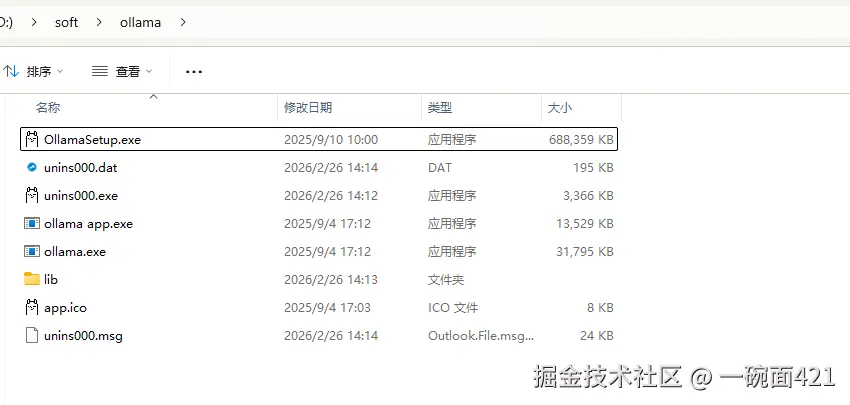
OllamaSetup.exe /DIR=D:\soft\ollama
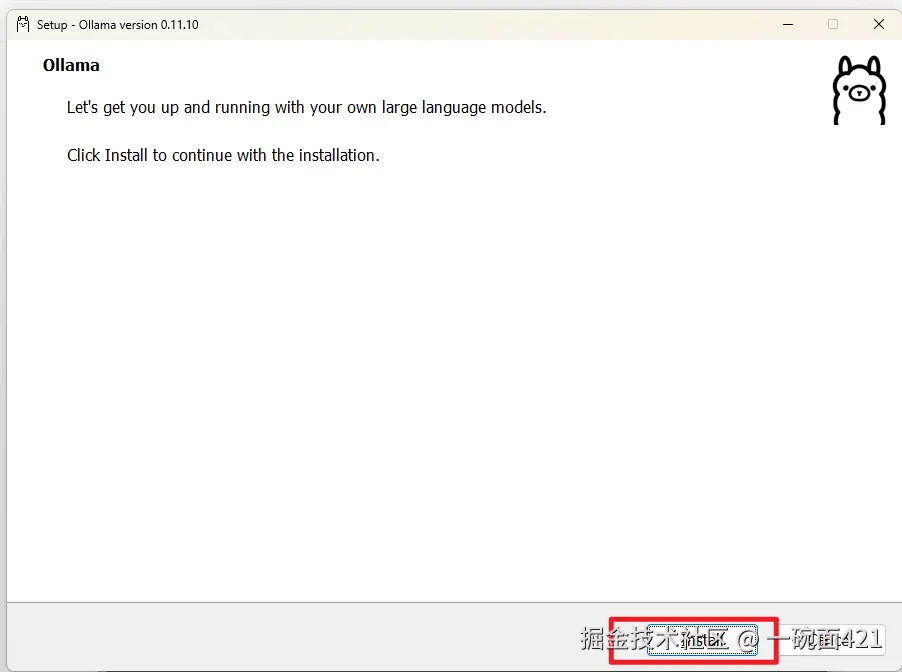
- 安装完成后如下
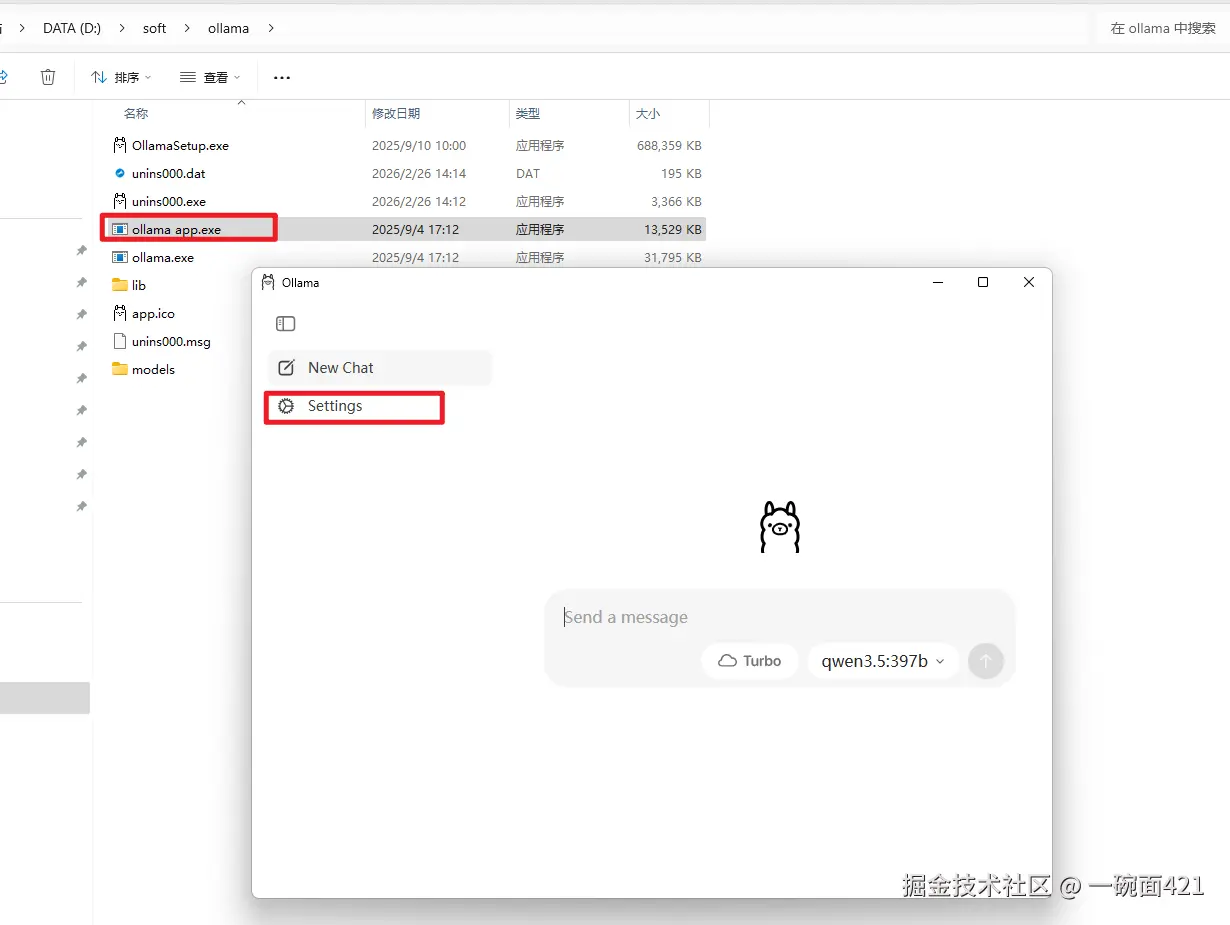
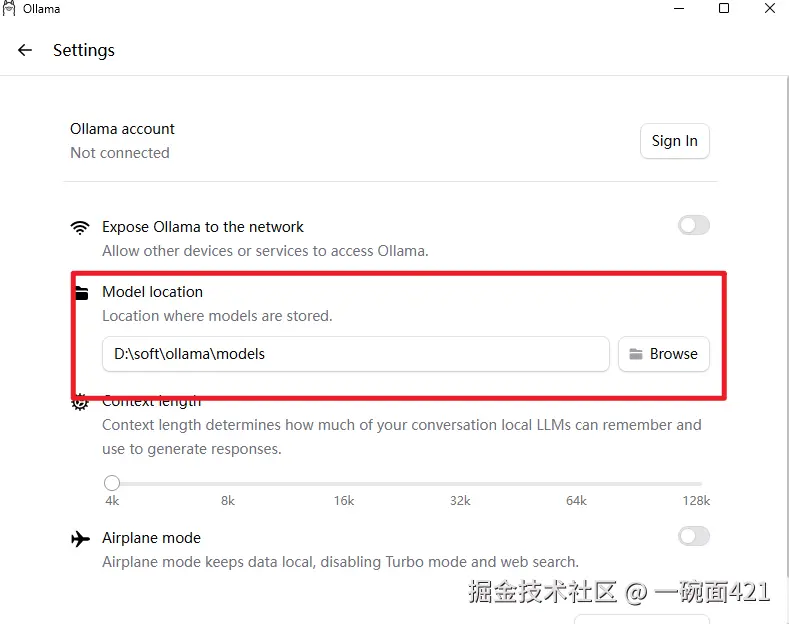
- 修改模型的存储位置
启动ollama app.exe,打开设置
利用Ollama安装模型
- 打开Ollama官网 ollama.com/search 搜索自己想要安装的模型,这里为了演示安装一个比较小的模型deepseek-r1:1.5b
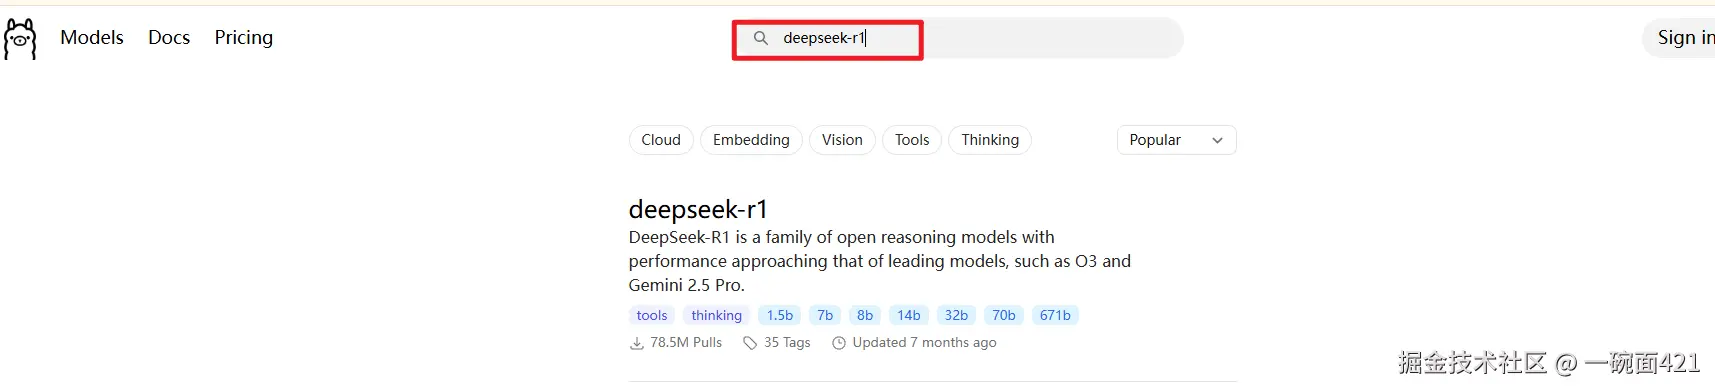

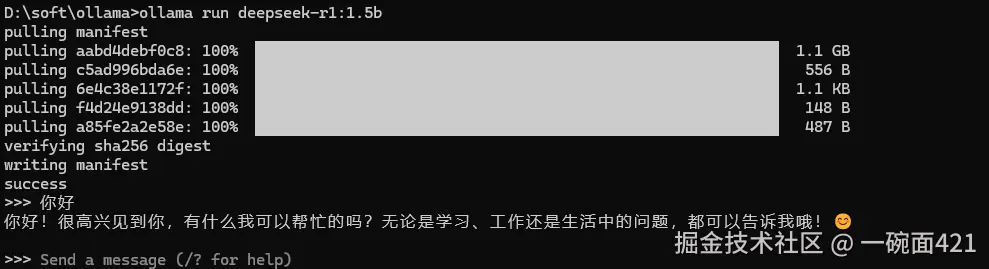
- 安装deepseek-r1:1.5b
ollama run deepseek-r1:1.5b
至此,大模型的环境已经准备完毕,至于如何使用,下文会继续进行说明。
新建SpringAI项目
这里采用的项目环境是:
- SpringBoot: 3.5.5
- SpringAI: 1.1.2
- Java:JDK17
新建一个Maven父工程springai-demo
pom.xml文件如下:
xml
<?xml version="1.0" encoding="UTF-8"?>
<project xmlns="http://maven.apache.org/POM/4.0.0"
         xmlns:xsi="http://www.w3.org/2001/XMLSchema-instance"
         xsi:schemaLocation="http://maven.apache.org/POM/4.0.0
         http://maven.apache.org/xsd/maven-4.0.0.xsd">

    <modelVersion>4.0.0</modelVersion>

    <!-- 继承 Spring Boot -->
    <parent>
        <groupId>org.springframework.boot</groupId>
        <artifactId>spring-boot-starter-parent</artifactId>
        <version>3.5.5</version>
        <relativePath/>
    </parent>

    <groupId>com.byone421</groupId>
    <artifactId>springai-demo</artifactId>
    <version>1.0-SNAPSHOT</version>
    <packaging>pom</packaging>

    <modules>
        <module>ai-hello</module>
        <module>ai-ollama</module>
    </modules>

    <properties>
        <maven.compiler.source>17</maven.compiler.source>
        <maven.compiler.target>17</maven.compiler.target>
        <spring-ai.version>1.1.2</spring-ai.version>
    </properties>

    <dependencyManagement>
        <dependencies>
            <dependency>
                <groupId>org.springframework.ai</groupId>
                <artifactId>spring-ai-bom</artifactId>
                <version>${spring-ai.version}</version>
                <type>pom</type>
                <scope>import</scope>
            </dependency>
        </dependencies>
    </dependencyManagement>

</project>
新建一个ai-hello子模块
子模块pom.xml如下:
xml
<?xml version="1.0" encoding="UTF-8"?>
<project xmlns="http://maven.apache.org/POM/4.0.0"
xmlns:xsi="http://www.w3.org/2001/XMLSchema-instance"
xsi:schemaLocation="http://maven.apache.org/POM/4.0.0 http://maven.apache.org/xsd/maven-4.0.0.xsd">
<modelVersion>4.0.0</modelVersion>
<parent>
<groupId>com.byone421</groupId>
<artifactId>springai-demo</artifactId>
<version>1.0-SNAPSHOT</version>
</parent>
<artifactId>ai-hello</artifactId>
<packaging>jar</packaging>
<properties>
<maven.compiler.source>17</maven.compiler.source>
<maven.compiler.target>17</maven.compiler.target>
</properties>
<dependencies>
<dependency>
<groupId>org.springframework.boot</groupId>
<artifactId>spring-boot-starter-web</artifactId>
</dependency>
<!-- 使用openai模型 -->
<dependency>
<groupId>org.springframework.ai</groupId>
<artifactId>spring-ai-starter-model-openai</artifactId>
</dependency>
<dependency>
<groupId>org.springframework.boot</groupId>
<artifactId>spring-boot-starter-test</artifactId>
<scope>test</scope>
</dependency>
</dependencies>
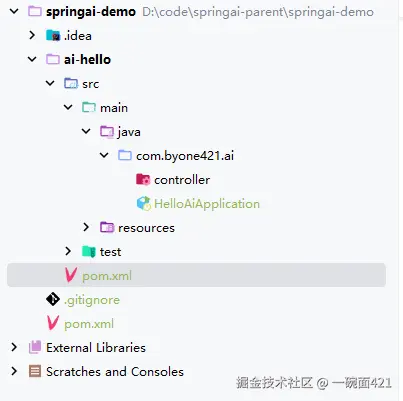
</project>最终项目结构
配置大模型的3个参数
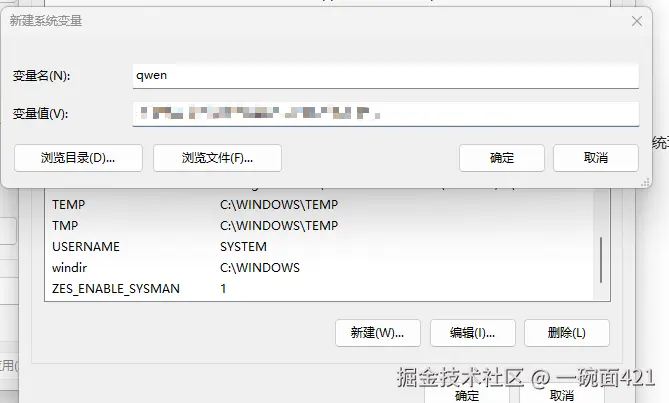
配置ApiKey
ApiKey推荐配置成系统环境变量,然后在项目中获取,这里我们将阿里云百炼平台中的ApiKey配置在系统环境变量中。变量名字可以自定义。
在ai-hello项目中配置参数
这里我配置的是阿里云百炼平台上面获取的参数,application.yml中相关配置如下:
yaml
server:
  port: 8000
spring:
  ai:
    openai:
      api-key: ${qwen}
      base-url: https://dashscope.aliyuncs.com/compatible-mode
      chat:
        options:
          model: qwen3.5-plus
temperature: 0.7这里有一个小插曲就是阿里云百炼平台上面的base-url是dashscope.aliyuncs.com/compatible-... ,当我使用这个base-url时会提示404

后面把base-url改成dashscope.aliyuncs.com/compatible-...就正常了。我猜测是SpringAI和阿里云百炼的适配问题。
编写Controller进行测试
java
import org.springframework.ai.chat.client.ChatClient;
import org.springframework.web.bind.annotation.GetMapping;
import org.springframework.web.bind.annotation.RequestMapping;
import org.springframework.web.bind.annotation.RequestParam;
import org.springframework.web.bind.annotation.RestController;

@RestController
@RequestMapping("/my")
public class MyController {

    private final ChatClient chatClient;

    /**
     * 构造函数注入 ChatClient.Builder,Spring 会自动提供一个 ChatClient.Builder 的实例。
     * @param chatClientBuilder
     */
    public MyController(ChatClient.Builder chatClientBuilder) {
        this.chatClient = chatClientBuilder.build();
    }

    /**
     * 这个方法处理 GET 请求,路径为 /my/hello。它接受一个名为 userInput 的请求参数,如果没有提供该参数,则默认值为 "你好"。
     * @param userInput
     * @return
     */
    @GetMapping("/hello")
    public String hello(@RequestParam(value = "userInput", defaultValue = "你好") String userInput) {
        return this.chatClient.prompt()//开始创建一个对话提示
        .user(userInput)//设置用户输入
        .call()//执行对话提示,调用 AI 模型生成回答
        .content();// 从 AI 模型的响应中提取出纯文本内容(即生成的回答),并作为方法的返回值。
    }
}
启动项目后浏览器测试成功

SpringAI调用本地模型
利用ollma启动模型
cmd进入到ollma的安装目录,执行下面的命令,启动我们之前已经安装好的模型。
ollama run deepseek-r1:1.5b

再新建一个ai-ollama子模块
子模块pom.xml如下
xml
<?xml version="1.0" encoding="UTF-8"?>
<project xmlns="http://maven.apache.org/POM/4.0.0"
  xmlns:xsi="http://www.w3.org/2001/XMLSchema-instance"
  xsi:schemaLocation="http://maven.apache.org/POM/4.0.0 http://maven.apache.org/xsd/maven-4.0.0.xsd">
  <modelVersion>4.0.0</modelVersion>
  <parent>
    <groupId>com.byone421</groupId>
    <artifactId>springai-demo</artifactId>
    <version>1.0-SNAPSHOT</version>
  </parent>

  <artifactId>ai-ollama</artifactId>

  <properties>
    <maven.compiler.source>17</maven.compiler.source>
    <maven.compiler.target>17</maven.compiler.target>
    <project.build.sourceEncoding>UTF-8</project.build.sourceEncoding>
  </properties>

  <packaging>jar</packaging>

  <dependencies>
    <dependency>
      <groupId>org.springframework.boot</groupId>
      <artifactId>spring-boot-starter-web</artifactId>
    </dependency>


    <!--   使用ollama模型  -->
    <dependency>
      <groupId>org.springframework.ai</groupId>
      <artifactId>spring-ai-starter-model-ollama</artifactId>
    </dependency>

    <dependency>
      <groupId>org.springframework.boot</groupId>
      <artifactId>spring-boot-starter-test</artifactId>
      <scope>test</scope>
    </dependency>
  </dependencies>

</project>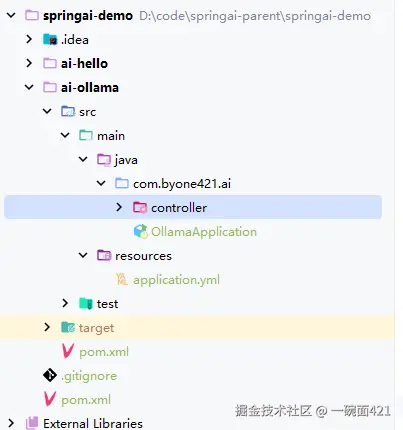
修改配置文件
ollama默认的端口是11434,所以我们base-url是http://localhost:11434。model参数就是我们安装的模型。
yaml
server:
  port: 8001
spring:
  ai:
    ollama:
      base-url: http://localhost:11434
      chat:
        model: deepseek-r1:1.5b
编写Controller测试
java
import org.springframework.ai.chat.client.ChatClient;
import org.springframework.web.bind.annotation.GetMapping;
import org.springframework.web.bind.annotation.RequestMapping;
import org.springframework.web.bind.annotation.RequestParam;
import org.springframework.web.bind.annotation.RestController;

@RestController
@RequestMapping("/my")
public class MyController {

    private final ChatClient chatClient;

    /**
     * 构造函数注入 ChatClient.Builder,Spring 会自动提供一个 ChatClient.Builder 的实例。
     * @param chatClientBuilder
     */
    public MyController(ChatClient.Builder chatClientBuilder) {
        this.chatClient = chatClientBuilder.build();
    }

    /**
     * 这个方法处理 GET 请求,路径为 /my/hello。它接受一个名为 userInput 的请求参数,如果没有提供该参数,则默认值为 "你好"。
     * @param userInput
     * @return
     */
    @GetMapping("/hello")
    public String hello(@RequestParam(value = "userInput", defaultValue = "你好") String userInput) {
        return this.chatClient.prompt()//开始创建一个对话提示
        .user(userInput)//设置用户输入
        .call()//执行对话提示,调用 AI 模型生成回答
        .content();// 从 AI 模型的响应中提取出纯文本内容(即生成的回答),并作为方法的返回值。
    }
}
相关代码
以上就是本篇博客的全部内容。 至此,我们的第一个 Spring AI 应用已经成功跑起来了,我们下次再见。