什么是 Ghostty?为什么它这么香?
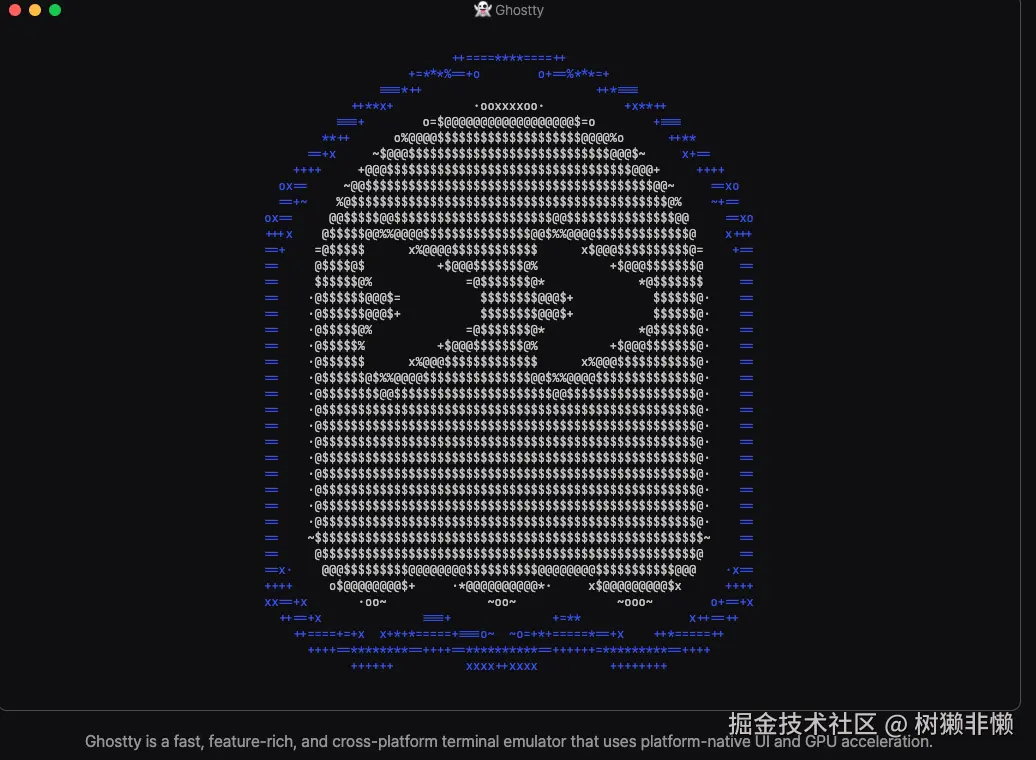
Ghostty 是由 HashiCorp 联合创始人 Mitchell Hashimoto(@mitchellh) 从 2021 年开始用业余时间开发的终端模拟器,核心用 Zig 语言 编写,于 2024 年底正式开源。
三大优势(开发者狂喜):
| 优势 | 说明 |
|---|---|
| 超级快 | GPU 加速(macOS 用 Metal),滚动丝滑如丝绸,Claude 输出千行不卡顿 |
| 超级美 | 原生 macOS 界面 + 毛玻璃透明 + Catppuccin Mocha 紫色主题 + 完美连字字体 |
| 超级智能 | 支持 Kitty 图形协议(Claude 画图直接显示)、一键分屏、布局永久保存 |
💡 一句话总结 :Ghostty 不逼你"要么快要么丑",它全都要!
免费开源,跨平台,还在疯狂迭代。
官网:ghostty.org/
🛠️ 第一步:安装 Ghostty(3 分钟搞定)
在终端执行:
css
brew install --cask ghostty安装后 Spotlight 搜索 Ghostty 打开。
⚠️ 第一次启动可能弹出两个窗口(主窗口 + 下拉幽灵窗口),忽略它,我们稍后配置。
⌨️ 第二步:基础命令(记住这 5 个就够了)
| 快捷键 | 功能 |
|---|---|
Cmd + D |
左右分屏(左 Claude 写码,右调试) |
Cmd + Shift + Enter |
放大当前窗格(看长输出超爽) |
Cmd + W |
关闭当前窗格 |
Cmd + Shift + , |
重载配置(改完 config 必按!) |
Cmd + Q |
完全退出 Ghostty |
🖱️ 切换窗格:直接用鼠标点击即可!
🌈 第三步:美化升级 --- Starship 彩虹状态栏
安装并配置 Starship(终端显示 Git、CPU、时间等):
javascript
brew install starship
starship preset catppuccin-powerline -o ~/.config/starship.toml
在 ~/.zshrc 末尾添加一行:
bash
eval "$(starship init zsh)"保存后完全退出 Ghostty(Cmd + Q)并重启,即可看到彩虹状态栏!
🎮 第四步:打造你的"快乐开发现场"
安装监控工具:
brew install fastfetch btop布局操作(全部在 Ghostty 内完成):
- 主窗口:运行
claude(或你的 AI 编程助手) - 按
Cmd + D→ 右侧窗格:运行fastfetch(炫酷系统信息) - 按
Cmd + Shift + D→ 下方窗格:运行btop(实时 CPU/内存监控) - 任意窗格按
Cmd + Shift + Enter放大 Claude 输出
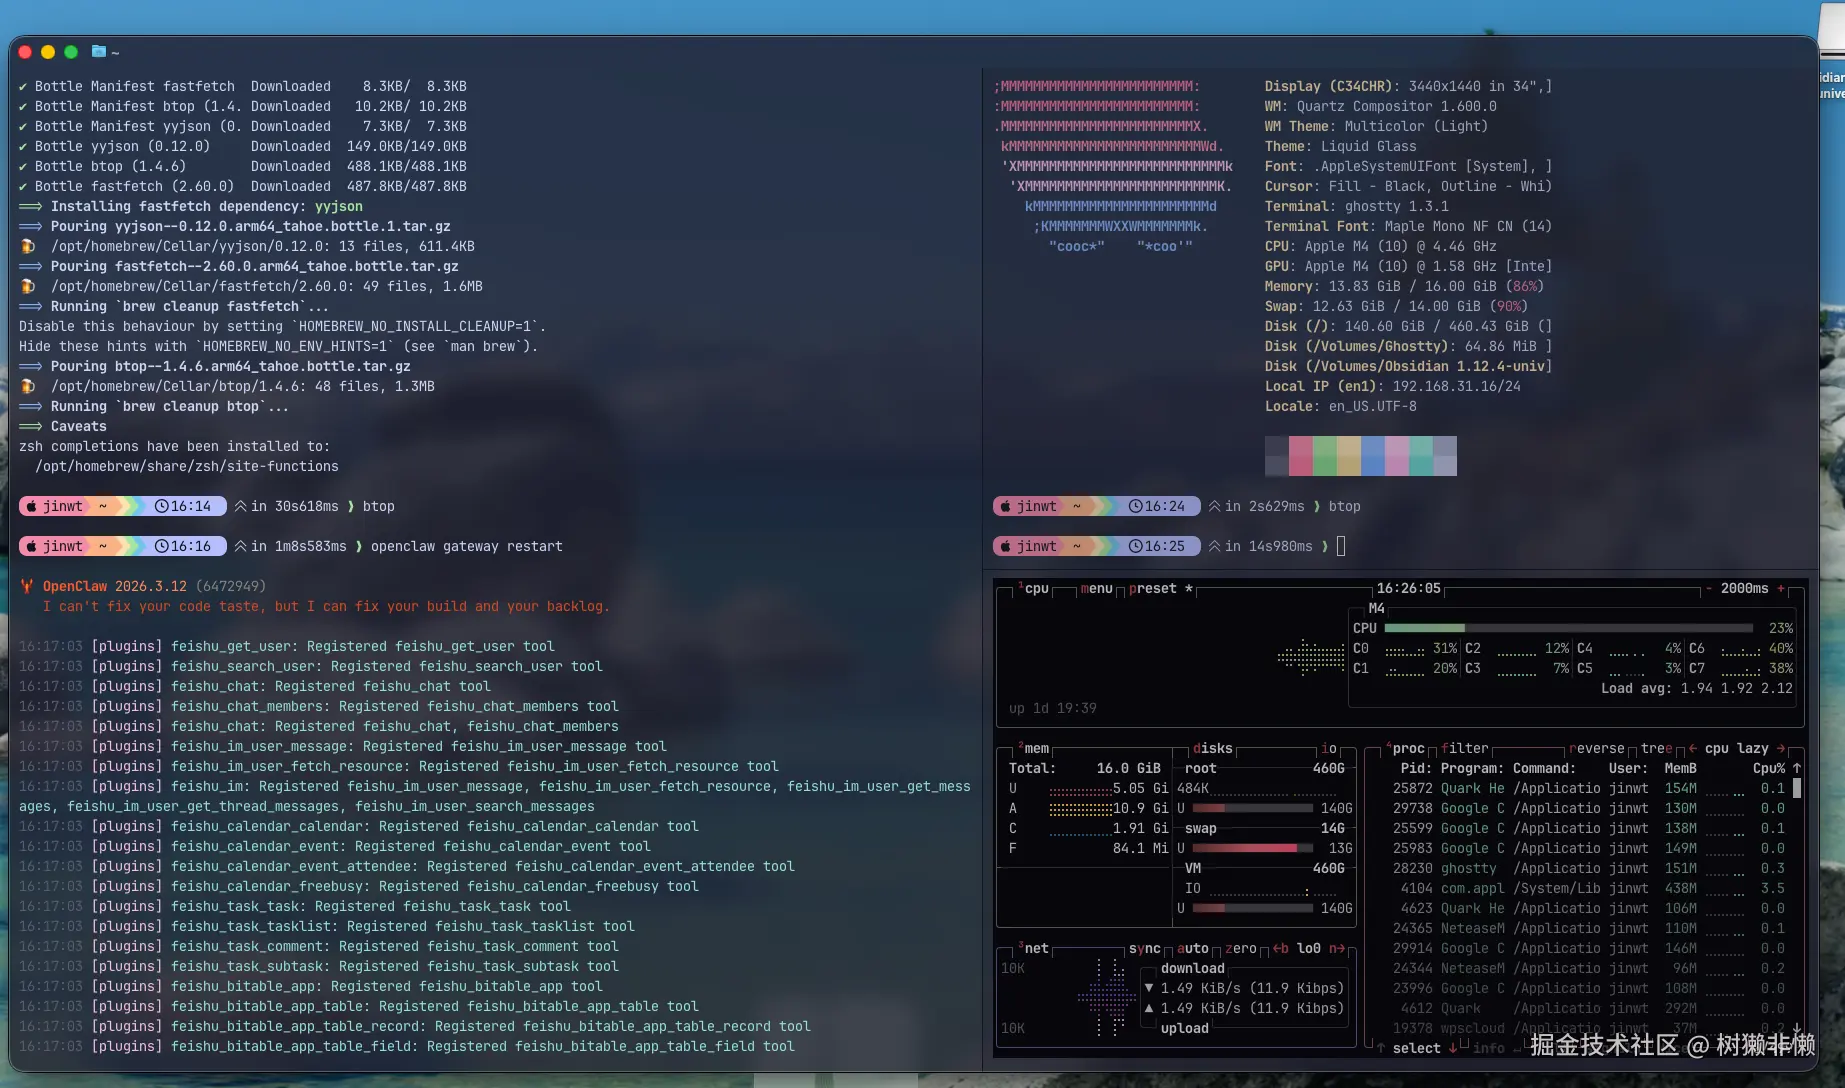
✨ 效果 :
左侧 Claude 生成代码 + 右侧 fastfetch + 底部 btop 监控
紫色毛玻璃背景 + 连字字体 + 彩虹状态栏 → 开发浪漫到窒息!
💎 第五步:终极配置(直接复制粘贴,零报错!)
以下配置已包含所有功能:
- Catppuccin Mocha 紫色主题
Cmd + D左右分屏Cmd + Shift + Enter一键放大- 布局永久保存 + 零报错
请直接复制下方全部内容,覆盖你的 Ghostty 配置文件:
ini
# --- Typography ---
font-family = "Maple Mono NF CN"
font-size = 14
adjust-cell-height = 2

# --- Theme and Colors ---
theme = Catppuccin Mocha

# --- Window and Appearance ---
background-opacity = 0.85
background-blur-radius = 30
macos-titlebar-style = transparent
window-padding-x = 10
window-padding-y = 8
window-save-state = always
window-theme = auto

# --- Cursor ---
cursor-style = bar
cursor-style-blink = true
cursor-opacity = 0.8

# --- Mouse ---
mouse-hide-while-typing = true
copy-on-select = clipboard

# --- Quick Terminal ---
quick-terminal-position = top
quick-terminal-screen = mouse
quick-terminal-autohide = true
quick-terminal-animation-duration = 0.15

# --- Security ---
clipboard-paste-protection = true
clipboard-paste-bracketed-safe = true

# --- Shell Integration ---
shell-integration = zsh

# --- Claude 专属优化 ---
# initial-command = /opt/homebrew/bin/claude
initial-window = true
quit-after-last-window-closed = true
notify-on-command-finish = always

# --- Performance ---
scrollback-limit = 25000000

# --- 基础分屏(左右添加屏幕)---
keybind = cmd+d=new_split:right
keybind = cmd+shift+enter=toggle_split_zoom
keybind = cmd+shift+f=toggle_split_zoom
✅ 操作步骤:
-
打开终端,执行:
arduinoopen ~/.config/ghostty/config -
全选删除原内容 → 粘贴上方配置 → 保存
-
在 Ghostty 中按
Cmd + Shift + ,重载配置
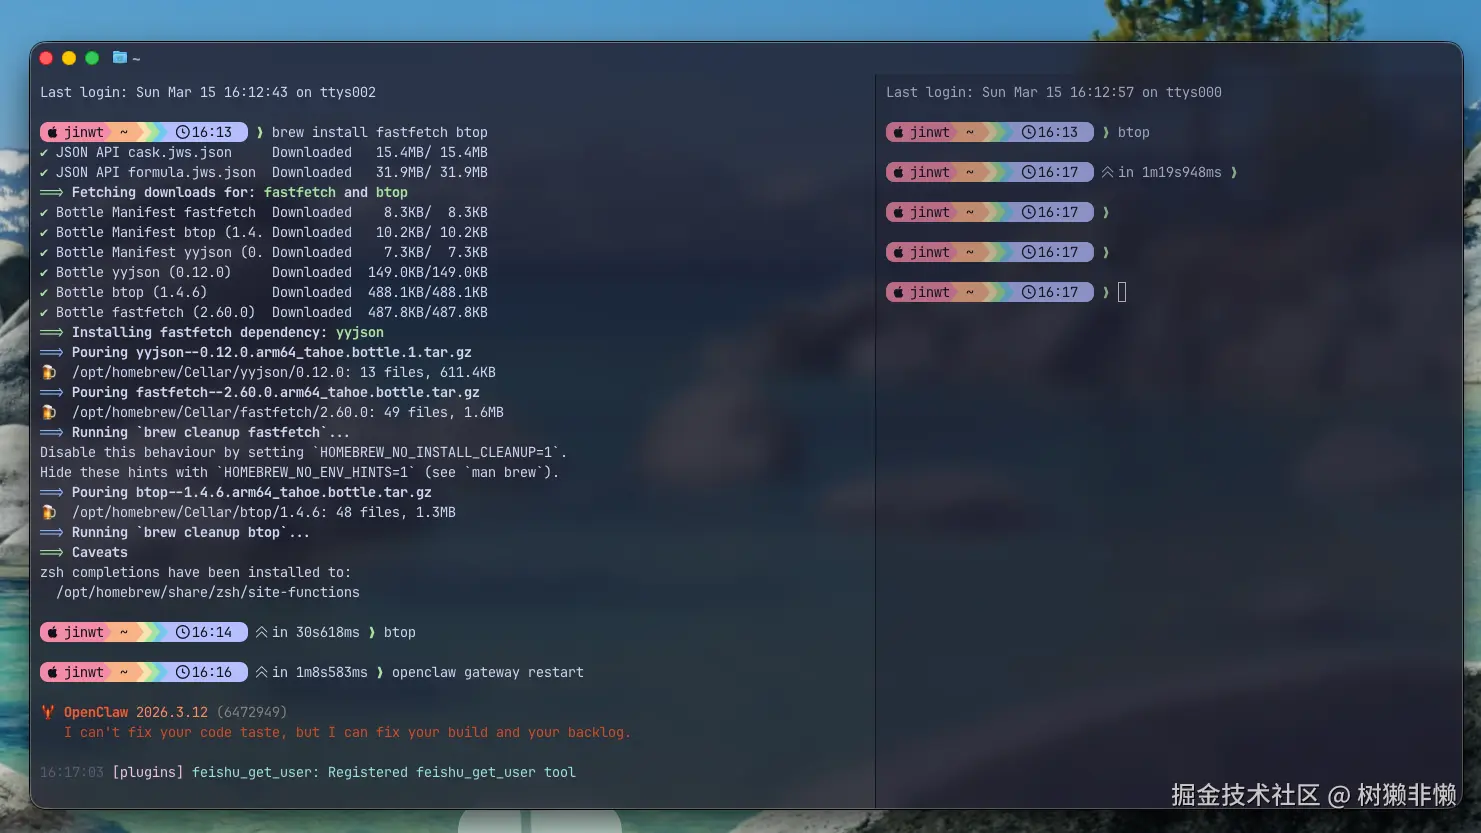
然后就可以得到这样的效果:
💫 结语:你,已是"幽灵开发者"
闭上眼睛,想象这一刻:
你按下
Cmd + D,屏幕裂开新世界。左侧 Claude 生成优雅代码,
右侧
fastfetch彩虹跳动,底部
btop实时监控 CPU,你再按
Cmd + Shift + Enter,Claude 的千行输出铺满全屏------
连字字体闪烁,紫色毛玻璃温柔发光。
那一刻,你会笑出声:原来开发,可以这么爽!
🚀 现在就行动!
- 安装 Ghostty (
brew install --cask ghostty) - 复制上方配置 → 覆盖
~/.config/ghostty/config - 按
Cmd + D,创建你人生第一个左右分屏!
让 Claude 负责思考 ,
让 Ghostty 负责鬼混 ,
而你,只需 收割快乐与效率。
从今天起,你的 Mac 不再是冷冰冰的终端,
而是一个会分屏、陪鬼混的 AI 搭档。