后端打包
进入idea后端项目 右侧点击Maven 先执行clean 在执行package
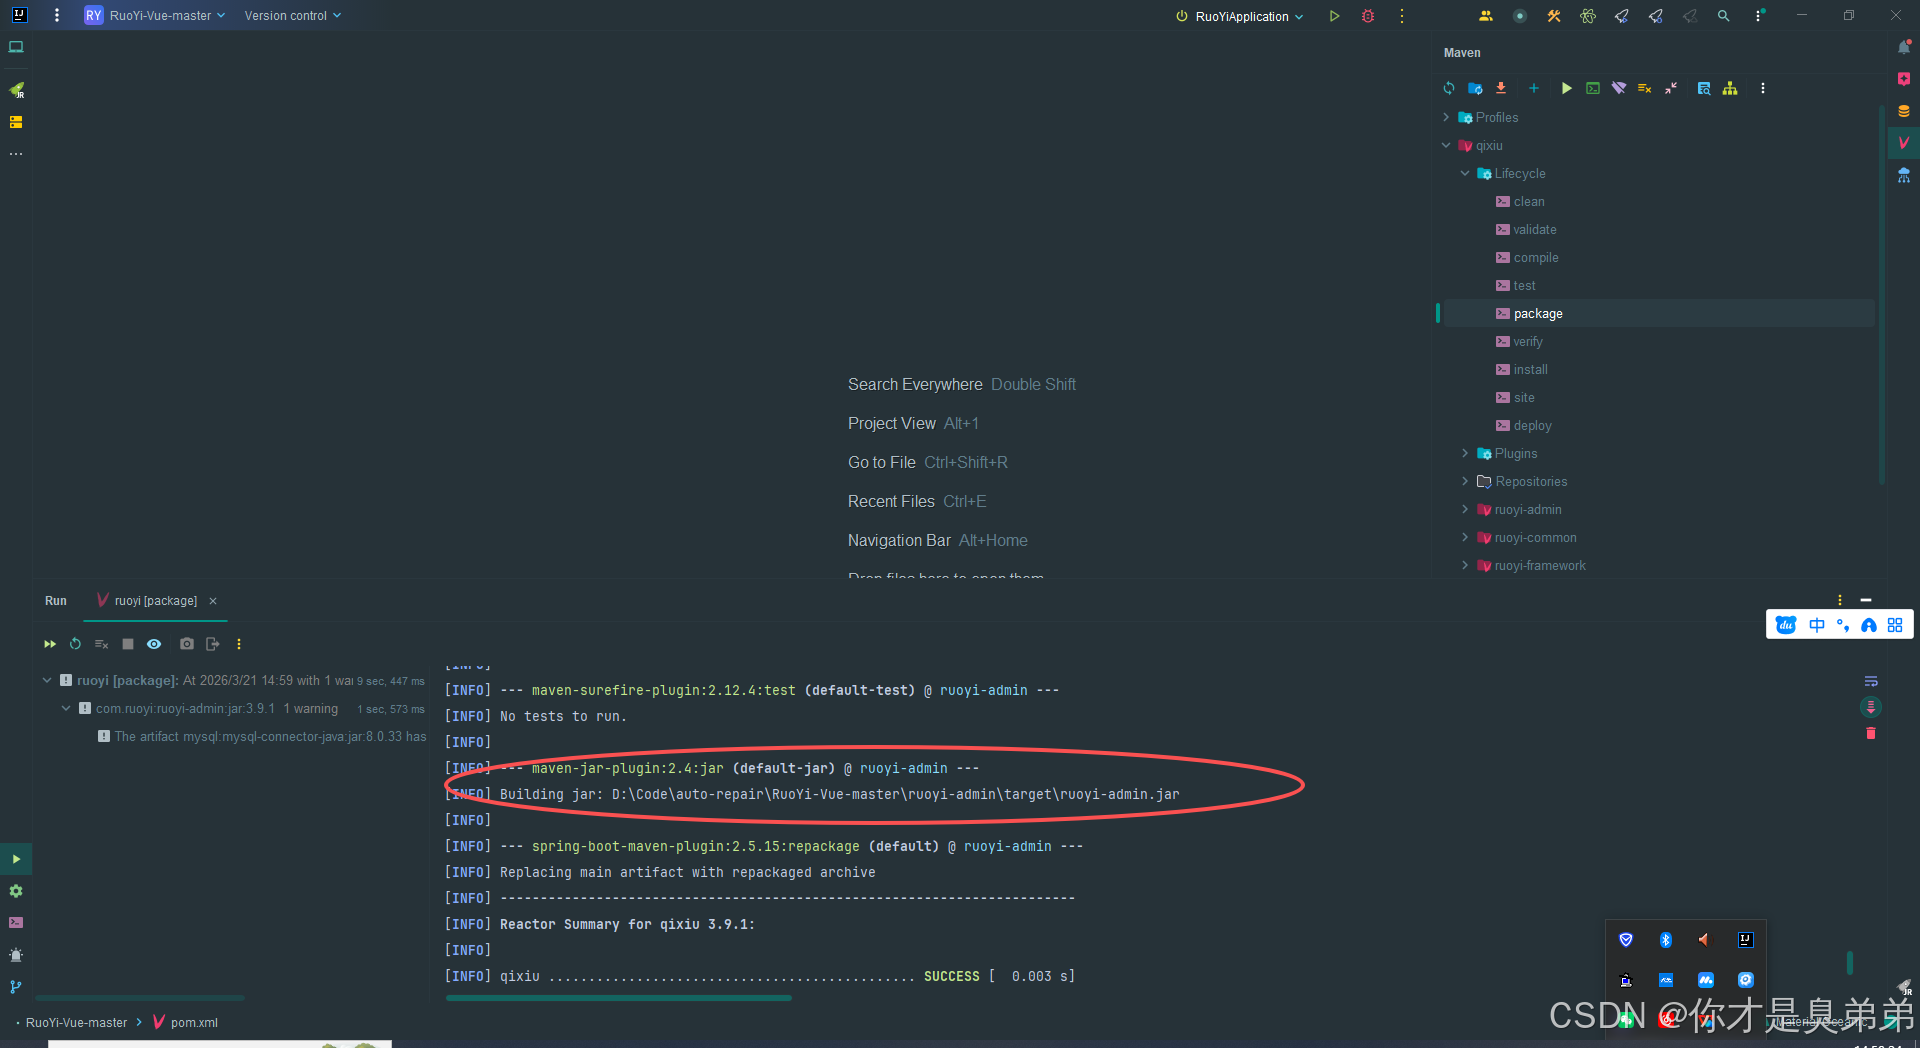
进入目录找到 auto-repair.jar
前端打包
进入前端项目:D:\Code\auto-repair\RuoYi-Vue-master\ruoyi-ui 执行CMD
bash
# 在 Windows 下递归删除 dist 目录(/s 删除目录树,/q 静默模式)清理
rmdir /s /q dist

# 运行 npm 脚本 build:prod,用于生产环境打包(将源码编译、压缩后输出到 dist 目录)
npm run build:prod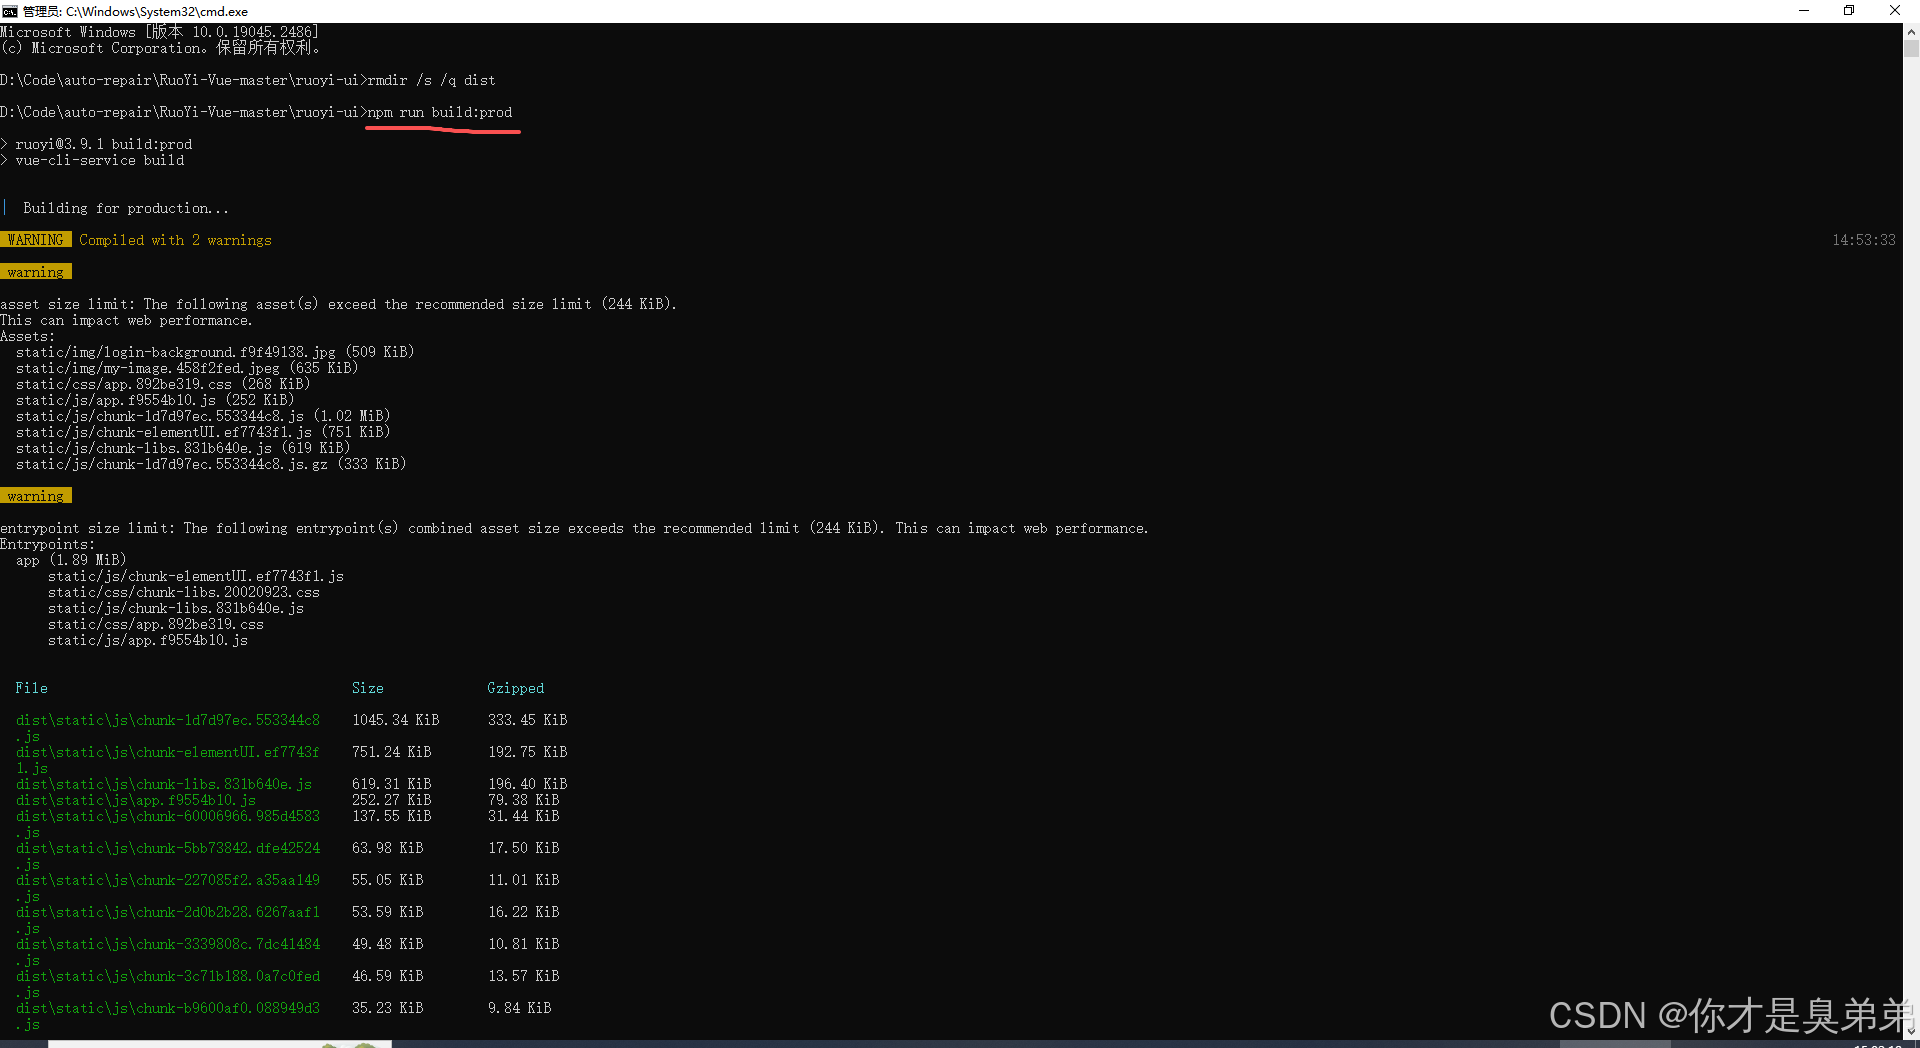
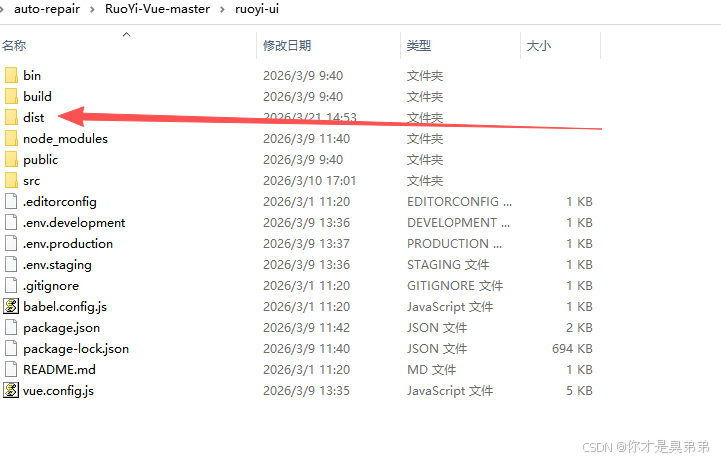
执行完会在目录出现一个dist 目录文件夹
统一存放
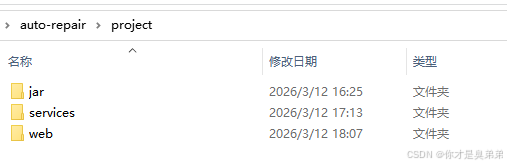
jar 放前端包,web放后端包,service放启动脚本。
Nginx配置
D:\nginx-1.28.2\conf 找到 nginx.conf 打开 配置如下
XML
        # 前端静态文件配置
        location / {
            root   D:/Code/auto-repair/project/web/dist;   # 修改为你的 dist 实际路径
            index  index.html index.htm;
            try_files $uri $uri/ /index.html;  # 支持 Vue 路由 history 模式
        }

        # 后端接口反向代理
        location /prod-api/ {
            proxy_pass http://localhost:8080/;
            proxy_set_header Host $host;
            proxy_set_header X-Real-IP $remote_addr;
            proxy_set_header X-Forwarded-For $proxy_add_x_forwarded_for;
        }
完整版
XML
#user  nobody;
worker_processes  1;

#error_log  logs/error.log;
#error_log  logs/error.log  notice;
#error_log  logs/error.log  info;

#pid        logs/nginx.pid;


events {
    worker_connections  1024;
}


http {
    include       mime.types;
    default_type  application/octet-stream;

    #log_format  main  '$remote_addr - $remote_user [$time_local] "$request" '
    #                  '$status $body_bytes_sent "$http_referer" '
    #                  '"$http_user_agent" "$http_x_forwarded_for"';

    #access_log  logs/access.log  main;

    sendfile        on;
    #tcp_nopush     on;

    #keepalive_timeout  0;
    keepalive_timeout  65;

    #gzip  on;

    server {
        listen       80;
        server_name  localhost;

        #charset koi8-r;

        #access_log  logs/host.access.log  main;

        # 前端静态文件配置
        location / {
            root   D:/Code/auto-repair/project/web/dist;   # 修改为你的 dist 实际路径
            index  index.html index.htm;
            try_files $uri $uri/ /index.html;  # 支持 Vue 路由 history 模式
        }

        # 后端接口反向代理
        location /prod-api/ {
            proxy_pass http://localhost:8080/;
            proxy_set_header Host $host;
            proxy_set_header X-Real-IP $remote_addr;
            proxy_set_header X-Forwarded-For $proxy_add_x_forwarded_for;
        }

        #error_page  404              /404.html;

        # redirect server error pages to the static page /50x.html
        #
        error_page   500 502 503 504  /50x.html;
        location = /50x.html {
            root   html;
        }

        # proxy the PHP scripts to Apache listening on 127.0.0.1:80
        #
        #location ~ \.php$ {
        #    proxy_pass   http://127.0.0.1;
        #}

        # pass the PHP scripts to FastCGI server listening on 127.0.0.1:9000
        #
        #location ~ \.php$ {
        #    root           html;
        #    fastcgi_pass   127.0.0.1:9000;
        #    fastcgi_index  index.php;
        #    fastcgi_param  SCRIPT_FILENAME  /scripts$fastcgi_script_name;
        #    include        fastcgi_params;
        #}

        # deny access to .htaccess files, if Apache's document root
        # concurs with nginx's one
        #
        #location ~ /\.ht {
        #    deny  all;
        #}
    }


    # another virtual host using mix of IP-, name-, and port-based configuration
    #
    #server {
    #    listen       8000;
    #    listen       somename:8080;
    #    server_name  somename  alias  another.alias;

    #    location / {
    #        root   html;
    #        index  index.html index.htm;
    #    }
    #}


    # HTTPS server
    #
    #server {
    #    listen       443 ssl;
    #    server_name  localhost;

    #    ssl_certificate      cert.pem;
    #    ssl_certificate_key  cert.key;

    #    ssl_session_cache    shared:SSL:1m;
    #    ssl_session_timeout  5m;

    #    ssl_ciphers  HIGH:!aNULL:!MD5;
    #    ssl_prefer_server_ciphers  on;

    #    location / {
    #        root   html;
    #        index  index.html index.htm;
    #    }
    #}

}
启动脚本配置
1. startServices.bat
注:指向你的nginx-1.28.2位置,如 cd /d D:\nginx-1.28.2
注:指向你的jar位置,如 cd /d D:\Code\auto-repair\project\jar
bash
@echo off
cd /d D:\nginx-1.28.2
echo Stopping nginx...
nginx -s stop 2>nul

echo Stopping backend on port 8080...
for /f "tokens=5" %%a in ('netstat -ano ^| findstr :8080 ^| findstr LISTENING') do (
    taskkill /f /pid %%a >nul 2>&1
)
timeout /t 2 /nobreak >nul

echo Starting nginx...
start nginx.exe

echo Starting backend...
cd /d D:\Code\auto-repair\project\jar
start javaw -jar auto-repair.jar

echo All services started.
exit
2. stopServices.bat
bash
@echo off
cd /d D:\nginx-1.28.2
echo Stopping nginx...
nginx -s stop 2>nul

echo Stopping backend on port 8080...
for /f "tokens=5" %%a in ('netstat -ano ^| findstr :8080 ^| findstr LISTENING') do (
    taskkill /f /pid %%a >nul 2>&1
)

echo All services stopped.
exit
3.执行脚本