1️⃣ Install Python
-
OpenLM is Python-based. Make sure you have Python 3.9+ installed.
-
Check installation:
python --version
pip --version -
If missing, install from python.org.
-
Optional: Add Python to PATH during installation.
2️⃣ Install OpenLM Module Manager
Open a Windows Command Prompt or PowerShell:
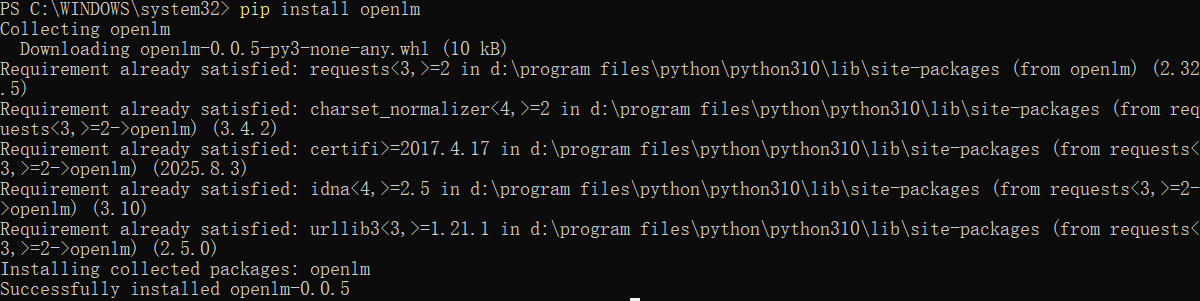
pip install openlmThis installs the CLI and API server tools.
3️⃣ Initialize OpenLM Repository
Create the module storage folder:
openlm init-
This will create folders like:
C:\Users<User>.openlm
modules
configs
logs\ -
All AI modules you register will be stored here.
4️⃣ Register / Add AI Modules
Suppose you have an AI module or script (e.g., weather-agent):
openlm add-module --name weather-agent --type agent --path "D:\project\weather-agent" --gpu 0-
--name→ module ID -
--type→ agent / model / tool -
--path→ folder with code or checkpoint -
--gpu→ GPU index if available
You can repeat this for all your AI modules.
5️⃣ List Registered Modules
openlm listExample output:
ID      Name            Type       Status
1       weather-agent   agent      ready
2       code-reviewer   model      ready
6️⃣ Start the Module Server
Open a terminal in Windows 11:
openlm serve-
Starts a local REST API server , typically at
http://localhost:8000. -
Each module is exposed via endpoints like
/run?module=weather-agent.
7️⃣ Use a Module via Python
Example: call a module to check last 7 days' weather:
import requests

resp = requests.post("http://localhost:8000/run", json={
    "module": "weather-agent",
    "input": "Check last 7 days rain in New York"
})

print(resp.json())-
Works for agents, models, and tools
-
Responses are JSON objects with module output.
8️⃣ Update or Remove Modules
openlm update-module --name weather-agent --path "D:\project\weather-agent-new"
openlm remove-module --name old-module- Keeps your modules versioned and organized.
9️⃣ Notes for Windows Users
-
GPU usage: Make sure CUDA drivers are installed and PyTorch detects the GPU.
-
Firewall: Allow Python/Server through firewall if you want remote access.
-
Paths : Use double quotes
"D:\folder\path"in CMD / PowerShell. -
PowerShell vs CMD: Both work; PowerShell allows better scripting.
If you want, I can also make a diagram showing OpenLM on Windows + OpenClaw + GPU + modules, so you can see visually how everything interacts.
Do you want me to do that?