目录
6.将本地dist文件夹,上传至服务器的vue项目所在的文件夹
[7.配置 Nginx ,从而使之托管你的前端](#7.配置 Nginx ,从而使之托管你的前端)
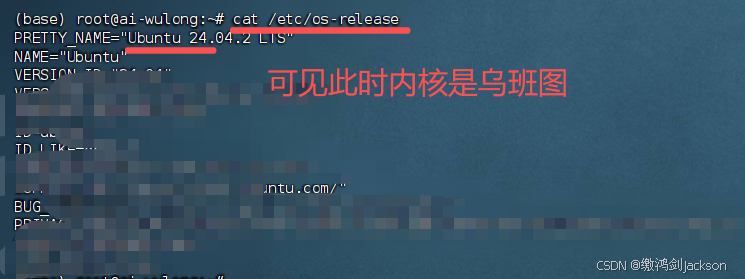
一.查看服务器的内核
二.开始部署前端项目到服务器
1.服务器上安装nginx
bash
# 1. 更新包管理器索引 (这一步在 Ubuntu 上非常重要,相当于 yum 的刷新缓存)
sudo apt update

# 2. 安装 Nginx
# (Ubuntu 默认源里就有,不需要安装 epel-release)
sudo apt install nginx -y

# 3. 启动 Nginx 并设置开机自启 (这部分和你原来的命令一样)
sudo systemctl start nginx
sudo systemctl enable nginx

# 4. (可选) 检查状态
sudo systemctl status nginx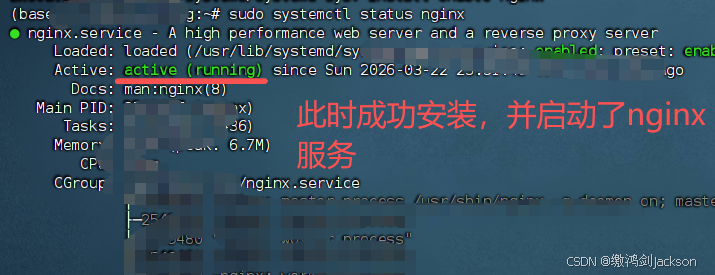
2.创建nginx欢迎页
bash
# 创建真正的nginx欢迎页面
cat <<EOF | sudo tee /usr/share/nginx/html/index.html
<!DOCTYPE html>
<html>
<head>
<title>Welcome to nginx!</title>
<style>
body {
width: 35em;
margin: 0 auto;
font-family: Tahoma, Verdana, Arial, sans-serif;
}
</style>
</head>
<body>
<h1>Welcome to nginx!</h1>
<p>If you see this page, the nginx web server is successfully installed and
working. Further configuration is required.</p>
<p>For online documentation and support please refer to
<a href="http://nginx.org/">nginx.org</a>.<br/>
Commercial support is available at
<a href="http://nginx.com/">nginx.com</a>.</p>
<p><em>Thank you for using nginx.</em></p>
<p><em>Server Time: $(date)</em></p>
</body>
</html>
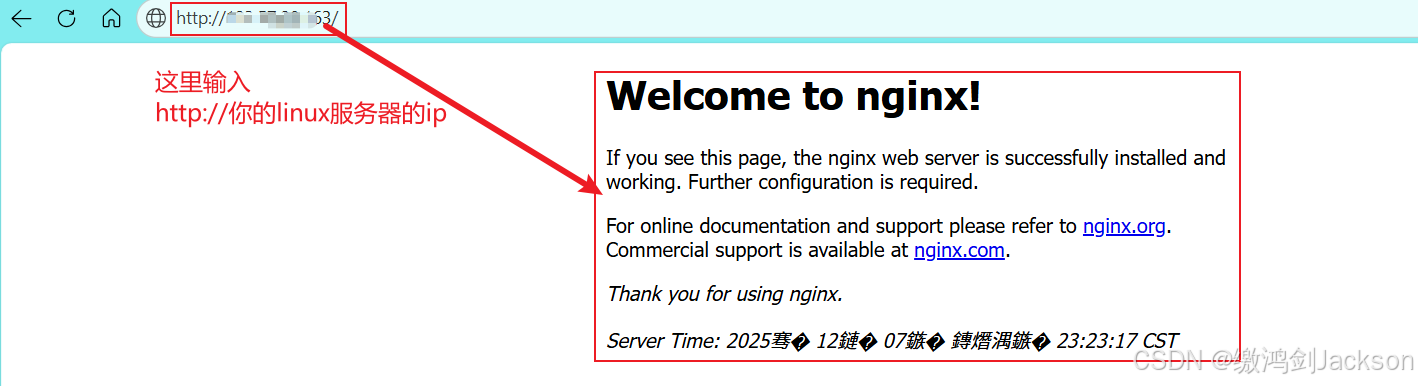
EOF3.访问服务器的Nginx服务
4.创建服务器存放vue项目的文件夹
/dev/vue/
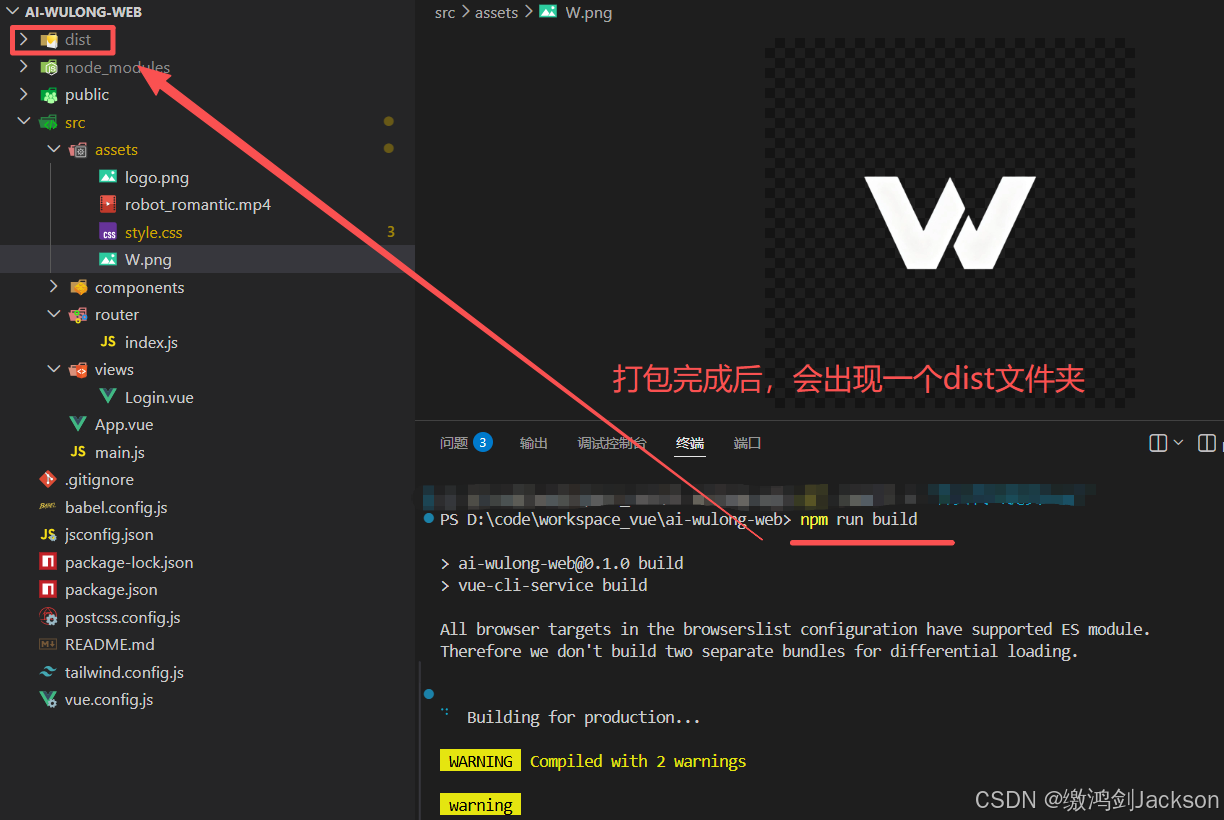
5.将本地vue项目打包,获取dist文件夹
执行npm run build命令
6.将本地dist文件夹,上传至服务器的vue项目所在的文件夹

7.配置 Nginx ,从而使之托管你的前端
①创建并编辑配置文件
bash
sudo cat > /etc/nginx/conf.d/vue-app.conf << 'EOF'输入完上述命令,将如下代码粘贴到命令行,然后敲个回车,在输入EOF三个字母即可。
bash
server {
    listen 80;
    server_name 你的服务器的ip;

    # 指向Vue项目的dist目录
    root /dev/vue/dist;
    index index.html;

    # 配置Vue Router的history模式支持
    location / {
        try_files $uri $uri/ /index.html;
    }

    # 静态资源缓存配置
    location ~* \.(jpg|jpeg|png|gif|ico|css|js|svg|woff|woff2|ttf|eot)$ {
        expires 1y;
        add_header Cache-Control "public, immutable";
    }

    # 禁止访问隐藏文件
    location ~ /\. {
        deny all;
    }

    # 日志配置
    access_log /var/log/nginx/access.log;
    error_log /var/log/nginx/error.log;

    # 限制上传大小(如果需要)
    client_max_body_size 10M;
}
思考为什么要这么写,直接VIM不行吗?
答案:你要用vim,粘贴内容肯定格式会乱,直接用我这个,格式不会乱。
②检查并应用配置
bash
# 测试nginx配置语法
sudo nginx -t

# 如果没有语法错误,重启nginx
sudo systemctl restart nginx

# 查看nginx状态
sudo systemctl status nginx
8.访问页面,看看是否生效
可见部署成功,符合预期。
三.后续代码需要更新,如何重新发版?
当你需要更新项目时,只需
①在本地重新运行
npm run build
②然后将新的dist文件夹内容上传覆盖服务器上的旧文件,最后重新加载 Nginx (sudo systemctl reload nginx) 即可。
以上就是本篇文章的全部内容,喜欢的话可以留个免费的关注呦~~~