参考:
AI全栈开发之 HTML+CSS 零基础入门教程_哔哩哔哩_bilibili
目标
我们最初只有这么个基础的代码
html
<!DOCTYPE html>
<html lang="en">
    <head>
        <meta charset="UTF-8" />
        <meta name="viewport" content="width=device-width, initial-scale=1.0">
        <title>hello</title>
    </head>
    <body>
    </body>
</html>
然后企图设计一个网页:
从外向内,逐步细化
1.背景颜色
在body里面添加
html
<body>
    <style>
        /*这个body指代一个整体背景*/
        body {
            background:linear-gradient(
                to right,
                rgb(113,65,168),
                rgba(44,114,251,1)
            );
        }
    </style>
</body>
出现了背景

2.白色框框
先得创建一个盒子<div>,起名todo-app。
然后CSS里面用一个点开头,这个表示"类名选择器",如果你问我什么是类...那要不翻个书?
css
<div class="todo-app"></div>
.todo-app{
    width: 96%;
    height: 500px;
    background-color: #ffff;
    border-radius: 5px;/*圆角*/
    margin-top: 40px;/*上面的顶*/
    margin-left: 2%;/*96对称*/
}
然后做美化优化,用到圆角border-radius;上面留白、左边留白,也就是margin的用法。
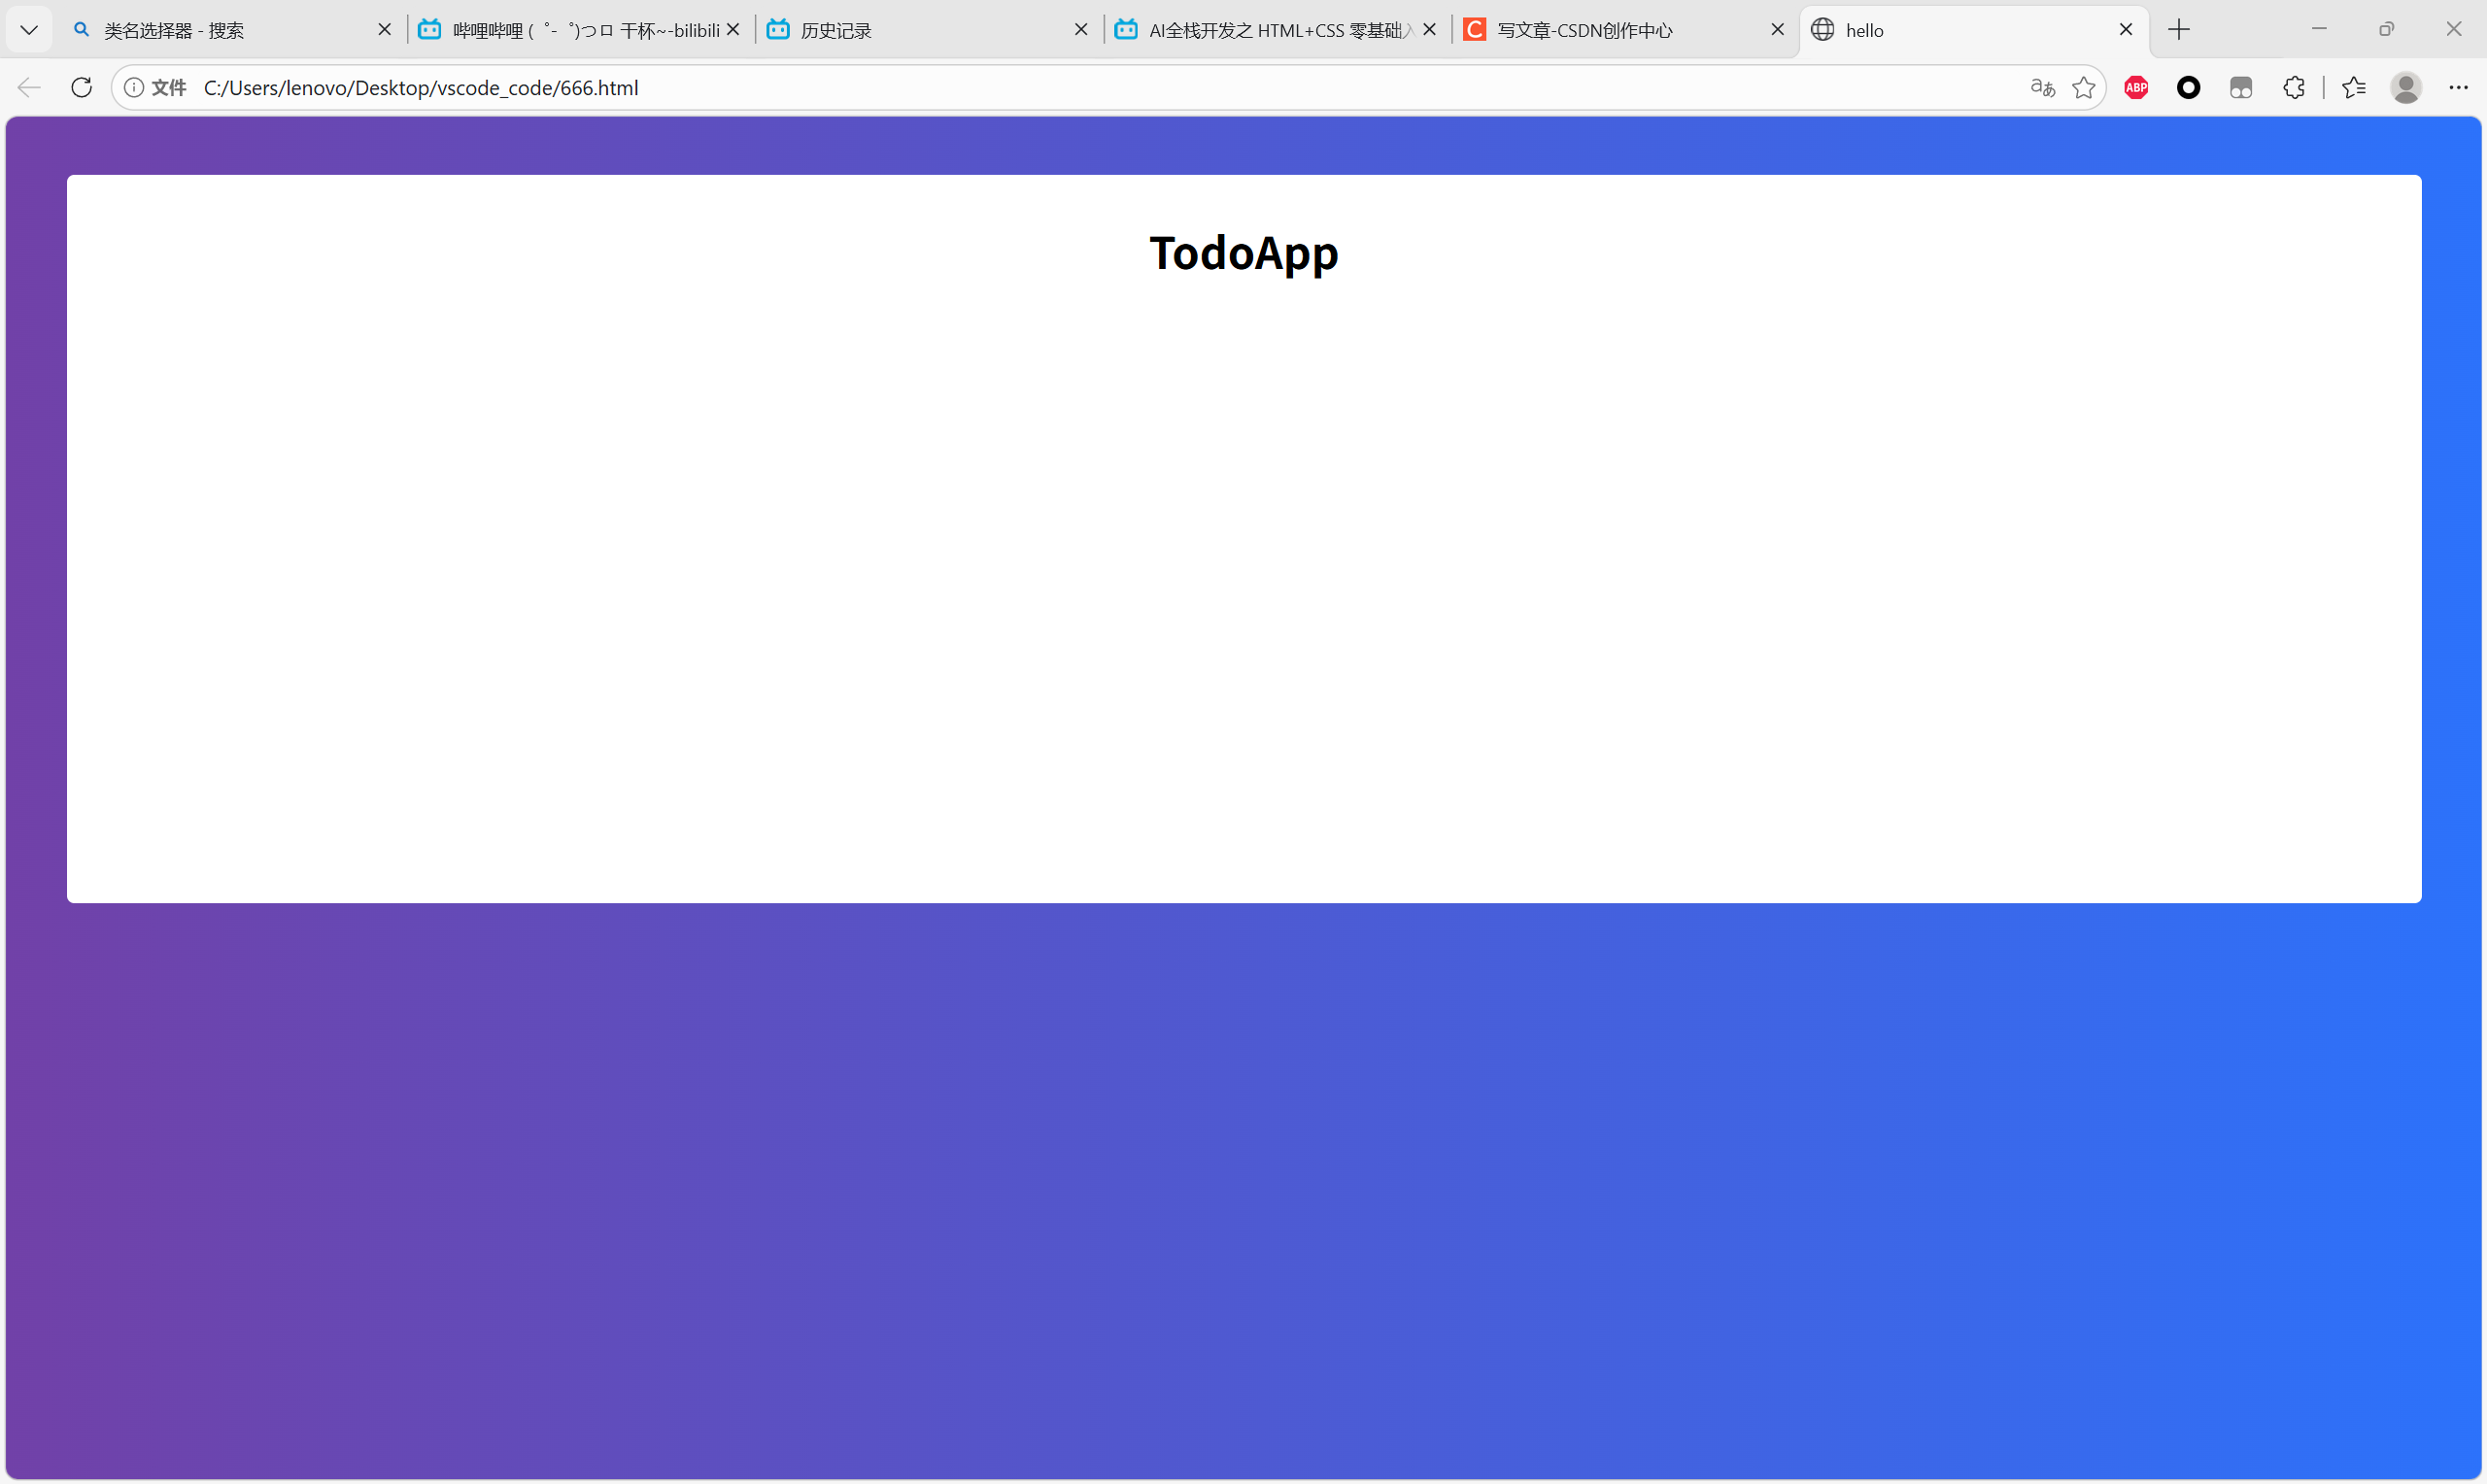
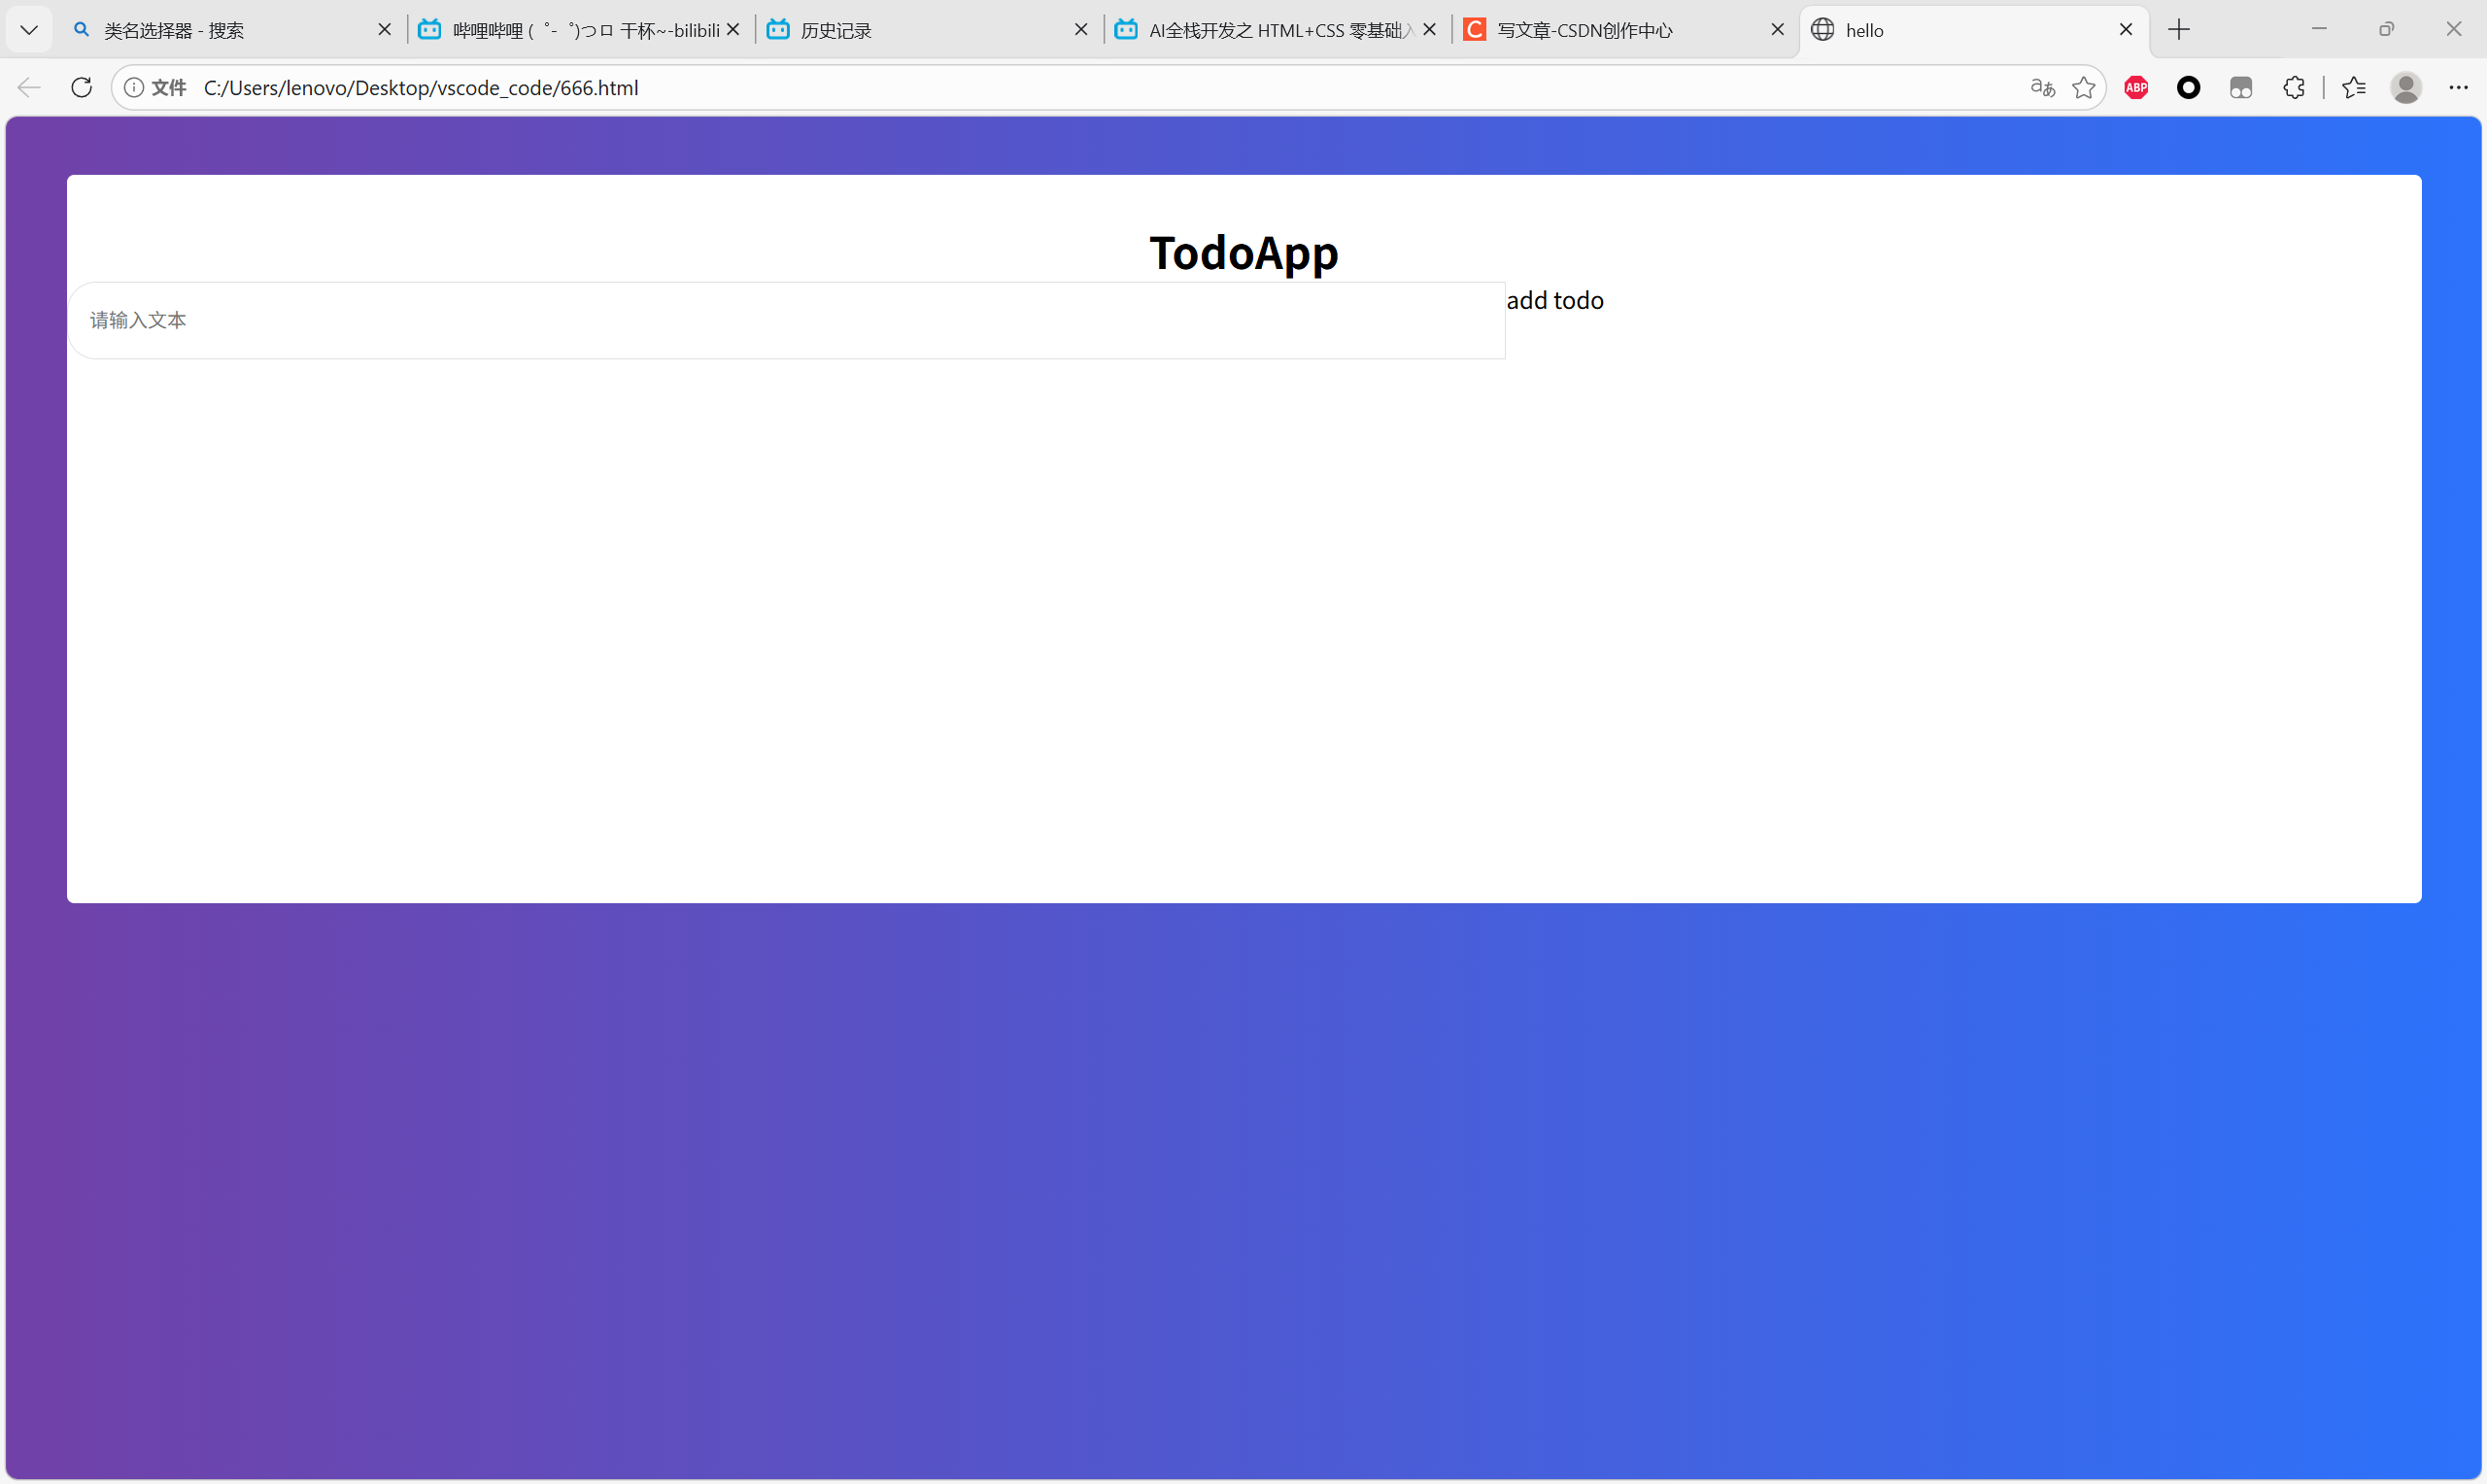
3.白板标题
前面三个属性:大小、宽度、居中
第四个属性:不能用margin-top让黑字往下放,因为遇到"Mar针塌陷"的问题,所以在盒子本身上面改用padding-top。简单来说,一个在外面加,一个在里面加。然后加完之后还会遇到这个盒子整体高度变成了500+30,所以又要引入一个新的代码约束:box-sizing: border-box;。
css
<div class="todo-app">
    <div class="title">TodoApp</div>
</div>
.todo-app{
    width: 96%;
    height: 500px;
    padding-top: 30px;
    box-sizing: border-box;
    background-color: #ffff;
    border-radius: 5px;/*圆角*/
    margin-top: 40px;/*上面的顶*/
    margin-left: 2%;/*96对称*/
}
/*大标题的字*/
.title{
    /*大小、宽度、居中*/
    font-size: 30px;
    font-weight: 700;
    text-align: center;/
}
4.输入框(1)
现在先把输入框给写出来
css
<div class="todo-app">
    <div class="title">TodoApp</div>
        <div class="todo-from">
            <input type="text"/>
            <div class="todo-button">add todo</div>
    </div>
</div>
/*输入框*/
.todo-from{
    display: flex;
}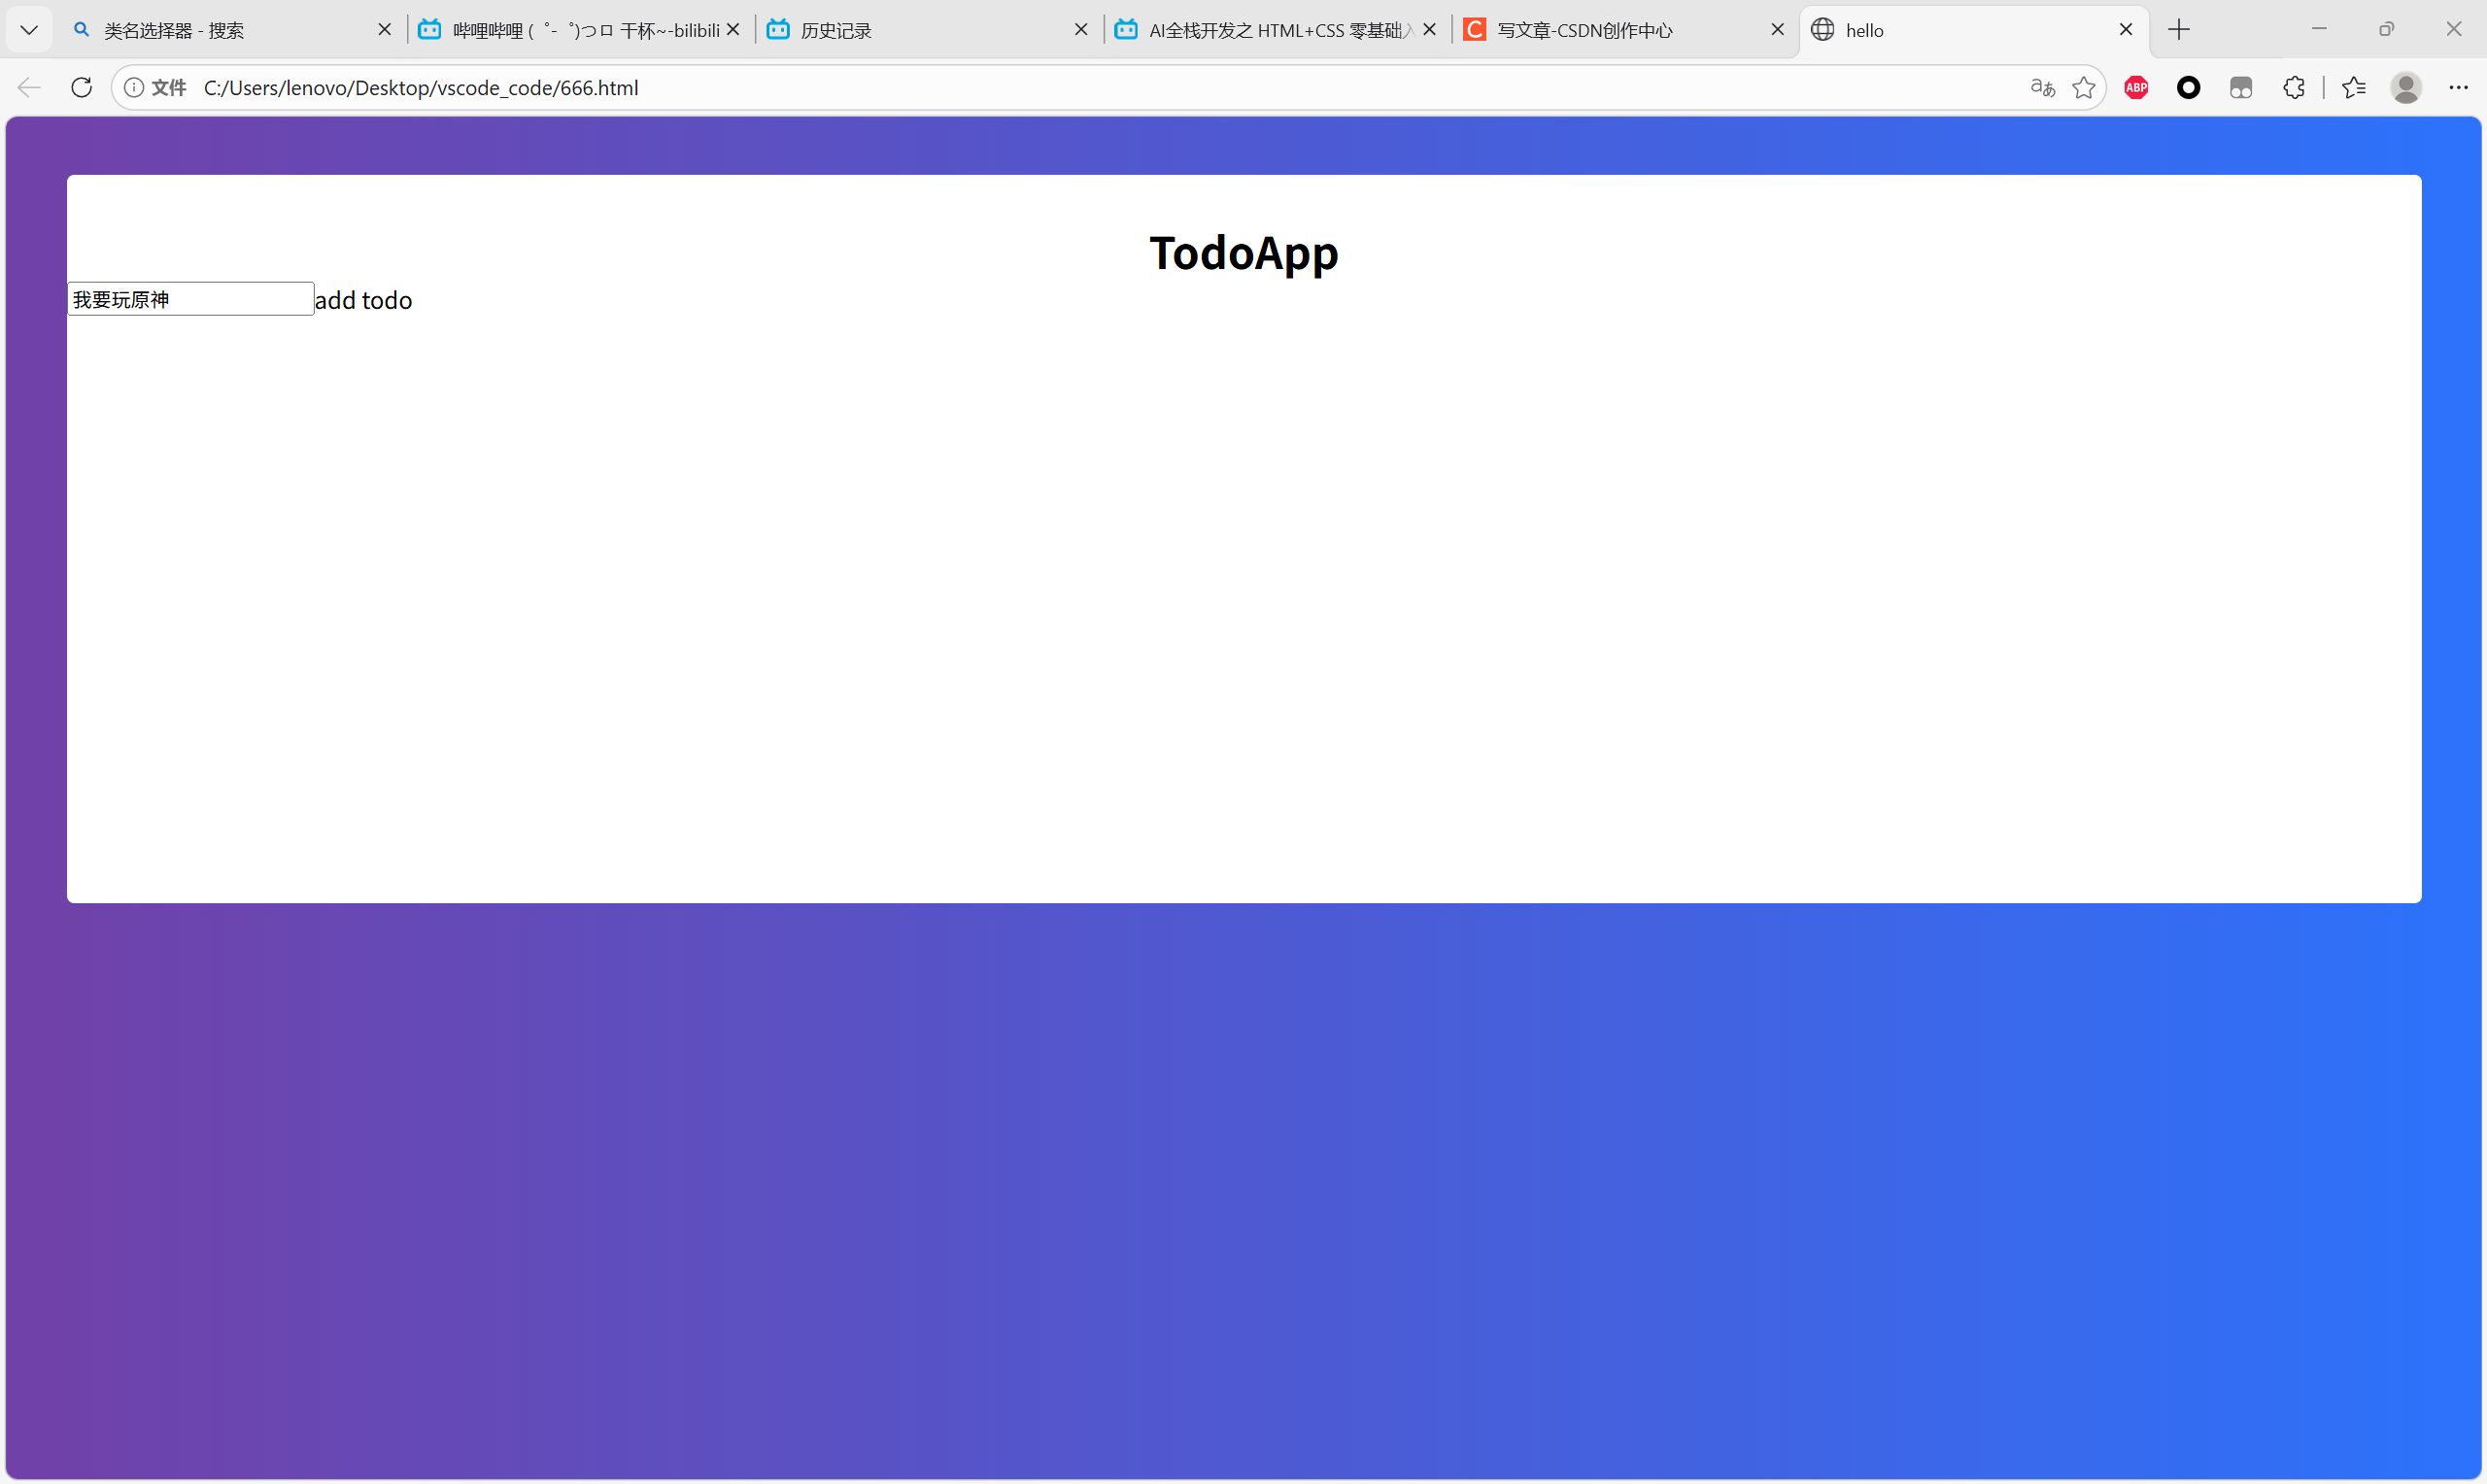
5.输入框(左)
要更新原先的input这行代码,给一个占位符placeholder。
css
<input class="todo-input" type="text" placeholder="请输入文本" />
.todo-input{
    /*这是左侧的白框,所以是左上左下圆角,右上右下方形*/
    padding-left: 15px;
    border: 1px solid #dfe1e5;/*外框*/
    outline: none;
    width: 60%;
    height: 50px;
    border-radius: 20px 0 0 20px;
}
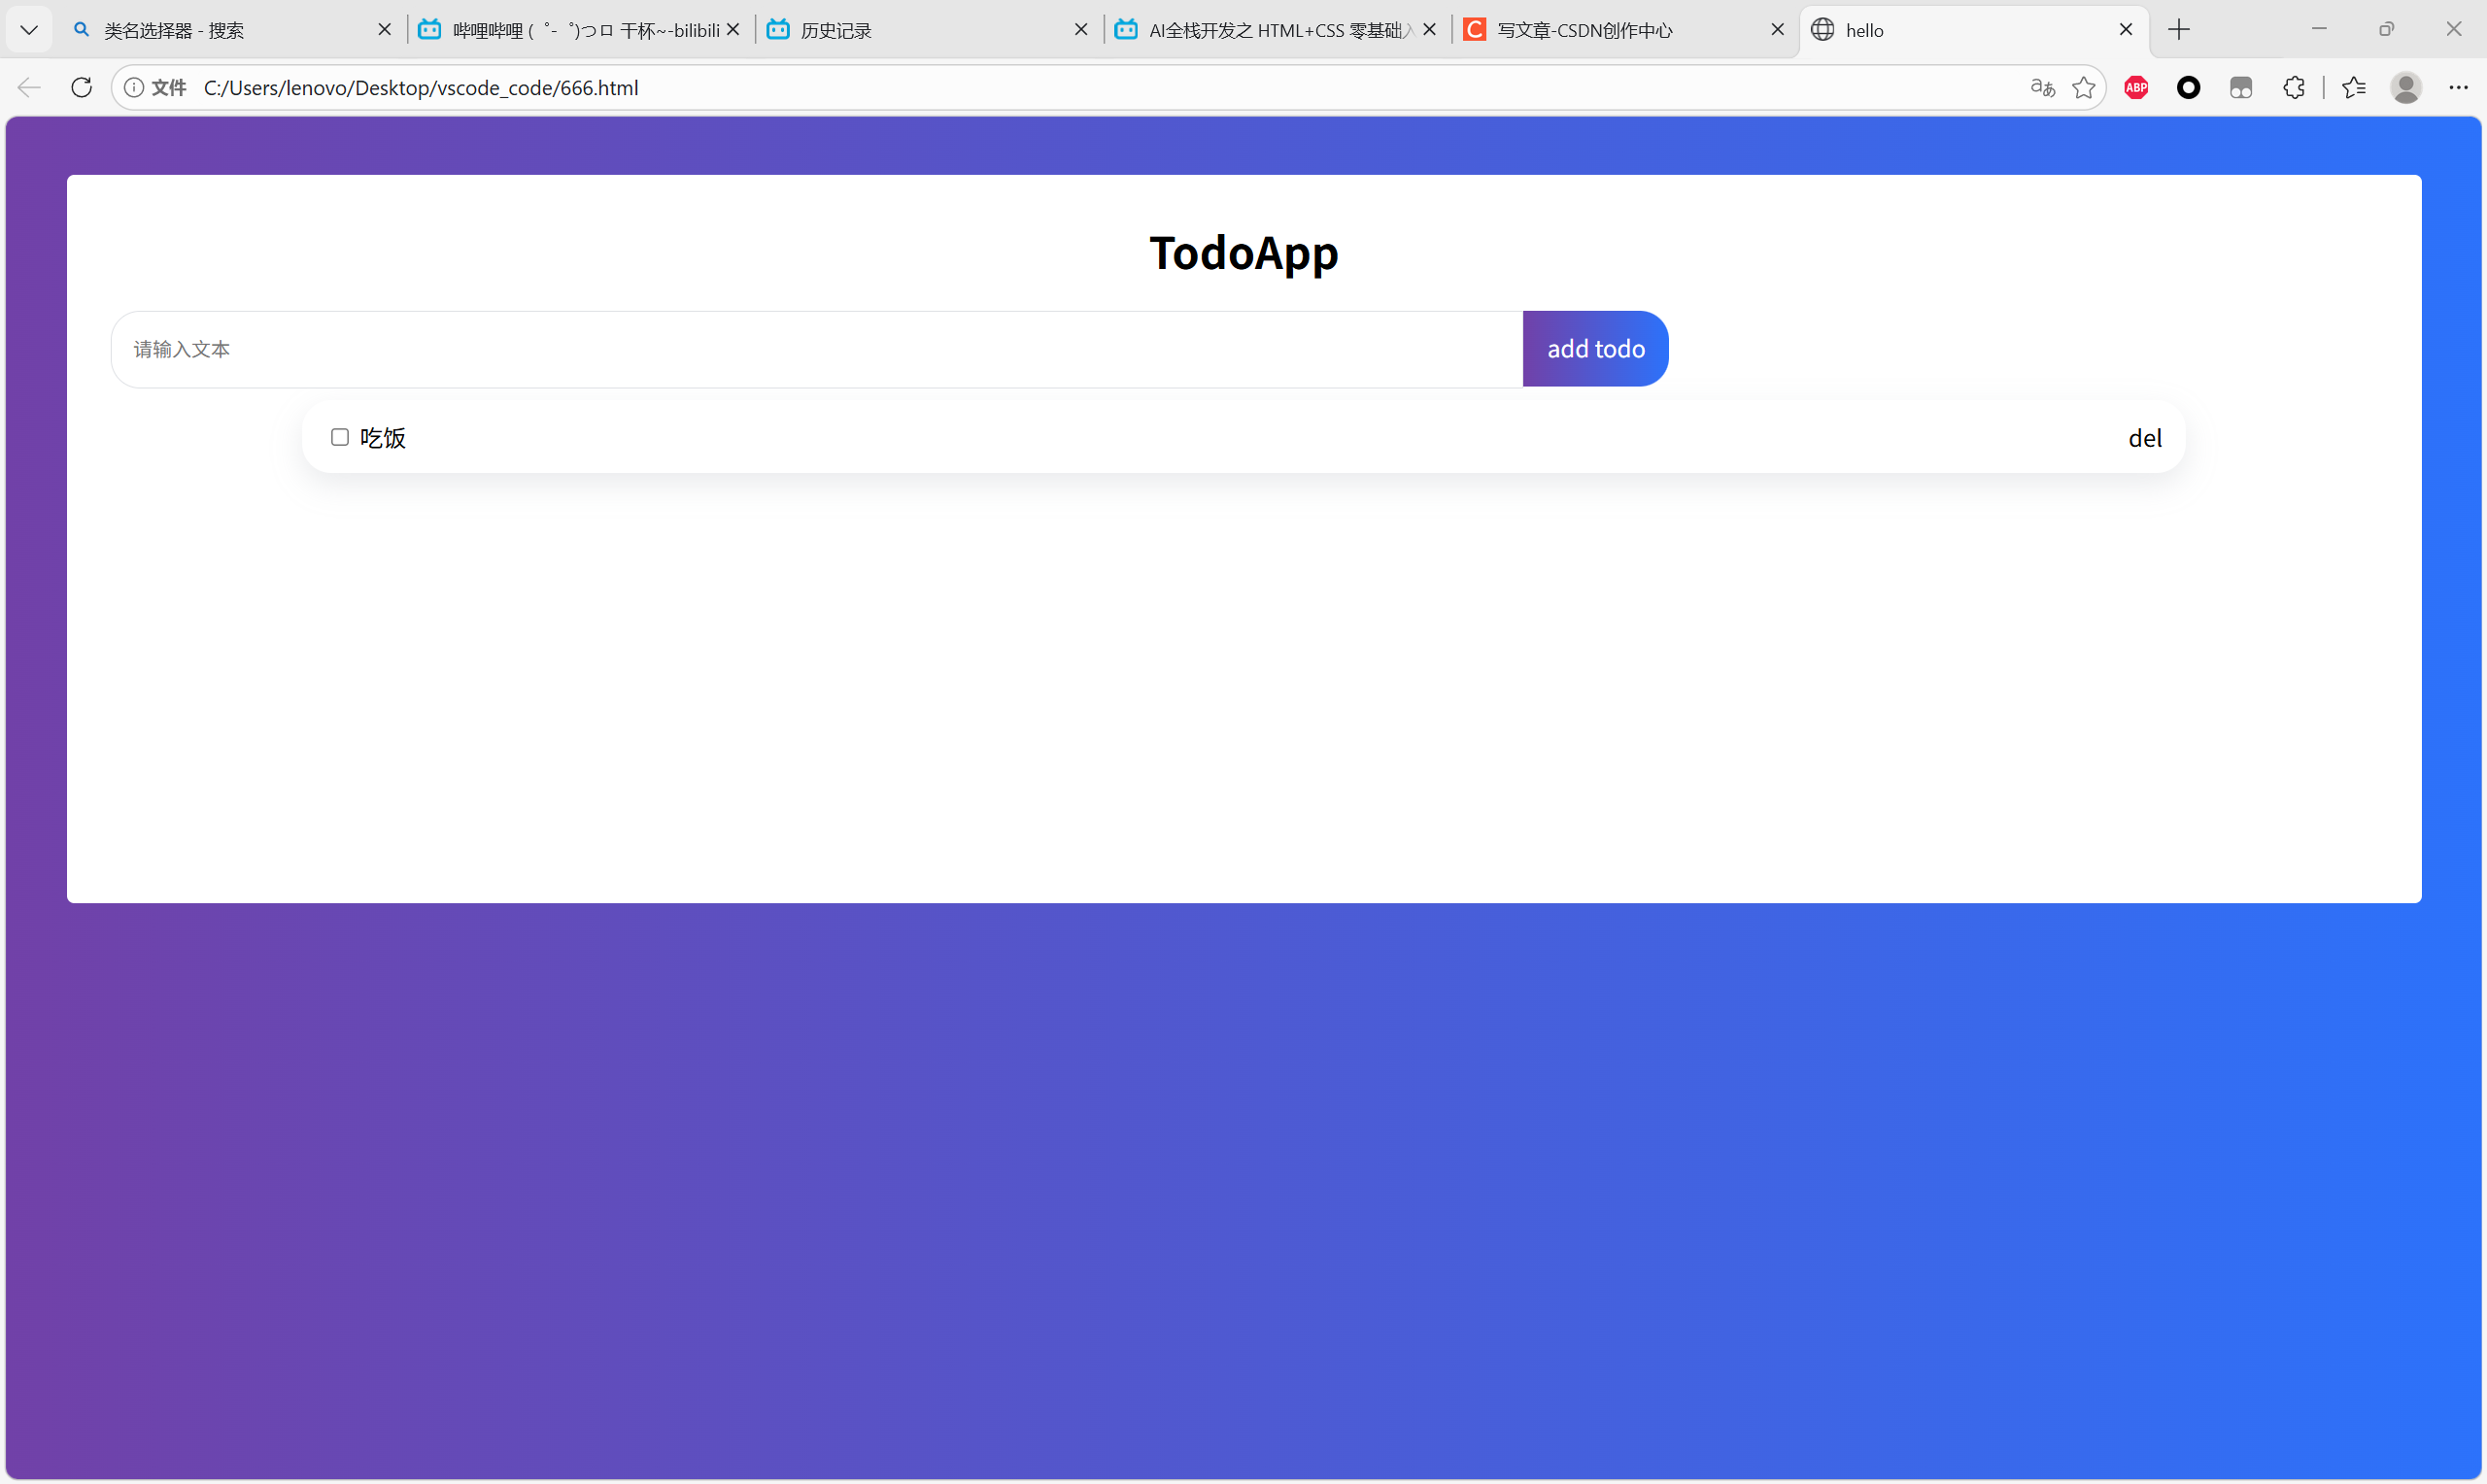
6.输入框(右)
cursor: pointer;指代的是鼠标放到点击栏上,鼠标变成指针。user-select: none;指代的是上面的add todo文字不能被选中。
css
<div class="todo-app">
    <div class="title">TodoApp</div>
    <div class="todo-from">
        input class="todo-input" type="text" placeholder="请输入文本" />
        <div class="todo-button">add todo</div>
    </div>
</div>
/*输入框*/
.todo-from{
    display: flex;
    margin-top:20px;
    margin-left:30px;
}
.todo-input{
    /*这是左侧的白框,所以是左上左下圆角,右上右下方形*/
    padding-left: 15px;
    border: 1px solid #dfe1e5;/*外框*/
    outline: none;
    width: 60%;
    height: 50px;
    border-radius: 20px 0 0 20px;
}
.todo-button{
    /*这是左侧的白框,所以是左上左下圆角,右上右下方形*/
    width: 100px;
    height: 52px;/*50+1+1*/
    border-radius: 0 20px 20px 0;
    text-align: center;
    background:linear-gradient(to right, rgb(113,65,168), rgba(44,114,251,1));
    color:#ffff;
    line-height: 50px;/*行高*/
    cursor: pointer;
    user-select: none;
}
7.选项
align-items: center;框里所有元素垂直居中。
justify-content: space-between;框里元素自动评分空间,也就是左右对半开。
在这里用到一个技巧:选项框和字符是需要看成一个整体的,所以外面套了一层<div>盒子。
同时,后者的div变成span,才能实现横着排。
css
<div class="item">
    <div>
        <input type="checkbox" />
        <span class="name">吃饭</span>
    </div>

    <div class="del">del</div>
</div>
.item{
    display: flex;
    box-sizing: border-box;
    width: 80%;
    height: 50px;
    margin: 8px auto;
    padding: 16px;
    border-radius: 20px;
    box-shadow: rgba(149, 157, 165, 0.2) 0px 8px 20px;

    align-items: center;
    justify-content: space-between;
}
8.删除选项
新知识:一个盒子可以同时拥有多个类名。
目前的代码:
html
<!DOCTYPE html>
<html lang="en">
    <head>
        <meta charset="UTF-8" />
        <meta name="viewport" content="width=device-width, initial-scale=1.0">
        <title>hello</title>
    </head>
    <body>
        <div class="todo-app">
            <div class="title">TodoApp</div>
            <div class="todo-from">
                <input class="todo-input" type="text" placeholder="请输入文本" />
                <div class="todo-button">add todo</div>
            </div>

            <div class="item completed">
                <div>
                    <input type="checkbox" />
                    <span class="name">吃饭</span>
                </div>
                <div class="del">del</div>
            </div>

            <div class="item">
                <div>
                    <input type="checkbox" />
                    <span class="name">学习</span>
                </div>
                <div class="del">del</div>
            </div>

            <div class="item">
                <div>
                    <input type="checkbox" />
                    <span class="name">打瞌睡</span>
                </div>
                <div class="del">del</div>
            </div>

        </div>
        <style>
            /*这个body指代一个整体背景*/
            body {
                background:linear-gradient(
                    to right,
                    rgb(113,65,168),
                    rgba(44,114,251,1)
                );
            }
            /*白色框框*/
            .todo-app{
                width: 96%;
                height: 500px;
                padding-top: 30px;
                box-sizing: border-box;
                background-color: #ffff;
                border-radius: 5px;/*圆角*/
                margin-top: 40px;/*上面的顶*/
                margin-left: 2%;/*96对称*/
            }
            /*大标题的字*/
            .title{
                /*大小、宽度、居中*/
                font-size: 30px;
                font-weight: 700;
                text-align: center;/
            }
            /*输入框*/
            .todo-from{
                display: flex;
                margin-top:20px;
                margin-left:30px;
            }
            .todo-input{
                /*这是左侧的白框,所以是左上左下圆角,右上右下方形*/
                padding-left: 15px;
                border: 1px solid #dfe1e5;/*外框*/
                outline: none;
                width: 60%;
                height: 50px;
                border-radius: 20px 0 0 20px;
                margin-bottom: 20px;
            }
            .todo-button{
                /*这是左侧的白框,所以是左上左下圆角,右上右下方形*/
                width: 100px;
                height: 52px;/*50+1+1*/
                border-radius: 0 20px 20px 0;
                text-align: center;
                background:linear-gradient(to right, rgb(113,65,168), rgba(44,114,251,1));
                color:#ffff;
                line-height: 50px;/*行高*/
                cursor: pointer;
                user-select: none;
            }
            /*选项框*/
            .item{
                display: flex;
                box-sizing: border-box;
                width: 80%;
                height: 50px;
                margin: 8px auto;
                padding: 16px;
                border-radius: 20px;
                box-shadow: rgba(149, 157, 165, 0.2) 0px 8px 20px;

                align-items: center;
                justify-content: space-between;
            }
            .del{
                color: red;
            }
            .completed{
                text-decoration: line-through;
                opacity: 0.4;
            }

        </style>
    </body>
</html>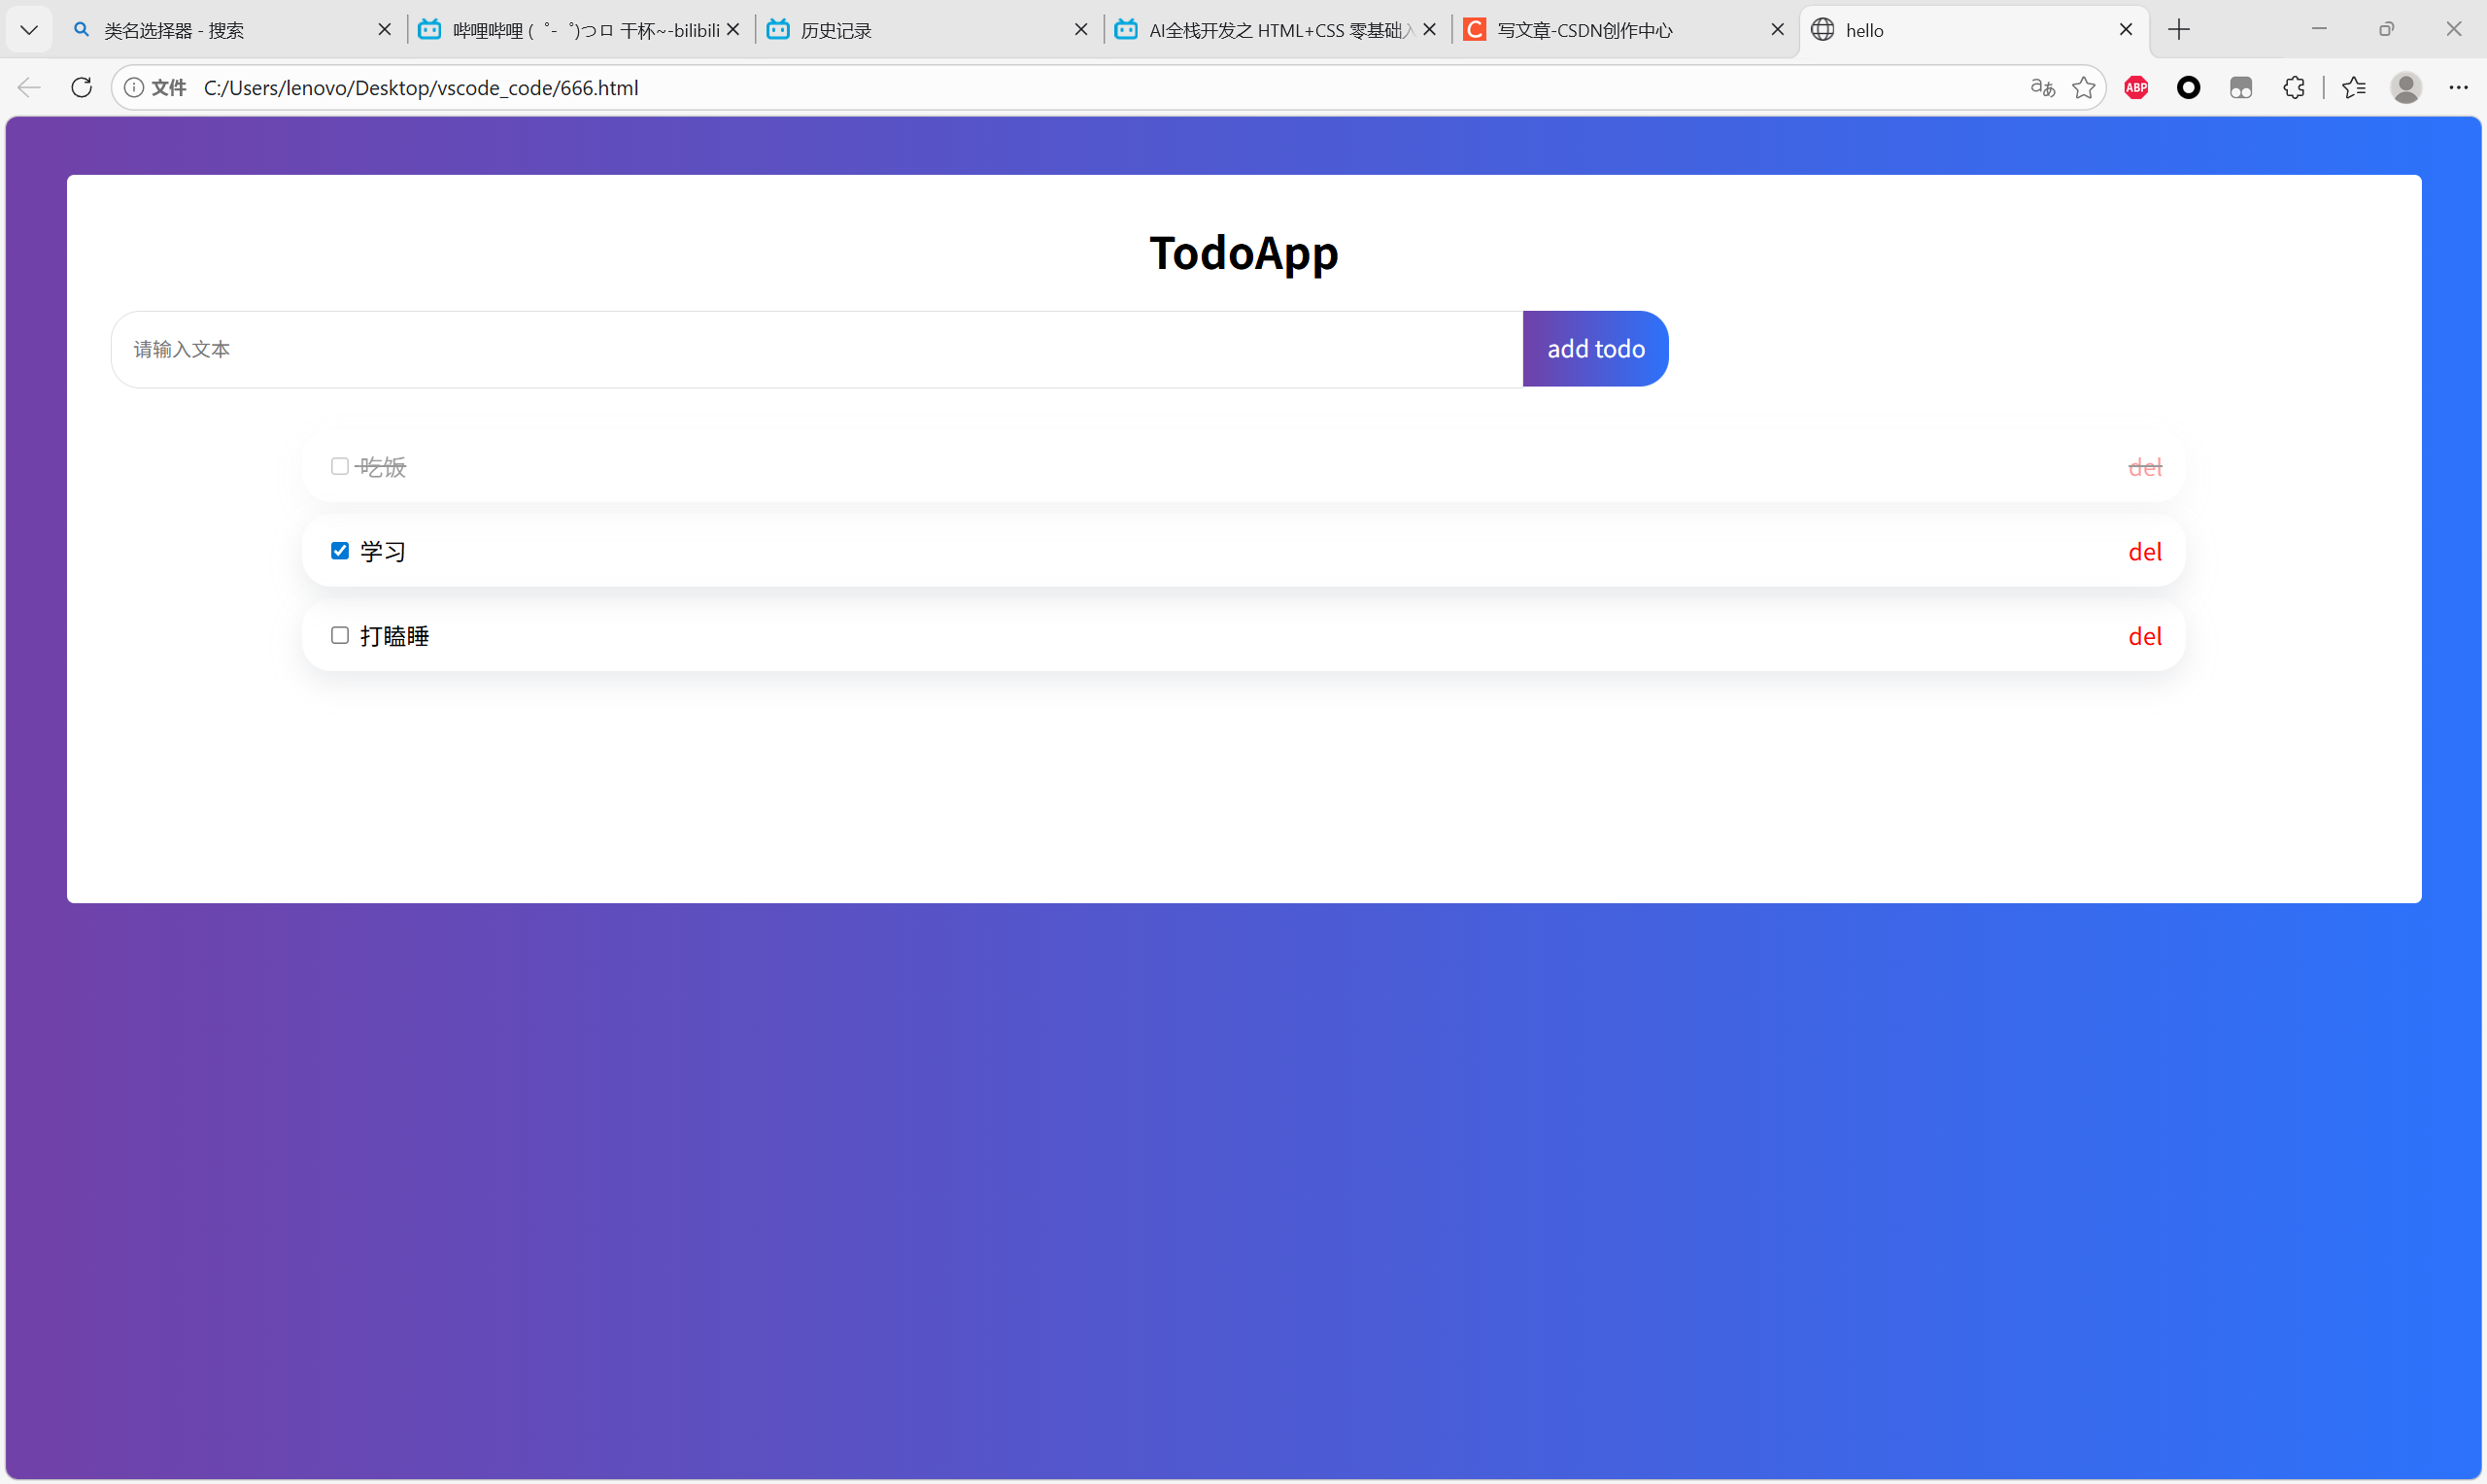
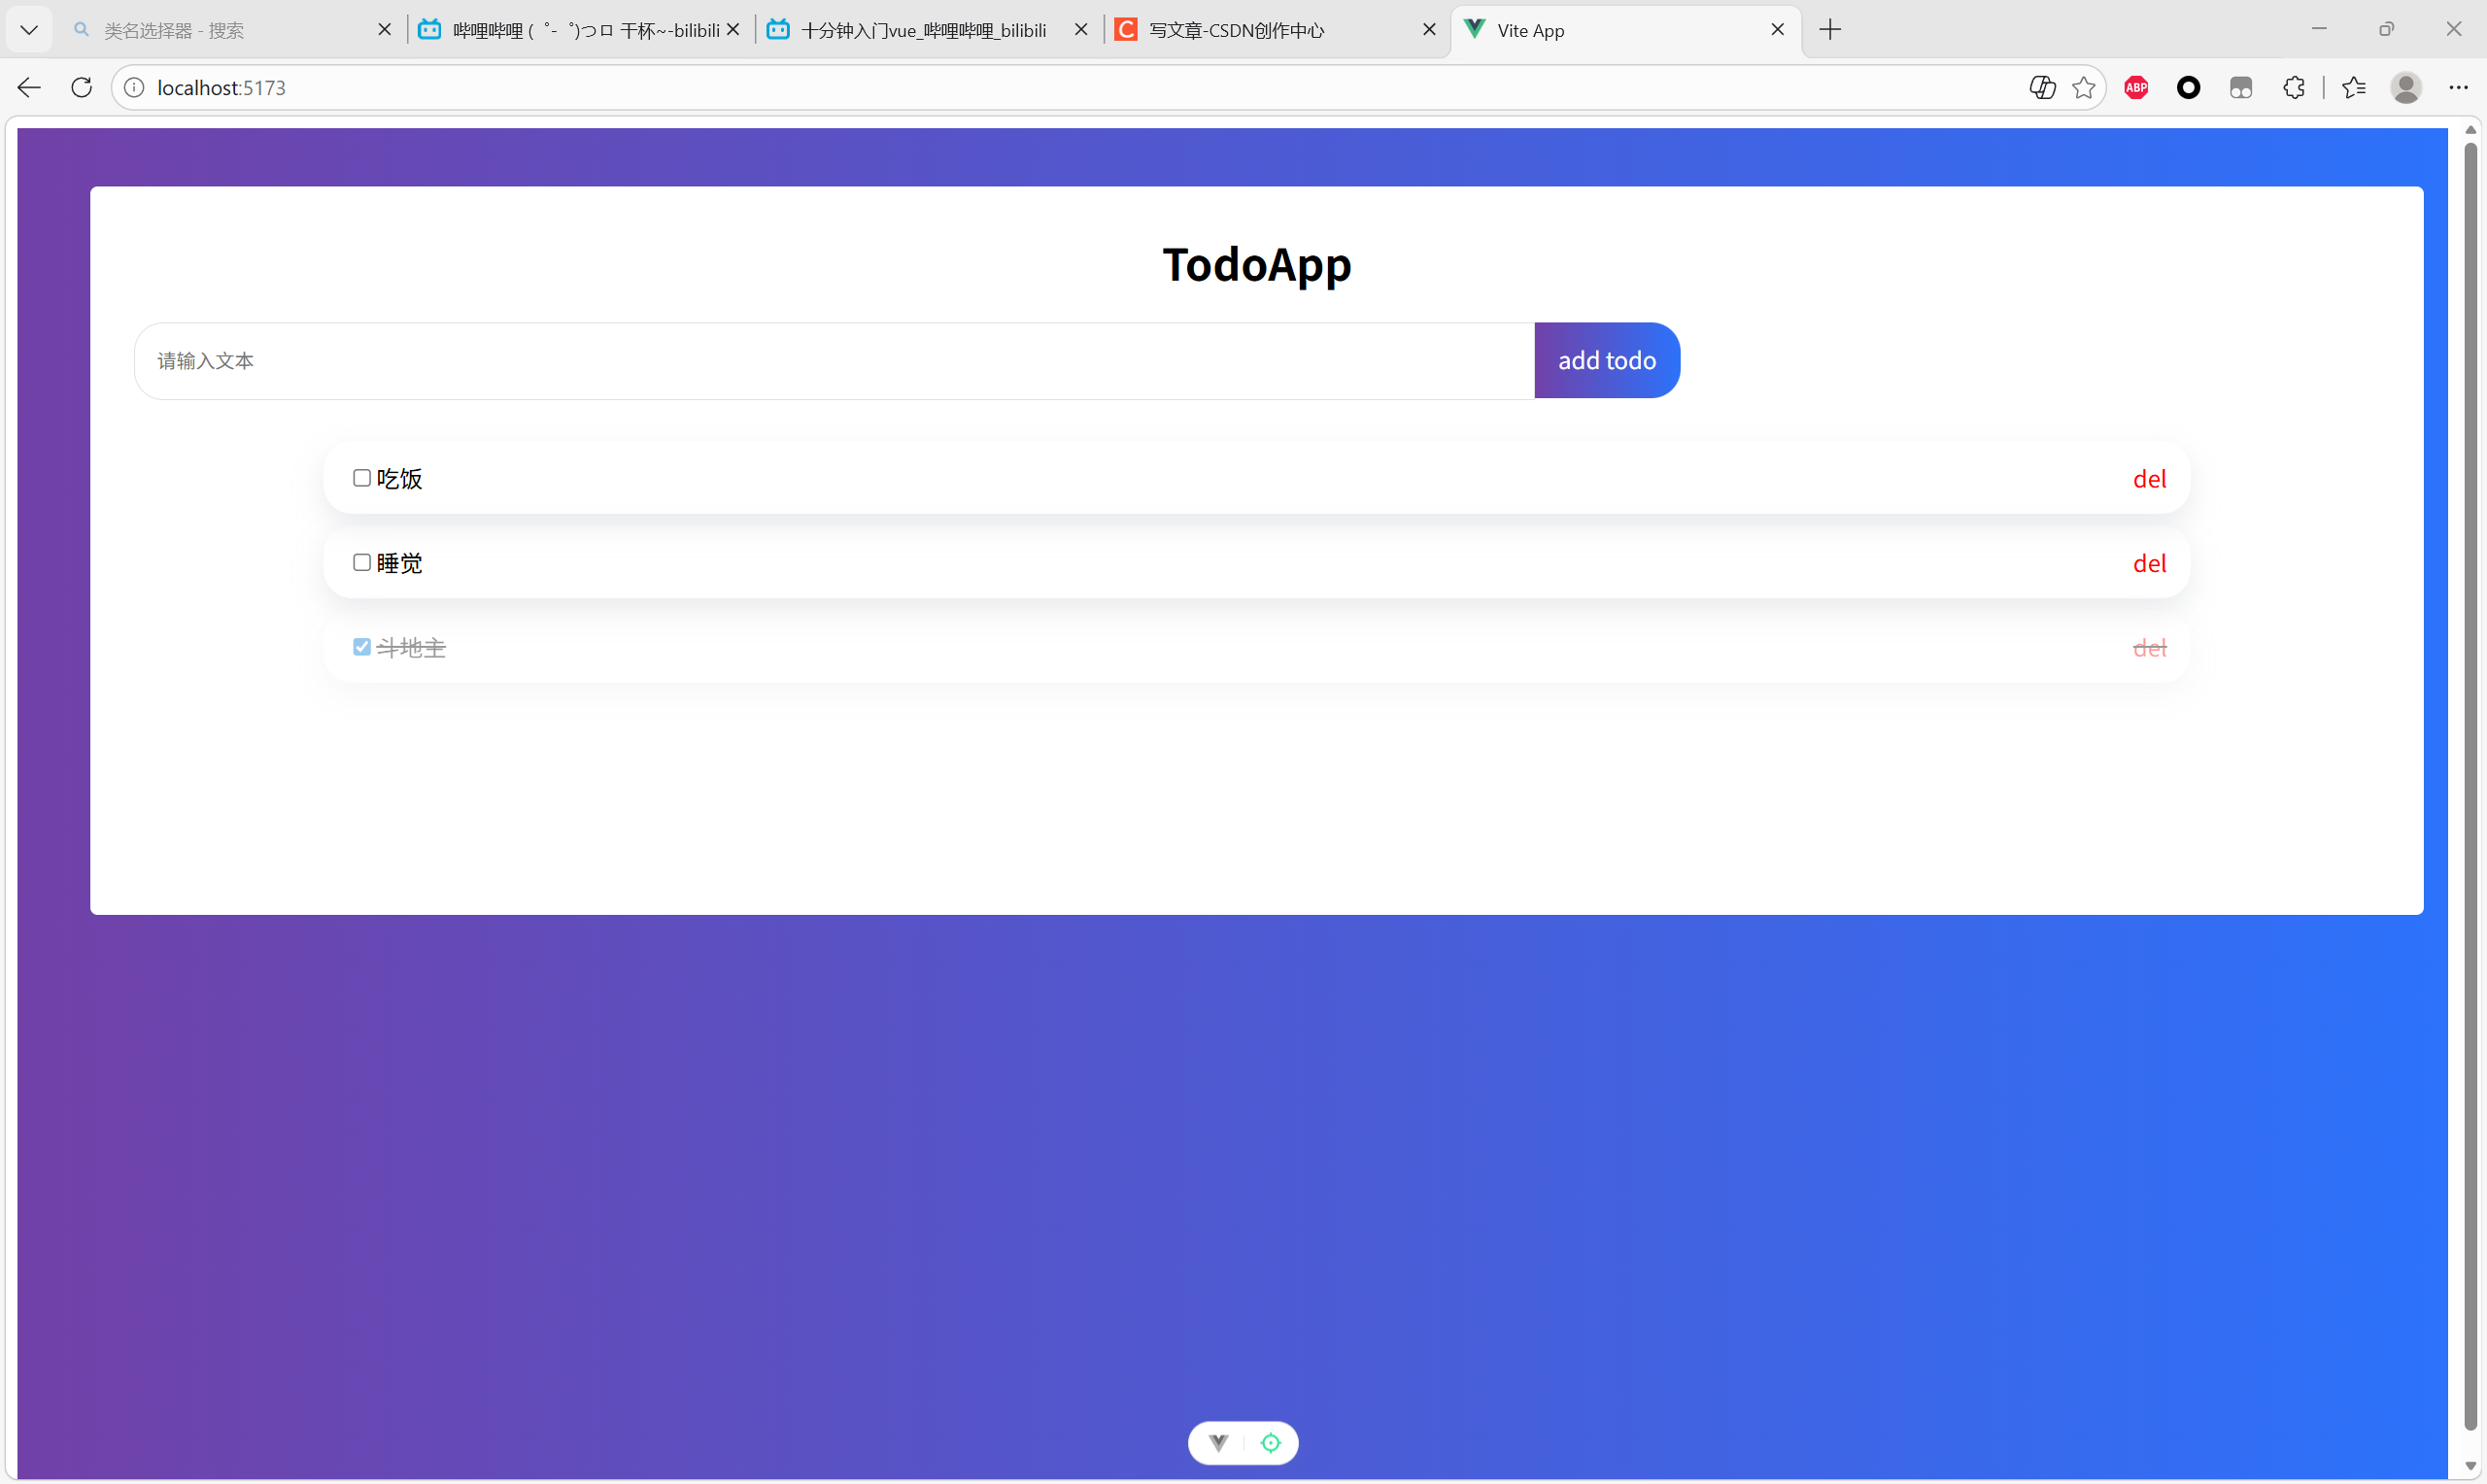
9.切换框架
这里给我恶心到了。
切换框架发现边角是没办法填的,然后右边多出了下拉,不知道怎么弄,尽力了。
html
<script setup>

</script>

<template>
    <div class="full-screen-container">
        <div class="todo-app">
            <div class="title">TodoApp</div>
            <div class="todo-from">
                <input class="todo-input" type="text" placeholder="请输入文本" />
                <div class="todo-button">add todo</div>
            </div>

            <div class="item completed">
                <div>
                    <input type="checkbox" />
                    <span class="name">吃饭</span>
                </div>
                <div class="del">del</div>
            </div>

            <div class="item">
                <div>
                    <input type="checkbox" />
                    <span class="name">学习</span>
                </div>
                <div class="del">del</div>
            </div>

            <div class="item">
                <div>
                    <input type="checkbox" />
                    <span class="name">打瞌睡</span>
                </div>
                <div class="del">del</div>
            </div>

        </div>
    </div>
</template>

<style scoped>
    /*这个body指代一个整体背景*/
    .full-screen-container {
        background:linear-gradient(
            to right,
            rgb(113,65,168),
            rgba(44,114,251,1)
        );
        /* 顺便让内容居中 */
        width: 100%;
        height: 100vh;
        display: flex;
        justify-content: center;
        padding-top: 40px;
        /* 2. 消除可能导致的溢出 */
        margin: 0;
        padding: 0;
        overflow: hidden; /* 防止内部元素撑开滚动条s */
    }
    /*白色框框*/
    .todo-app{
        width: 96%;
        height: 500px;
        padding-top: 30px;
        box-sizing: border-box;
        background-color: #ffff;
        border-radius: 5px;/*圆角*/
        margin-top: 40px;/*上面的顶*/
        margin-left: 2%;/*96对称*/
    }
    /*大标题的字*/
    .title{
        /*大小、宽度、居中*/
        font-size: 30px;
        font-weight: 700;
        text-align: center;
    }
    /*输入框*/
    .todo-from{
        display: flex;
        margin-top:20px;
        margin-left:30px;
    }
    .todo-input{
        /*这是左侧的白框,所以是左上左下圆角,右上右下方形*/
        padding-left: 15px;
        border: 1px solid #dfe1e5;/*外框*/
        outline: none;
        width: 60%;
        height: 50px;
        border-radius: 20px 0 0 20px;
        margin-bottom: 20px;
    }
    .todo-button{
        /*这是左侧的白框,所以是左上左下圆角,右上右下方形*/
        width: 100px;
        height: 52px;/*50+1+1*/
        border-radius: 0 20px 20px 0;
        text-align: center;
        background:linear-gradient(to right, rgb(113,65,168), rgba(44,114,251,1));
        color:#ffff;
        line-height: 50px;/*行高*/
        cursor: pointer;
        user-select: none;
    }
    /*选项框*/
    .item{
        display: flex;
        box-sizing: border-box;
        width: 80%;
        height: 50px;
        margin: 8px auto;
        padding: 16px;
        border-radius: 20px;
        box-shadow: rgba(149, 157, 165, 0.2) 0px 8px 20px;

        align-items: center;
        justify-content: space-between;
    }
    .del{
        color: red;
    }
    .completed{
        text-decoration: line-through;
        opacity: 0.4;
    }
</style>
10.点击绑定输入
从现在开始难度陡然上升。先贴出修改的代码。
html
<input v-model="val" class="todo-input" type="text" placeholder="请输入文本" />
<div @click="add" class="todo-button">add todo</div>
javascript
import { ref } from 'vue'
const val = ref('')
function add(){
    console.log(val.value)
}
这里的逻辑是:
输入的数据会被存入到val变量中,这个是字符串,因此用('')。
@click就是点击触发函数add。
add可以把数据打印在控制台上,就完成了输入与点击的绑定。

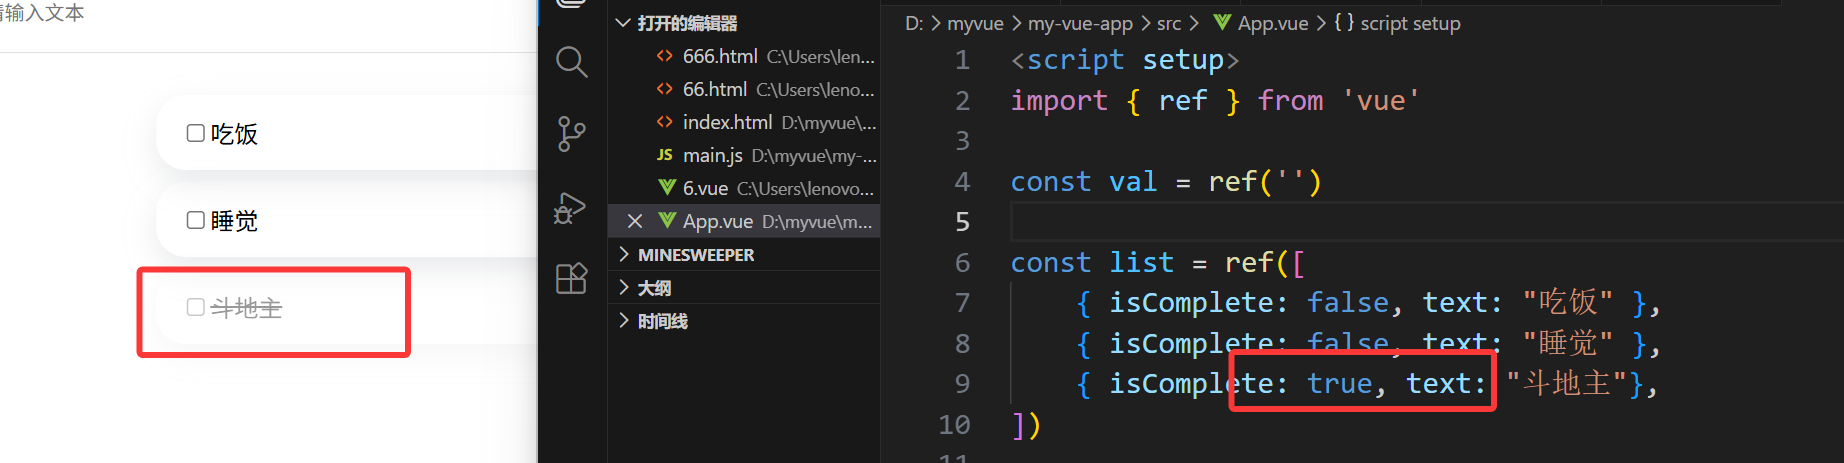
11.修改下方选项内容
我们先需要一个列表list。
javascript
const list = ref([
    { isComplete: false, text: "吃饭" },
    { isComplete: false, text: "睡觉" },
    { isComplete: false, text: "斗地主"},
])
然后加上一行v-for="item in list",也就变成
html
<div v-for="item in list" class="item completed">
     <div>
          <input type="checkbox" />
          <span class="name">吃饭</span>
     </div>
     <div class="del">del</div>
</div>
(在这里我们又把completed的样式加上了item的样式,所以就不用两个类了)
但是我们发现这个文字被写死成了吃饭,那么这个时候就应该用到类的内容了,把吃饭替换成item.text。也就是相当于for循环了,每个都叫item。
<span class="name">{{item.text}}</span>
接着我们知道不论如何这个样式都是completed,但是我们需要的是item或者completed的选择款。所以三目运算符在此发力。
<div v-for="item in list" :class="item.isComplete ? 'completed' : 'item'">
可见现在不同的情况对应不同的样式
12.单选框切换样式
我怎么通过勾选把isComplete给改变呢?
用到v-model即可。我们之前用v-model关联外界输入值val,现在关联外界输入值item.Completed。里面是有一套数据结构表示的,你点击了就代表这个值等于1。
<input v-model="item.isComplete" type="checkbox" />
13.增删列表
现在的问题就来到了------怎么点击Add Todo就是增,del就是删?
用到@click即可。这两个本身就是意味着:数组增添对象,数组删除对象。
增添对象的函数好写,删除对象的函数要知识储备splice函数
function add(){
//console.log(val.value)
list.value.push({isComplete: false, text: val.value})
}
function del(index){
list.value.splice(index, 1)
}
然后最大的问题,如何知道你要删哪个数据?
我们把index和item放在一起循环
<div v-for="(item,index) in list"
然后@click绑的时候带参数<div @click="del(index)" class="del">del</div>
结束。
Code
html
<script setup>
import { ref } from 'vue'

const val = ref('')

const list = ref([
    { isComplete: false, text: "吃饭" },
    { isComplete: false, text: "睡觉" },
    { isComplete: true, text: "斗地主"},
])

function add(){
    //console.log(val.value)
    list.value.push({isComplete: false, text: val.value})
}

function del(index){
    list.value.splice(index, 1)
}

</script>

<template>
    <div class="full-screen-container">
        <div class="todo-app">
            <div class="title">原神</div>
            <div class="todo-from">
                <input v-model="val" class="todo-input" type="text"
                    placeholder="你说的对,但是《原神》是由米哈游自主研发的一款全新开放世界冒险游戏。游戏发生在一个被称作「提瓦特」的幻想世界,在这里,被神选中的人将被授予「神之眼」,导引元素之力。你将扮演一位名为「旅行者」的神秘角色,在自由的旅行中邂逅性格各异、能力独特的同伴们,和他们一起击败强敌,找回失散的亲人------同时,逐步发掘「原神」的真相。" />
                <div @click="add" class="todo-button">add todo</div>
            </div>

            <div v-for="(item,index) in list"
            :class="[item.isComplete ? 'completed' : 'item']">
                <div>
                    <input v-model="item.isComplete" type="checkbox" />
                    <span class="name">{{item.text}}</span>
                </div>
                <div @click="del(index)" class="del">del</div>
            </div>

        </div>
    </div>
</template>

<style scoped>
    /*这个body指代一个整体背景*/
    .full-screen-container {
        background:linear-gradient(
            to right,
            rgb(113,65,168),
            rgba(44,114,251,1)
        );
        /* 顺便让内容居中 */
        width: 100%;
        height: 100vh;
        display: flex;
        justify-content: center;
        padding-top: 40px;
        /* 2. 消除可能导致的溢出 */
        margin: 0;
        padding: 0;
        overflow: hidden; /* 防止内部元素撑开滚动条s */
    }
    /*白色框框*/
    .todo-app{
        width: 96%;
        height: 500px;
        padding-top: 30px;
        box-sizing: border-box;
        background-color: #ffff;
        border-radius: 5px;/*圆角*/
        margin-top: 40px;/*上面的顶*/
        margin-left: 2%;/*96对称*/
    }
    /*大标题的字*/
    .title{
        /*大小、宽度、居中*/
        font-size: 30px;
        font-weight: 700;
        text-align: center;
    }
    /*输入框*/
    .todo-from{
        display: flex;
        margin-top:20px;
        margin-left:30px;
    }
    .todo-input{
        /*这是左侧的白框,所以是左上左下圆角,右上右下方形*/
        padding-left: 15px;
        border: 1px solid #dfe1e5;/*外框*/
        outline: none;
        width: 60%;
        height: 50px;
        border-radius: 20px 0 0 20px;
        margin-bottom: 20px;
    }
    .todo-button{
        /*这是左侧的白框,所以是左上左下圆角,右上右下方形*/
        width: 100px;
        height: 52px;/*50+1+1*/
        border-radius: 0 20px 20px 0;
        text-align: center;
        background:linear-gradient(to right, rgb(113,65,168), rgba(44,114,251,1));
        color:#ffff;
        line-height: 50px;/*行高*/
        cursor: pointer;
        user-select: none;
    }
    /*选项框*/
    .item{
        display: flex;
        box-sizing: border-box;
        width: 80%;
        height: 50px;
        margin: 8px auto;
        padding: 16px;
        border-radius: 20px;
        box-shadow: rgba(149, 157, 165, 0.2) 0px 8px 20px;

        align-items: center;
        justify-content: space-between;
    }
    .del{
        color: red;
    }
    .completed{
        text-decoration: line-through;
        opacity: 0.4;

        display: flex;
        box-sizing: border-box;
        width: 80%;
        height: 50px;
        margin: 8px auto;
        padding: 16px;
        border-radius: 20px;
        box-shadow: rgba(149, 157, 165, 0.2) 0px 8px 20px;
        align-items: center;
        justify-content: space-between;
    }
</style>