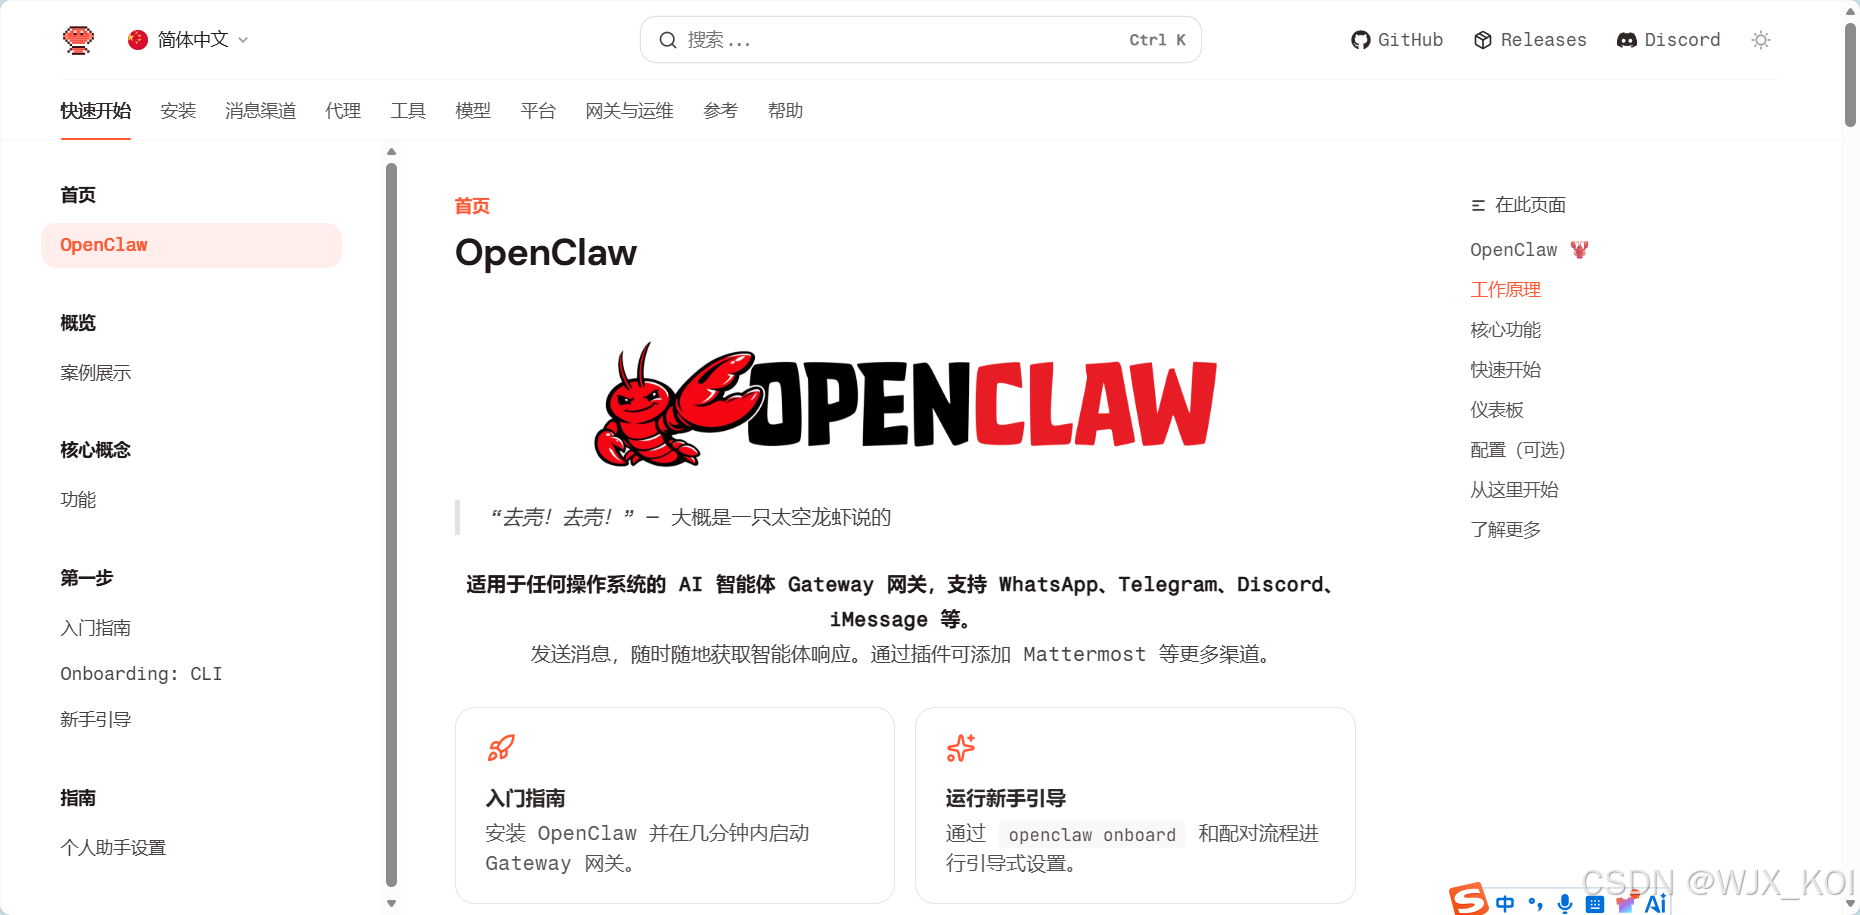
OpenClaw 纯 Windows 环境源码编译部署教程(含修改脚本配置)
本文专为 Windows 10/11 系统编写(理论上是跨平台 any os),全程实操无冗余,涵盖 OpenClaw 源码克隆、环境搭建、关键脚本修改、依赖构建及项目启动,重点解决 A2UI 打包相关配置,适合新手快速上手部署。
一、前置环境准备(自行安装配置)
所有工具均需配置系统环境变量(安装时勾选"Add to PATH",或手动配置),确保命令可全局调用。
-
Node.js :推荐 v20+ 版本
下载地址:https://nodejs.org/(选择 Windows Installer 64-bit)
-
pnpm :安装 Node.js 后,打开 CMD/PowerShell 执行
npm install -g pnpm -
Git :用于克隆项目源码
-
Python 3.10+ :编译项目依赖需用到
下载地址:https://www.python.org/(安装时勾选"Add Python to PATH")
二、克隆 OpenClaw 源码
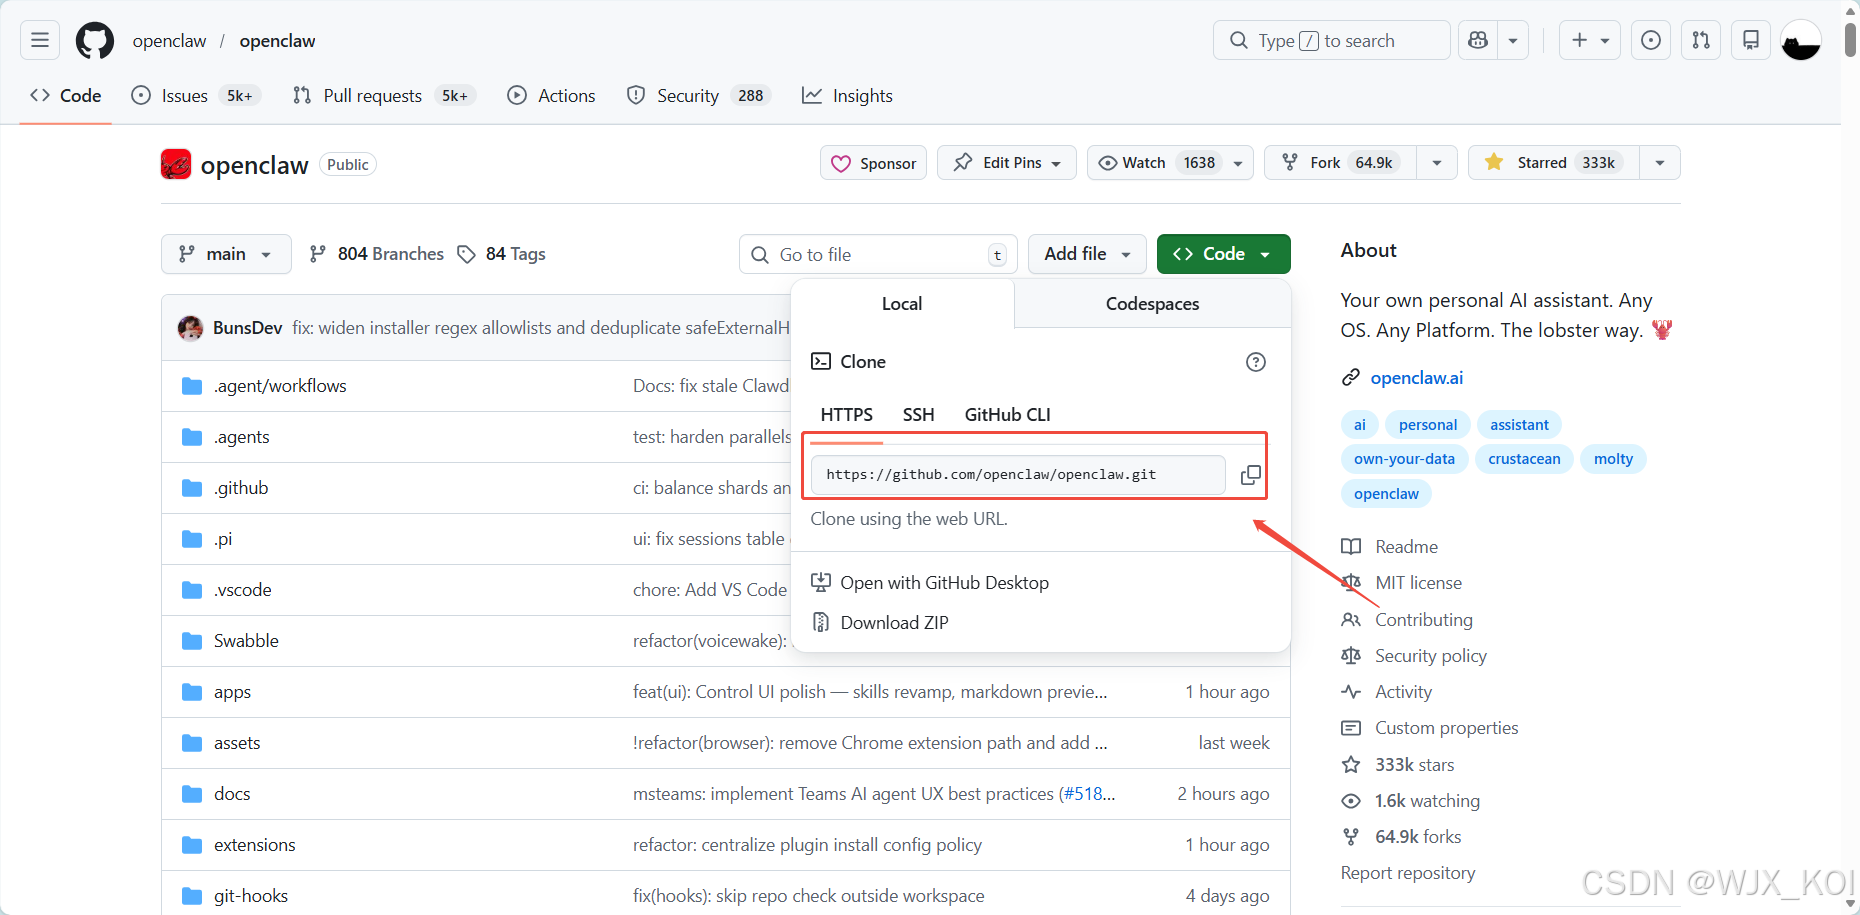
打开 CMD/PowerShell,执行以下命令,克隆项目到本地(可自定义路径):
bash
# 克隆项目
git clone https://github.com/openclaw/openclaw.git

# 或者使用我已经fork的 OpenClaw 仓库地址
git clone https://github.com/WJX20/openclaw.git

# 进入项目根目录
cd OpenClaw
三、关键配置:修改 A2UI 打包脚本(核心步骤)
这一步是部署成功的关键,需修改 package.json 命令,并新建指定脚本文件。
1. 修改 package.json 命令
打开项目根目录的 package.json 文件,搜索并找到 "canvas:a2ui:bundle" 字段,将其替换为以下内容:
json
"canvas:a2ui:bundle": "node --import tsx scripts/bundle-a2ui.mts",2. 新建 bundle-a2ui.mts 脚本
在项目根目录的 scripts 文件夹下(若没有则新建 scripts 文件夹),新建文件 bundle-a2ui.mts,复制以下完整代码粘贴进去(直接复制可用,无需修改):
typescript
import { createHash } from "node:crypto";
import { promises as fs } from "node:fs";
import path from "node:path";
import { execSync } from "node:child_process";
import { fileURLToPath } from "node:url";

const __dirname = path.dirname(fileURLToPath(import.meta.url));
const ROOT_DIR = path.resolve(__dirname, "..");
const HASH_FILE = path.join(ROOT_DIR, "src/canvas-host/a2ui/.bundle.hash");
const OUTPUT_FILE = path.join(ROOT_DIR, "src/canvas-host/a2ui/a2ui.bundle.js");
const A2UI_RENDERER_DIR = path.join(ROOT_DIR, "vendor/a2ui/renderers/lit");
const A2UI_APP_DIR = path.join(ROOT_DIR, "apps/shared/OpenClawKit/Tools/CanvasA2UI");

const exists = async (p: string) => fs.access(p).then(() => true).catch(() => false);

// 检查源码目录
const rendererExists = await exists(A2UI_RENDERER_DIR);
const appExists = await exists(A2UI_APP_DIR);

if (!rendererExists || !appExists) {
  if (await exists(OUTPUT_FILE)) {
    console.log("A2UI sources missing; keeping prebuilt bundle.");
    process.exit(0);
  }
  console.error(`A2UI sources missing and no prebuilt bundle found at: ${OUTPUT_FILE}`);
  process.exit(1);
}

// 计算哈希
async function walk(entryPath: string): Promise<string[]> {
  const st = await fs.stat(entryPath);
  if (st.isDirectory()) {
    const entries = await fs.readdir(entryPath);
    const results = await Promise.all(entries.map(e => walk(path.join(entryPath, e))));
    return results.flat();
  }
  return [entryPath];
}

const normalize = (p: string) => p.split(path.sep).join("/");

const inputPaths = [
  path.join(ROOT_DIR, "package.json"),
  path.join(ROOT_DIR, "pnpm-lock.yaml"),
  A2UI_RENDERER_DIR,
  A2UI_APP_DIR,
];

const allFiles = (await Promise.all(inputPaths.map(walk))).flat();
allFiles.sort((a, b) => normalize(a).localeCompare(normalize(b)));

const hash = createHash("sha256");
for (const filePath of allFiles) {
  const rel = normalize(path.relative(ROOT_DIR, filePath));
  hash.update(rel);
  hash.update("\0");
  hash.update(await fs.readFile(filePath));
  hash.update("\0");
}
const currentHash = hash.digest("hex");

// 检查是否需要重新构建
if (await exists(HASH_FILE) && await exists(OUTPUT_FILE)) {
  const previousHash = (await fs.readFile(HASH_FILE, "utf8")).trim();
  if (previousHash === currentHash) {
    console.log("A2UI bundle up to date; skipping.");
    process.exit(0);
  }
}

const exec = (cmd: string) => execSync(cmd, { stdio: "inherit", cwd: ROOT_DIR });

// 编译 TypeScript
exec(`pnpm -s exec tsc -p "${A2UI_RENDERER_DIR}/tsconfig.json"`);

// 打包
try {
  execSync("rolldown --version", { stdio: "ignore" });
  exec(`rolldown -c "${A2UI_APP_DIR}/rolldown.config.mjs"`);
} catch {
  exec(`pnpm -s dlx rolldown -c "${A2UI_APP_DIR}/rolldown.config.mjs"`);
}

// 保存哈希
await fs.writeFile(HASH_FILE, currentHash, "utf8");
console.log("A2UI bundle complete.");
四、安装项目依赖并启动
在项目根目录(OpenClaw 文件夹)执行命令,安装所有项目依赖:
pnpm install
pnpm ui:build
pnpm build

pnpm link --global

openclaw --version

openclaw onboard --install-daemon

openclaw gateway restart