Express详解
4、中间件
4.1、中间件概述
在Express框架中,一个中间件是一个用于处理客户端请求的函数。一个HTTP服务器中可能会使用到各种中间件。当接收到一个客户端请求时,首先将该请求提交给第一个中间件函数,每一个中间件函数内部封装一个next回调函数,在一个中间件函数内部可以判断是否调用next回调函数来处理该客户端请求。一个最简单的中间件的书写方法如下所示。
js
function middleware(req,res,next){next()}在Express框架中,使用应用程序实例对象的use方法来调用一个中间件,该方法的使用方式如下所示。
js
app.use([path],function)path:可选,一个字符串,用于指定何种路径应用中间件,默认参数值为"/"。function:一个函数,用于指定我们所要调用的中间件函数。
下面查看一个自定义中间件函数的代码示例,如代码清单所示。在该示例代码中,我们定义服务器端所要返回的状态码、响应头及返回页面中的<head>标签中的内容。
js
let setHeader = ()=>{
    return (req, res, next)=>{
        res.statusCode=200;
        res.header={'Content-Type': 'text/html'};
        res.head='<head><meta charset="utf-8"/></head>';
        next();
    };
};
exports.setHeader = setHeader;
代码保存在应用程序根目录下的middleware.js文件中,然后编写调用该中间件的服务器端脚本文件,其中代码如代码清单所示。
js
const express = require('express');
const middleware = require('./middleware');
let app = express();
app.use(middleware.setHeader());
app.get('/', (req,res)=>{
    res.writeHead(res.statusCode,res.header);
    res.write(res.head);
    res.end('你好');
});
app.listen(1337, "127.0.0.1");运行该文件,接着在浏览器的地址栏中输入"http://localhost:1337/"地址,此时,浏览器窗口中显示"你好"文字,同图所示。
use方法中的path参数用于指定何种路径应用中间件。修改代码如下所示,在use方法中使用一个path参数,参数值为"/static",用于指定只对"/static"应用中间件。
js
const express = require('express');
const middleware = require('./middleware');
let app = express();
app.use('/static',middleware.setHeader());
app.get('/*', (req,res)=>{
    if(res.head){
        res.writeHead(res.statusCode,res.header);
        res.write(res.head);
        res.write('你好');
    }
    res.end();
});
app.listen(1337, "127.0.0.1");运行该文件,接着在浏览器的地址栏中输入"http://localhost:1337/static/"地址,此时,浏览器窗口中显示"你好"文字,接着在浏览器的地址栏中输入"http://localhost:1337/",此时,浏览器窗口中显示空白。
在应用程序实例对象的get方法、post方法、put方法、delete方法或all方法中,均可使用一个或多个中间件参数。这些方法的完整使用方式如下所示。
js
app.get(path,[callback...],callback)            // 使用get方法
app.post(path,[callback...],callback)            // 使用post方法
app.put(path,[callback...],callback)            // 使用put方法
app.delete(path,[callback...],callback)            // 使用delete方法
app.all(path,[callback...],callback)            // 使用all方法
在这些方法的path参数值与callback参数值中间,可以使用一个或多个参数,每一个参数值均为一个中间件函数。在使用多个中间件函数时,当在前一个中间件函数中调用next方法时,调用后一个中间件函数,当在最后一个中间件函数中调用next方法时,调用最后一个callback参数值回调函数。
js
const express = require('express');
const middleware = require('./middleware');
let app = express();
app.get('/',middleware.setHeader(),(req,res)=>{
    res.writeHead(res.statusCode,res.header);
    res.write(res.head);
    res.end('你好');
});
app.listen(1337, "127.0.0.1");运行该文件,接着在浏览器的地址栏中输入"http://localhost:1337/"地址,此时,浏览器窗口中显示"你好"文字,同图所示。
4.2、内置的中间件
| 名称 | 描述 |
|---|---|
basicAuth |
使用一个具有用户名参数与密码参数的回调函数作为参数,如果该用户名与密码允许访问网站,那么中间件函数返回true |
bodyParser |
用于解析客户端请求的body中的内容。内部使用JSON编码处理、ul编码处理以及对于文件的上传处理 |
compress |
使用gzip算法或de1ate算法压缩响应流数据,该中间件应该在其他中间件之前使用,以保证所有的响应数据都是被压缩的 |
cookieParser |
解析Web浏览器发送的cookie中的内容 |
csrf |
通过一个附加的表单变量来对客户端请求进行处理,以防止网站接收伪跨站点请求。需要结合session中间件与bodyParser中间件一起使用 |
directory |
用于在浏览器中列出网站某个目录下的所有子目录及文件,可通过选项的使用来指定是否显示隐藏文件或图标 |
errorHandler |
捕捉应用程序中的错误,可将错误作为标准错误输出流进行输出,也可向客户端返回错误 |
favicon |
为浏览器提供收藏夹图标 |
limit |
限制客户端提交数据的字节数 |
logger |
将操作日志作为标准输出流进行输出,或输出到一个文件中 |
methodOverride |
结合bodyParser一起使用,为bodyParser中间件提供伪HTTP方法支持 |
responseTime |
在服务器端响应头中添加一个X-Response-Time响应字段,内容为服务器端生成相应数据的时间,单位为毫秒 |
router |
提供高级路由特性 |
session |
为保存用户数据而提供一个session管理器 |
static |
使客户端可以访问网站中的所有静态文件。允许部分下载与指定文件过期时间 |
4.3、Auth中间件
4.3.1、basicAuth中间件(express@3)
basicAuth中间件为网站添加身份认证功能。在使用了该中间件后,用户访问网站时必须输入用户名与密码,在用户输入用户名与密码并通过验证后才能访问网站。
示例:使用basicAuth中间件为网站添加身份认证功能,当用户输入的用户名为"testUser"、密码为"testPass"时,中间件函数返回true,允许用户访问网站。当用户输入其他用户名或密码时,中间件函数返回false,不允许用户访问网站。
js
const express = require('express');
const app = express();
app.use(express.basicAuth('testUser','testPass'));
app.get('/', (req, res)=>{
   res.send('你好');
});
app.listen(1342, "127.0.0.1");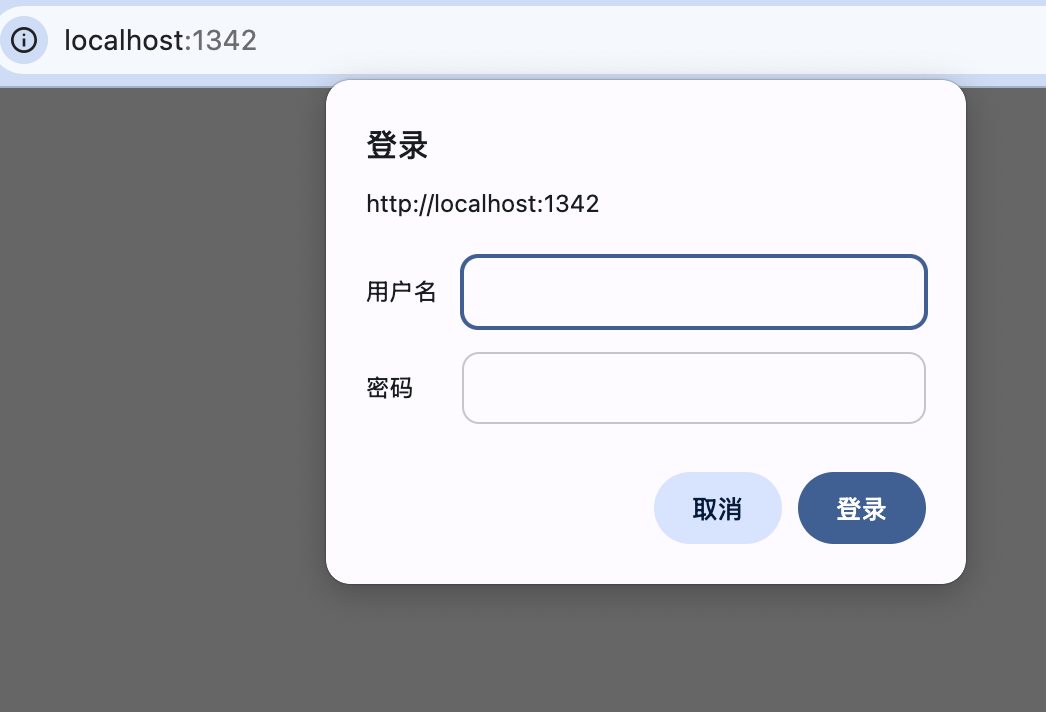
可以为中间件函数使用一个同步函数,使得中间件的使用方法更加灵活一些。
示例:修改对象的use方法的指定方式如下所示。为中间件函数使用一个同步函数。
js
app.use(express.basicAuth((user, pass)=>{
    return user === 'testUser' && pass === 'testPass';
}));
在大多数情况下,需要通过数据库或其他资源的使用来验证用户输入的用户名与密码是否正确,这时需要为中间件函数使用一个异步函数。
示例:在用户输入用户名与密码后,从MySQL数据库中的users表中查询用户输入的用户名与密码是否存在,如果存在,则通过身份验证,允许用户访问网站,如果不存在,则不会通过身份验证,不允许用户访问网站。
js
const express = require('express');
const mysql = require('mysql');
const app = express();
const pool = mysql.createPool({
    host     : 'localhost',
    port     : 3306,
    database : 'test',
    user     : 'root',
    password : '123456',
});
app.use(express.basicAuth((user,pass,callback)=>{
    pool.getConnection((err, connection)=>{
        if(err) {
            connection.release();
            callback(null,false);
        } else {
                connection.query('SELECT count(1) count FROM users where'
                    + 'userName=? and passWord=?',
                    [user,pass],
                    (err,result)=>{
                        if(err) {
                            connection.release();
                            callback(null,false);
                        } else {
                            connection.release();
                            if(result[0].count > 0){
                                callback(null,true);
                            } else {
                                callback(null,false);
                            }
                    }
            });
        }
    });
}));
app.get('/', (req, res)=>{
   res.send('你好');
});
app.listen(1337, "127.0.0.1");
4.3.2、basic-auth中间件(express@4)
express.basicAuth只在 Express 3.x 及以前版本中存在。从 Express 4.x 开始,官方已经把 basicAuth从核心中间件中移除,因此推荐使用独立的 basic-auth中间件。
安装:
shell
npm install basic-auth示例:
js
const express = require('express');
const auth = require('basic-auth');
const app = express();

app.use((req, res, next) => {
  const credentials = auth(req);
  if (
    !credentials ||
    credentials.name !== 'testUser' ||
    credentials.pass !== 'testPass'
  ) {
    res.setHeader('WWW-Authenticate', 'Basic realm="example"');
    return res.status(401).send('Authentication required.');
  }
  next();
});

app.get('/', (req, res) => {
  res.send('Hello, authenticated user!');
});

app.listen(3000);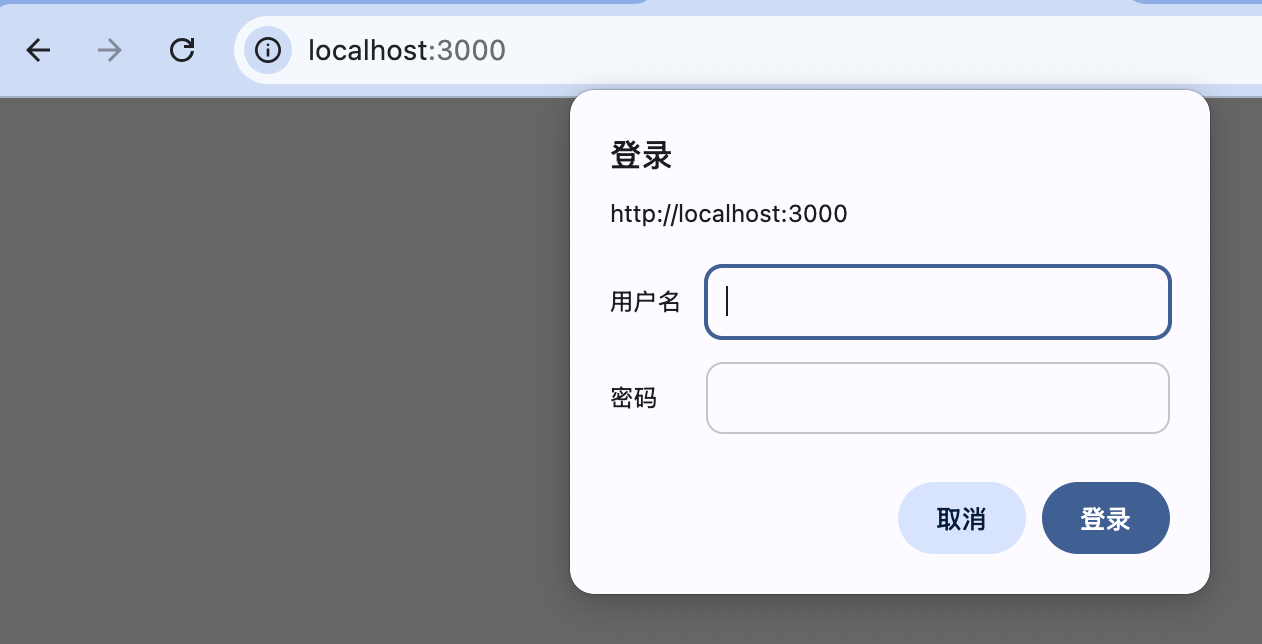
4.4、bodyParser中间件
express@4中需要单独安装:
shell
npm install body-parserJSON数据
js
//引入
app.use(bodyParser.json());
js
//前端
fetch('/api', {
  method: 'POST',
  headers: { 'Content-Type': 'application/json' },
  body: JSON.stringify({ name: 'Tom' })
});
js
//后端
req.body.name // 'Tom'
表单提交(URL-encoded)
js
//引入
app.use(bodyParser.urlencoded({ extended: true }));
html
<form method="post" action="/api">
  <input name="username" />
  <input name="password" />
</form>
js
//后端
req.body.username
req.body.password
原始文本:
js
//引入
app.use(bodyParser.text());
js
//后端
req.body // "hello world"
原始Buffer(不常用)
js
//引用
app.use(bodyParser.raw());
js
req.body // Buffer示例:
js
const fs = require('fs');
const express = require('express');
const cookieParser = require('cookie-parser');
const bodyParser = require('body-parser');
//创建服务器
let app = express();
//设置中间件
app.use(cookieParser());
//extended选项为false,表示使用querystring库转换URL-encoded数据
app.use(bodyParser.urlencoded({ extended: false }));
//设置路由配置
app.get('/', (request, response)=>{
     if (request.cookies.auth) {
          response.send('<h1 style="color:red;text-align: center">登录成功</h1>');
     } else {
          response.redirect('/login');
     }
});
app.get('/login', (request, response)=>{
     //读取登录页面
     fs.readFile('login.html', (error, data)=>{
          response.send(data.toString());
     });
});
app.post('/login', (request, response)=>{
     //记录登录用户
     let login = request.body.login;
     //记录登录密码
     let pass = request.body.pass;
     //判断登录是否成功
     if (login == 'mingrisoft' && pass == '123456') {
          //登录成功,使用cookie记录登录成功标识
          response.cookie('auth', true);
          response.redirect('/');                             //跳转页面
     } else {
          //登录失败
          response.redirect('/login');
     }
});
//启动服务器
app.listen(52273, ()=>{
     console.log('服务器监听地址是 http://127.0.0.1:52273');
});
html
<!DOCTYPE html>
<html>
<head>
<meta charset="utf-8">
<title>登录页面</title>
</head>
<body>
<form method="post">
<fieldset style="width: 250px;margin: 0 auto;padding:20px">
<legend style="color:#ff5722">管理员登录</legend>
<table>
<tr>
<td>
<label for="user">账 号:</label>
</td>
<td>
<input type="text" name="login" id="user"/>
</td>
</tr>
<tr height="40">
<td>
<label for="pass">密 码:</label>
</td>
<td>
<input type="pass" name="pass" id="pass"/>
</td>
</tr>
<tr>
<td colspan="2" align="center">
<input type="submit" style="background: #41d7ea;width: 85px;height: 25px;
border: 1px solid #e0ac5e;outline: none;border-radius: 5px;"/>
</td>
</tr>
</table>
</fieldset>
</form>
</body>
</html>4.5、cookieParser中间件
cookieParser中间件用于获取Web浏览器发送的cookie中的内容。在使用了cookieParser中间件之后,代表客户端请求的http.IncomingMessage对象就具有了一个cookies属性,该属性值为一个对象数组,其中存放了所有Web浏览器发送的cookie,每一个cookie为cookies属性值数组中的一个对象。
引入并使用:
js
const express = require('express');
const cookieParser = require('cookie-parser');

const app = express();

app.use(cookieParser());
读取Cookie:
js
app.get('/', (req, res) => {
  console.log(req.cookies); // 所有 cookie
  res.send('ok');
});//浏览器访问后
{
userId: '123',
token: 'abc'
}设置Cookie:
js
app.get('/set', (req, res) => {
  res.cookie('userId', '123', {
    maxAge: 1000 * 60 * 60, // 1小时
    httpOnly: true
  });
  res.send('cookie set');
});
签名Cookie(重点):
js
//使用密钥
app.use(cookieParser('secret-key'));
js
//设置签名Cookie
res.cookie('token', 'abc123', { signed: true });
js
//读取签名Cookie
console.log(req.signedCookies.token);
//如果 Cookie 被篡改 → 自动失效
Cookie常见配置项:
js
res.cookie('name', 'value', {
  maxAge: 1000 * 60 * 60, // 过期时间(ms)
  expires: new Date(Date.now() + 3600000),
  path: '/',              // 生效路径
  domain: 'example.com',  // 域名
  secure: true,           // HTTPS 才发送
  httpOnly: true,         // 禁止 JS 访问
  sameSite: 'strict'      // CSRF 防护
});
删除Cookie:
js
//必须和设置时的 path / domain一致
res.clearCookie('userId');
典型使用场景:
js
//登录态(Session ID / Token)
app.get('/profile', (req, res) => {
  const token = req.signedCookies.token;
  if (!token) return res.status(401).send('未登录');

  res.send('欢迎回来');
});
js
//配合 Session(传统方案)
const session = require('express-session');
app.use(
session({
secret: 'keyboard cat',
resave: false,
saveUninitialized: false
})
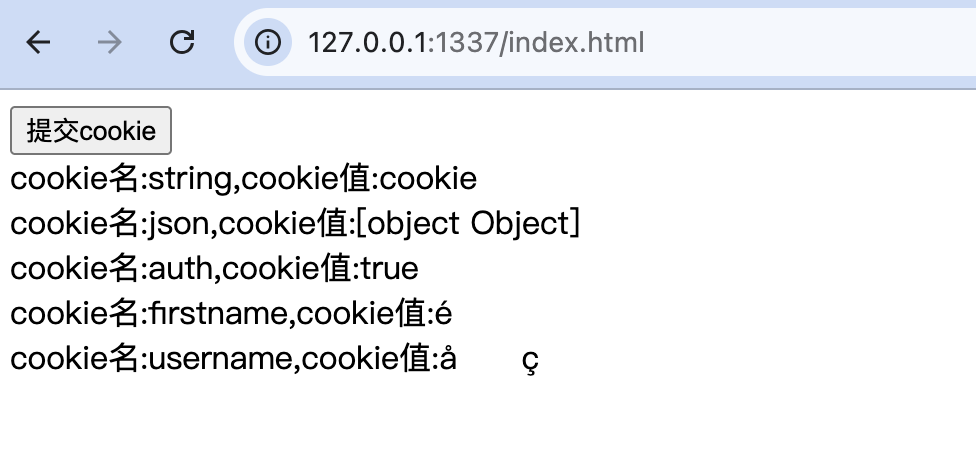
);示例:首先建立客户端用于提交cookie的index.html页面,该页面中显示一个"提交cookie"按钮,在用户用鼠标单击"提交cookie"按钮后,客户端脚本程序为页面创建一些cookie,然后使用XMLHttpRequest对象向服务器端提交数据,这时该页面中的所有cookie也会随之一并提交,待接收到服务器端响应数据后将这些数据显示在页面中。
html
<!DOCTYPE html>
<html>
<head>
<meta charset="utf-8"/>
<title>提交cookie</title>
<script type="text/javascript">
function cookieTest(){
    var xhr = new XMLHttpRequest();
    xhr.open('post','index.html',true);
    document.cookie="firstname=陆";
    document.cookie="username=凌牛";
    xhr.onload = function(e) {
        if (this.status == 200) {
            document.getElementById("result").innerHTML=this.response;
        }
    };
        xhr.send();
}
</script>
</head>
<body>
<form id="form1" method="post" action="index.html">
    <input type="button" value="提交cookie" onclick="cookieTest();" >
</form>
<output id="result" ></output>
</body>
</html>
js
const express = require('express');
const fs = require('fs');
const cookieParser = require('cookie-parser');
const app = express();
app.use(cookieParser());
app.get('/index.html',(req,res)=>{
    res.sendfile(__dirname+'/index.html');
});
app.post('/index.html',(req,res)=>{
    for(const key in req.cookies){
        res.write("cookie名:"+key);
        res.write(",cookie值:"+req.cookies[key]+"<br/>");
    }
    res.end();
});
app.listen(1337, "127.0.0.1");
4.6、logger中间件
可以通过使用logger中间件来记录详细的操作日志或错误日志。该中间件的使用方法如下所示(代码中的app代表一个Express应用程序实例对象)。
js
app.use(express.logger([options]));options:可选,参数值为一个格式化字符串、一个用于指定该中间件所用选项的对象或一个用于格式化输出数据的函数。当属性值为一个用于指定选项的对象时,该对象中可以使用的属性及属性值如下表。
| 属性名 | 描述 | 默认属性 |
|---|---|---|
immediate |
属性值为一个布尔值。当属性值为true时,在接收到客户端请求时即输出日志,当属性值为false或undefined时,在发送完服务器端响应数据时(当HTTP.ServerResponse对象的end事件被触发时)输出日志 | undefined |
format |
属性值为一个字符串,用于指定输出日志时使用的格式化字符串。可指定属性值为一个格式化字符串或如下表中所示的格式名 | 'default' |
stream |
属性值为用于输出日志数据流的对象 | process.stdout |
buffer |
当属性值为tue时,为输出日志数据流使用缓存区。当属性值为数值时,为缓存区指定有效时间。单位为毫秒 | undefined 当属性指定为true时,缓存区默认有效时间为1000毫秒 |
format属性值可以使用的格式名及其指定的格式化字符串:
| 格式名 | 格式化字符串 |
|---|---|
default |
:remote-addr - - :date ":method :url HTTP/:http-cersion" :status :rescontent-length ":referrer" ":user-agent" |
short |
:remote-addr - :method :url HTTP/:http-version :status :rescontent-length - :response-time ms |
tiny |
:method :url :status :rescontent-length - :res[ponse-time ms |
dev |
:method :url :status :response-time ms - :reescontent-length |
当输出日志时,每一个格式化字符串都被转换为一个确切的输出值, 格式化字符串及其被转换后的值。
| 格式化字符串 | 转换值 |
|---|---|
:url |
req.originalUrl || req.url |
:method |
req.method |
:response-time |
new Date-req.startTime |
:date |
new Date().toUTCString() |
:status |
res.statusCode |
:referrer |
req.headers'referer' |
:remote-addr |
req.ip 或 sock.socket.remoteAddress,sock.remoteAddress |
http-version |
req.http VersionMajor+.'+req.http VersionMinor |
:user-agent |
req.headers'user-agent' |
:req[<请求头字段名>] |
指定的请求头的字段值 |
:res[<响应头字段名>] |
指定的响应头的字段值 |
示例:
js
app.use(express.logger()); // default
app.use(express.logger('short'));
app.use(express.logger('tiny'));
app.use(express.logger({ immediate: true, format: 'dev' }));
app.use(express.logger(':method :url - :referrer'));
app.use(express.logger(':req[content-type] -> :res[content-type]'));
app.use(express.logger((tokens, req, res)=>{
    return 'some format string'
}));
4.7、responseTime中间件
responseTime中间件用于在服务器端响应头中添加一个X-Response-Time响应字段,内容为服务器端生成响应数据的时间,单位为毫秒。
shell
npm install response-time示例:
js
const express = require('express');
const fs = require('fs');
const responseTime = require('response-time');
const app = express();

// 添加使用responseTime中间件
app.use(responseTime());
app.get('/index.html',function (req,res) {
    res.sendfile(__dirname+'/index.html');
});
app.listen(1337, "127.0.0.1");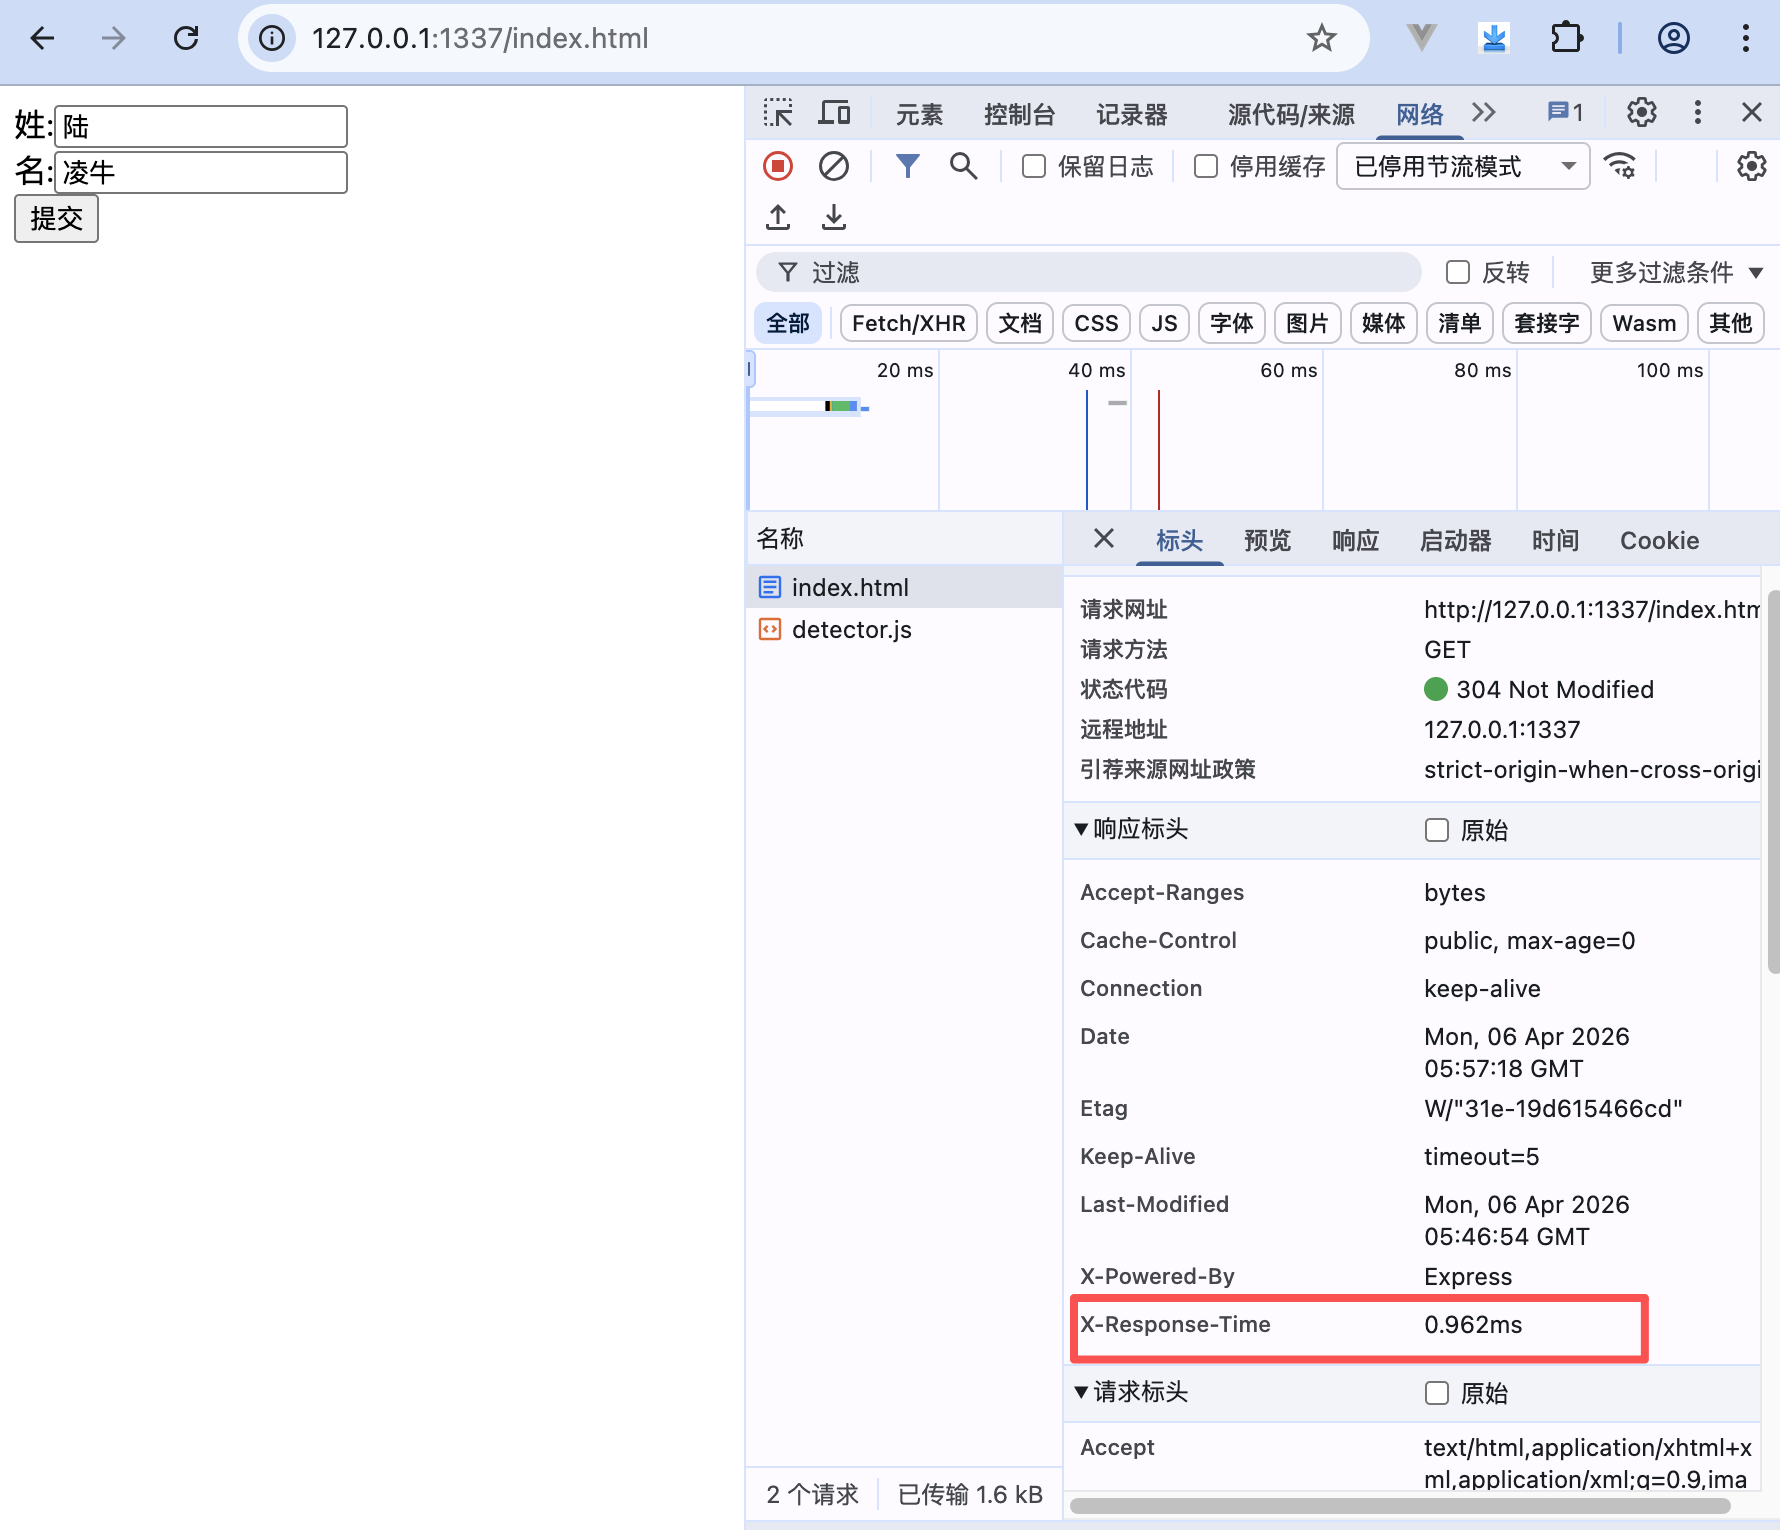
4.8、express-session中间件
安装:
js
npm i express-session基本用法:
js
const express = require('express')
const session = require('express-session')

const app = express()

app.use(session({
  secret: 'keyboard cat',
  resave: false,
  saveUninitialized: false
}))
使用:session
js
app.get('/login', (req, res) => {
  req.session.userId = 123
  res.send('登录成功')
})

app.get('/me', (req, res) => {
  res.json({
    userId: req.session.userId
  })
})
核心参数:
js
app.use(session({
  secret: '密钥',          // 必须
  name: 'sid',             // cookie 名
  resave: false,           // 是否每次都保存
  saveUninitialized: false, // 未初始化是否保存
  rolling: true,           // 是否每次重置过期时间
  cookie: {
    maxAge: 1000 * 60 * 30, // 30分钟
    httpOnly: true,
    secure: false
  }
}))
示例:
js
var express = require('express');
const cookieParser = require('cookie-parser');
const session = require('express-session')
var fs = require('fs');
var app = express();
app.use(cookieParser());
app.use(session({secret:"test"}));
app.get('/index.html',function (req,res) {
    res.sendfile(__dirname+'/index.html');
    req.session.username="lulingniu";
    req.session.password="123456";
});
app.post('/index.html',function (req,res) {
    console.log(req.session.username);
    console.log(req.session.password);
    res.end();
});
app.listen(1337, "127.0.0.1");
html
<!DOCTYPE html>
<html>
<head>
<meta charset="utf-8"/>
<title>session中间件的简单使用示例</title>
</head>
<body>
<form id="form1" method="post" action="index.html">
    <input type="submit">
</form>
</body>
</html>
lulingniu
123456
4.9、static中间件
static中间件可以使客户端直接访问网站中的所有静态文件。express.static是 Express 内置的静态资源服务器中间件,用于托管 CSS、JS、图片、字体等静态文件。
js
app.use(express.static('public'))基本用法:
目录结构:
project/
├── public/
│   ├── index.html
│   ├── style.css
│   └── app.js
└── app.js
代码:
js
const express = require('express')
const app = express()

app.use(express.static('public'))

app.listen(3000)
访问:
| URL | 对应文件 |
|---|---|
/ |
public/index.html |
/style.css |
public/style.css |
/app.js |
public/app.js |
挂载路径(非常重要):
js
app.use('/assets', express.static('public'))此时访问路径变为:
js
/assets/style.css
/assets/app.js
多个静态目录(优先级):
js
app.use(express.static('public'))
app.use(express.static('files'))
规则:
- 先注册的先匹配
- 找到文件就停止
常用配置选项:
js
app.use(express.static('public', {
  maxAge: 1000 * 60 * 60 * 24, // 缓存 1 天
  etag: true,	//协商缓存
  lastModified: true,
  index: 'index.html', //默认首页
  fallthrough: true //找不到文件是否交给下一个中间件
}))
5、模板引擎
5.1、概述
在一个Web应用程序中,如果只使用服务器端代码来编写客户端HTML代码,那么将会造成很大的工作量,而且这些HTML代码也会变得比较难以阅读和维护。如果只使用客户端静态HTML文件,那么服务器端逻辑将会比较难以融入到客户端HTML代码中。
为了使服务器端逻辑很好地融入到客户端HTML代码中,同时又可以使开发者以文件的形式来维护客户端HTML代码,许多第三方开发者开发出了各种Node.js用模板引擎,包括Jade模板引擎、Embedded JavaScript(EJS)模板引擎、Haml模板引擎、CoffeeKup模板引擎(一种基于CoffeeScript脚本语言的模板引擎)以及jQuery模板引擎等。
5.2、Jade模板引擎的使用方法
5.2.1、引入与配置
接下来,我们首先介绍Jade模板引擎的使用方法。为了使用Jade模板引擎,首先要使用npm包安装工具下载Jade模板引擎,命令如下所示。
shell
npm install jade在Jade模板引擎下载之后,可以通过将view engine内部变量值设定为"jade"的方法来使用Jade模板引擎,代码如下所示。
js
app.set('view engine','jade');在默认情况下,Express应用程序中的所有视图文件需要放置在应用程序根目录的views子目录下。可以通过设置views内部变量值的方法显式指定视图文件的存放路径,代码如下所示。
js
app.set('views',__dirname+'/views')在Express框架中,可以使用代表服务器端响应的http.ServerResponse对象的render方法来渲染一个视图,该方法的使用方式如下所示。
js
res.render(view,[locals],[callback])view:一个字符串,用于指定需要渲染的视图,参数值通常为一个省略扩展名的视图文件名locals:可选,一个对象,用于指定该视图中所使用的本地变量名及本地变量值callback:可选,一个回调函数,用于指定视图渲染操作结束时调用的回调函数,该回调函数的使用方法如下所示
js
function(err,html){
    // 回调函数代码略
}err:视图渲染操作失败时触发的错误对象html:为根据指定的视图模板及视图引擎所生成的HTML代码
5.2.2、简单示例
示例:使用Jade模板引擎。使用应用程序实例对象的get方法渲染views目录中的index.jade视图,在回调函数中向客户端返回根据index.jade视图文件及Jade模板引擎所生成的HTML代码。
js
const express = require('express')
const app = express();
app.set('view engine', 'jade');
app.set('views',__dirname+'/views')
app.get('/', (req,res)=>{
    res.render('index',
            {pageTitle:'Jade使用示例',layout:false},
            (err,html)=>{
                if(err)
                    console.log(err)
                else
                    res.send(html);
            });
});
app.listen(1337);
在这段代码中,我们在render方法中设置了两个本地变量:pageTitle与layout,其中pageTitle变量值将在视图文件index.jade文件中被解析,layout变量值被指定为false,用于指定直接渲染视图文件中的内容,而不对该视图文件应用一个布局文件。
接下来看一下index.jade文件中的内容,当views内部变量值未被修改时,该文件需要放置在应用程序根目录下的views子目录中,其中代码如代码清单所示。
html
doctype html
html
    head
        title=pageTitle
    body
        h1 你好
        p 这是一个Jade模板引擎的使用示例
经过解析的完整HTML代码如下所示。
html
<!DOCTYPE html>
<html>
<head>
    <title>Jade使用示例</title>
</head>
<body>
    <h1>你好</h1>
    <p>这是一个Jade模板引擎的使用示例</p>
</body>
</html>
在大多数情况下,可以省略编写应用程序实例对象的render方法中的回调函数。
js
res.render('index',{pageTitle:'Jade使用示例',layout:false});5.2.3、使用layout布局文件
将layout内部变量值指定为false的方法指定在渲染视图时不使用布局文件。一个布局文件为一个应用程序中统一使用的主视图,其他视图均为从该视图派生出来的子视图。在使用了布局文件之后,在使用http.ServerResponse对象的render方法渲染视图时,将首先渲染布局文件所指定的主视图,然后再渲染render方法中指定的子视图。
下面查看一个布局文件的使用示例。首先创建服务器端脚本文件:
js
const express = require('express')
const app = express();
app.set('view engine','jade');
app.set('views', __dirname+'/views')
app.get('/', (req,res)=>{
    res.render('index',
        {pageTitle:'Jade使用示例', arr:['1','2','3'], layout:true});
    // 或
    // res.render('index',{pageTitle:'Jade使用示例',arr:['1','2','3']});
});
app.listen(1337);在使用布局文件时,一个布局文件必须被命名为layout.jade,当views内部变量值未被修改时,该文件需要放置在应用程序根目录下的views子目录中。在本例中,布局文件中的代码如代码清单所示。
html
doctype html
html
head
title=pageTitle
body
nav
ul
each item in arr
li 项目#{item}
block content
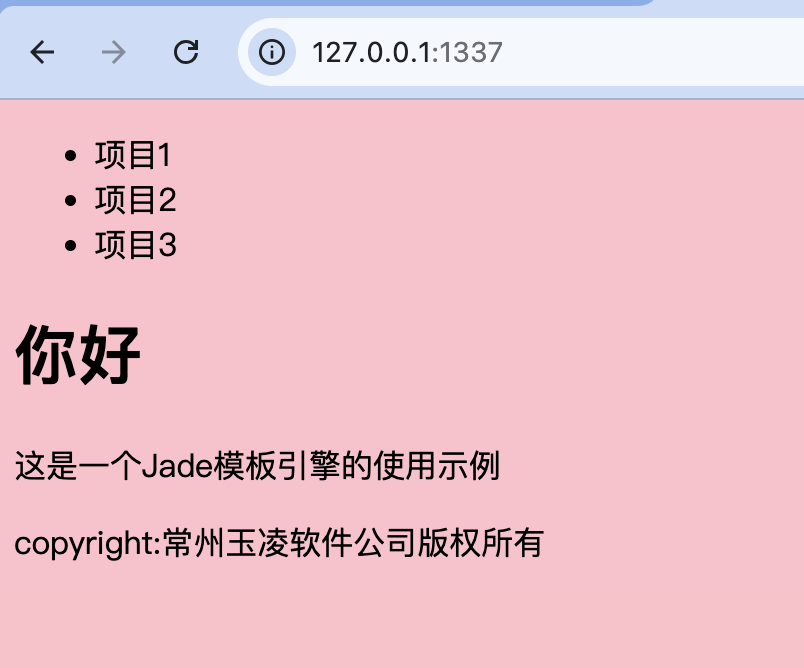
foot copyright:常州玉凌软件公司版权所有接下来查看index.jade子视图中的代码,如代码清单所示。
html
extend layout
block content
    h1 你好
    p 这是一个Jade模板引擎的使用示例
在使用布局文件时,子视图中第一行代码必须为"extend layout",用于指定本视图为从主视图派生出来的子视图。
第二行代码与本例布局文件中的第十行中的"blockcontent"代码相对应,表示布局文件中占位符处的HTML代码在此处指定。
经过解析的完整HTML代码如下所示。
html
<!DOCTYPE html>
<html>
<head>
    <title>Jade使用示例</title>
</head>
<body>
<nav>
    <ul>
        <li>项目1</li>
        <li>项目2</li>
        <li>项目3</li>
    </ul>
</nav>
<h1>你好</h1>
<p>这是一个Jade模板引擎的使用示例</p>
<foot>copyright:常州玉凌软件公司版权所有</foot>
</body>
</html>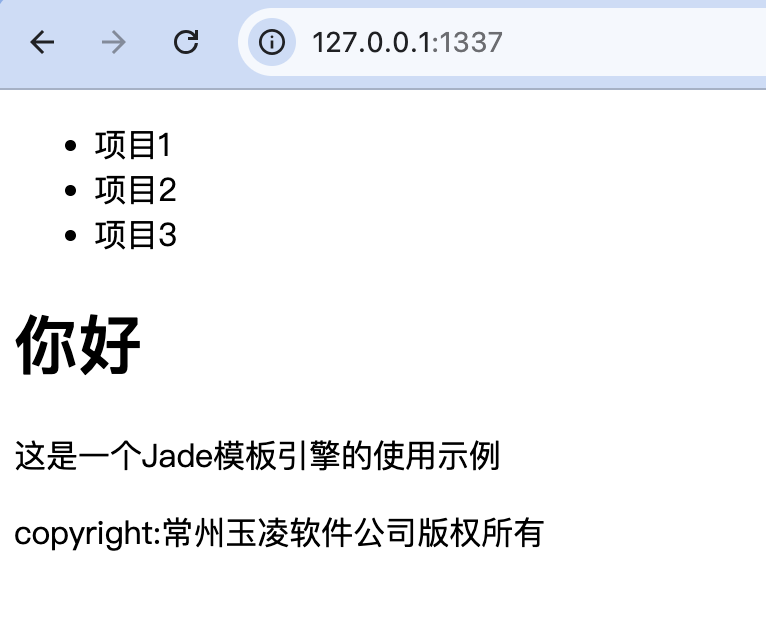
5.2.3、引用css样式文件
在视图文件中,可以指定css样式文件的引用位置。
首先配置静态文件映射:
js
app.use('/static', express.static('static'));修改layout.jade所示代码中<head>标签中的代码如下所示。
html
    head
        title=pageTitle
link(rel='stylesheet', href='/static/css/style.css')在应用程序根目录下新建/static/css子目录,用于放置所有的样式文件。在其中新建一个style.css样式文件,其中内容如下所示。
css
body {
    background-color: pink;
}
5.2.4、编写JavaScript脚本代码和指定元素属性
在视图文件中,可以使用"script."关键字在
js
script.
    alert('1');
这段代码将被解析为如下所示的HTML代码。
js
<script>
alert('1');
</script>
在模板文件中,可以为元素指定各种属性及属性值,代码示例如下所示。
js
input(type="text" id="txtFirstName" name="firstname" value="
陆")
示例:查看一个在模板文件中使用"style."关键字指定样式代码,使用"script."关键字指定JavaScript脚本代码以及为各种元素指定各种属性及属性值的代码示例。
首先创建服务器端脚本代码,在这段代码中,我们首先使用bodyParser中间件。然后使用应用程序实例对象的get方法监听客户端向服务器端根目录发出的GET请求,当接收到该请求时将应用程序根目录下的index.jade视图文件中的内容作为服务器端响应结果返回给客户端。在服务器端脚本中监听客户端向服务器端根目录发出的POST请求,当接收到客户端提交的POST请求后,将客户端提交的数据中保存的用户姓与用户名存储到服务器端MySQL数据库中,当数据保存成功后,将"在服务器端MySQL数据库中插入数据成功。"字符串作为服务器端响应结果返回给客户端。
js
const express = require('express');
const fs = require('fs');
const app = express();
const mysql = require('mysql');
const bodyParser = require('body-parser');
app.set('view engine','jade');
app.set('views', __dirname+'/views')
app.use(bodyParser.urlencoded({ extended: true }));

const pool = mysql.createPool({
    host     : 'localhost',
    port     : 3306,
    database : 'test',
    user     : 'root',
    password : '123456',
});
app.get('/',(req,res)=>{
    res.render('index');
});
app.post('/',(req,res)=>{
    req.on('data',(data)=>{
        let obj = JSON.parse(data.toString());
        pool.getConnection((err, connection)=>{
            if(err) {
                res.send('与MySQL数据库建立连接失败。');
            } else {
                let str;
                connection.query('INSERT INTO users SET ?',
                    {username:req.body.username,firstname:req.body.firstname},
                    (err,result)=>{
                        if(err) {
                            str='在服务器端MySQL数据库中插入数据失败。';
                        } else {
                            str='在服务器端MySQL数据库中插入数据成功。';
                        }
                    connection.release();
                    res.send(str);
                });
            }
        });
    });
});
app.listen(1337, "127.0.0.1");
html
doctype html
html
    head
        style.
            body{
                background-color:pink;
            }
        script.
            function submitData() {
                var obj={
                    firstname:document.getElementById("txtFirstName").value,
                    username:document.getElementById("txtUserName").value
                };
                var xhr = new XMLHttpRequest();
                xhr.open('post','/',true);
                xhr.onload = function(e) {
                    if (this.status == 200) {
                        document.getElementById("result").innerHTML=
                        this.response;
                    }
                };
                xhr.send(JSON.stringify(obj));
            }
    body
        form(id="form1")
            姓:
            input(type="text" id="txtFirstName" name="firstname"
            value="陆")
            br
            名:
            input(type="text" id="txtUserName" name="username" value="凌牛")
            br
            input(type="button" value="提交" onclick="submitData();")
        output(id="result")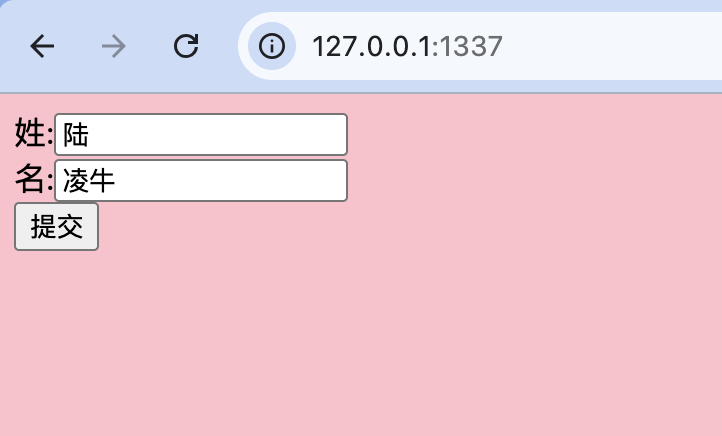
5.3、EJS模板引擎的使用方法
为了使用EJS模板引擎,首先要使用npm包安装工具下载EJS模板引擎,命令如下所示。
js
npm install ejs在EJS模板引擎下载之后,可以通过将view engine内部变量值设定为"ejs"的方法来使用ejs模板引擎,代码如下所示。
js
app.set('view engine','ejs');在下载了EJS模板引擎后,即可在应用程序根目录下的views子目录中创建扩展名为ejs的视图文件。该视图文件的书写方法与HTML文件的书写方法大致相同,但是可以像php文件或ASP.NET中的aspx文件那样在"<%"与"%>"符号中混合书写服务器端Node.js脚本语言,在"<%="与"%>"符号中混合书写服务器端变量。
示例:制作一个博客网站中的简易的文章列表及文章书写页面。
js
const express = require('express');
const app = express();

app.set('view engine', 'ejs');
app.set('views', __dirname+'/views');
app.use('static', express.static('/static'));

app.get('/', (req, res)=>{
    let items = [{title: '文章1'}, {title: '文章2'}];
    res.render('index', {title: '文章列表', items: items})
});
app.listen(1337);
/views/index.ejs
html
<!DOCTYPE html>
<html>
<head>
<meta charset="utf-8">
<title>文章列表页面</title>
</head>
<body>
<h1><%=title%></h1>
<p><a href="/form">发表新文章</a></p>
<ul>
<%items.forEach(function(item){ %>
    <li><%= item.title%></li>
<%})%>
</ul>
</body>
</html>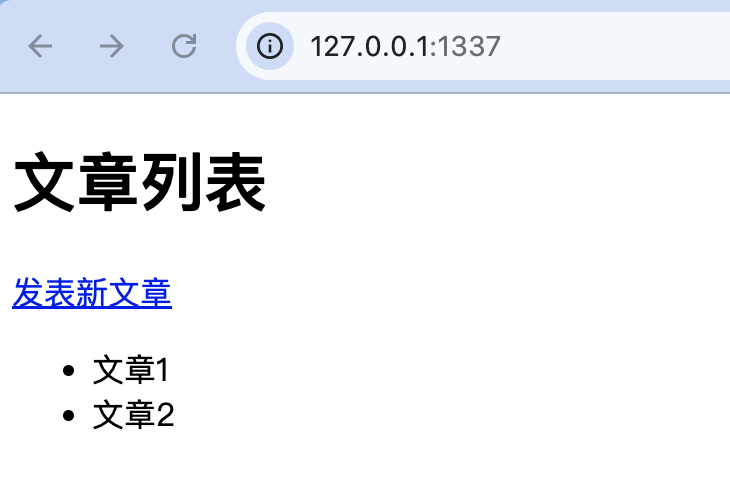
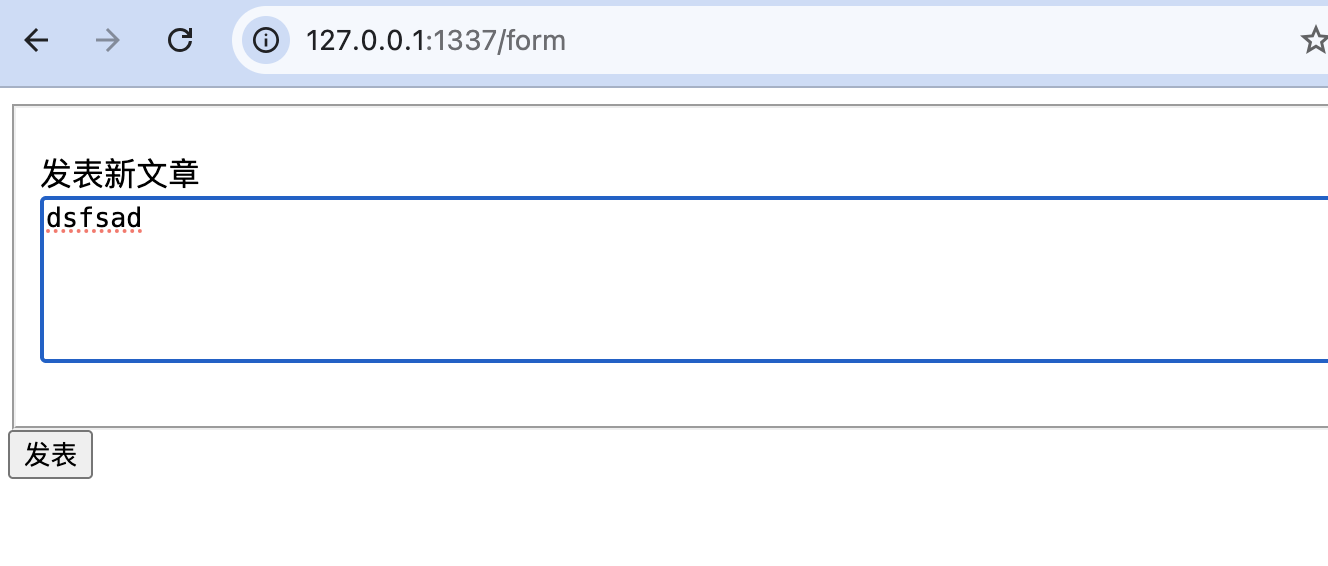
单击"发表新文章"链接时将要打开发表新文章页面,接下来开始介绍如何制作该页面。
/views/form.ejs
js
<!DOCTYPE html>
<html>
<head>
<meta charset="utf-8">
<title><%=title%></title>
</head>
<body>
<form method="post" action="/form">
    <fieldset>
        <p>
            <label>发表新文章</label><br/>
            <textarea name="text" cols=100 rows=5></textarea>
        </p>
    </fieldset>
    <input type="submit" value="发表">
</form>
</body>
</html>
js
const express = require('express');
const app = express();
const bodyParser = require('body-parser');

app.set('view engine', 'ejs');
app.set('views', __dirname+'/views');
app.use('static', express.static('/static'));
app.use(bodyParser.urlencoded({ extended: true }));

app.get('/', (req, res)=>{
    let items = [{title: '文章1'}, {title: '文章2'}];
    res.render('index', {title: '文章列表', items: items})
});
app.get('/form', (req, res)=>{
    res.render('form', {title: '发表新文章'});
})
app.post('/form', (req, res)=>{
    console.log(req.body.text);
    //todo 数据库操作
    res.redirect('/');
})
app.listen(1337);