基础模块的应用作业描述
1、在第3台机器上新建一个帐号,并将新建的帐号添加至wheel组
2、在第3台机器上新建帐号的家目录中新建一个空文件,并往文件中添加"hello,ansible"内容
3、将第3台机器上的新建的文件取回至管理机,管理机就是第一台机子。
4、将取回管理机的文件传送至第2台机器
5、将第2台机器的光驱挂载并设置为开机自动挂载。
前言
逐题拆解 + 直接可复制执行命令 + 验证方法,完全适配的环境:
- 管理机:test01(第 1 台)
- 被管理机:test02(第 2 台)、test03(第 3 台)
- 模块用到:
user、copy、file、fetch、mount、shell
作业 1:在第 3 台机器新建账号,加入 wheel 组
命令(直接执行)
bash
运行
ansible test03 -m user -a "name=work03 state=present groups=wheel append=yes" --become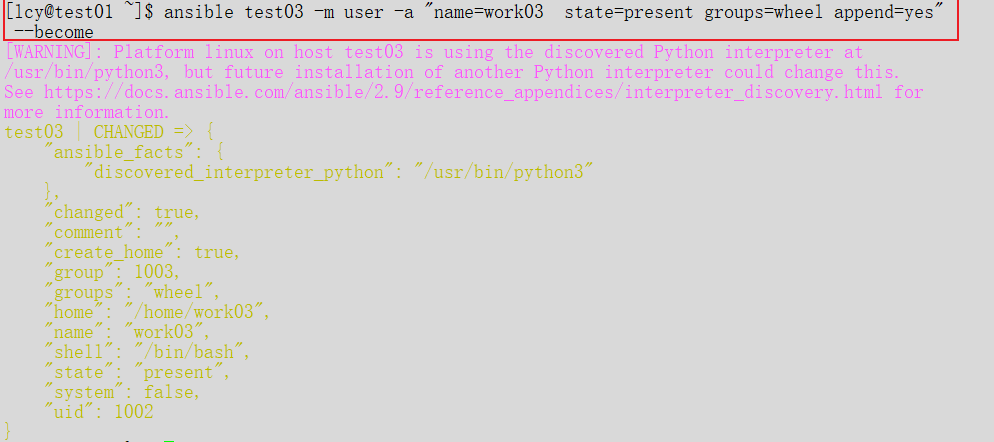
说明
name=work03:用户名(可自己改)groups=wheel:加入 wheel 组append=yes:不覆盖原有组,只追加(重要!)--become:提权 root
验证
bash
运行
ansible test03 -m shell -a "id work03"作业 2:在 test03 新用户家目录创建文件并写入内容
方法 A:用 copy 模块(最简单、推荐)
bash
运行
# 本地先创建文件
echo "hello,ansible" > /tmp/hello.txt

# 推送到 test03 的 /home/work03/
ansible test03 -m copy -a "src=/tmp/hello.txt dest=/home/work03/hello.txt owner=work03 group=work03" --become
方法 B:用 file + shell(纯远程创建)
bash
运行
# 创建空文件
ansible test03 -m file -a "path=/home/work03/hello.txt state=touch owner=work03 group=work03" --become

# 写入内容
ansible test03 -m shell -a "echo 'hello,ansible' > /home/work03/hello.txt" --become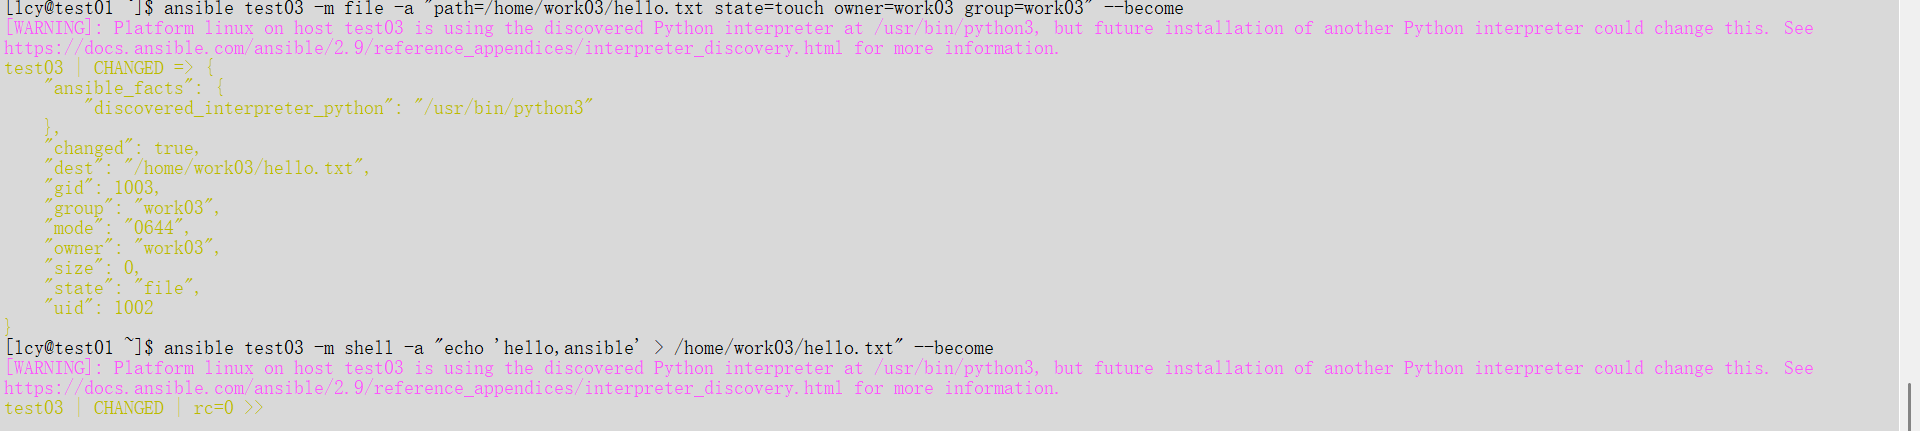
验证
bash
运行
ansible test03 -m shell -a "cat /home/work03/hello.txt"作业 3:把 test03 的文件取回管理机 test01
fetch 拉取命令
bash
运行
ansible test03 -m fetch -a "src=/home/work03/hello.txt dest=/tmp/ flat=yes" --become
验证(在管理机执行)
bash
运行
cat /tmp/hello.txt作业 4:把管理机文件传到 test02
copy 推送
bash
运行
ansible test02 -m copy -a "src=/tmp/hello.txt dest=/tmp/" --become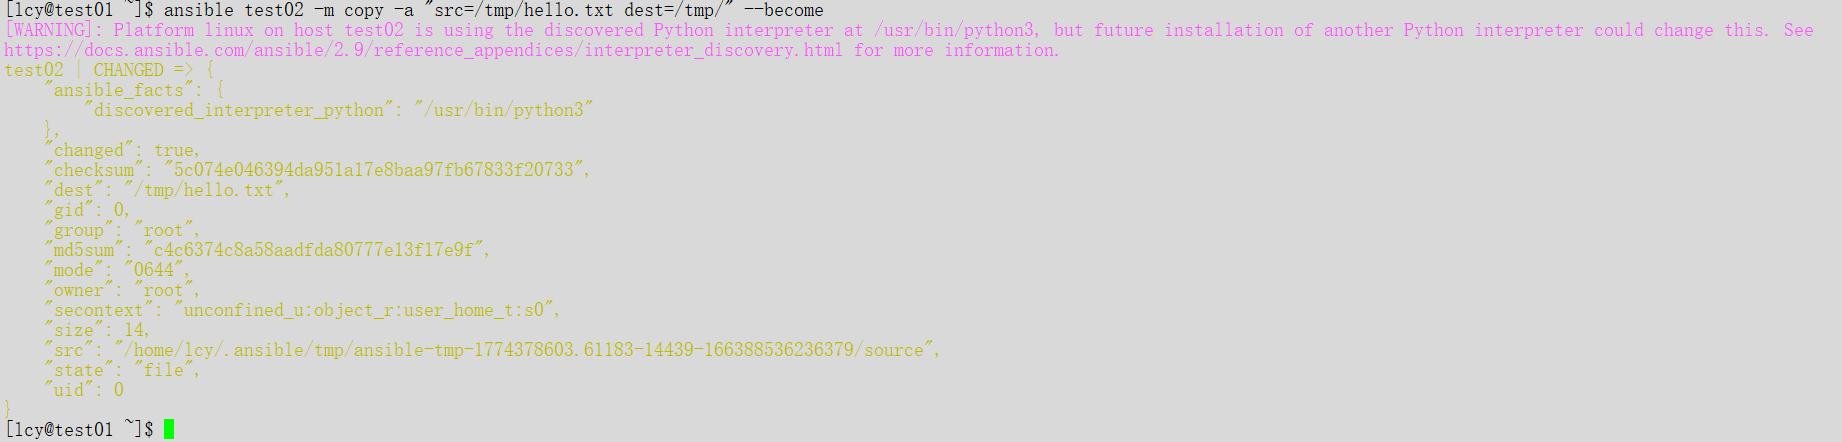
验证
bash
运行
ansible test02 -m shell -a "cat /tmp/hello.txt"作业 5:test02 挂载光驱并设置开机自动挂载
1)创建挂载点
bash
运行
ansible test02 -m file -a "path=/mnt/cdrom state=directory" --become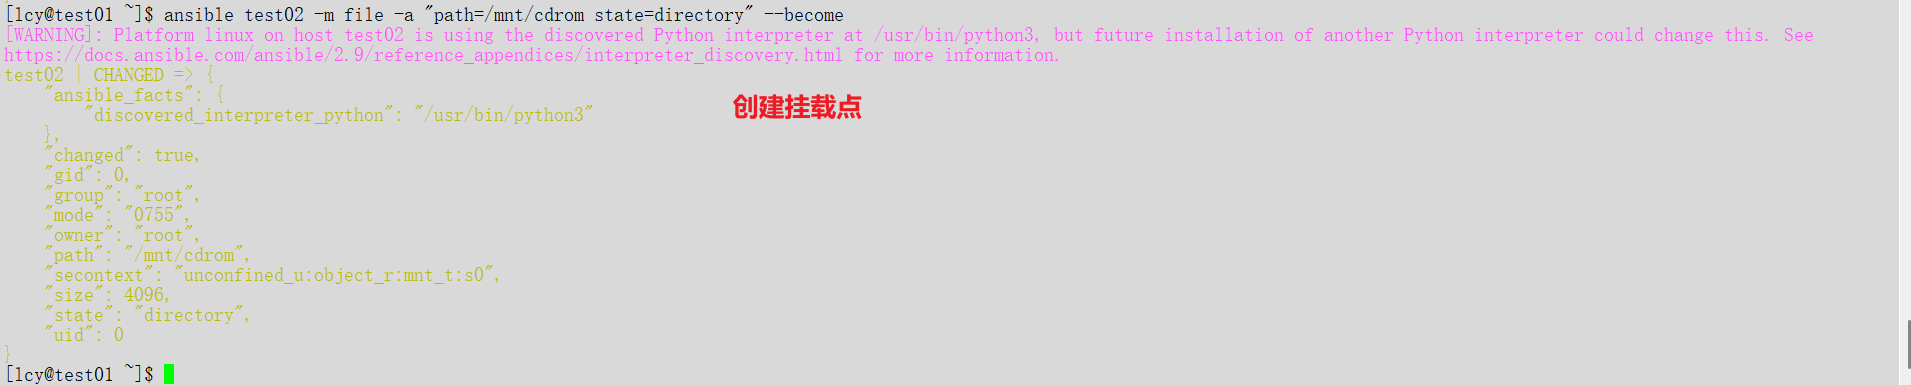
2)挂载光驱
bash
运行
ansible test02 -m shell -a "mount /dev/sr0 /mnt/cdrom" --become
3)写入 fstab 开机自动挂载
bash
运行
ansible test02 -m shell -a "echo '/dev/sr0 /mnt/cdrom iso9660 defaults 0 0' >> /etc/fstab" --become
4)验证挂载 & 开机挂载
bash
运行
# 查看挂载
ansible test02 -m shell -a "df -h | grep cdrom"

# 验证 fstab
ansible test02 -m shell -a "cat /etc/fstab | tail -5"
全套一键汇总版(可直接复制跑)
bash
运行
# 1. test03 创建用户并加入wheel组
ansible test03 -m user -a "name=work03 state=present groups=wheel append=yes" --become

# 2. test03 家目录创建文件并写入内容
echo "hello,ansible" > /tmp/hello.txt
ansible test03 -m copy -a "src=/tmp/hello.txt dest=/home/work03/hello.txt owner=work03 group=work03" --become

# 3. 从 test03 取回文件到管理机
ansible test03 -m fetch -a "src=/home/work03/hello.txt dest=/tmp/ flat=yes" --become

# 4. 推送到 test02
ansible test02 -m copy -a "src=/tmp/hello.txt dest=/tmp/" --become

# 5. test02 挂载光驱并开机自动挂载
ansible test02 -m file -a "path=/mnt/cdrom state=directory" --become
ansible test02 -m shell -a "mount /dev/sr0 /mnt/cdrom" --become
ansible test02 -m shell -a "echo '/dev/sr0  /mnt/cdrom  iso9660  defaults  0 0' >> /etc/fstab" --become
报错解决方法

这是 SELinux 环境依赖报错
原因 :test02 开启了 SELinux ,但缺少 Python 插件 libselinux-python,导致 Ansible 的 copy 模块无法写入文件。在 openEuler 系统中,这个包的名字叫 libselinux-python3。
⚡️ 最快解决方法(直接复制执行)
步骤 1:先给 test02 安装依赖包
bash
运行
ansible test02 -m shell -a "dnf install -y libselinux-python3" --become- 必须加
--become(提权到 root) - 安装完成后,依赖就补齐了
步骤 2:再次执行你的 copy 命令
bash
运行
ansible test02 -m copy -a "src=/tmp/hello.txt dest=/tmp/" --become这次就会显示 CHANGED,文件成功推送到 test02!
🌿 如果嫌麻烦(测试环境常用)
如果是测试环境,想快速做完作业,可以临时关闭 SELinux:
bash
运行
# 临时关闭(重启后恢复)
ansible test02 -m shell -a "setenforce 0" --become

# 永久关闭(写入配置文件)
ansible test02 -m shell -a "sed -i 's/^SELINUX=.*/SELINUX=disabled/' /etc/selinux/config" --become
关闭后再重新执行 copy 命令也能成功。
✅ 验证结果
执行成功后,用以下命令验证文件是否送达:
bash
运行
ansible test02 -m shell -a "cat /tmp/hello.txt"如果输出 hello,ansible,说明任务完成!