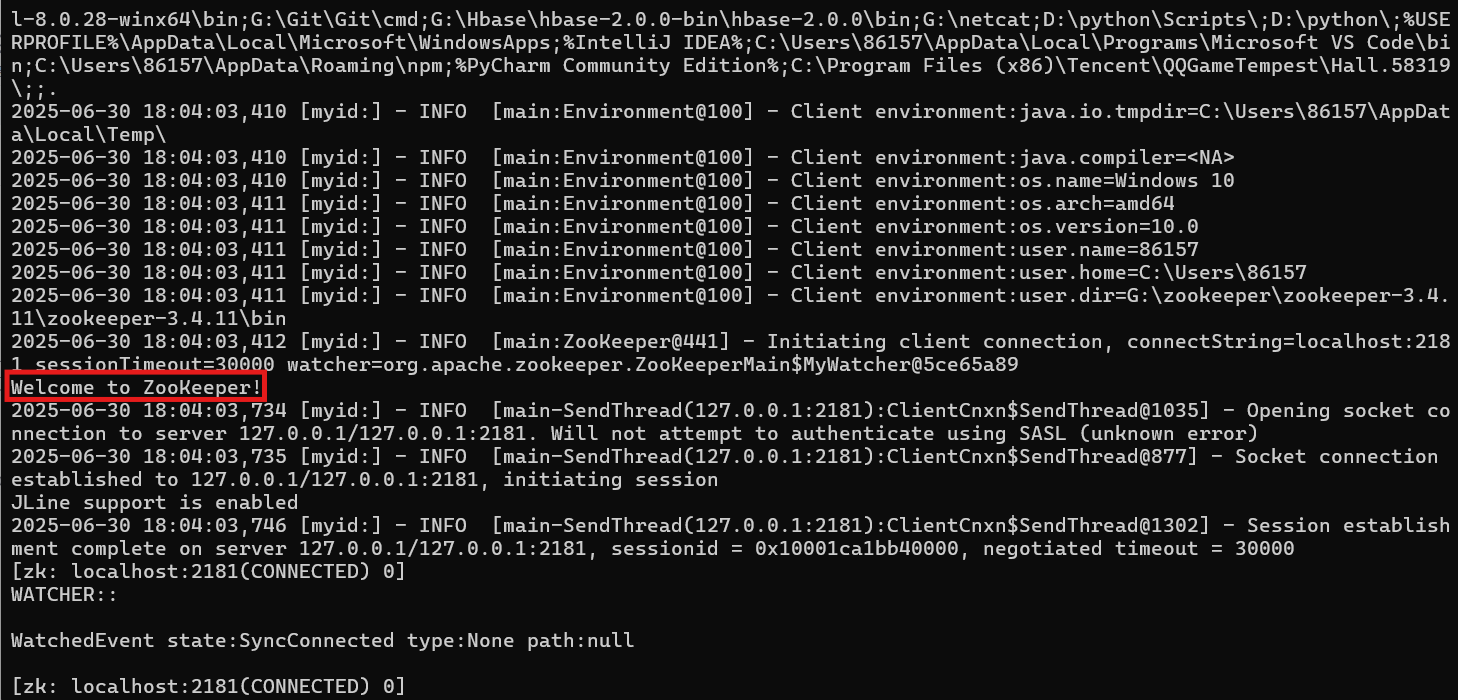
一、下载Zookeeper安装包
前提:需要有java1.8的运行环境,没有安装看这篇文章:Java JDK1.8 安装教程和环境配置_java 1.8-CSDN博客
测试java环境:
win+r输入cmd,打开命令行窗口,输入命令: java -version
出现版本号,则环境配置正确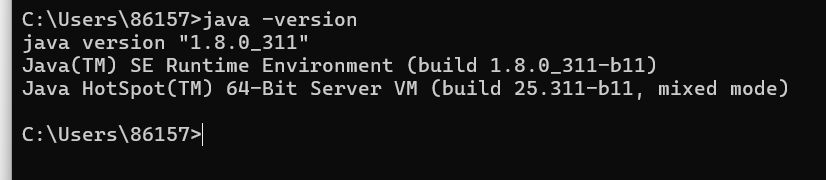
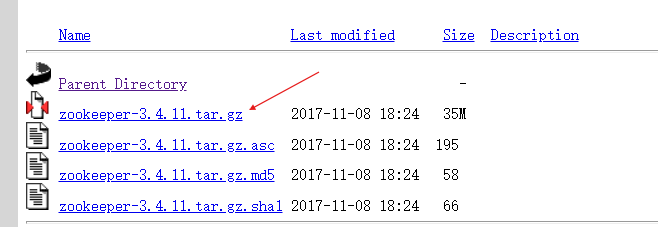
1.zookeeper官网:
这里我们使用3.4.11版本:zookeeper3.4.11
2.解压压缩包
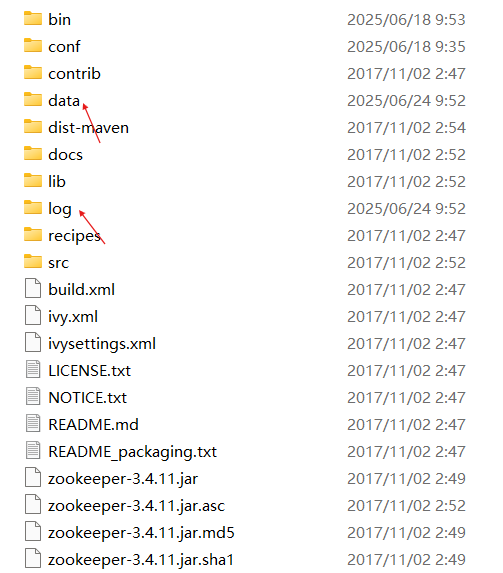
注意:解压路径最好在没有中文路径的目录下(不要出现中文和空格),解压完如下图:

二、修改配置文件
1.在当前目录下创建一个data文件夹(存放数据)和log文件夹(存放日志)
2.进入conf目录,复制zoo_sample.cfg文件,重命名为zoo.cfg

3.使用记事本打开zoo.cfg文件
配置如下:
The number of milliseconds of each tick
tickTime=2000
The number of ticks that the initial
synchronization phase can take
initLimit=10
The number of ticks that can pass between
sending a request and getting an acknowledgement
syncLimit=5
the directory where the snapshot is stored.
do not use /tmp for storage, /tmp here is just
example sakes.
dataDir=../data
dataLogDir=../log
the port at which the clients will connect
clientPort=2181
the maximum number of client connections.
increase this if you need to handle more clients
#maxClientCnxns=60
Be sure to read the maintenance section of the
administrator guide before turning on autopurge.
http://zookeeper.apache.org/doc/current/zookeeperAdmin.html#sc_maintenance
The number of snapshots to retain in dataDir
#autopurge.snapRetainCount=3
Purge task interval in hours
Set to "0" to disable auto purge feature
#autopurge.purgeInterval=1
dataDir=../data指定数据保存路径
dataLogDir=../log指定日志文件保存路径
注:其中dataDir和dataLogDir也可以使用绝对路径,两种都可以。
三、启动测试
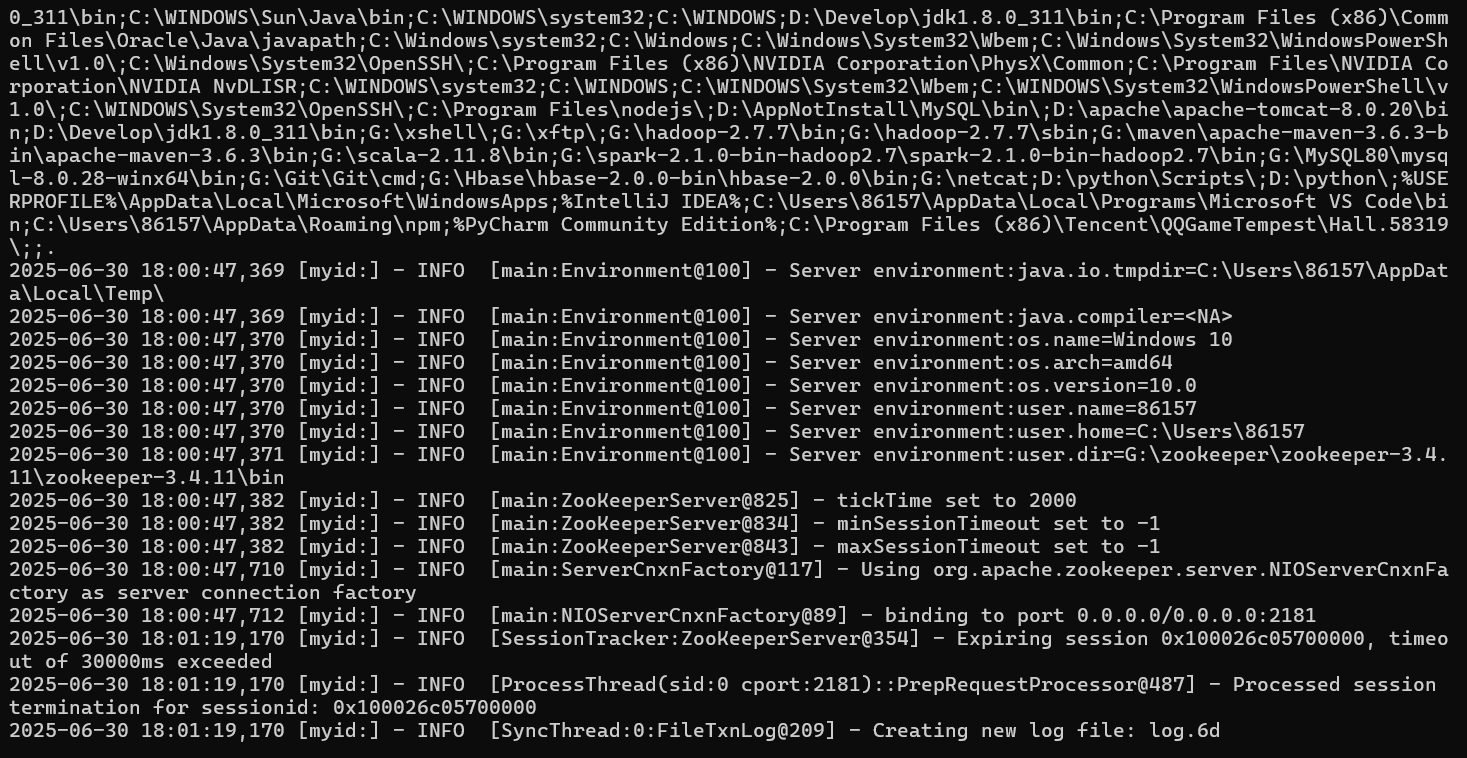
1.进入zookeeper的bin目录下,双击 zkServer.cmd
(注:windows的启动配置文件后缀一般都为.cmd)
启动后如下:
2.启动客户端
回到bin目录下,双击 zkCli.cmd ,看到Welcome to ZooKeeper!说明成功!