1、官网地址
2、环境准备
安装 Node.js(Allure3 需要)
https://nodejs.org/ 安装 LTS 版
node -v
npm -v
安装 Allure 3 CLI
npm install -g allure验证:
allure --version3、代码
Maven 配置(pom.xml)
<dependencies>
    <!-- JUnit 5 -->
    <dependency>
        <groupId>org.junit.jupiter</groupId>
        <artifactId>junit-jupiter-api</artifactId>
        <version>5.9.2</version>
        <scope>test</scope>
    </dependency>
    <dependency>
        <groupId>org.junit.jupiter</groupId>
        <artifactId>junit-jupiter-engine</artifactId>
        <version>5.9.2</version>
        <scope>test</scope>
    </dependency>

    <!-- Allure 3 兼容 JUnit 5 -->
    <dependency>
        <groupId>io.qameta.allure</groupId>
        <artifactId>allure-junit5</artifactId>
        <version>2.25.0</version>
        <scope>test</scope>
    </dependency>
</dependencies>

<build>
    <plugins>
        <plugin>
            <groupId>org.apache.maven.plugins</groupId>
            <artifactId>maven-surefire-plugin</artifactId>
            <version>3.1.2</version>
            <configuration>
                <!-- 测试结果输出目录,Allure 3 会读取它 -->
                <systemProperties>
                    <allure.results.directory>${project.basedir}/allure-results</allure.results.directory>
                </systemProperties>
            </configuration>
        </plugin>
    </plugins>
</build>
写一个最简单的测试类
import io.qameta.allure.Allure;
import io.qameta.allure.Step;
import org.junit.jupiter.api.Test;

public class MyFirstTest {

    @Test
    public void testDemo() {
        step1();
        step2();
        step3();
    }

    @Step("第一步:打开系统")
    public void step1() {
        Allure.attachment("说明", "这是一个Allure3的测试演示");
    }

    @Step("第二步:输入数据")
    public void step2() {
    }

    @Step("第三步:验证结果")
    public void step3() {
    }
}
4、运行测试(生成 allure-results)
进入项目根目录,执行:
mvn clean test运行后,你会看到项目根目录自动生成:
allure-results/这就是 Allure 3 需要的原始数据。
5、用 Allure 3 打开报告
方法 1:直接启动网页服务(推荐)
> allure serve allure-results
Allure is running on http://localhost:6703
自动打开浏览器,显示 Allure 3 全新界面报告!
方法 2:生成静态 HTML 报告
> allure generate  allure-results

> allure open
Allure is running on http://localhost:7031
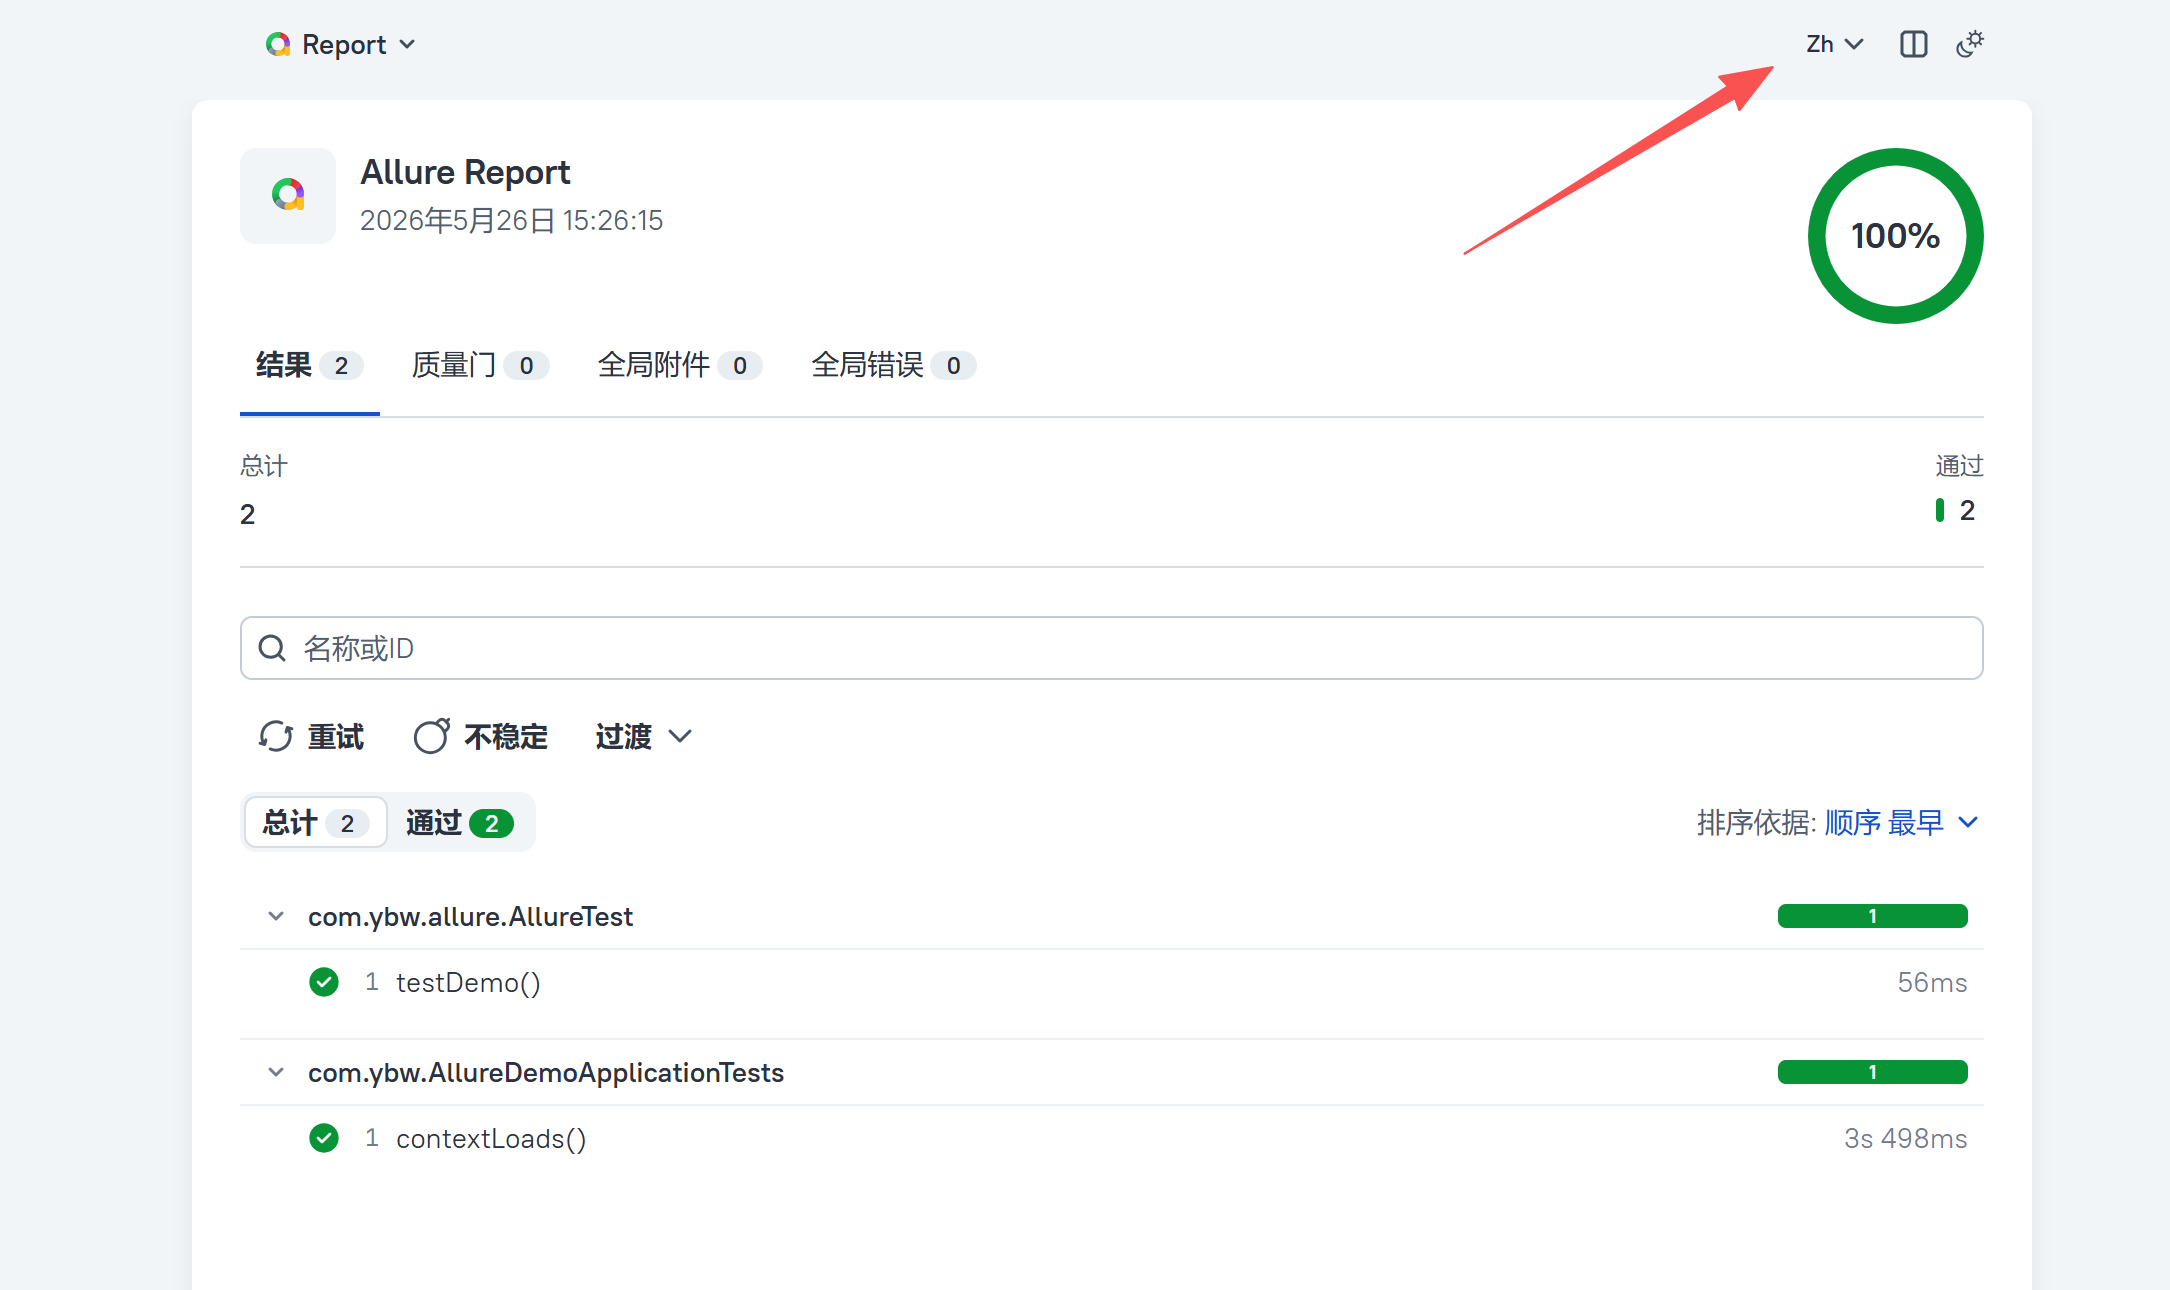
报告
可以改成中文
-
统计卡片:总用例数、通过 / 失败 / 跳过 / 错误数、通过率、执行总时长。
-
趋势图:历史构建通过率、耗时变化(需多次执行)。
-
执行器信息:运行环境、执行者、CI 构建号。
-
环境信息(Environment):OS、浏览器、JDK、依赖版本等(需手动配置)。