一、安装与基础配置
1. 安装 Vue Router
如果你创建项目时没有选择安装路由,可以手动安装:
markdown
npm i vue-router2. 创建路由模块文件
在 src 目录下新建 router 文件夹,然后创建 index.ts(或 index.js),目录结构如下:
tex
src/
├── router/
│   └── index.ts      // 路由配置文件
├── components/       // 存放页面组件
│   ├── Home.vue
│   ├── News.vue
│   └── About.vue
├── App.vue
└── main.ts
3. 编写 router/index.ts
ts
// 1. 引入需要的页面组件
import Home from '@/components/Home.vue'
import About from '@/components/About.vue'
import News from '@/components/News.vue'

// 2. 引入路由创建函数和历史模式函数
import { createRouter, createWebHistory } from 'vue-router'

// 3. 创建路由实例
const router = createRouter({
  // 使用 HTML5 的 History 模式(地址栏没有 #)
  history: createWebHistory(),
  // 路由规则数组
  routes: [
    { path: '/', redirect: '/home' },   // 访问根路径时自动跳转到 /home
    { path: '/home', component: Home },
    { path: '/news', component: News },
    { path: '/about', component: About }
  ]
})

// 4. 暴露路由实例,供 main.ts 使用
export default router
注意 :
redirect解决了初始访问http://localhost:5173/时没有匹配路由导致的警告问题。
4. 在 main.ts 中挂载路由
ts
import { createApp } from 'vue'
import App from './App.vue'
import router from './router'      // 引入刚刚创建的路由实例

const app = createApp(App)

app.use(router)   // 让 Vue 应用支持路由

app.mount('#app')
至此,路由的基础配置就完成了。
二、在组件中使用路由 -- <RouterLink> 和 <RouterView>
1. 编写 App.vue
html
<template>
  <div class="app">
    <h2>Vue 测试</h2>
    <!-- 导航区:使用 RouterLink 代替 a 标签 -->
    <div class="navigate">
      <RouterLink to="/home" active-class="active">首页</RouterLink>
      <RouterLink to="/news" active-class="active">新闻</RouterLink>
      <RouterLink to="/about" active-class="active">关于</RouterLink>
    </div>
    <!-- 展示区:路由组件会显示在这里 -->
    <div class="main-content">
      <RouterView />
    </div>
  </div>
</template>

<script setup lang="ts">
import { RouterLink, RouterView } from 'vue-router'
</script>

<style scoped>
/* 你的样式(略) */
.navigate {
  display: flex;
  justify-content: space-around;
  margin: 0 100px;
}
.navigate a {
  display: block;
  text-align: center;
  width: 90px;
  height: 40px;
  line-height: 40px;
  border-radius: 10px;
  background-color: gray;
  text-decoration: none;
  color: white;
  font-size: 18px;
}
.navigate a.active {
  background-color: #64967e;
  color: #ffc268;
  font-weight: 900;
}
.main-content {
  margin: 0 auto;
  margin-top: 30px;
  border-radius: 10px;
  width: 90%;
  height: 400px;
  border: 1px solid;
  padding: 20px;
}
</style>
2. 三个页面组件示例(简单展示即可)
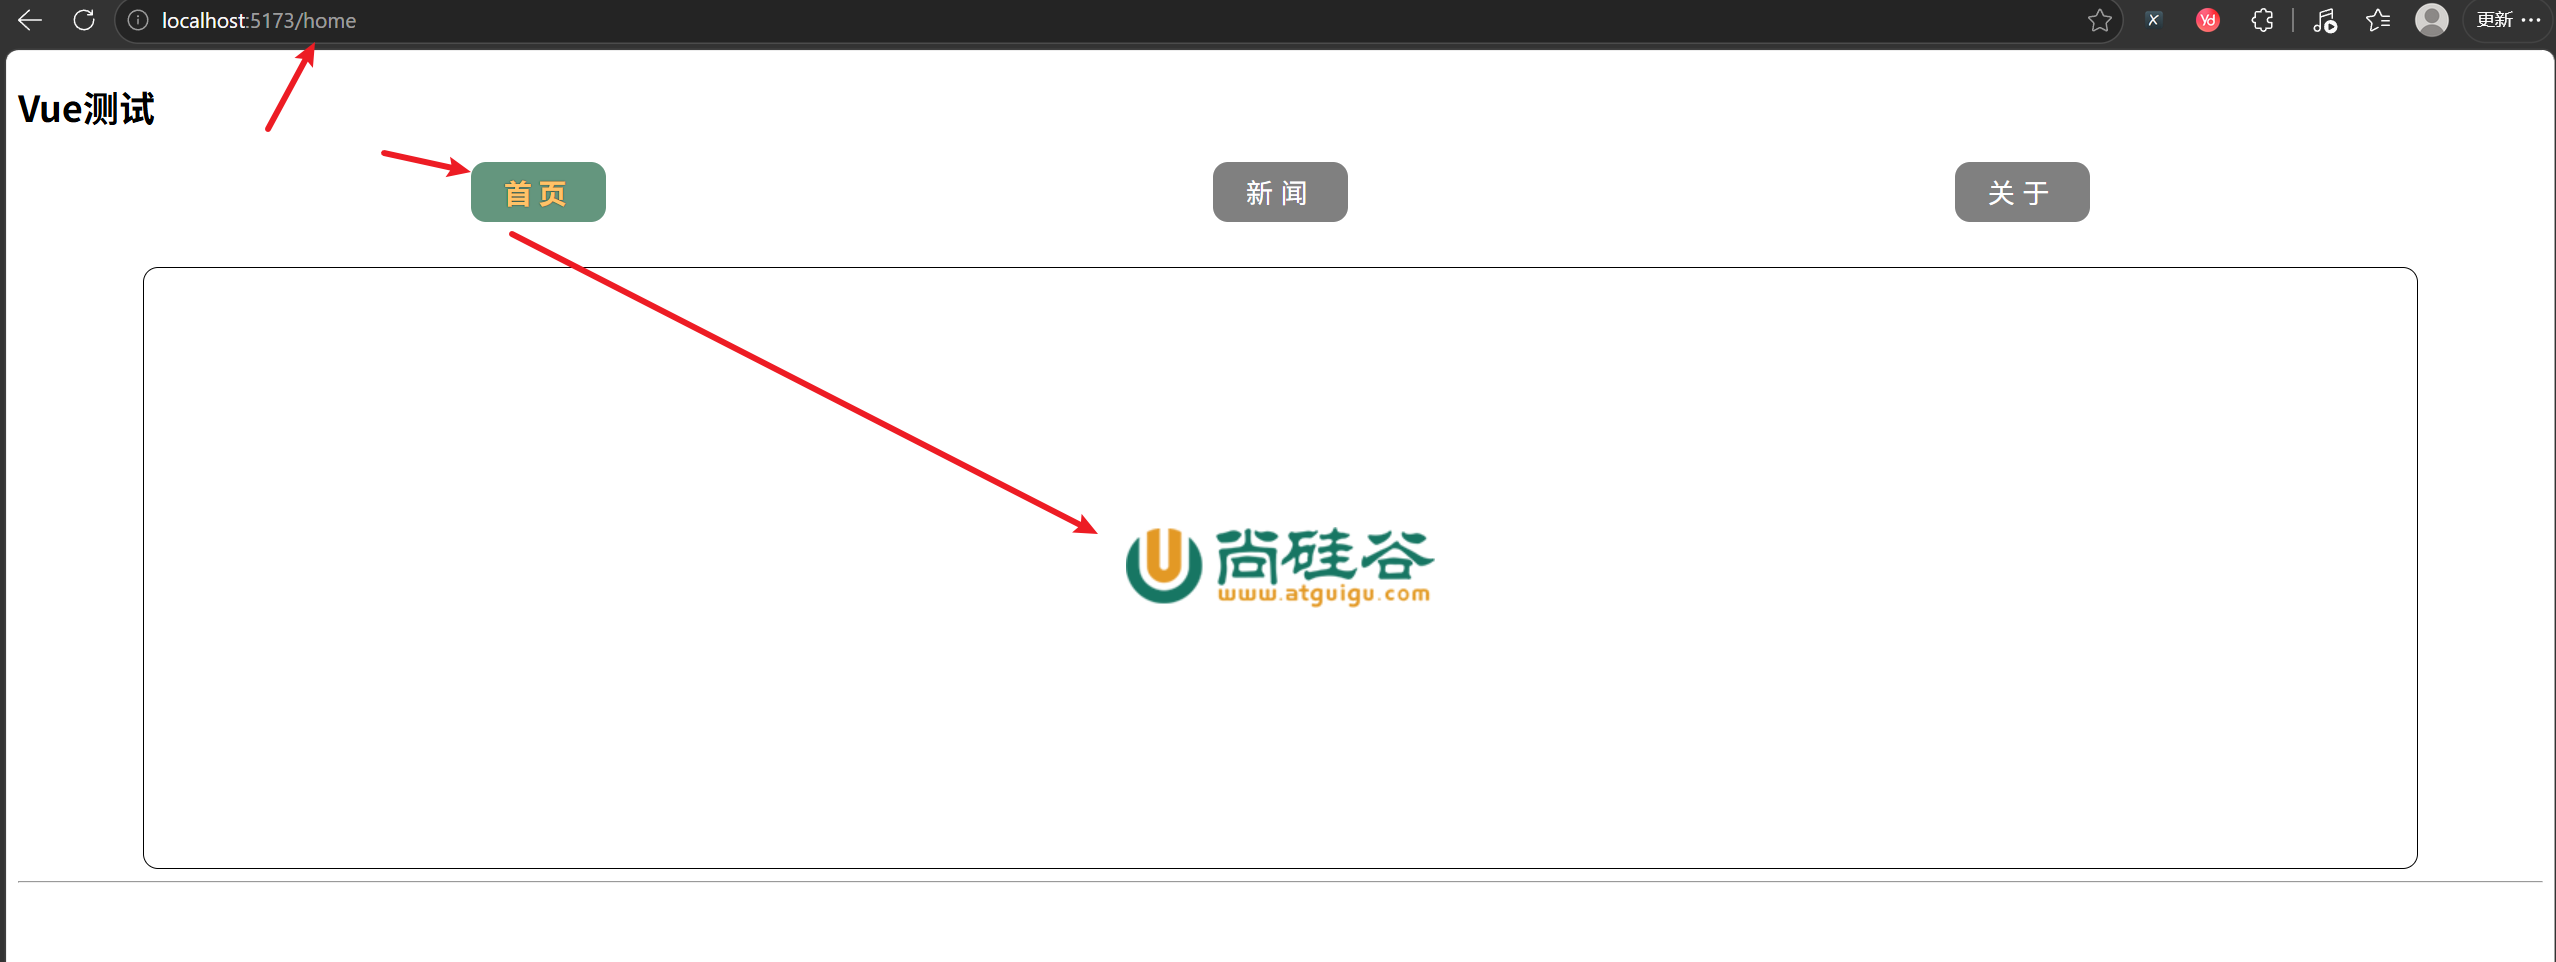
2.1 Home.vue
html
<template>
<div class="home">
<img src="http://www.atguigu.com/images/index_new/logo.png" alt="logo" />
</div>
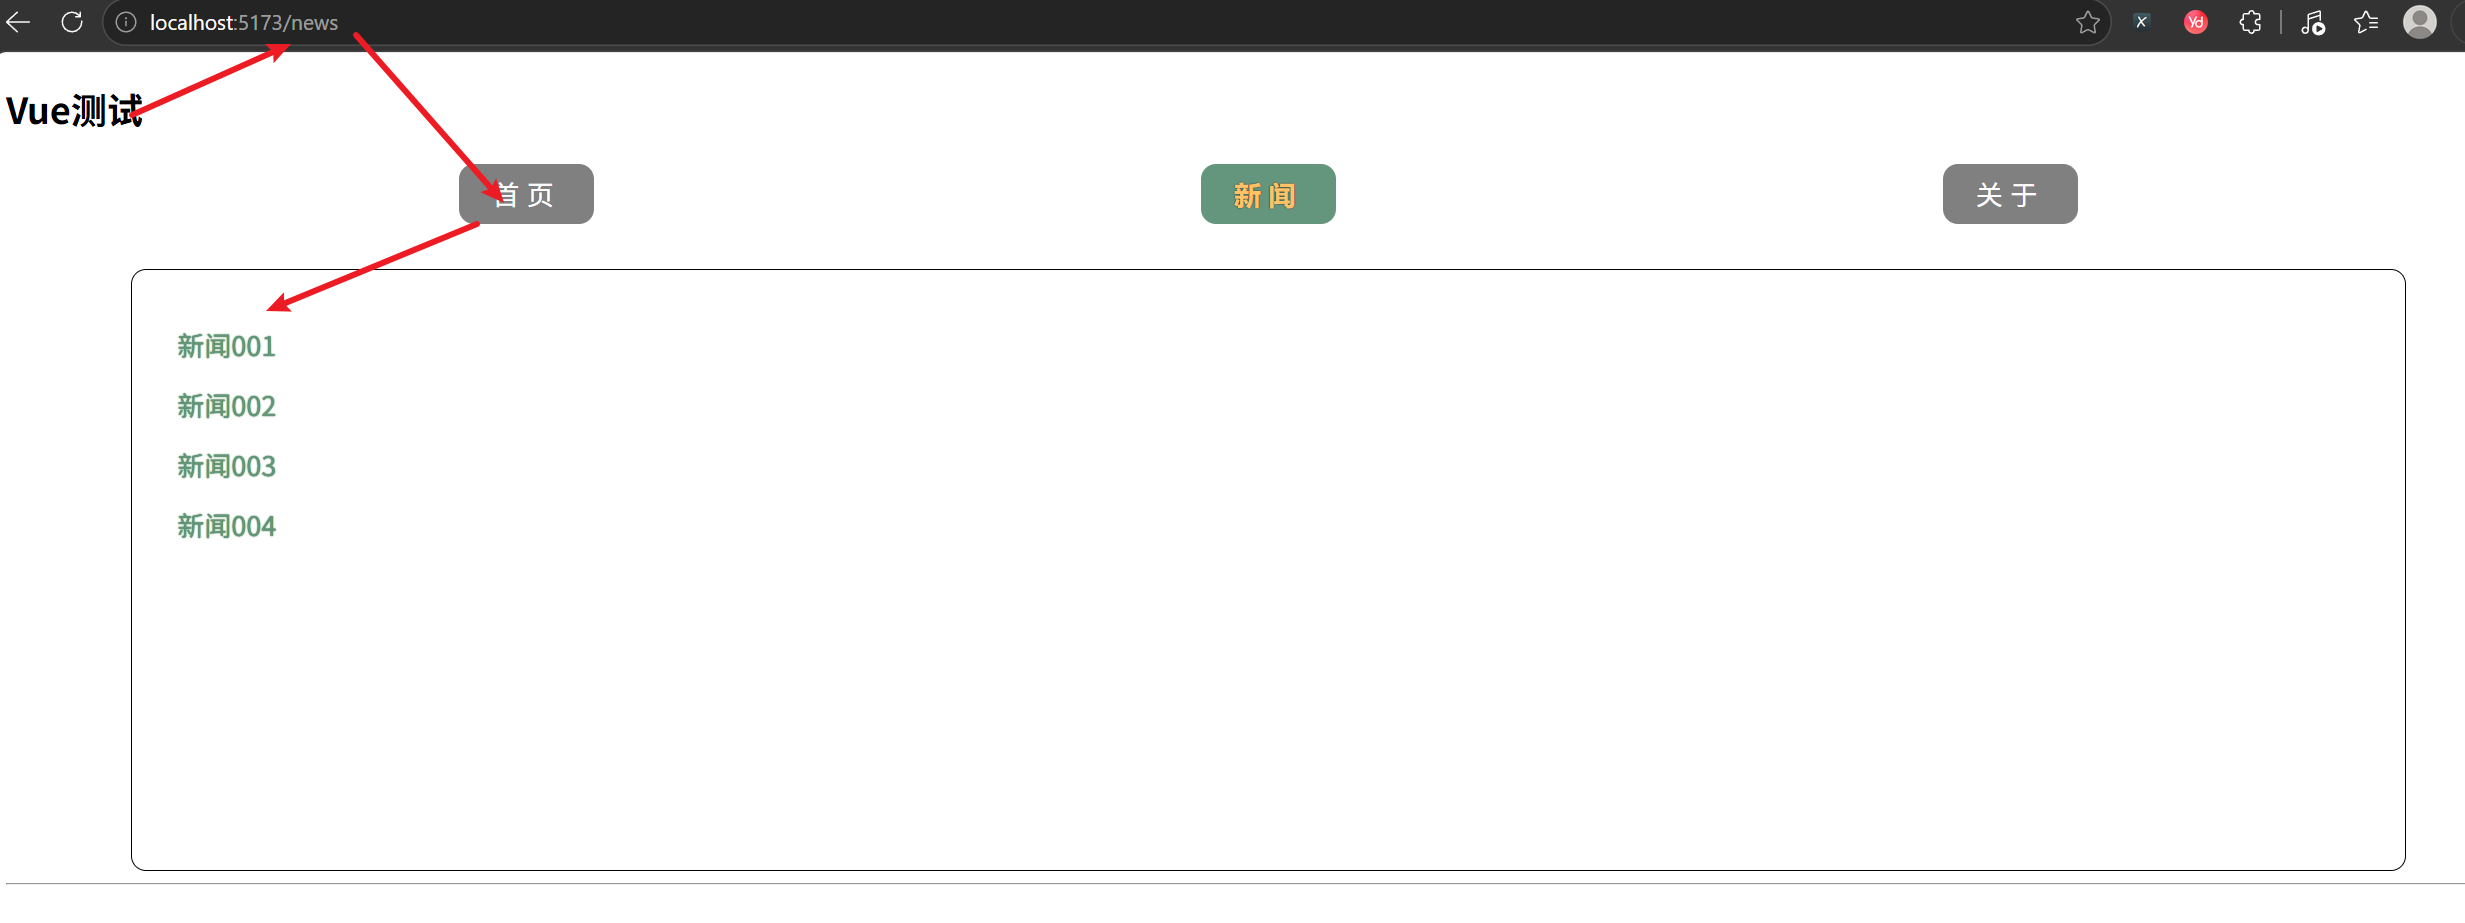
</template>2.2 News.vue
html
<template>
<div class="news">
<ul>
<li><a href="#">新闻001</a></li>
<li><a href="#">新闻002</a></li>
<li><a href="#">新闻003</a></li>
</ul>
</div>
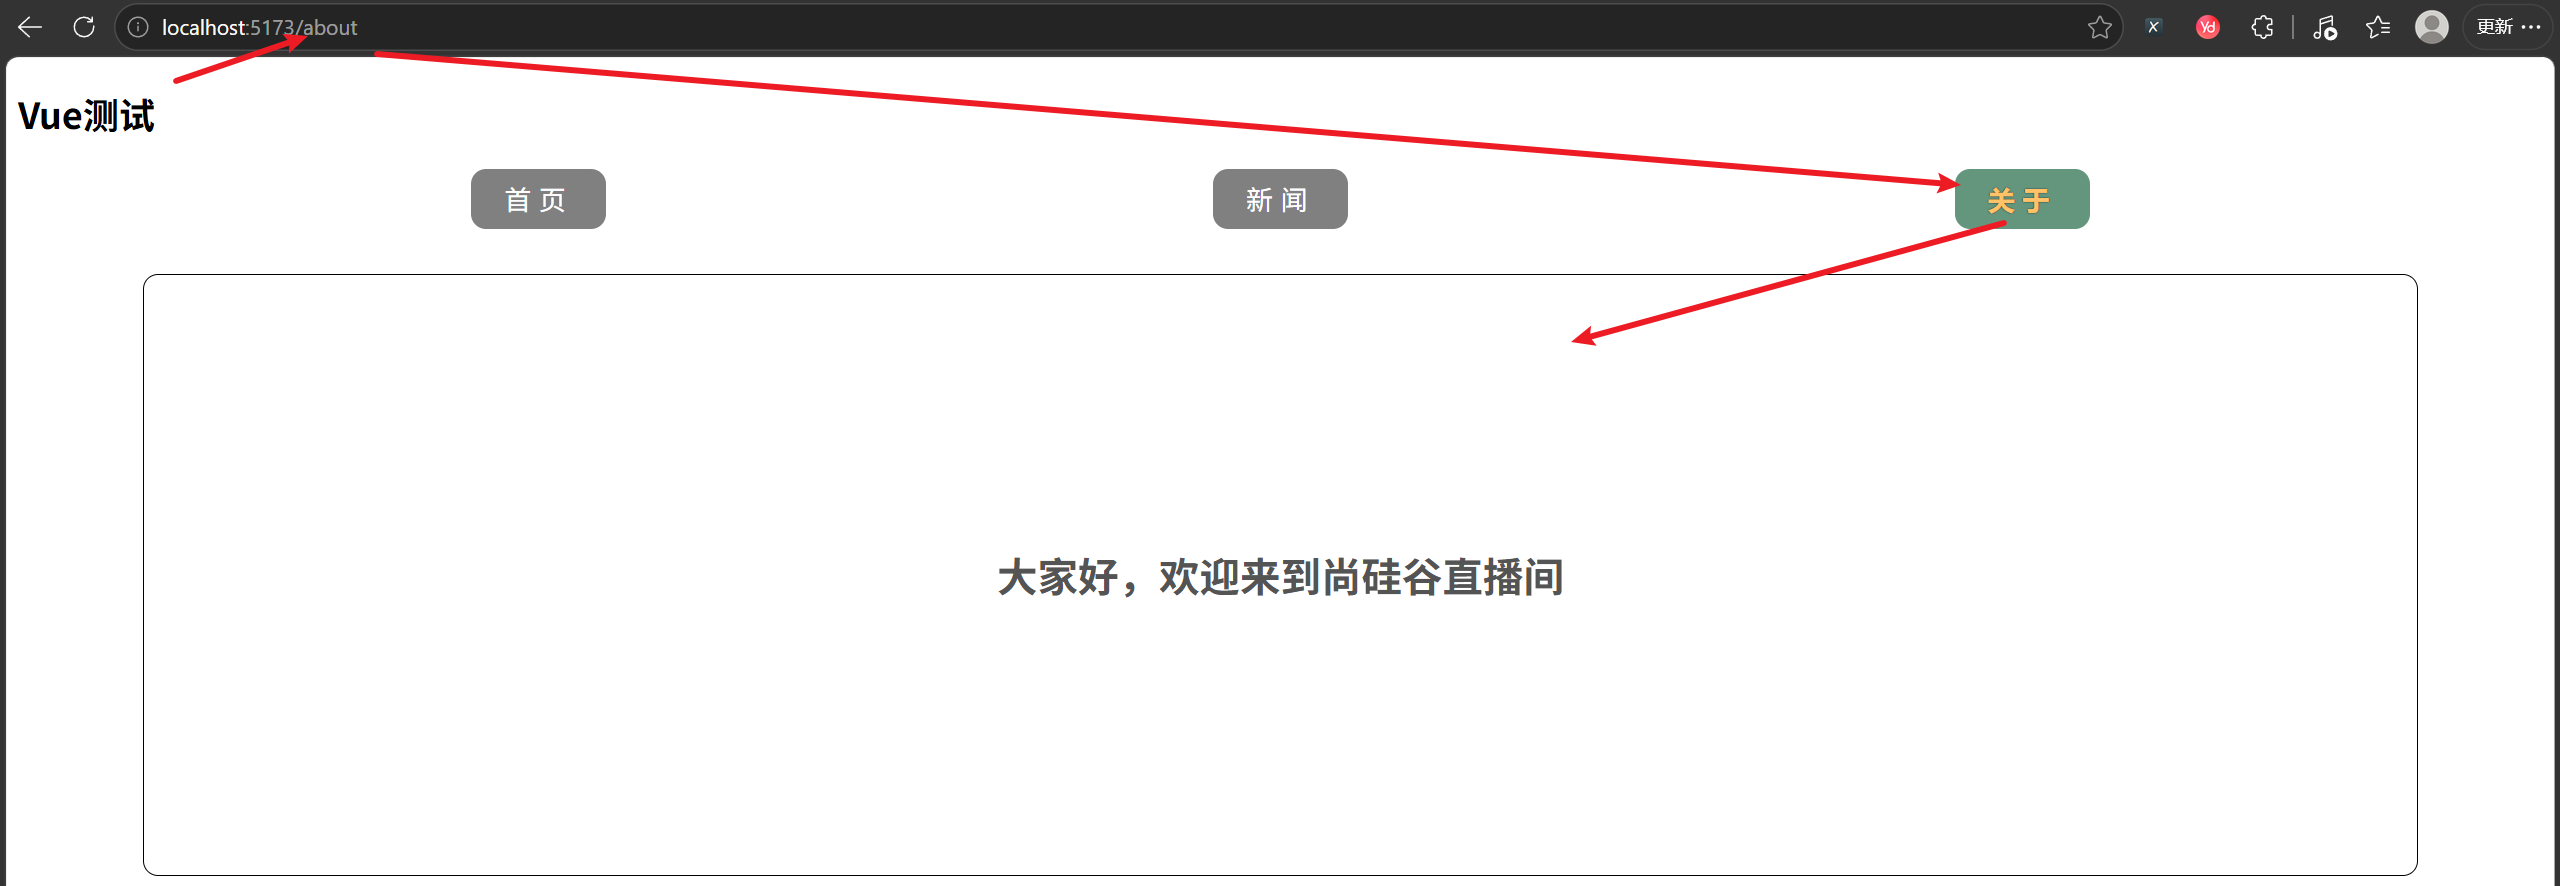
</template>2.3 About.vue
html
<template>
  <div class="about">
    <h2>大家好,欢迎来到尚硅谷直播间</h2>
  </div>
</template>
2.4 效果图
三、深入理解:<RouterLink> 为什么能实现无刷新跳转?
很多初学者会疑惑:为什么点击 <RouterLink> 能切换页面内容,而普通的 <a href="/home"> 却会导致整个页面刷新?
要回答这个问题,我们需要了解 Vue Router 背后的两个核心机制:
1. 它渲染成什么?
<RouterLink> 默认会被渲染成一个 <a> 标签,但它接管了点击事件。你可以打开浏览器开发者工具,检查元素,会看到类似:
html
<a href="/home" class="router-link-active">首页</a>2. 点击时发生了什么?
- 阻止默认行为 :Vue Router 监听了
<RouterLink>的点击事件,并调用event.preventDefault(),所以不会像普通<a>那样发送请求刷新整个页面。 - 更新浏览器地址栏 :调用 HTML5 的
history.pushState()或history.replaceState()方法改变当前 URL,但不刷新页面。 - 触发路由匹配 :Vue Router 内部维护了一个响应式的当前路径变量。当 URL 变化后,它会重新匹配
routes数组,找到对应的组件。 - 重新渲染
<RouterView>:<RouterView>是一个函数式组件,它会根据当前匹配到的组件动态渲染出内容。由于 Vue 的响应式系统,URL 变化会触发视图更新。
核心思想 :单页应用(SPA)的本质就是利用
history.pushState或hash改变 URL,同时阻止浏览器默认的刷新行为,然后由前端路由自己决定渲染哪个组件。
3. active-class="active" 的作用机制
- 当
<RouterLink>的to路径与当前 URL 匹配时,Vue Router 会自动给该链接添加一个类名(默认是router-link-active)。 - 通过
active-class="active",我们可以自定义 这个类名。在上面的例子中,匹配时就会添加class="active"。 - 然后我们在 CSS 中定义了
.navigate a.active的样式,于是高亮效果就出现了。
匹配规则:
- 非精确匹配 :当前 URL 以
to的路径开头。例如to="/home"会匹配/home、/home/profile、/home/1等。 - 精确匹配 :需要加上
exact属性或使用exact-active-class。
四、常见问题与解决方案
问题1:页面能显示,但点击链接没反应,地址栏也不变
- 原因 :没有在
main.ts中使用app.use(router)。 - 解决 :添加
app.use(router)。
问题2:点击链接后地址栏变了,但页面内容没变
- 原因 :
App.vue中忘记放置<RouterView />组件。 - 解决 :在需要展示页面内容的位置添加
<RouterView />。
问题3:控制台警告 No match found for location with path "/"
- 原因 :访问根路径
/时,你没有定义任何路由规则来处理它。 - 解决 :添加
{ path: '/', redirect: '/home' }或{ path: '/', component: Home }。
问题4:为什么我的导航链接没有高亮样式?
- 检查1 :是否正确设置了
active-class="active"? - 检查2 :CSS 中是否写了
.navigate a.active的样式? - 检查3 :当前路径是否与
to完全匹配?如果路径是/home/123,但链接是to="/home",非精确匹配也会添加active类,这通常是符合预期的。
五、总结
通过手动配置 Vue Router,我们可以更清楚地理解路由的工作流程:
- 定义路由规则 (
router/index.ts) - 注册路由插件 (
app.use(router)) - 在模板中使用
<RouterLink>跳转,用<RouterView>占位显示
而 <RouterLink> 之所以能实现无刷新跳转,是因为它:
- 渲染为
<a>标签,但阻止了默认的点击跳转行为; - 使用
history.pushState更新地址栏; - 通知 Vue 重新渲染匹配的组件到
<RouterView>中。
这是尚硅谷的vue3教学,希望这篇文章能帮助你彻底理解 Vue Router 的实现原理。如果你还有疑问,欢迎在评论区留言交流!