本文深入讲解如何在HarmonyOS 6.1中使用Canvas实现粒子效果系统,包括粒子系统原理、数据结构设计、物理模拟、渲染优化等核心技术。通过本文,你将掌握Canvas 2D绘图和粒子动画的实现方法。
📋 目录
- 粒子系统简介
- 粒子数据结构设计
- 粒子发射器实现
- 物理模拟与更新
- Canvas渲染技术
- 性能优化策略
- 实战案例
- 总结
一、粒子系统简介
1.1 什么是粒子系统?
粒子系统是一种计算机图形学技术,通过大量微小粒子的运动和渲染,模拟火焰、爆炸、烟雾、雨雪等自然现象。
1.2 应用场景
在游戏开发中,粒子效果常用于:
- 💥 爆炸效果:碰撞、击杀
- ✨ 特效反馈:得分、升级
- 🌟 环境氛围:雨雪、星空
- 🔥 魔法技能:火球、闪电
- 💨 烟雾拖尾:飞行、移动
1.3 技术优势
- 视觉冲击力强:增强游戏反馈
- 性能开销可控:可调整粒子数量
- 灵活性高:通过参数实现各种效果
- 实现相对简单:基础数学和Canvas API
二、粒子数据结构设计
2.1 单个粒子的属性
一个粒子需要包含以下基本属性:
typescript
export interface Particle {
  // 位置信息
  x: number           // X坐标
  y: number           // Y坐标

  // 速度信息
  vx: number          // X方向速度
  vy: number          // Y方向速度

  // 生命周期
  life: number        // 当前剩余生命(帧数)
  maxLife: number     // 最大生命(用于计算透明度)

  // 视觉属性
  color: string       // 颜色(支持hex、rgb、rgba)
  size: number        // 大小(像素)
}
设计要点:
- 位置和速度:物理模拟的基础
- 生命周期:控制粒子存在时间,自动回收
- 视觉属性:颜色和大小决定粒子外观
2.2 扩展属性(可选)
根据需求,可以添加更多属性:
typescript
export interface AdvancedParticle extends Particle {
  // 加速度(用于更复杂的运动)
  ax: number
  ay: number

  // 旋转
  rotation: number      // 当前角度
  rotationSpeed: number // 旋转速度

  // 缩放动画
  scale: number         // 当前缩放
  scaleSpeed: number    // 缩放速度

  // 透明度
  alpha: number         // 当前透明度
  alphaDecay: number    // 透明度衰减速率
}
三、粒子系统核心实现
3.1 基础架构
typescript
export class ParticleSystem {
  private particles: Particle[] = []

  // 创建粒子效果
  createExplosion(x: number, y: number, color: string, count: number): void {}

  // 更新所有粒子状态
  update(): void {}

  // 渲染所有粒子
  render(context: CanvasRenderingContext2D): void

  // 获取粒子数量
  getParticleCount(): number {
    return this.particles.length
  }
}
3.2 粒子发射器:爆炸效果
原理:从中心点向四周均匀发射粒子,形成放射状效果。
typescript
createExplosion(x: number, y: number, color: string, count: number = 10): void {
  for (let i = 0; i < count; i++) {
    // 计算均匀分布的角度
    const angle = (Math.PI * 2 * i) / count

    // 随机速度(2-5像素/帧)
    const speed = 2 + Math.random() * 3

    this.particles.push({
      x: x,
      y: y,
      // 根据角度计算速度分量
      vx: Math.cos(angle) * speed,
      vy: Math.sin(angle) * speed,
      life: 60,        // 存活60帧(约1秒)
      maxLife: 60,
      color: color,
      size: 3 + Math.random() * 3  // 随机大小3-6像素
    })
  }
}
关键公式:
- 角度均分:
angle = 2π × i / count - 速度分解:
vx = cos(angle) × speedvy = sin(angle) × speed
效果图解:
        ↑
    ↗   |   ↖
  →     ●     ←
    ↘   |   ↙
        ↓
3.3 更多发射器模式
1. 喷泉效果(向上发射)
typescript
createFountain(x: number, y: number): void {
  const angle = -Math.PI / 2 + (Math.random() - 0.5) * 0.5  // 向上±15度
  const speed = 5 + Math.random() * 3

  this.particles.push({
    x: x,
    y: y,
    vx: Math.cos(angle) * speed,
    vy: Math.sin(angle) * speed,
    life: 80,
    maxLife: 80,
    color: '#4FC3F7',
    size: 4
  })
}
2. 随机散射
typescript
createScatter(x: number, y: number, count: number): void {
  for (let i = 0; i < count; i++) {
    const angle = Math.random() * Math.PI * 2  // 随机角度
    const speed = Math.random() * 5

    this.particles.push({
      x: x,
      y: y,
      vx: Math.cos(angle) * speed,
      vy: Math.sin(angle) * speed,
      life: 40 + Math.random() * 40,
      maxLife: 80,
      color: `hsl(${Math.random() * 360}, 100%, 50%)`,  // 随机颜色
      size: 2 + Math.random() * 4
    })
  }
}
四、物理模拟与更新
4.1 基础物理更新
typescript
update(): void {
  this.particles = this.particles.filter(p => {
    // 1. 更新位置(根据速度)
    p.x += p.vx
    p.y += p.vy

    // 2. 应用重力
    p.vy += 0.2  // 重力加速度

    // 3. 减少生命值
    p.life--

    // 4. 保留还存活的粒子
    return p.life > 0
  })
}
物理模拟要点:
- 位置更新 :
新位置 = 当前位置 + 速度 - 重力模拟:Y方向速度持续增加
- 自动回收:生命值为0时自动移除
4.2 高级物理效果
1. 空气阻力
typescript
update(): void {
  this.particles.forEach(p => {
    // 应用空气阻力(速度衰减)
    p.vx *= 0.98
    p.vy *= 0.98

    p.x += p.vx
    p.y += p.vy
  })
}
2. 边界反弹
typescript
update(width: number, height: number): void {
  this.particles.forEach(p => {
    p.x += p.vx
    p.y += p.vy

    // 左右边界反弹
    if (p.x <= 0 || p.x >= width) {
      p.vx *= -0.8  // 反向并损失能量
    }

    // 上下边界反弹
    if (p.y <= 0 || p.y >= height) {
      p.vy *= -0.8
    }
  })
}
3. 风力效果
typescript
update(windX: number = 0.1): void {
  this.particles.forEach(p => {
    p.vx += windX  // 添加水平风力
    p.x += p.vx
    p.y += p.vy
  })
}
五、Canvas渲染技术
5.1 基础渲染
typescript
render(context: CanvasRenderingContext2D): void {
  this.particles.forEach(p => {
    // 1. 计算透明度(根据剩余生命)
    const alpha = p.life / p.maxLife
    context.globalAlpha = alpha

    // 2. 设置颜色
    context.fillStyle = p.color

    // 3. 绘制矩形粒子
    context.fillRect(p.x, p.y, p.size, p.size)
  })

  // 4. 恢复透明度
  context.globalAlpha = 1
}
5.2 多种粒子形状
1. 圆形粒子
typescript
renderCircle(context: CanvasRenderingContext2D, p: Particle): void {
  context.beginPath()
  context.arc(p.x, p.y, p.size / 2, 0, Math.PI * 2)
  context.fillStyle = p.color
  context.fill()
}
2. 发光效果
typescript
renderGlow(context: CanvasRenderingContext2D, p: Particle): void {
  const gradient = context.createRadialGradient(
    p.x, p.y, 0,
    p.x, p.y, p.size
  )
  gradient.addColorStop(0, p.color)
  gradient.addColorStop(1, 'transparent')

  context.fillStyle = gradient
  context.fillRect(p.x - p.size, p.y - p.size, p.size * 2, p.size * 2)
}
3. 拖尾效果
typescript
renderTrail(context: CanvasRenderingContext2D, p: Particle): void {
  context.beginPath()
  context.moveTo(p.x, p.y)
  context.lineTo(p.x - p.vx * 2, p.y - p.vy * 2)
  context.strokeStyle = p.color
  context.lineWidth = p.size
  context.stroke()
}
5.3 集成到HarmonyOS
1. 添加Canvas组件
typescript
@Component
struct ParticleLayer {
  private particleContext: CanvasRenderingContext2D = new CanvasRenderingContext2D()
  private particleSystem: ParticleSystem = new ParticleSystem()

  build() {
    Canvas(this.particleContext)
      .width('100%')
      .height('100%')
      .backgroundColor(Color.Transparent)
      .onReady(() => {
        // 启动渲染循环
        setInterval(() => {
          // 清空画布
          this.particleContext.clearRect(0, 0, 360, 760)

          // 更新粒子
          this.particleSystem.update()

          // 渲染粒子
          this.particleSystem.render(this.particleContext)
        }, 16)  // 约60fps
      })
  }
}
2. 层叠布局
typescript
Stack() {
  // 游戏背景层
  Image($r('app.media.background'))

  // 游戏元素层
  GameElements()

  // 粒子效果层(最上层)
  ParticleLayer()
}
六、性能优化策略
6.1 粒子数量控制
typescript
export class ParticleSystem {
  private particles: Particle[] = []
  private maxParticles: number = 500  // 最大粒子数

  createExplosion(x: number, y: number, color: string, count: number): void {
    // 检查粒子数量限制
    if (this.particles.length + count > this.maxParticles) {
      return  // 达到上限,不再创建
    }

    // 创建粒子...
  }
}
6.2 对象池优化
问题:频繁创建和销毁粒子对象会导致GC压力。
解决方案:使用对象池复用粒子对象。
typescript
export class ParticlePool {
  private pool: Particle[] = []
  private active: Particle[] = []

  // 获取粒子(复用或新建)
  acquire(): Particle {
    if (this.pool.length > 0) {
      const particle = this.pool.pop()!
      this.active.push(particle)
      return particle
    }

    const newParticle: Particle = {
      x: 0, y: 0, vx: 0, vy: 0,
      life: 0, maxLife: 0,
      color: '', size: 0
    }
    this.active.push(newParticle)
    return newParticle
  }

  // 回收粒子
  release(particle: Particle): void {
    const index = this.active.indexOf(particle)
    if (index !== -1) {
      this.active.splice(index, 1)
      this.pool.push(particle)
    }
  }

  // 更新并自动回收
  update(): void {
    for (let i = this.active.length - 1; i >= 0; i--) {
      const p = this.active[i]
      p.x += p.vx
      p.y += p.vy
      p.vy += 0.2
      p.life--

      if (p.life <= 0) {
        this.release(p)
      }
    }
  }
}
6.3 渲染优化
1. 离屏渲染
typescript
private offscreenCanvas: OffscreenCanvas
private offscreenContext: OffscreenCanvasRenderingContext2D

render(context: CanvasRenderingContext2D): void {
  // 在离屏Canvas上绘制
  this.offscreenContext.clearRect(0, 0, width, height)
  this.particles.forEach(p => {
    this.offscreenContext.fillStyle = p.color
    this.offscreenContext.fillRect(p.x, p.y, p.size, p.size)
  })

  // 一次性绘制到主Canvas
  context.drawImage(this.offscreenCanvas, 0, 0)
}
2. 批量绘制
typescript
render(context: CanvasRenderingContext2D): void {
  // 按颜色分组,减少fillStyle切换
  const groups = new Map<string, Particle[]>()

  this.particles.forEach(p => {
    if (!groups.has(p.color)) {
      groups.set(p.color, [])
    }
    groups.get(p.color)!.push(p)
  })

  // 批量绘制同颜色粒子
  groups.forEach((particles, color) => {
    context.fillStyle = color
    particles.forEach(p => {
      context.fillRect(p.x, p.y, p.size, p.size)
    })
  })
}
七、实战案例
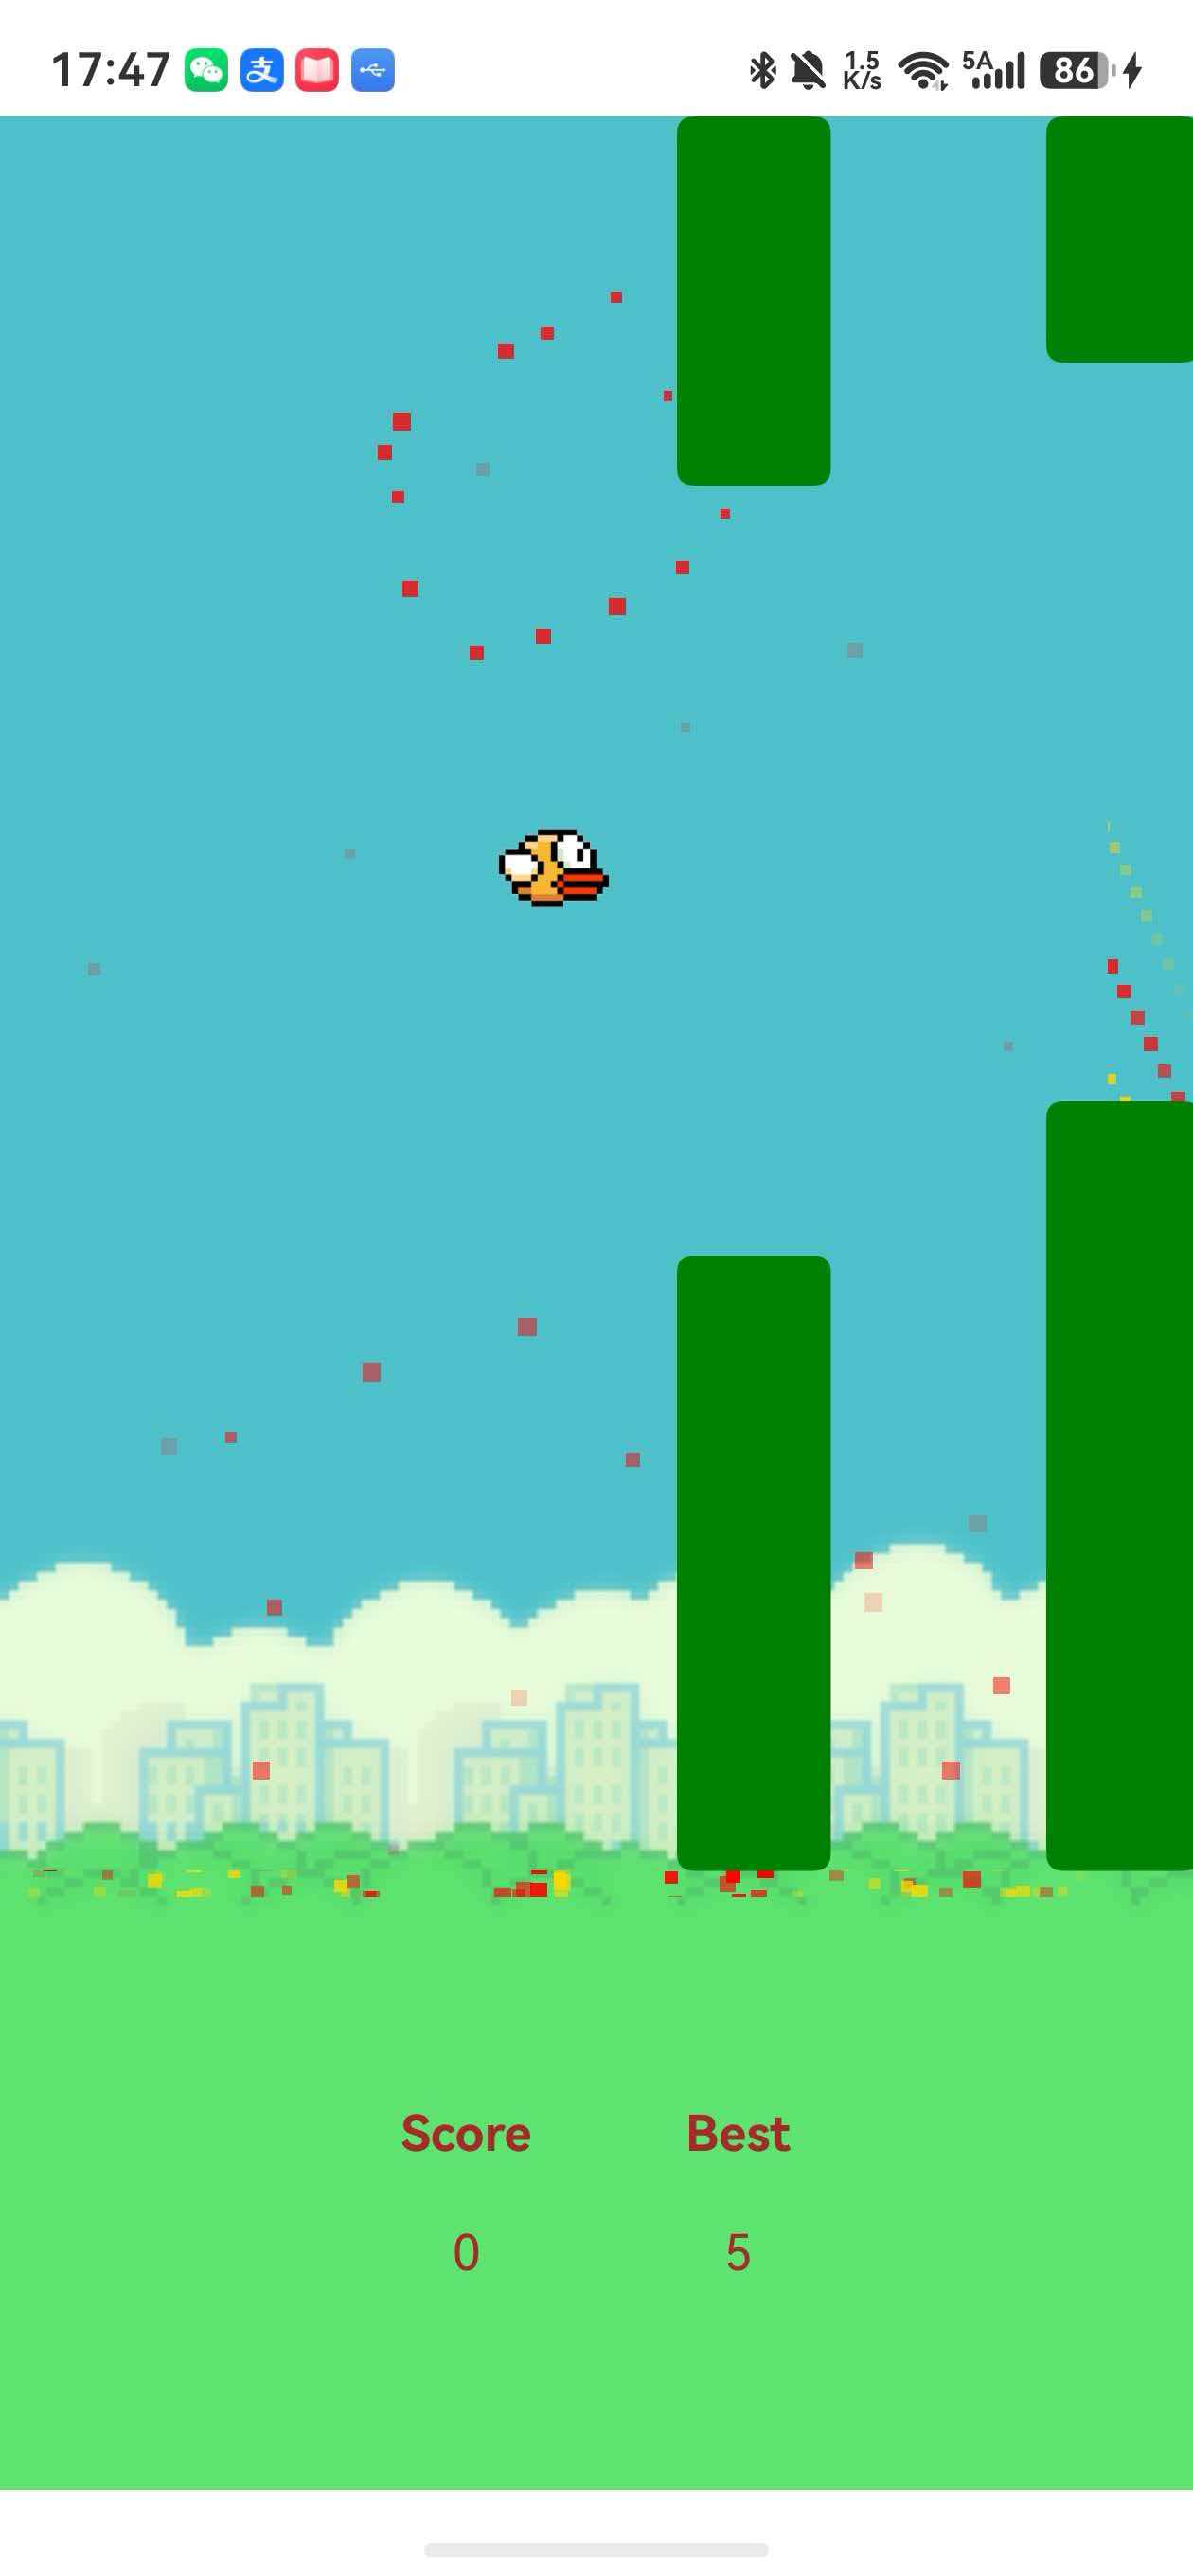
7.1 FlappyBird中的应用
场景1:死亡爆炸效果
typescript
// 游戏结束时触发
if (this.birdIsDead()) {
  // 红色爆炸,15个粒子
  this.particleSystem.createExplosion(
    this.birdX + 20,  // 小鸟中心X
    this.birdY + 20,  // 小鸟中心Y
    '#FF0000',        // 红色
    15                // 粒子数量
  )

  this.soundManager.play(SoundType.DIE)
  this.dialogController.open()
}
场景2:得分特效
typescript
// 每次得分时触发
if (this.score++) {
  // 金色粒子,8个粒子
  this.particleSystem.createExplosion(
    this.birdX + 20,
    this.birdY,
    '#FFD700',  // 金色
    8
  )

  this.soundManager.play(SoundType.SCORE)
}
7.2 完整集成示例
typescript
@Entry
@Component
struct GamePage {
  private particleContext: CanvasRenderingContext2D = new CanvasRenderingContext2D()
  private particleSystem: ParticleSystem = new ParticleSystem()

  @State birdX: number = 160
  @State birdY: number = 300

  build() {
    Stack() {
      // 游戏背景
      Image($r('app.media.background'))

      // 游戏元素
      Image($r('app.media.bird'))
        .width(40)
        .height(40)
        .position({ x: this.birdX, y: this.birdY })

      // 粒子效果层
      Canvas(this.particleContext)
        .width('100%')
        .height('100%')
        .backgroundColor(Color.Transparent)
        .onReady(() => {
          // 渲染循环
          setInterval(() => {
            this.particleContext.clearRect(0, 0, 360, 760)
            this.particleSystem.update()
            this.particleSystem.render(this.particleContext)
          }, 16)
        })
    }
    .gesture(
      TapGesture().onAction(() => {
        // 点击创建粒子效果
        this.particleSystem.createExplosion(
          this.birdX + 20,
          this.birdY + 20,
          '#00FF00',
          10
        )
      })
    )
  }
}
7.3 彩虹粒子效果
typescript
createRainbowExplosion(x: number, y: number): void {
  const colors = ['#FF0000', '#FF7F00', '#FFFF00', '#00FF00', '#0000FF', '#4B0082', '#9400D3']

  colors.forEach((color, index) => {
    const angle = (Math.PI * 2 * index) / colors.length
    const speed = 3

    this.particles.push({
      x: x,
      y: y,
      vx: Math.cos(angle) * speed,
      vy: Math.sin(angle) * speed,
      life: 60,
      maxLife: 60,
      color: color,
      size: 5
    })
  })
}
7.4 连续粒子流
typescript
createContinuousStream(x: number, y: number): void {
  // 每帧创建2-3个粒子
  setInterval(() => {
    for (let i = 0; i < 2 + Math.random() * 2; i++) {
      const angle = -Math.PI / 2 + (Math.random() - 0.5) * 0.3
      const speed = 3 + Math.random() * 2

      this.particles.push({
        x: x,
        y: y,
        vx: Math.cos(angle) * speed,
        vy: Math.sin(angle) * speed,
        life: 40,
        maxLife: 40,
        color: '#FFA500',
        size: 3
      })
    }
  }, 50)  // 每50ms创建一批
}
八、调试与测试
8.1 调试工具
typescript
export class ParticleSystem {
  private debugMode: boolean = false

  enableDebug(): void {
    this.debugMode = true
  }

  render(context: CanvasRenderingContext2D): void {
    this.particles.forEach(p => {
      // 正常渲染
      context.fillStyle = p.color
      context.fillRect(p.x, p.y, p.size, p.size)

      // 调试模式:显示速度向量
      if (this.debugMode) {
        context.strokeStyle = '#00FF00'
        context.beginPath()
        context.moveTo(p.x, p.y)
        context.lineTo(p.x + p.vx * 5, p.y + p.vy * 5)
        context.stroke()
      }
    })

    // 显示粒子数量
    if (this.debugMode) {
      context.fillStyle = '#FFFFFF'
      context.font = '16px Arial'
      context.fillText(`Particles: ${this.particles.length}`, 10, 20)
    }
  }
}
8.2 性能监控
typescript
export class ParticleSystem {
  private updateTime: number = 0
  private renderTime: number = 0

  update(): void {
    const startTime = Date.now()

    // 更新逻辑...

    this.updateTime = Date.now() - startTime
  }

  render(context: CanvasRenderingContext2D): void {
    const startTime = Date.now()

    // 渲染逻辑...

    this.renderTime = Date.now() - startTime

    // 显示性能数据
    context.fillStyle = '#FFFFFF'
    context.fillText(`Update: ${this.updateTime}ms`, 10, 40)
    context.fillText(`Render: ${this.renderTime}ms`, 10, 60)
  }
}
九、总结
9.1 核心要点回顾
| 要点 | 说明 |
|---|---|
| 数据结构 | 位置、速度、生命周期、视觉属性 |
| 物理模拟 | 速度更新、重力、空气阻力 |
| 渲染技术 | Canvas API、透明度渐变、多种形状 |
| 性能优化 | 数量限制、对象池、批量渲染 |
| 实战应用 | 爆炸、得分、拖尾、连续流 |
9.2 学习路径建议
- 第一步:实现基础粒子系统(位置、速度、渲染)
- 第二步:添加物理效果(重力、阻力、反弹)
- 第三步:丰富视觉效果(渐变、发光、拖尾)
- 第四步:性能优化(对象池、批量渲染)
- 第五步:创意发挥(各种特效组合)
9.3 常见问题
Q1:粒子太多导致卡顿?
- 限制最大粒子数量(<500)
- 使用对象池减少GC
- 降低渲染复杂度(使用简单形状)
Q2:粒子效果不明显?
- 增加粒子数量和大小
- 使用更鲜艳的颜色
- 添加发光效果
- 搭配音效增强反馈
Q3:如何实现更真实的物理?
- 添加空气阻力
- 实现边界碰撞
- 考虑粒子间相互作用(高级)
9.4 进阶方向
1. 高级粒子系统
- 纹理粒子(使用图片)
- 粒子发射器(持续发射)
- 粒子场(力场影响)
- 粒子碰撞
2. 性能极致优化
- WebGL渲染(GPU加速)
- 空间分区优化
- LOD(距离细节层次)
- 预计算轨迹
3. 特效库封装
- 预设效果集合
- 参数可视化调试
- 时间轴动画
- 效果组合器
十、完整代码示例
typescript
// ParticleSystem.ets
export interface Particle {
  x: number
  y: number
  vx: number
  vy: number
  life: number
  maxLife: number
  color: string
  size: number
}

export class ParticleSystem {
  private particles: Particle[] = []

  createExplosion(x: number, y: number, color: string, count: number = 10): void {
    for (let i = 0; i < count; i++) {
      const angle = (Math.PI * 2 * i) / count
      this.particles.push({
        x: x,
        y: y,
        vx: Math.cos(angle) * (2 + Math.random() * 3),
        vy: Math.sin(angle) * (2 + Math.random() * 3),
        life: 60,
        maxLife: 60,
        color: color,
        size: 3 + Math.random() * 3
      })
    }
  }

  update(): void {
    this.particles = this.particles.filter(p => {
      p.x += p.vx
      p.y += p.vy
      p.vy += 0.2  // 重力
      p.life--
      return p.life > 0
    })
  }

  render(context: CanvasRenderingContext2D): void {
    this.particles.forEach(p => {
      const alpha = p.life / p.maxLife
      context.globalAlpha = alpha
      context.fillStyle = p.color
      context.fillRect(p.x, p.y, p.size, p.size)
    })
    context.globalAlpha = 1
  }

  getParticleCount(): number {
    return this.particles.length
  }
}
项目源码
本文示例代码 :项目源码
参考资料
如果本文对你有帮助,欢迎点赞、收藏、关注!
前两篇文章链接:
- [HarmonyOS 6.1 Lottie动画集成完全指南](#HarmonyOS 6.1 Lottie动画集成完全指南)
- [HarmonyOS 6.1 游戏开发实战:FlappyBird完整实现](#HarmonyOS 6.1 游戏开发实战:FlappyBird完整实现)