
🔥个人主页:爱和冰阔乐
🐶学习方向:C++方向学习爱好者
⭐人生格言:得知坦然 ,失之淡然

🏠博主简介

文章目录
- 前言
- 一、先准备环境和目录
-
- [1.1 Python 依赖](#1.1 Python 依赖)
- [1.2 项目结构](#1.2 项目结构)
- 二、读取和缩放不能随便做
- 三、找到文档四边形
-
- [3.1 灰度、模糊和边缘](#3.1 灰度、模糊和边缘)
- [3.2 找轮廓并近似多边形](#3.2 找轮廓并近似多边形)
- [3.3 没找到四边形怎么办](#3.3 没找到四边形怎么办)
- 四、四个点必须按固定顺序排列
- 五、透视矫正
-
- [5.1 计算目标尺寸](#5.1 计算目标尺寸)
- [5.2 矫正后先看几何,不要急着 OCR](#5.2 矫正后先看几何,不要急着 OCR)
- 六、灰度和尺寸归一化
- 七、二值化先判断光照是否均匀
-
- [7.1 Otsu 适合背景相对均匀](#7.1 Otsu 适合背景相对均匀)
- [7.2 自适应阈值适合局部阴影](#7.2 自适应阈值适合局部阴影)
- [7.3 用背景估计处理缓慢阴影](#7.3 用背景估计处理缓慢阴影)
- [八、第一次 OCR 先用原始灰度和二值图对比](#八、第一次 OCR 先用原始灰度和二值图对比)
-
- [8.1 简单识别](#8.1 简单识别)
- [8.2 PSM 怎么选](#8.2 PSM 怎么选)
- [8.3 限定字符集](#8.3 限定字符集)
- 九、导出词框和置信度
- 十、中文识别常见问题
-
- [10.1 语言包](#10.1 语言包)
- [10.2 行距和字号](#10.2 行距和字号)
- [10.3 方向](#10.3 方向)
- 十一、完整执行入口
- 十二、排障顺序
-
- [12.1 文档区域错误](#12.1 文档区域错误)
- [12.2 二值化错误](#12.2 二值化错误)
- [12.3 版面错误](#12.3 版面错误)
- [12.4 语言和字符错误](#12.4 语言和字符错误)
- 十三、验收不要只看一张图
- 总结
- 参考资料
前言
同一张纸,肉眼看得很清楚,OCR 输出却可能是:
text
标题漏掉
数字 0 和字母 O 混淆
表格内容顺序错乱
一段文字被拆成很多行
阴影区域几乎全部识别失败
手机斜拍后左边清楚、右边变形
很多人遇到这种情况,第一反应是继续调 Tesseract 参数,或者直接换更大的 OCR 模型。
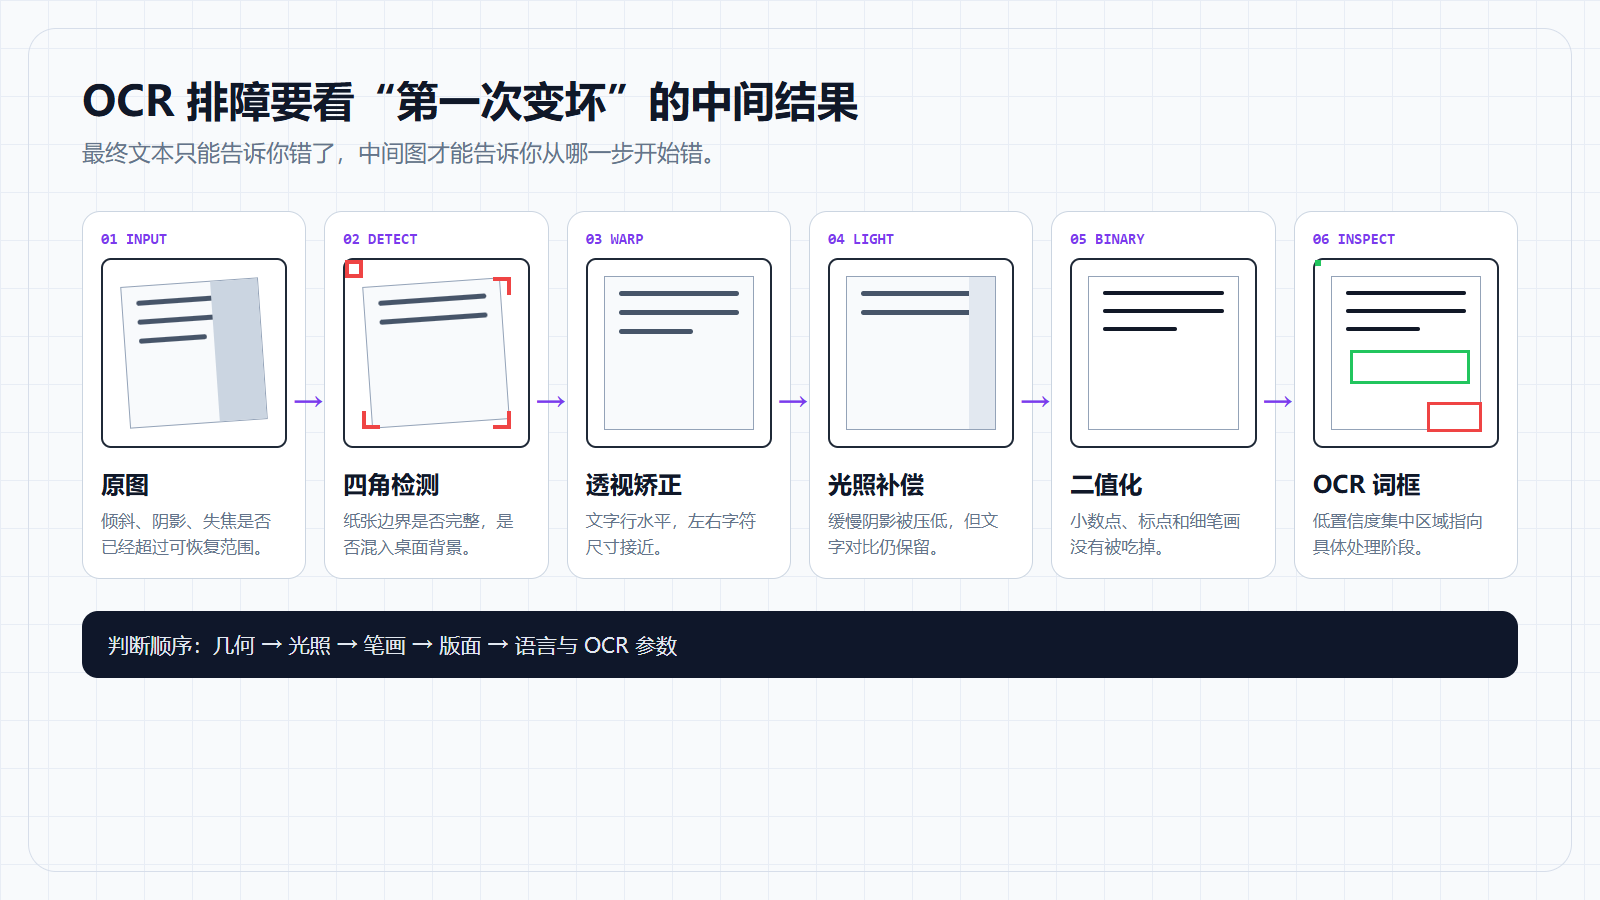
但文档识别是一条流水线:
text
原图
→ 文档区域检测
→ 透视矫正
→ 灰度和去噪
→ 光照补偿
→ 二值化
→ 版面和文字区域
→ OCR
→ 文本清洗
如果文档边界都没有找准,后面的 OCR 参数很难补救;如果二值化把细笔画吃掉,模型看到的已经不是原来的字;如果版面模式选错,字符本身识别正确,输出顺序仍然会乱。
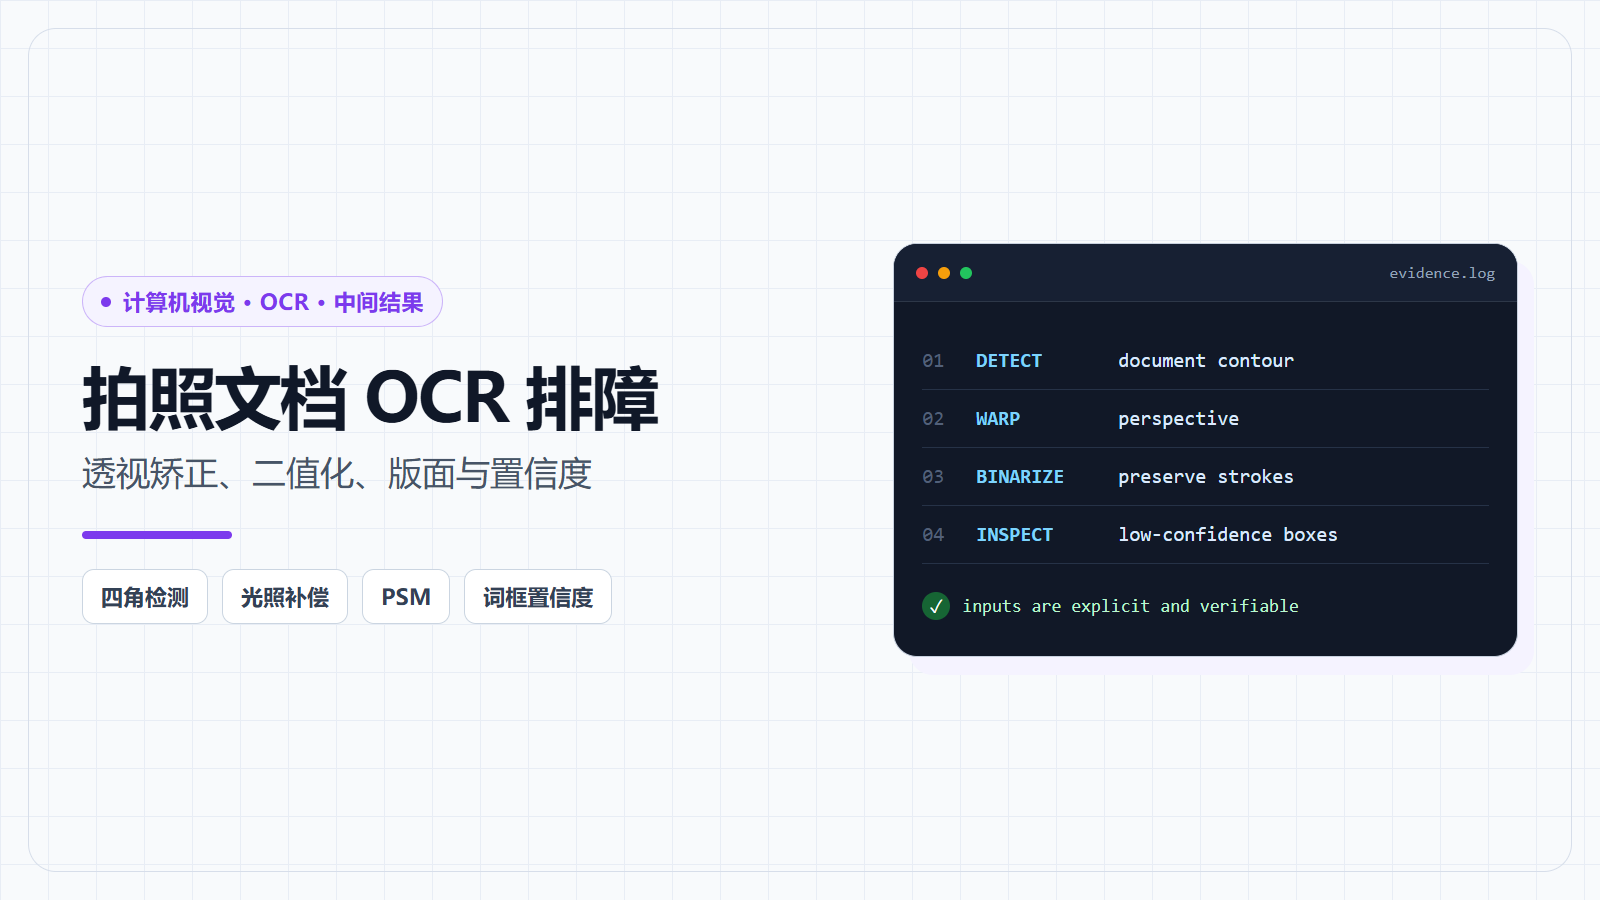
本文用 OpenCV + Tesseract 写一条可观察的拍照文档 OCR 流水线。重点不是堆参数,而是把每一步中间图保存下来,回答三个问题:
text
图像有没有处理坏?
版面有没有切错?
OCR 引擎到底看到了什么?
内容包括:
- 文档四边形检测;
- 透视变换;
- 尺寸和方向归一化;
- 全局与自适应二值化;
- 阴影和低对比度处理;
- 连通域过滤;
- Tesseract PSM/OEM;
- 置信度和词框导出;
- 表格、中文和数字场景;
- 中间结果、故障注入和验收。
一、先准备环境和目录
1.1 Python 依赖
bash
python -m pip install \
  opencv-python \
  numpy \
  pytesseract \
  pandas
pytesseract 只是 Python 封装,本机还需要安装 Tesseract OCR 可执行程序和对应语言数据。
确认:
bash
tesseract --version查看语言:
bash
tesseract --list-langs如果需要简体中文,应确认列表里有:
text
chi_sim1.2 项目结构
text
document-ocr/
├── input/
│   └── page.jpg
├── output/
├── document_ocr.py
└── requirements.txt
中间结果统一保存:
text
output/
├── 01-resized.jpg
├── 02-edges.png
├── 03-document-contour.jpg
├── 04-warped.jpg
├── 05-gray.png
├── 06-threshold.png
├── 07-components.png
├── 08-ocr-boxes.jpg
└── result.txt
如果只保留最终文字,识别失败时只能猜。保存中间图后,可以判断错误第一次出现在哪一步。
二、读取和缩放不能随便做
python
from pathlib import Path

import cv2
import numpy as np

INPUT_PATH = Path("input/page.jpg")
OUTPUT_DIR = Path("output")
OUTPUT_DIR.mkdir(parents=True, exist_ok=True)

image = cv2.imread(str(INPUT_PATH))
if image is None:
    raise FileNotFoundError(INPUT_PATH)

print("original:", image.shape)
手机照片可能有四五千像素宽,直接做轮廓检测会比较慢。可以先缩放用于找边界,但最终透视矫正应尽量回到原图坐标。
python
def resize_for_detection(
    image: np.ndarray,
    target_height: int = 1200
) -> tuple[np.ndarray, float]:
    height, width = image.shape[:2]
    if height <= target_height:
        return image.copy(), 1.0

    scale = target_height / height
    resized = cv2.resize(
        image,
        (int(width * scale), target_height),
        interpolation=cv2.INTER_AREA
    )
    return resized, scale

detection_image, scale = resize_for_detection(image)
cv2.imwrite(
    str(OUTPUT_DIR / "01-resized.jpg"),
    detection_image
)
后面得到缩放图上的点以后,用:
python
original_points = detected_points / scale映射回原图。
三、找到文档四边形
3.1 灰度、模糊和边缘
python
gray = cv2.cvtColor(
    detection_image,
    cv2.COLOR_BGR2GRAY
)

blurred = cv2.GaussianBlur(
    gray,
    (5, 5),
    0
)

edges = cv2.Canny(
    blurred,
    threshold1=60,
    threshold2=180
)
边缘有断点时,可以轻微闭运算:
python
kernel = cv2.getStructuringElement(
    cv2.MORPH_RECT,
    (5, 5)
)

closed = cv2.morphologyEx(
    edges,
    cv2.MORPH_CLOSE,
    kernel,
    iterations=2
)

cv2.imwrite(
    str(OUTPUT_DIR / "02-edges.png"),
    closed
)
这里的目标不是把文字边缘提得特别清楚,而是让纸张外轮廓连续。
如果输出图里全是密集文字边缘,看不到纸张边框,可以:
- 增大模糊;
- 调整 Canny 阈值;
- 用颜色或亮度分割辅助;
- 拍摄时让纸张和背景有明显对比;
- 先缩小图像抑制细小文字边缘。
3.2 找轮廓并近似多边形
python
contours, _ = cv2.findContours(
    closed,
    cv2.RETR_LIST,
    cv2.CHAIN_APPROX_SIMPLE
)

contours = sorted(
    contours,
    key=cv2.contourArea,
    reverse=True
)

document_contour = None
image_area = (
    detection_image.shape[0]
    * detection_image.shape[1]
)

for contour in contours[:30]:
    area = cv2.contourArea(contour)
    if area < image_area * 0.20:
        continue

    perimeter = cv2.arcLength(contour, True)
    polygon = cv2.approxPolyDP(
        contour,
        0.02 * perimeter,
        True
    )

    if len(polygon) == 4 and cv2.isContourConvex(polygon):
        document_contour = polygon.reshape(4, 2)
        break
这里的 0.02 和面积比例不是固定答案。照片背景、纸张边缘、卷曲程度变化后,都可能需要调整。
3.3 没找到四边形怎么办
不要直接让程序崩溃:
python
if document_contour is None:
    print("document contour not found, use full image")
    document_contour = np.array([
        [0, 0],
        [detection_image.shape[1] - 1, 0],
        [
            detection_image.shape[1] - 1,
            detection_image.shape[0] - 1
        ],
        [0, detection_image.shape[0] - 1]
    ], dtype=np.float32)
但要把降级状态输出到日志。静默使用整张图,会让后面的人误以为透视检测成功了。
绘制检测结果:
python
preview = detection_image.copy()
cv2.polylines(
    preview,
    [document_contour.astype(np.int32)],
    True,
    (0, 0, 255),
    4
)
cv2.imwrite(
    str(OUTPUT_DIR / "03-document-contour.jpg"),
    preview
)
图里每个中间结果都是一个检查点。第一次出现裁切、断笔、粘连或顺序错误的位置,通常就是应该调整的阶段。
四、四个点必须按固定顺序排列
透视变换需要:
text
左上
右上
右下
左下
排序函数:
python
def order_points(
    points: np.ndarray
) -> np.ndarray:
    points = points.astype(np.float32)
    ordered = np.zeros((4, 2), dtype=np.float32)

    point_sum = points.sum(axis=1)
    point_diff = np.diff(points, axis=1).reshape(-1)

    ordered[0] = points[np.argmin(point_sum)]
    ordered[2] = points[np.argmax(point_sum)]
    ordered[1] = points[np.argmin(point_diff)]
    ordered[3] = points[np.argmax(point_diff)]
    return ordered
对于一般凸四边形,这种方法够用。极端旋转、近似菱形或检测点异常时,应改用按质心和角度排序,并在变换前验证边长和面积。
不要跳过验证:
python
ordered = order_points(
    document_contour / scale
)

area = cv2.contourArea(
    ordered.astype(np.float32)
)

if area < image.shape[0] * image.shape[1] * 0.10:
    raise ValueError("document area is too small")
五、透视矫正
5.1 计算目标尺寸
python
def distance(a: np.ndarray, b: np.ndarray) -> float:
    return float(np.linalg.norm(a - b))

def four_point_transform(
    image: np.ndarray,
    points: np.ndarray
) -> np.ndarray:
    top_left, top_right, bottom_right, bottom_left = (
        order_points(points)
    )

    width = int(max(
        distance(bottom_right, bottom_left),
        distance(top_right, top_left)
    ))

    height = int(max(
        distance(top_right, bottom_right),
        distance(top_left, bottom_left)
    ))

    if width < 50 or height < 50:
        raise ValueError("warped document is too small")

    destination = np.array([
        [0, 0],
        [width - 1, 0],
        [width - 1, height - 1],
        [0, height - 1]
    ], dtype=np.float32)

    matrix = cv2.getPerspectiveTransform(
        np.array(
            [top_left, top_right, bottom_right, bottom_left],
            dtype=np.float32
        ),
        destination
    )

    return cv2.warpPerspective(
        image,
        matrix,
        (width, height)
    )
执行:
python
warped = four_point_transform(
    image,
    document_contour / scale
)

if warped.shape[1] > warped.shape[0]:
    # 是否旋转取决于文档方向,不能对所有横向页面强制旋转
    pass

cv2.imwrite(
    str(OUTPUT_DIR / "04-warped.jpg"),
    warped
)
5.2 矫正后先看几何,不要急着 OCR
检查:
text
四个角是否完整
文字行是否大致水平
左右字符大小是否接近
纸张边缘是否被裁掉
是否混入大片桌面背景
输出宽高是否异常
如果一侧文字仍明显变宽,可能不是单个平面透视能解决的问题:
- 纸张弯曲;
- 书页靠近装订线;
- 广角镜头畸变;
- 文档不是平面;
- 四角定位错误。
这时继续调二值化没有意义。
六、灰度和尺寸归一化
python
gray_warped = cv2.cvtColor(
    warped,
    cv2.COLOR_BGR2GRAY
)
文字太小时先放大:
python
def ensure_min_width(
    image: np.ndarray,
    min_width: int = 1600
) -> np.ndarray:
    height, width = image.shape[:2]
    if width >= min_width:
        return image

    scale = min_width / width
    return cv2.resize(
        image,
        (min_width, int(height * scale)),
        interpolation=cv2.INTER_CUBIC
    )

gray_warped = ensure_min_width(gray_warped)
cv2.imwrite(
    str(OUTPUT_DIR / "05-gray.png"),
    gray_warped
)
放大不会凭空创造细节,但能让后续阈值和 OCR 输入尺寸更稳定。严重失焦、运动模糊和压缩块不能靠插值恢复。
七、二值化先判断光照是否均匀
7.1 Otsu 适合背景相对均匀
python
blurred = cv2.GaussianBlur(
    gray_warped,
    (3, 3),
    0
)

_, binary_otsu = cv2.threshold(
    blurred,
    0,
    255,
    cv2.THRESH_BINARY + cv2.THRESH_OTSU
)
适合:
text
扫描件
背景颜色稳定
整页亮度差异小
文字和纸张对比明显
7.2 自适应阈值适合局部阴影
python
binary_adaptive = cv2.adaptiveThreshold(
    gray_warped,
    255,
    cv2.ADAPTIVE_THRESH_GAUSSIAN_C,
    cv2.THRESH_BINARY,
    35,
    15
)
参数含义:
35:局部邻域大小,必须是大于 1 的奇数;15:从局部阈值中减去的常数。
常见问题:
text
blockSize 太小:纸张纹理和噪声被放大
blockSize 太大:局部阴影补偿不明显
C 太小:背景变成黑点
C 太大:细笔画被吃掉
7.3 用背景估计处理缓慢阴影
python
background = cv2.GaussianBlur(
    gray_warped,
    (0, 0),
    sigmaX=25,
    sigmaY=25
)

normalized = cv2.divide(
    gray_warped,
    background,
    scale=255
)

_, binary_normalized = cv2.threshold(
    normalized,
    0,
    255,
    cv2.THRESH_BINARY + cv2.THRESH_OTSU
)
这种方法适合阴影变化比文字笔画慢得多的情况。
最终先选择一张:
python
binary = binary_normalized

cv2.imwrite(
    str(OUTPUT_DIR / "06-threshold.png"),
    binary
)
不要只凭 OCR 最终输出选二值化方法。中间图中应确认:
text
笔画有没有断
字符孔洞有没有被填满
小数点和标点有没有消失
表格线是否压住文字
背景是否出现大片噪声
八、第一次 OCR 先用原始灰度和二值图对比
8.1 简单识别
python
import pytesseract

config = "--oem 3 --psm 6"

text_gray = pytesseract.image_to_string(
    gray_warped,
    lang="chi_sim+eng",
    config=config
)

text_binary = pytesseract.image_to_string(
    binary,
    lang="chi_sim+eng",
    config=config
)

print("gray result:")
print(text_gray)
print("binary result:")
print(text_binary)
不要默认二值图一定更好。Tesseract 自己也会做图像处理,过度二值化可能损失信息。
建议至少比较:
text
矫正后的灰度图
Otsu 图
自适应阈值图
背景归一化图
8.2 PSM 怎么选
常用 Page Segmentation Mode:
| PSM | 适合场景 |
|---|---|
| 3 | 自动页面分割 |
| 4 | 单列、大小不一的文本 |
| 6 | 单个统一文本块 |
| 7 | 单行文本 |
| 8 | 单个词 |
| 11 | 稀疏文本 |
| 12 | 带方向信息的稀疏文本 |
| 13 | 原始单行 |
一整页普通文档可以先试:
text
--psm 3
--psm 6
单行数字:
text
--psm 7标签散落的仪表盘:
text
--psm 11PSM 选错时,字符可能识别得不差,但行顺序和分块会很奇怪。
8.3 限定字符集
纯数字区域:
python
number_config = (
    "--oem 3 --psm 7 "
    "-c tessedit_char_whitelist=0123456789.-"
)
只在区域内容确实受限时使用。对普通文本页设置白名单,会让不在列表中的字符直接失去候选。
九、导出词框和置信度
最终字符串不够排障。使用:
python
from pytesseract import Output

data = pytesseract.image_to_data(
    gray_warped,
    lang="chi_sim+eng",
    config="--oem 3 --psm 6",
    output_type=Output.DATAFRAME
)
清理:
python
data = data.dropna(subset=["text"])
data["text"] = data["text"].astype(str).str.strip()
data = data[data["text"] != ""]
查看低置信度:
python
low_confidence = data[data["conf"] < 60]
print(
    low_confidence[
        ["text", "conf", "left", "top", "width", "height"]
    ].head(30)
)
绘制:
python
boxed = cv2.cvtColor(
    gray_warped,
    cv2.COLOR_GRAY2BGR
)

for row in data.itertuples():
    x = int(row.left)
    y = int(row.top)
    width = int(row.width)
    height = int(row.height)
    confidence = float(row.conf)

    color = (
        (0, 180, 0)
        if confidence >= 60
        else (0, 0, 255)
    )

    cv2.rectangle(
        boxed,
        (x, y),
        (x + width, y + height),
        color,
        2
    )

cv2.imwrite(
    str(OUTPUT_DIR / "08-ocr-boxes.jpg"),
    boxed
)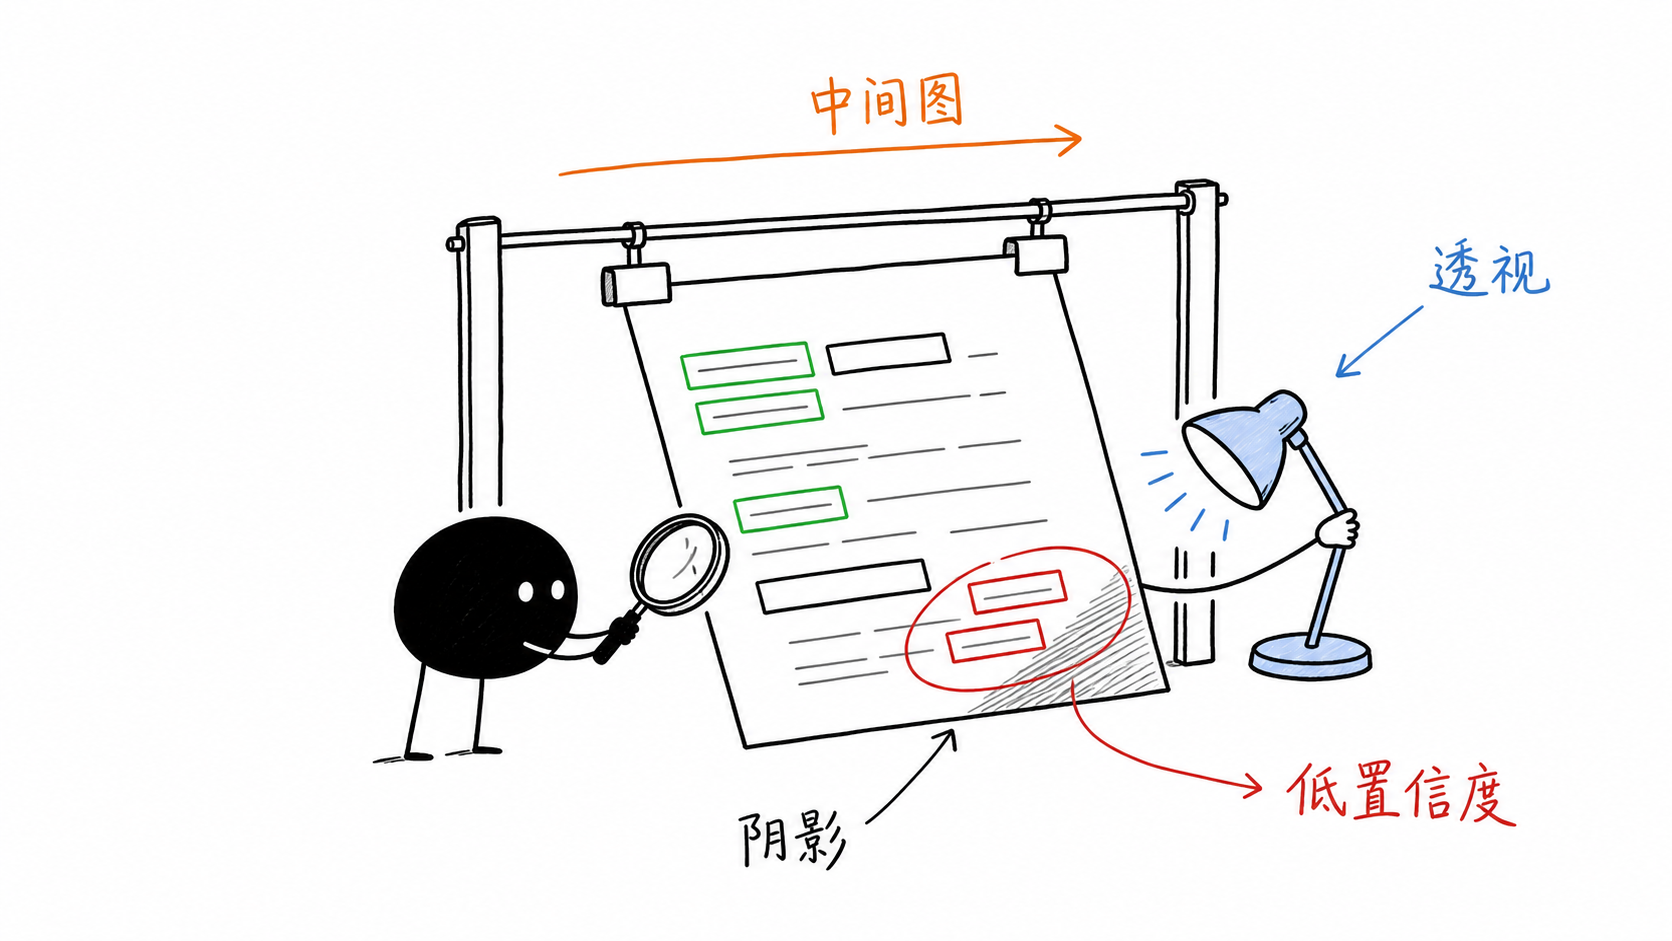
红框集中在哪个区域很有信息:
text
集中在阴影边缘:光照补偿问题
集中在页面右侧:透视或失焦问题
集中在小字号:输入分辨率问题
集中在表格线附近:版面和线条问题
全页都低:语言、方向、图像质量或 PSM 问题
十、中文识别常见问题
10.1 语言包
只写:
python
lang="eng"中文当然会错。
中英混排:
python
lang="chi_sim+eng"语言越多不一定越好。候选字符集合变大后,相似字符之间可能更难判断。
10.2 行距和字号
中文小字号、压缩图片和细笔画对二值化更敏感。优先保证:
text
文档占画面足够大
对焦准确
没有明显运动模糊
JPEG 压缩不过度
矫正后文字尺寸足够
10.3 方向
如果页面可能旋转,可以先用方向检测:
python
osd = pytesseract.image_to_osd(gray_warped)
print(osd)
方向检测本身也需要足够文字。内容很少的票据或标签,不一定能可靠判断。
十一、完整执行入口
python
def main() -> None:
    image = cv2.imread(str(INPUT_PATH))
    if image is None:
        raise FileNotFoundError(INPUT_PATH)

    detection_image, scale = resize_for_detection(image)
    points = detect_document(detection_image)

    if points is None:
        warped = image.copy()
        print("warning: document contour not found")
    else:
        warped = four_point_transform(
            image,
            points / scale
        )

    gray = cv2.cvtColor(
        warped,
        cv2.COLOR_BGR2GRAY
    )
    gray = ensure_min_width(gray)

    background = cv2.GaussianBlur(
        gray,
        (0, 0),
        25
    )
    normalized = cv2.divide(
        gray,
        background,
        scale=255
    )

    _, binary = cv2.threshold(
        normalized,
        0,
        255,
        cv2.THRESH_BINARY + cv2.THRESH_OTSU
    )

    text = pytesseract.image_to_string(
        binary,
        lang="chi_sim+eng",
        config="--oem 3 --psm 6"
    )

    (OUTPUT_DIR / "result.txt").write_text(
        text,
        encoding="utf-8"
    )
    cv2.imwrite(
        str(OUTPUT_DIR / "final-binary.png"),
        binary
    )

if __name__ == "__main__":
    main()
其中 detect_document() 可以使用前文的边缘、轮廓和四边形检测代码封装。
工程里建议让程序额外输出一份 JSON:
json
{
  "document_detected": true,
  "warped_width": 1850,
  "warped_height": 2600,
  "preprocess": "background-normalized-otsu",
  "language": "chi_sim+eng",
  "psm": 6,
  "text_chars": 842,
  "low_confidence_boxes": 17
}
这些是可观察状态,不是准确率结论。
十二、排障顺序
12.1 文档区域错误
表现:
text
纸张缺角
包含大片桌面
透视后宽高异常
文字严重拉伸
先查:
text
边缘图
四边形预览
四点顺序
映射回原图的 scale
12.2 二值化错误
表现:
text
细笔画消失
字符粘连
阴影变黑块
背景出现大量噪声
先查:
text
灰度图是否本来清楚
Otsu 和 adaptive 的差异
背景估计核是否过小
形态学核是否过大
12.3 版面错误
表现:
text
字符大致正确但顺序乱
多栏被串在一起
标题和正文混排
表格跨行
先查:
text
PSM
是否需要区域切分
是否需要先检测表格和文本块
是否应该逐区域 OCR
12.4 语言和字符错误
表现:
text
中文大量变成相似符号
数字和字母混淆
英文正常、中文错误
先查:
text
语言包是否存在
lang 是否正确
输入分辨率
字符白名单
低置信度区域位置
十三、验收不要只看一张图
建立一个小测试集,至少覆盖:
text
正面扫描件
轻微倾斜
明显透视
单侧阴影
低对比度
中英混排
纯数字
表格
小字号
轻微模糊
每张图保存:
text
原图
检测四边形
矫正图
二值图
OCR 框
最终文字
人工真值
如果需要量化,可以计算字符错误率或词错误率,但前提是有可靠真值。
上线前检查:
文档检测失败时有明确降级标记
四角映射回原图坐标正确
中间结果可按请求编号保存
原图、灰度图和二值图都能对比
OCR 语言与文档语言一致
PSM 根据版面类型选择
低置信度词框可视化
表格结构不依赖纯文本顺序猜测
不用平均 confidence 冒充真实准确率
测试集包含阴影、倾斜和低对比度
总结
拍照文档 OCR 识别不准时,先不要把所有问题都归给 OCR 引擎。
更有效的判断顺序是:
text
文档区域是否完整
→ 透视是否矫正
→ 文字尺寸是否足够
→ 光照是否归一化
→ 二值化有没有破坏笔画
→ 版面模式是否匹配
→ 语言和字符约束是否正确
→ 低置信度集中在哪里
一条可用的 OCR 流水线,不只输出 result.txt,还应该输出能解释结果的中间图和状态。这样识别失败时,调整的是明确环节,而不是在 Canny、阈值、形态学和 PSM 之间随机试参数。
参考资料
- OpenCV Geometric Image Transformations:https://docs.opencv.org/4.x/da/d54/group__imgproc__transform.html
- OpenCV Image Thresholding:https://docs.opencv.org/4.x/d7/d4d/tutorial_py_thresholding.html
- OpenCV Morphological Transformations:https://docs.opencv.org/4.x/d9/d61/tutorial_py_morphological_ops.html
- OpenCV Connected Components:https://docs.opencv.org/4.x/d3/dc0/group__imgproc__shape.html
- Tesseract ImproveQuality:https://tesseract-ocr.github.io/tessdoc/ImproveQuality.html
- Tesseract Command-Line Usage:https://tesseract-ocr.github.io/tessdoc/Command-Line-Usage.html
- pytesseract:https://github.com/madmaze/pytesseract