1. 安装 WSL2
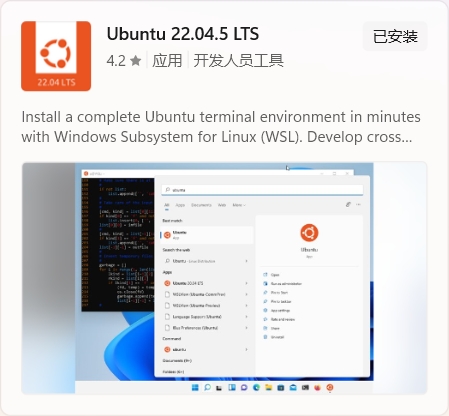
通常情况下,我们在 Linux 环境中开发 OpenHarmony 代码。你可以在 Windows 子系统 Linux(WSL)上搭建开发环境。推荐使用运行在 WSL2 上的 Ubuntu 22.04 LTS 版本,使用其他 Ubuntu 版本可能会出现不可预见的问题。
请确保满足以下条件:
-
WSL2 安装所在的磁盘分区需有足够的空间,至少170GB 。这是因为不含 WSL 中其他文件的情况下,OpenHarmony 完整代码及编译产物就占用 161GB。

-
安装 WSL2 而非 WSL1。你可以使用命令
wsl -l -v进行检查。两者的编译速度相差数十倍。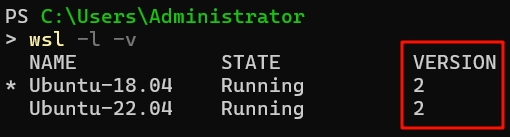
-
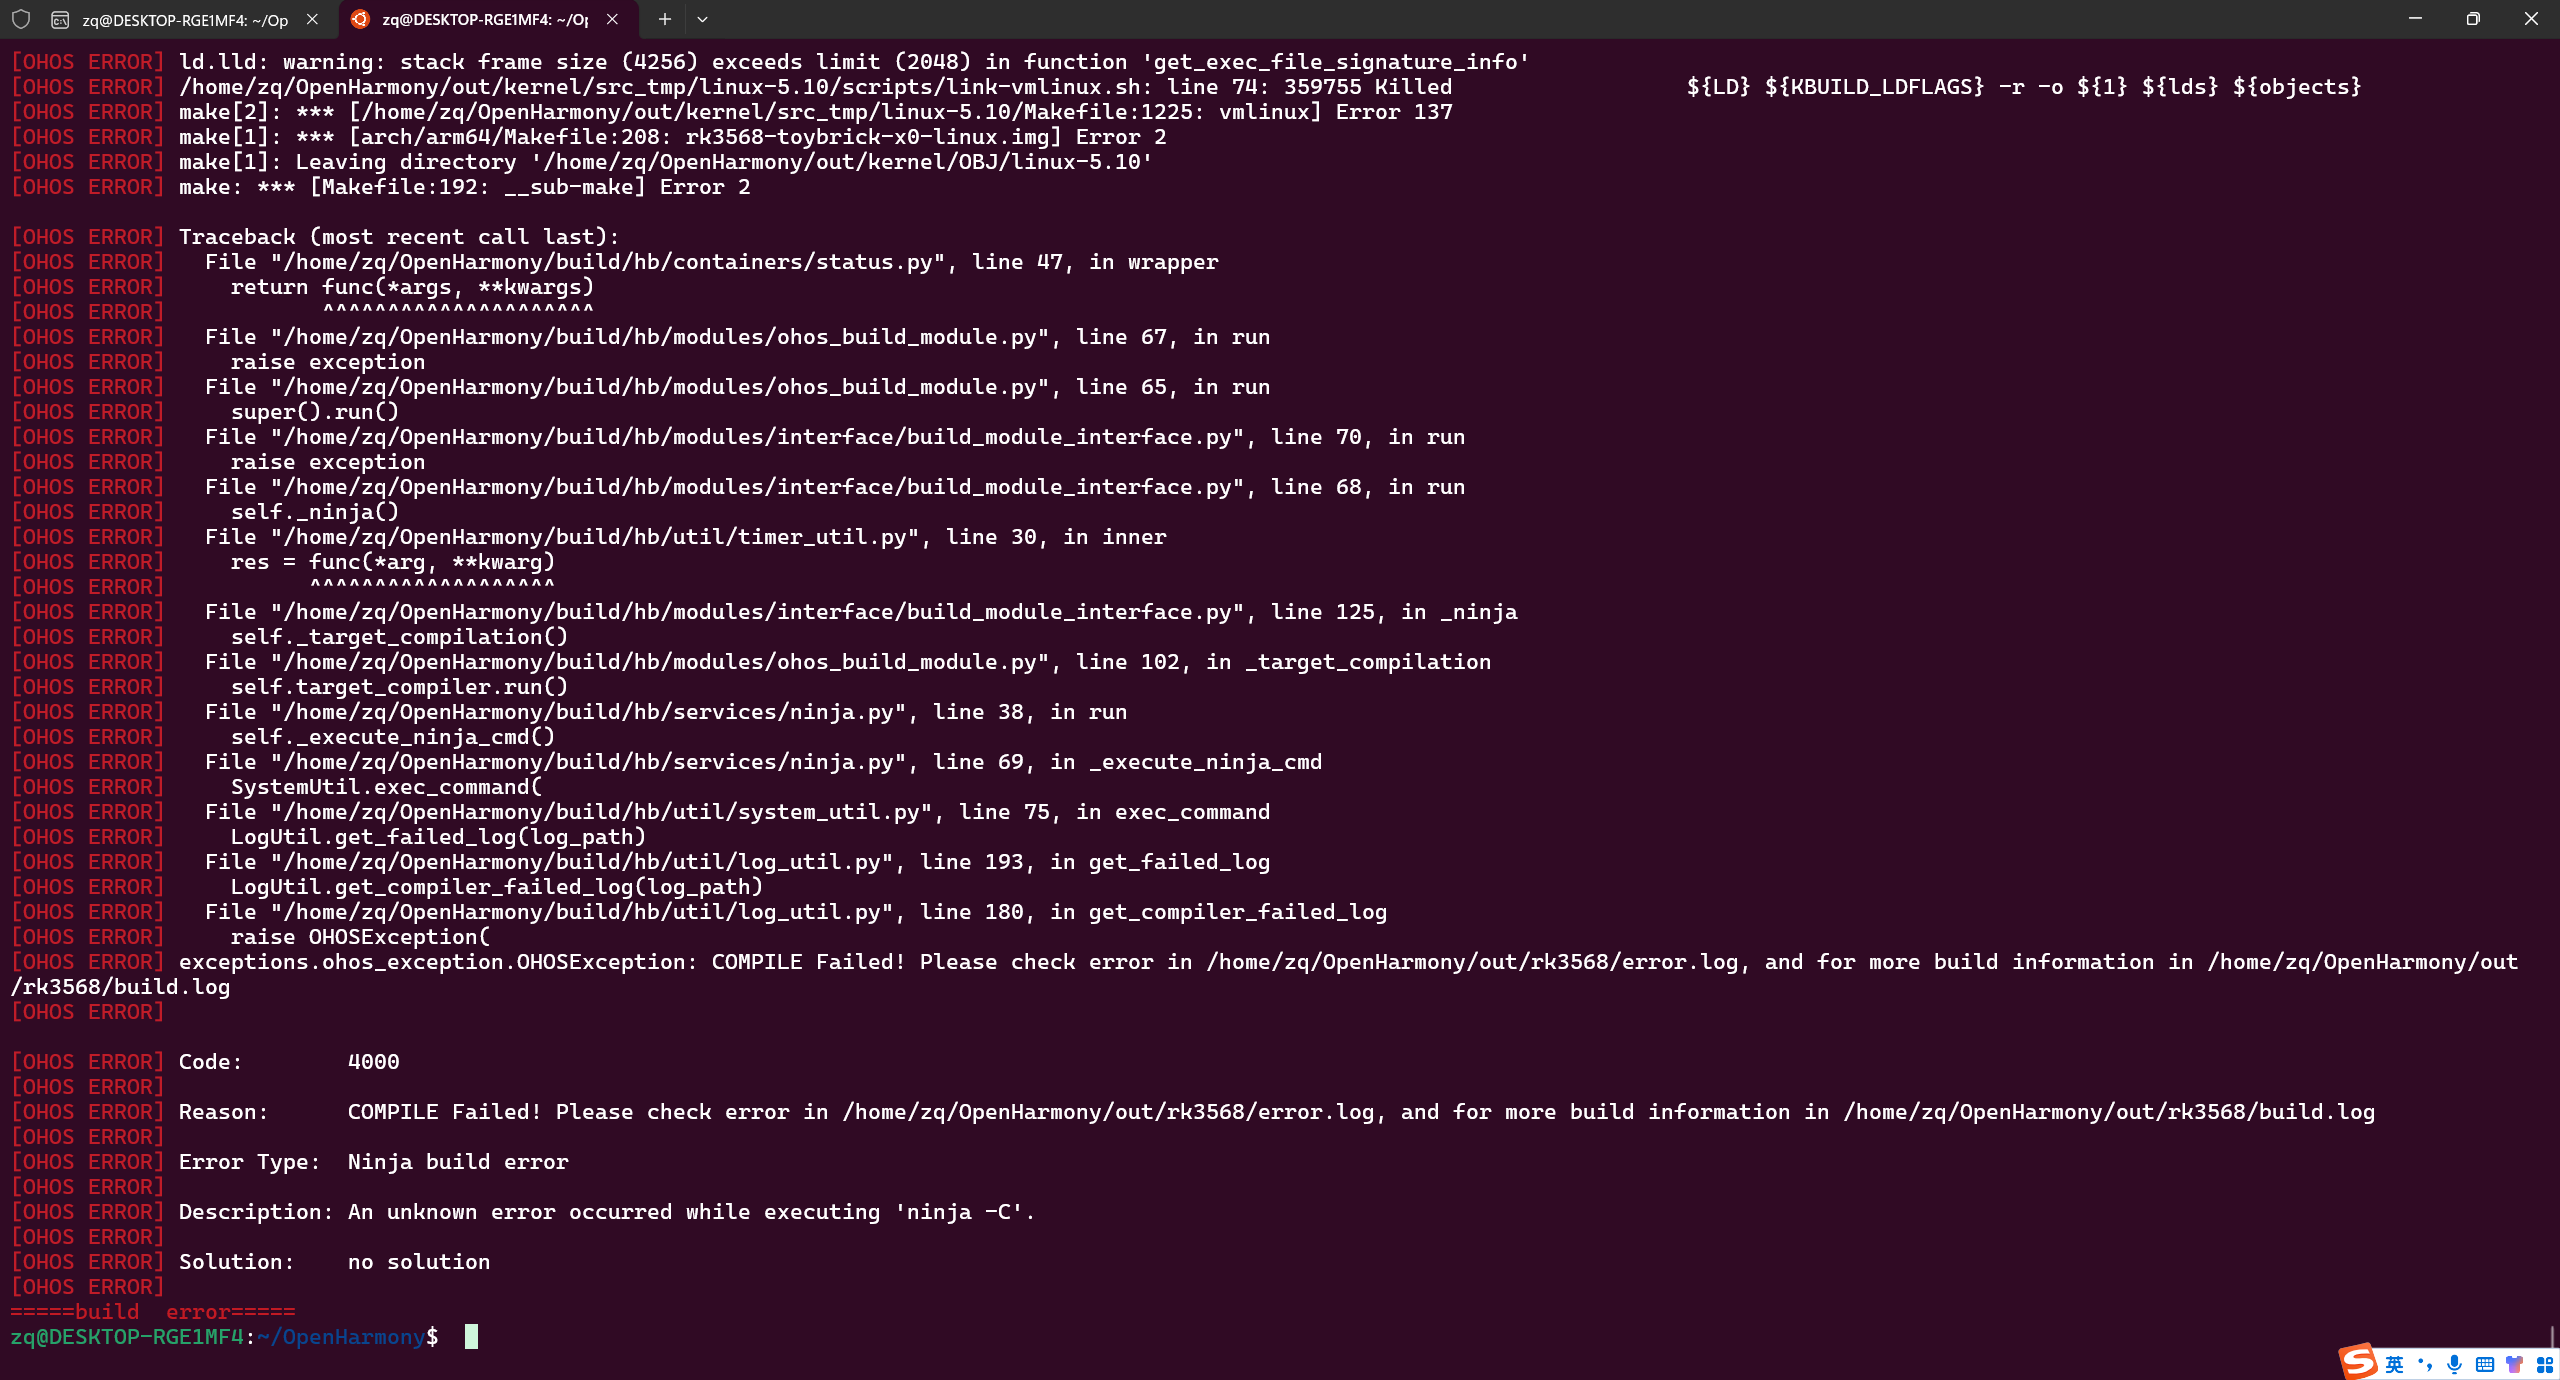
配置 WSL2,避免编译代码时出现栈帧大小超限的问题。
在文件资源管理器的地址栏中输入
%UserProfile%并按回车键,然后创建一个名为.wslconfig的文件。txt[wsl2] memory=14GB swap=8GB如果电脑内存不足,可以增大交换分区(swap)的大小。但需要注意,过大的交换空间可能会导致性能下降。
配置完成后,运行
wsl --shutdown关闭所有正在运行的分发版,等待 8 秒让 WSL2 重启并更新配置。也可参考以下链接:
2. 安装依赖库和工具
在使用命令行界面(CLI)进行设备开发前,请执行以下步骤在 WSL2 中安装所需的依赖库和工具。
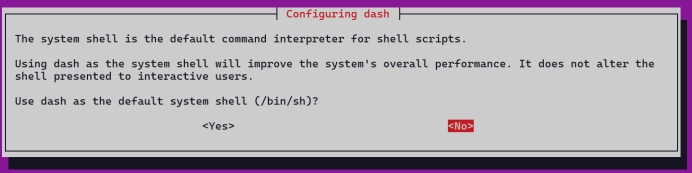
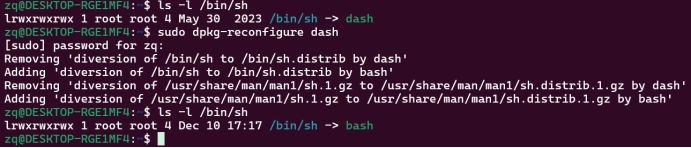
将 dash 替换为 bash
- 检查当前 shell:
ls -l /bin/sh
- 替换 shell:
sudo dpkg-reconfigure dash # 选择 No
安装 python3 和 pip3
配置 python 命令别名
Ubuntu 22.04 系统默认安装了 python3.10。执行以下命令:
bash
sudo update-alternatives --install /usr/bin/python python /usr/bin/python3 150150 是优先级数值,数值越大,优先级越高。
配置完成后,你可以输入 python 或 python3 来运行 Python 程序,而在此之前只能使用 python3 命令。
安装 pip3
bash
sudo apt update
sudo apt install python3-setuptools python3-pip -y
并将 pip3 的镜像源设置为华为云镜像源:
bash
pip3 config set global.index-url https://mirrors.huaweicloud.com/repository/pypi/simple安装依赖库
bash
sudo apt update && sudo apt install -y android-sdk-libsparse-utils bc binutils bison build-essential ccache curl default-jdk doxygen flex g++-multilib gcc-arm-none-eabi gcc-multilib genext2fs git git-lfs gnupg gnutls-bin gperf lib32ncurses-dev lib32ncurses-dev lib32z1-dev libc++1 libc6-dev-i386 libelf-dev libgl1-mesa-dev liblz4-tool libssl-dev libtinfo5 libx11-dev libxcursor-dev libxi-dev libxinerama-dev libxml2-utils libxrandr-dev m4 mtd-utils mtools openssl ruby scons u-boot-tools unzip x11proto-core-dev xsltproc zip zlib1g-dev libffi-dev gcc-arm-linux-gnueabi autoconf automake libtool cmake pkg-config check openssl libssl-dev libcurl4-openssl-dev我在测试过程中,该步骤安装依赖库的操作可以正常完成。
考虑到开发环境配置的复杂性,如果根据提示仍无法解决安装问题,建议重新安装 WSL2。
3. 获取源码
在 Ubuntu 环境中,执行以下步骤获取 OpenHarmony 源码。
准备工作
GitCode 配置
-
前往 GitCode 注册账号。
-
配置 SSH 密钥 - GitCode 以实现 gitcode 免密访问。
-
执行
ssh-keygen -t ed25519 -C "gitcode SSH Key",根据提示连续按 3 次回车键。-t:指定密钥类型-C:添加注释信息
bashGenerating public/private ed25519 key pair. Enter file in which to save the key (/home/git/.ssh/id_ed25519): Enter passphrase (empty for no passphrase): Enter same passphrase again: Your identification has been saved in /home/git/.ssh/id_ed25519 Your public key has been saved in /home/git/.ssh/id_ed25519.pub The key fingerprint is: SHA256:ohDd0OK5WG2dx4gST/j35HjvlJlGHvihyY+Msl6IC8I gitcode SSH Key The key's randomart image is: +--[ED25519 256]--+ | .o | | .+oo | | ...O.o + | | .= * = +. | | .o +..S*. + | |. ...o o..+* * | |.E. o . ..+.O | | . . ... o =. | | ..oo. o.o | +----[SHA256]-----+ -
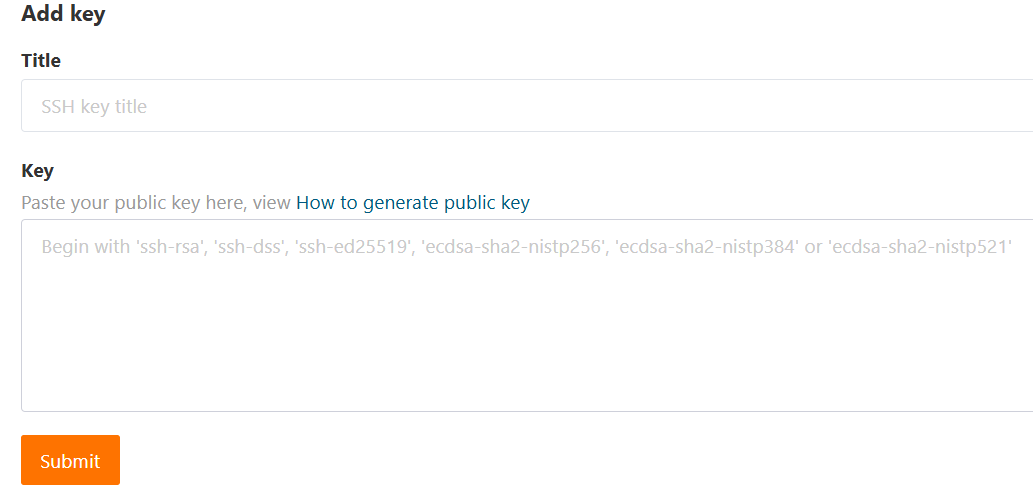
获取并复制公钥
~/.ssh/id_ed25519.pub:bashcat ~/.ssh/id_ed25519.pub示例输出:
txtssh-ed25519 AAAA***5B gitcode SSH Key -
将公钥添加到 gitcode 账号中。SSH 密钥 - gitcode
-
验证配置是否成功:
bashzq@DESKTOP-RGE1MF4:~$ ssh -T git@gitcode.com Hi zhangqiang(@inkuu)! You've successfully authenticated, but gitcode.COM does not provide shell access.
-
Git 配置
bash
git config --global user.name "你的用户名"
git config --global user.email "你的账号邮箱@xxx.com"
git config --global credential.helper store
安装 Repo 工具
bash
sudo curl https://gitee.com/oschina/repo/raw/fork_flow/repo-py3 -o /usr/local/bin/repo
sudo chmod 777 /usr/local/bin/repo
sudo pip3 install -i https://repo.huaweicloud.com/repository/pypi/simple requests
拉取代码
我们基于 master 分支进行开发,请确保下载的代码完整且正确!
bash
mkdir ~/OpenHarmony
cd ~/OpenHarmony
repo init -u  https://gitcode.com/openharmony/manifest.git -b master --no-repo-verify
repo sync -c # -c 仅同步当前分支
repo forall -c 'git lfs pull'编译代码时可能会遇到一些意外问题,这些问题可能由网络异常或其他原因导致。可能需要多次尝试下载所需文件,直到无错误信息为止。
你可以重复执行命令 repo sync -j1 --fail-fast,该命令会以单线程方式下载文件,且遇到错误时立即停止,便于你逐个解决错误。
常见问题
报错 "could not check out xxx"
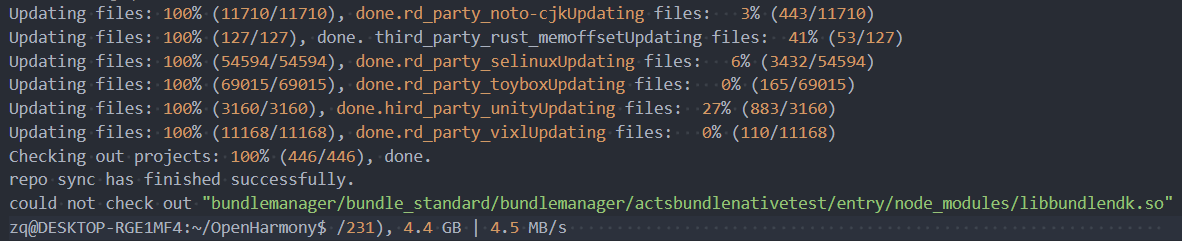
重复执行命令 repo sync -j1 --fail-fast 和 repo forall -c 'git lfs pull'。
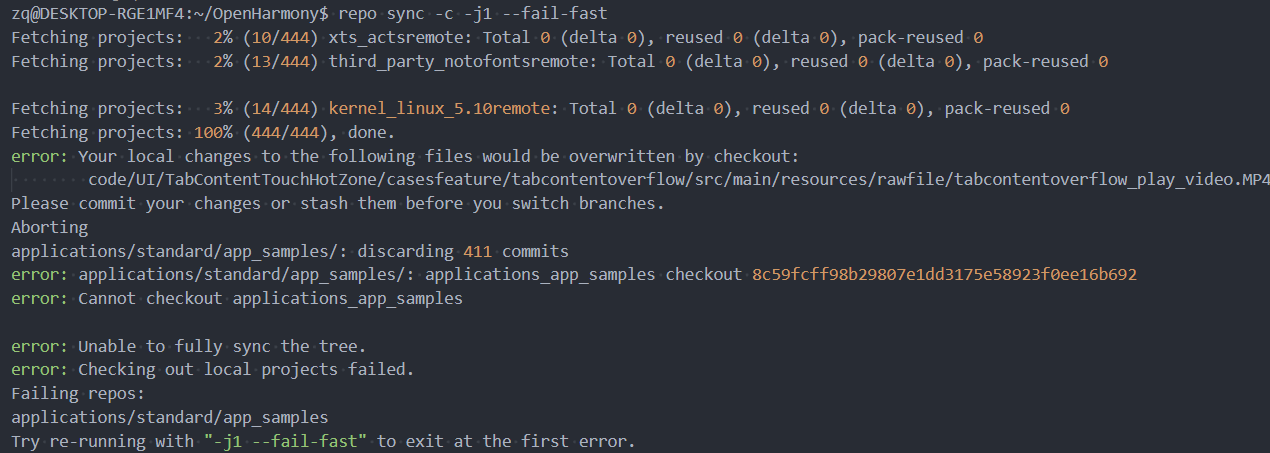
报错 "unable to fully sync the tree"
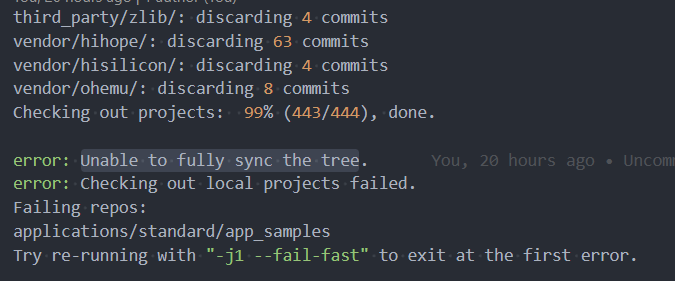
按照提示重新执行 repo sync -j1 --fail-fast,你会得到更具体的错误信息。
进入目录 applications/standard/app_samples/,执行 git status:
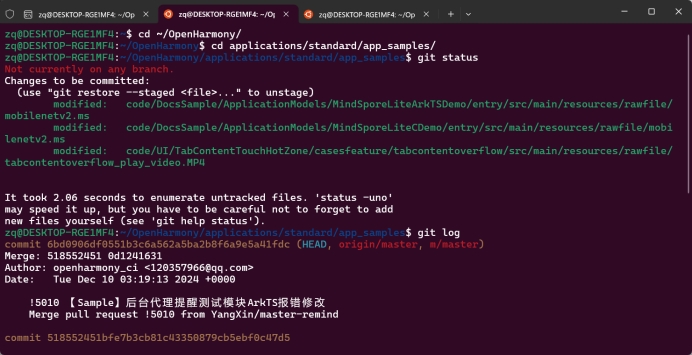
执行以下命令修复:
bash
git reset --hard
git clean -df
重新执行 repo sync -j1 --fail-fast 和 repo forall -c 'git lfs pull',问题即可解决。
切换用户账号导致的问题
下载代码过程中请勿切换 Linux 用户账号:
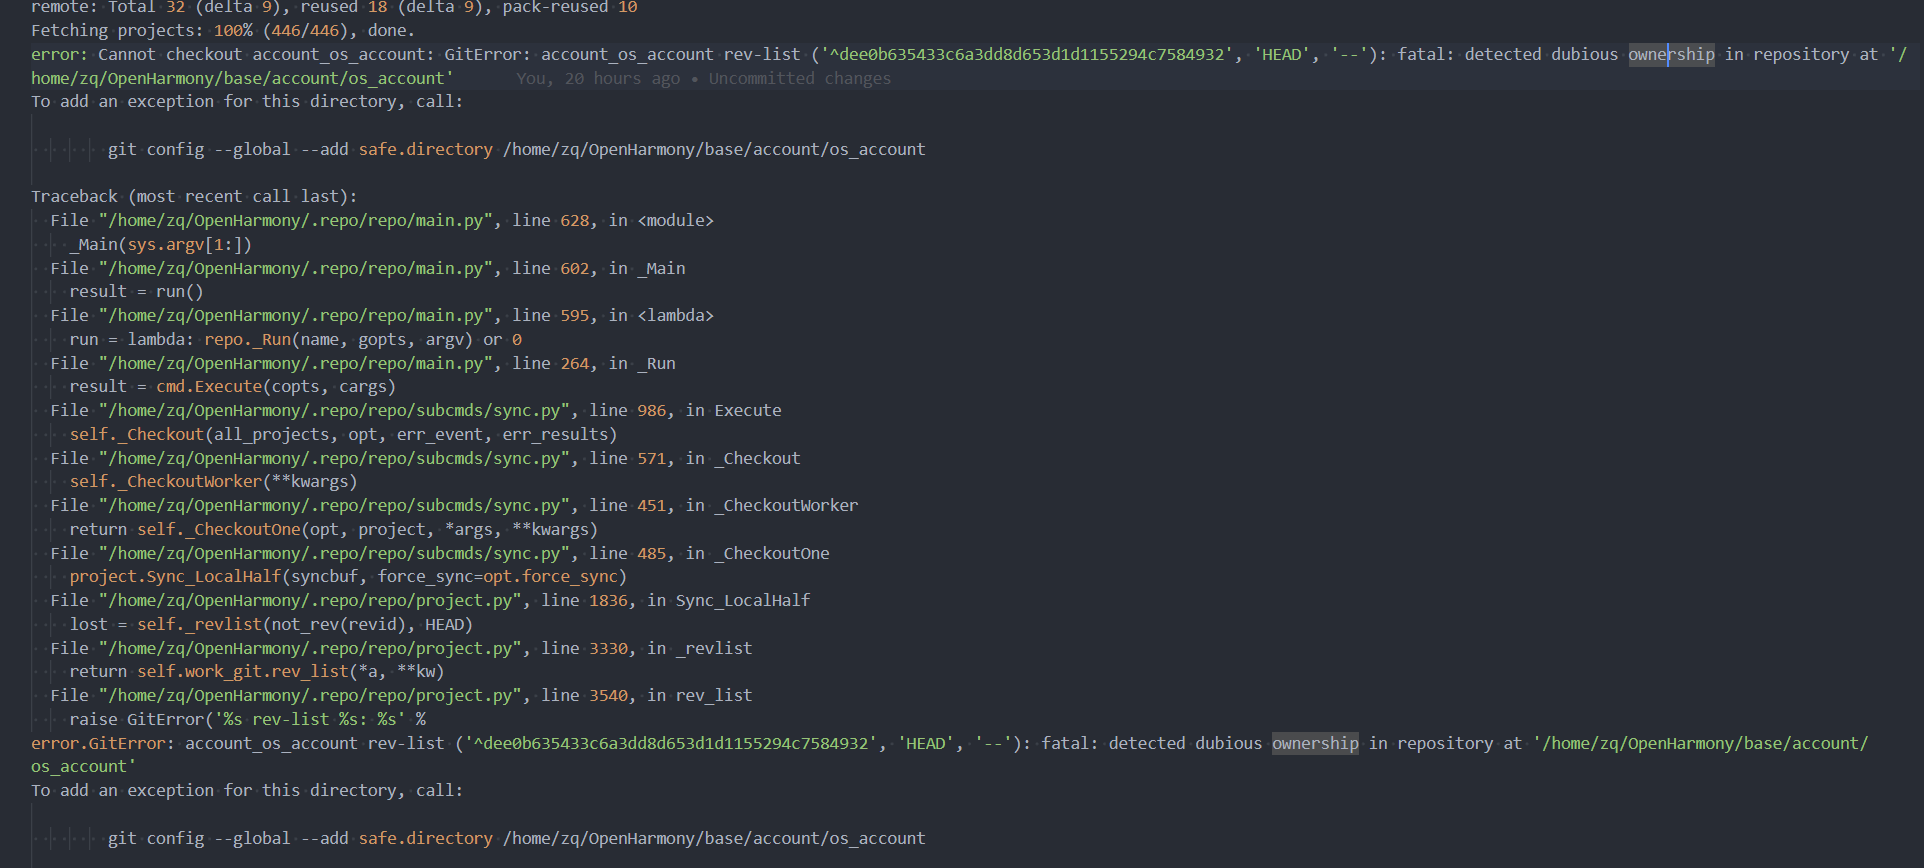
重新执行以下命令:
bash
repo init -u  https://gitcode.com/openharmony/manifest.git -b master --no-repo-verify
repo sync -c # -c 并发同步
repo forall -c 'git lfs pull'
4. 预编译准备
安装预编译工具
正式编译代码前,在 OpenHarmony 代码目录中执行脚本,准备包含编译器等工具的预编译包:
bash
cd ~/Openharmony
./build/prebuilts_download.sh --skip-ssl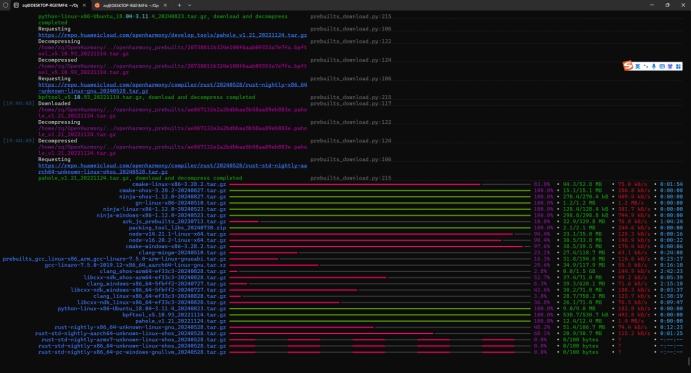
安装 hb 工具(可选)
可选的编译辅助工具:
bash
cd ~/Openharmony
sudo pip3 install --default-timeout=100 build/hb
若安装过程中出现问题,你可能需要执行以下命令:
bash
pip3 uninstall -y prompt_toolkit
sudo pip3 uninstall -y prompt_toolkit

sudo pip3 install -i https://mirrors.aliyun.com/pypi/simple/ prompt-toolkit==1.0.18
5. 编译 OpenHarmony
开发环境已准备就绪,现在可以开始编译!
如果存在 "out" 目录,请先清空:
bash
cd ~/Openharmony
./build.sh --product-name rk3568 --target-cpu arm64  # 编译并构建所有代码
若不是首次编译,可以使用 "--fast-rebuild" 参数加快编译速度。
你可以使用 "./build.sh -h" 查看帮助信息。
也可以添加
--build-target=BUILD_TARGET参数编译指定目标模块。添加参数
--gn-flags="--export-compile-commands"可生成out/rk3568/compile_commands.json文件(用于代码跳转/补全)。更多信息可参考 docs/zh-cn/device-dev/Readme-CN.md-代码预览-docs:基于OpenHarmony生态的开发者文档项目 - AtomGit | GitCode。
补充说明
确保所有依赖库安装正常
推荐使用全新的 WSL2 开发环境。
如果根据终端提示无法解决编译错误,此时重新安装 WSL2 可能是一个有效的解决办法。
确保下载的代码完整
重新执行命令获取详细错误信息
例如,你执行的编译命令是 ./build.sh --product-name rk3568,则输出目录为 out/rk3568。
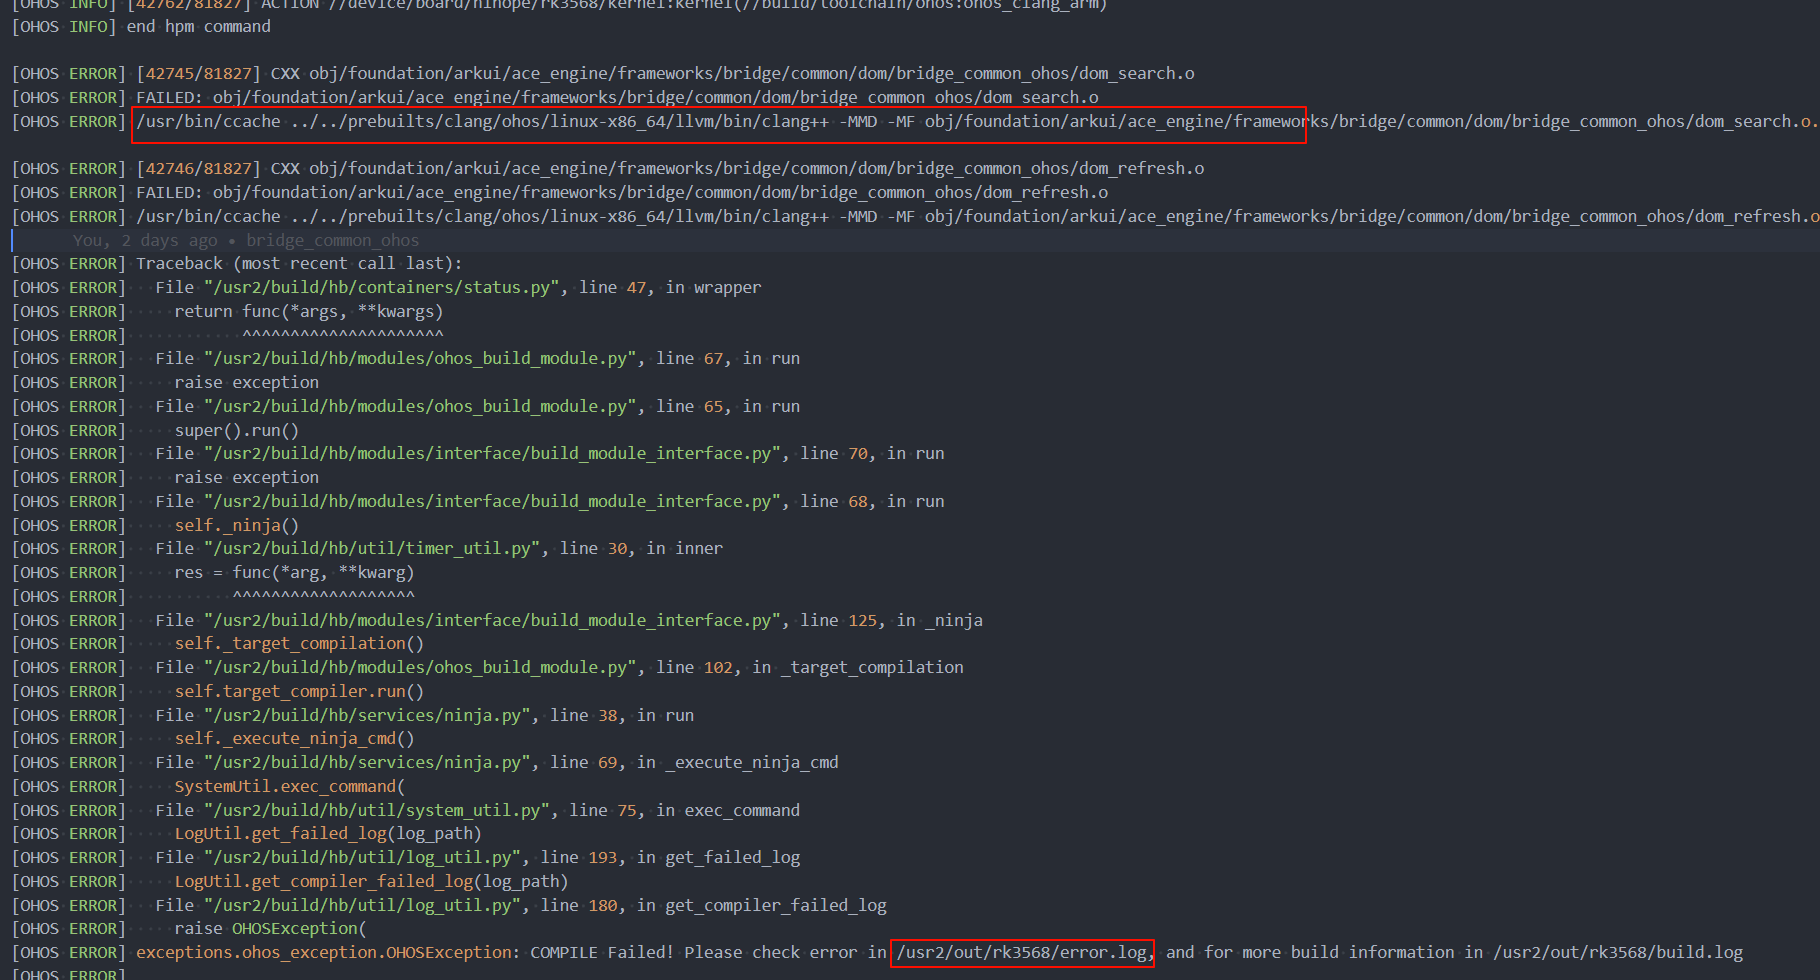
在 out/rk3568 目录中,你可以按照图片红框中的提示执行 /usr/bin/ccache xxx 命令,查看更具体的错误信息以帮助定位问题。
你也可以在 out/rk3568/error.log 文件中查看详细错误日志。