目录
如果您喜欢此文章,请收藏、点赞、评论,谢谢,祝您快乐每一天。
集成示例
让我们来看一个将 AI 与 .NET Core 集成的示例,包括代码。
截图:
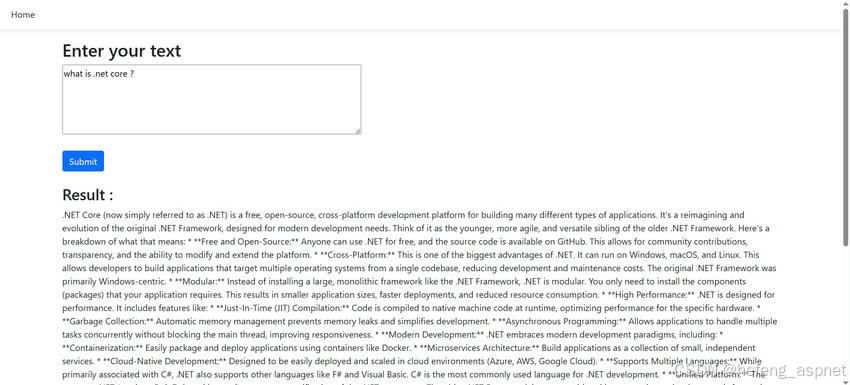
与用户问答
让我们创建一个简单的视图,用于与用户进行问答互动。
index.cshtml
<h2>Enter your text</h2>
<form method="post">
<div>
<textarea id="Message" name="Message" rows="5" cols="40" class="text col-md-5"></textarea>
</div>
<br />
<button type="submit" class="btn btn-primary">Submit</button>
</form>
<br />
<h3>Result :</h3>
@if (Model != null)
{
<p>@Model</p>
}
控制器(Controller)的结构
以下是我们控制器的结构。如您所知,它的功能与典型的MVC控制器类似,用于处理用户请求和响应。
HomeController.cs
using AIIntegrationDotNetCore.Models;
using AIIntegrationDotNetCore.Services;
using Microsoft.AspNetCore.Components.Forms;
using Microsoft.AspNetCore.Mvc;
using System.Diagnostics;
namespace AIIntegrationDotNetCore.Controllers
{
public class HomeController : Controller
{
//private readonly ILogger<HomeController> _logger;
private readonly OpenAIService _openAIService;
public HomeController(ILogger<HomeController> logger, OpenAIService openAIService)
{
//_logger = logger;
_openAIService = openAIService;
}
HttpPost
public async Task<IActionResult> Index(UserMessageRequest request)
{
var reply = await _openAIService.GetChatCompletionAsync(request.Message);
ViewBag.Message = reply;
return View("Index", reply);
}
public IActionResult Index()
{
return View();
}
public IActionResult Privacy()
{
return View();
}
ResponseCache(Duration = 0, Location = ResponseCacheLocation.None, NoStore = true)
public IActionResult Error()
{
return View(new ErrorViewModel { RequestId = Activity.Current?.Id ?? HttpContext.TraceIdentifier });
}
public class UserMessageRequest
{
public string Message { get; set; }
}
}
}
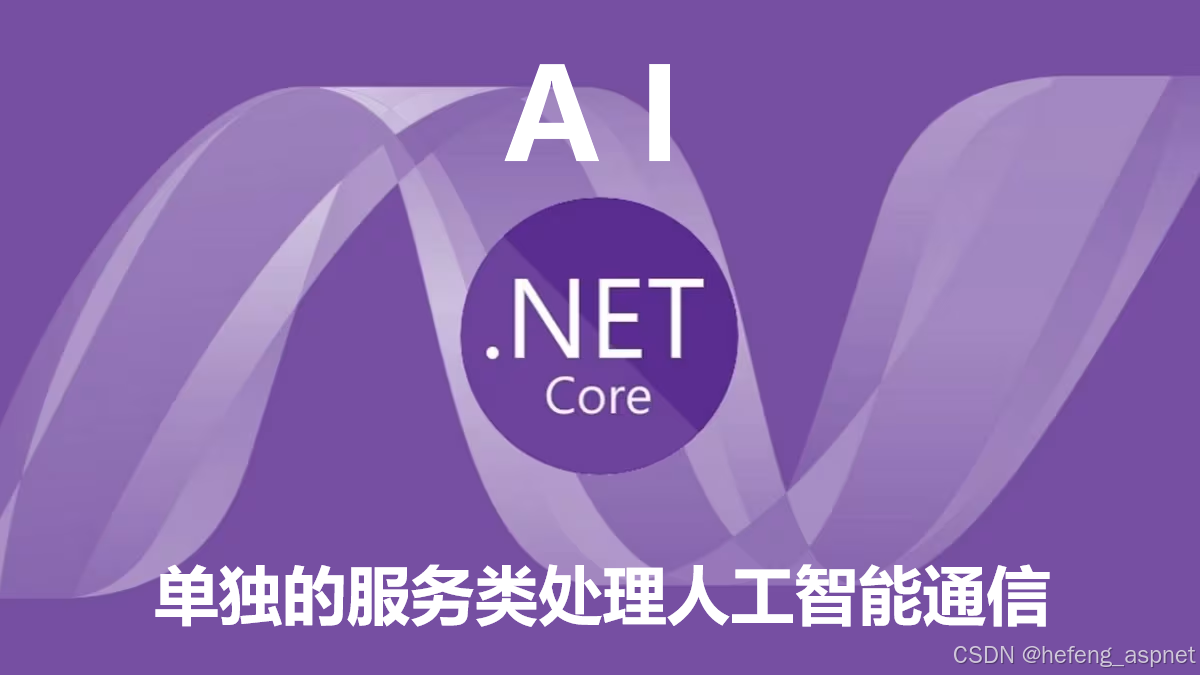
单独的服务类处理人工智能通信
最重要的是,有一个单独的服务类来处理与人工智能的通信。
using System.Net.Http.Headers;
using System.Text.Json;
using System.Text;
namespace AIIntegrationDotNetCore.Services
{
public class OpenAIService
{
//private readonly HttpClient _httpClient;
private readonly IConfiguration _configuration;
public OpenAIService(HttpClient httpClient, IConfiguration configuration)
{
//_httpClient = httpClient;
_configuration = configuration;
}
public async Task<string> GetChatCompletionAsync(string userMessage)
{
var apiKey = _configuration"Gemini:ApiKey";
var apiUrl = _configuration"Gemini:ApiUrl";
string requestBody = @"{
""contents"": [{
""parts"":{ ""text"": """ + userMessage + @""" }
}]
}";
using var client = new HttpClient();
var request = new HttpRequestMessage(HttpMethod.Post, $"{apiUrl}?key={apiKey}");
request.Content = new StringContent(requestBody, Encoding.UTF8);
request.Content.Headers.ContentType = new MediaTypeHeaderValue("application/json");
var response = await client.SendAsync(request).ConfigureAwait(false);
if (response.IsSuccessStatusCode)
{
string responseBody = await response.Content.ReadAsStringAsync();
using JsonDocument doc = JsonDocument.Parse(responseBody);
JsonElement root = doc.RootElement;
var text = root
.GetProperty("candidates")0
.GetProperty("content")
.GetProperty("parts")0
.GetProperty("text")
.GetString();
return text != null ? text : "No response";
}
else
{
return $"Error: {response.StatusCode} - {response.ReasonPhrase}";
}
}
}
}
appsettings.json文件配置
以下是 appsettings.json 文件的结构。您必须创建自己的键并替换此处的内容,示例才能正常运行。
{
"Logging": {
"LogLevel": {
"Default": "Information",
"Microsoft.AspNetCore": "Warning"
}
},
"AllowedHosts": "*",
"Gemini": {
"ApiKey": "***************************************",
"ApiUrl": "https://generativelanguage.googleapis.com/v1beta/models/gemini-2.0-flash:generateContent"
}
}
您可以根据自身需求,深入探索更多内容。
如果您喜欢此文章,请收藏、点赞、评论,谢谢,祝您快乐每一天。