1背景
1.1 开发完没法直接安装
之前是在wsl下通过脚本以及nvim直接手写的,安装也是通过源码安装到系统,终究是没法一键安装。用cmake-init一开始的时候就有vcpkg以及conan来安装依赖,这里选择vcpkg,毕竟主要是在Windows下生成。
1.2 .ui没法编辑
之前一直以为ui是必须得装qt ide才能编辑,后面发现原来有单独的组件designer可以编辑,这个倒不是啥问题了。
2 Windows下 vs安装
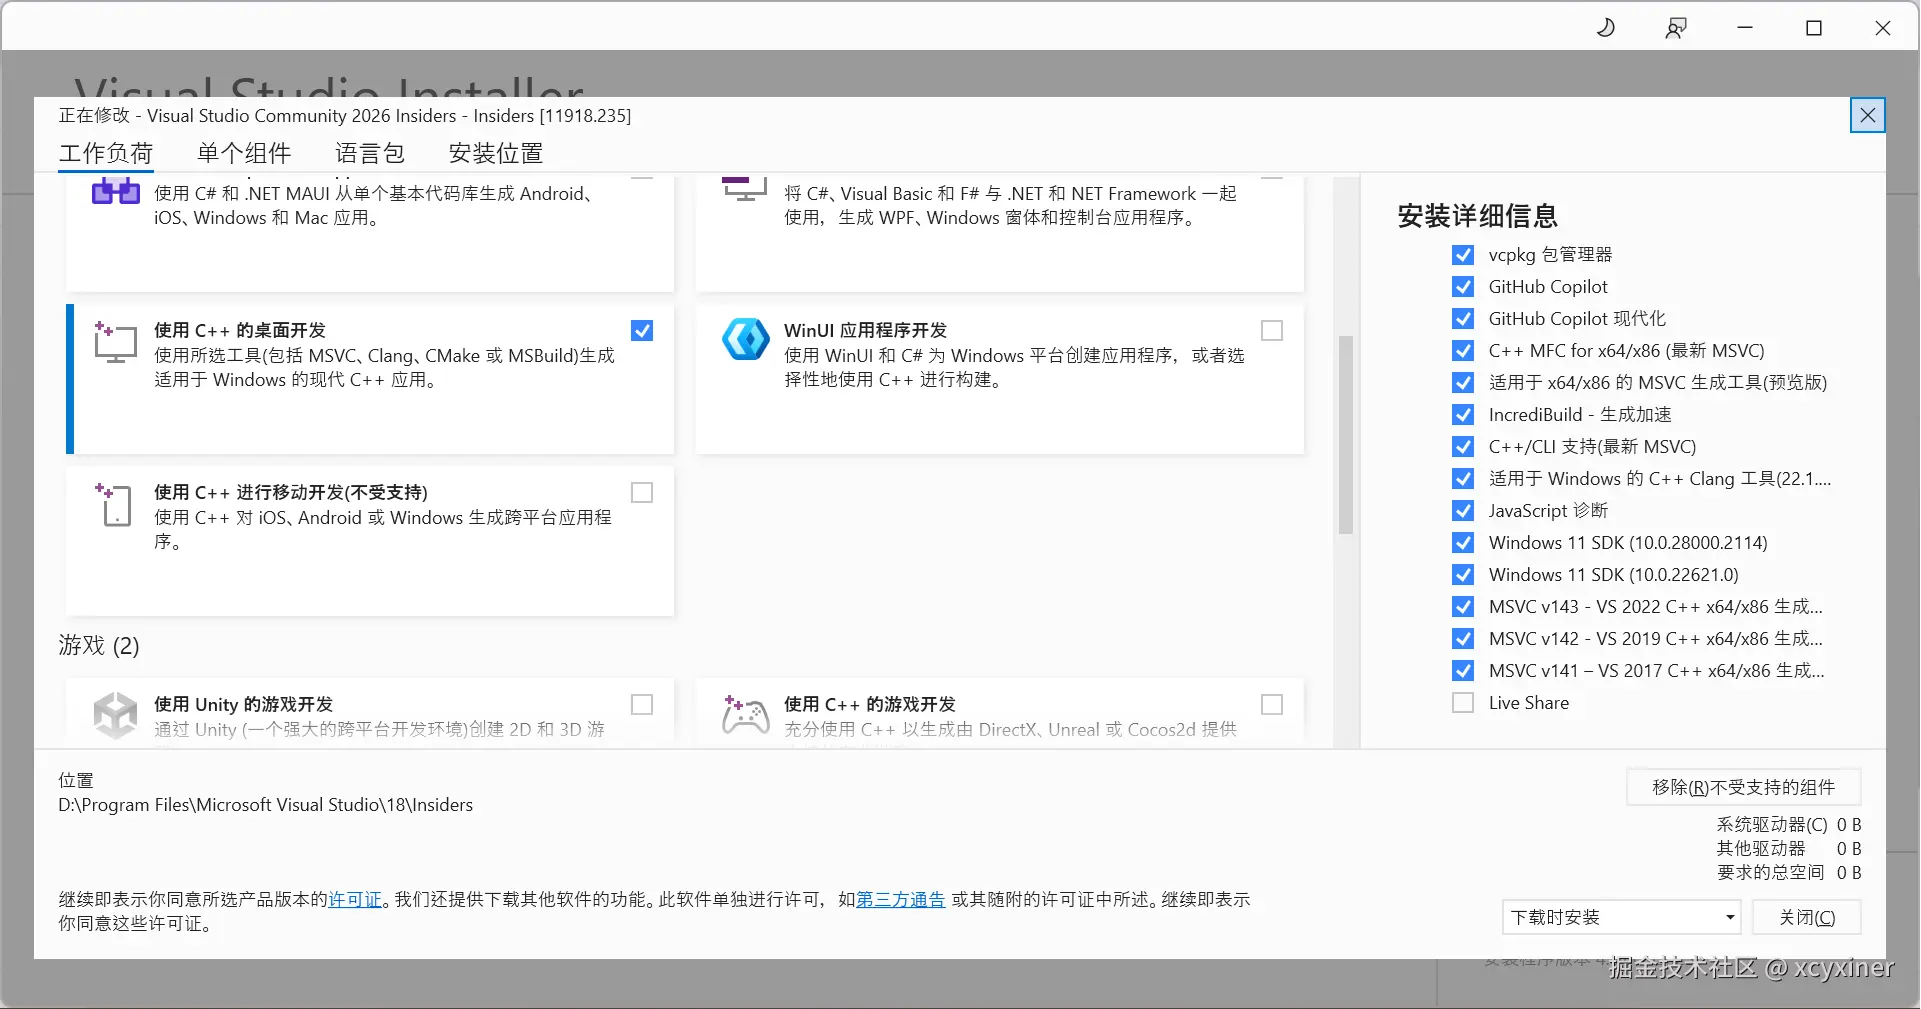
2.1 vs安装了2026,然后msvc都添加了
3 wsl 下 vcpkg配置
3.1 vcpkg 安装
这个网上有一堆,直接克隆,然后执行脚本就行 github.com/microsoft/v...
3.2 创建 vcpkg.json
json
ubuntu@LAPTOP-IAHSQH9B:~/xcyxiner/DicomViewer$ cat vcpkg.json
{
"name": "dicom-viewer",
"version": "1.0.0",
"dependencies": [
{
"name": "qtbase",
"default-features": false,
"features": ["widgets","gui","opengl"]
},
{
"name": "dcmtk"
},
{
"name": "gdcm"
},
{
"name": "vtk",
"default-features": false,
"features": ["qt","opengl"]
},
{
"name": "vtk-dicom",
"default-features": false,
"features": ["gdcm"]
}
],
"builtin-baseline": "a0400024711b283056538ac19ced80b91a83c24c",
"overrides": [
{ "name": "qtbase", "version": "6.8.3", "port-version": 5 },
{ "name": "dcmtk", "version": "3.6.7", "port-version": 0 },
{ "name": "gdcm", "version": "3.0.24","port-version": 0 },
{ "name": "vtk", "version": "9.3.0-pv5.12.1", "port-version": 17 },
{ "name": "vtk-dicom", "version": "0.8.17","port-version": 0 }
],
"$schema": "https://raw.githubusercontent.com/microsoft/vcpkg-tool/main/docs/vcpkg.schema.json"
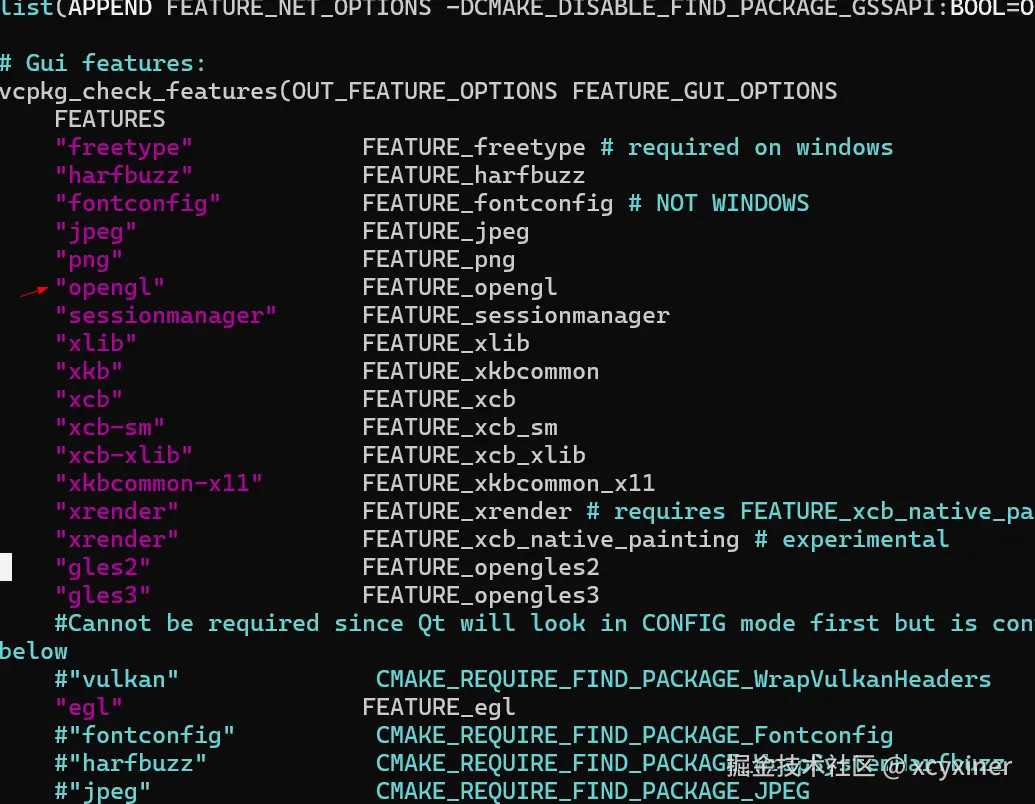
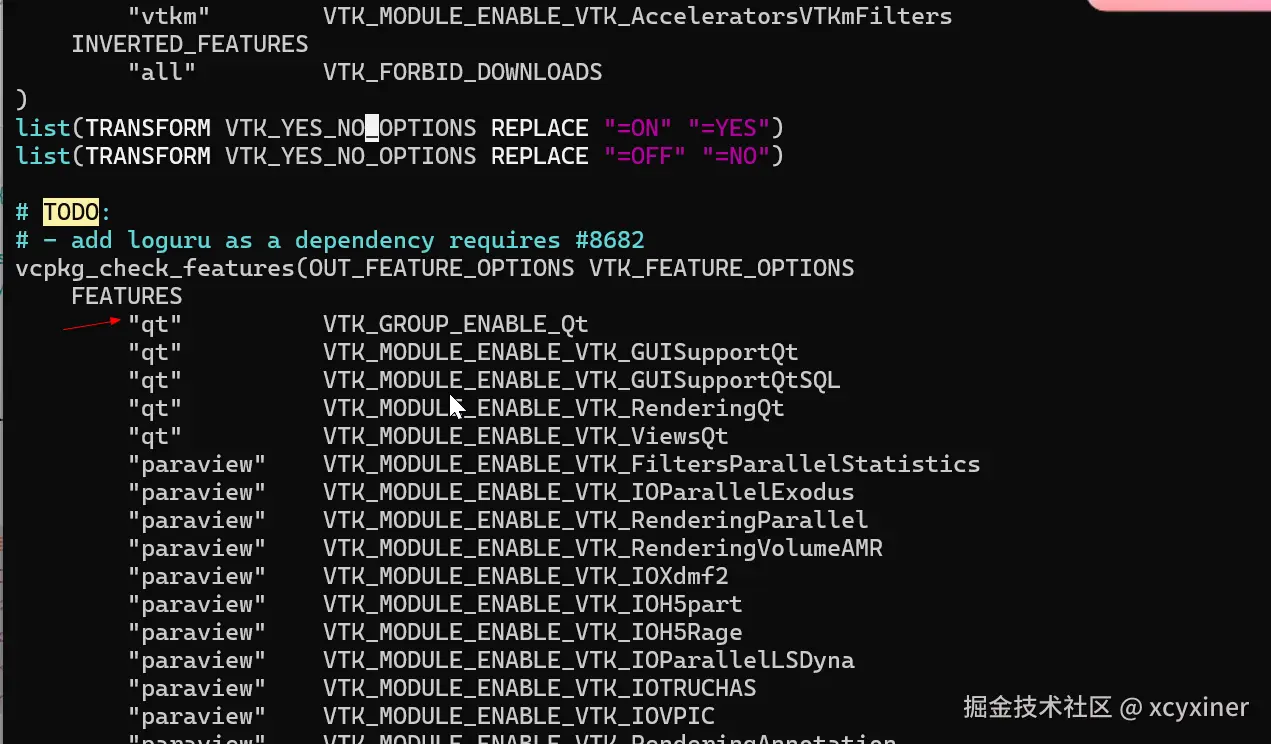
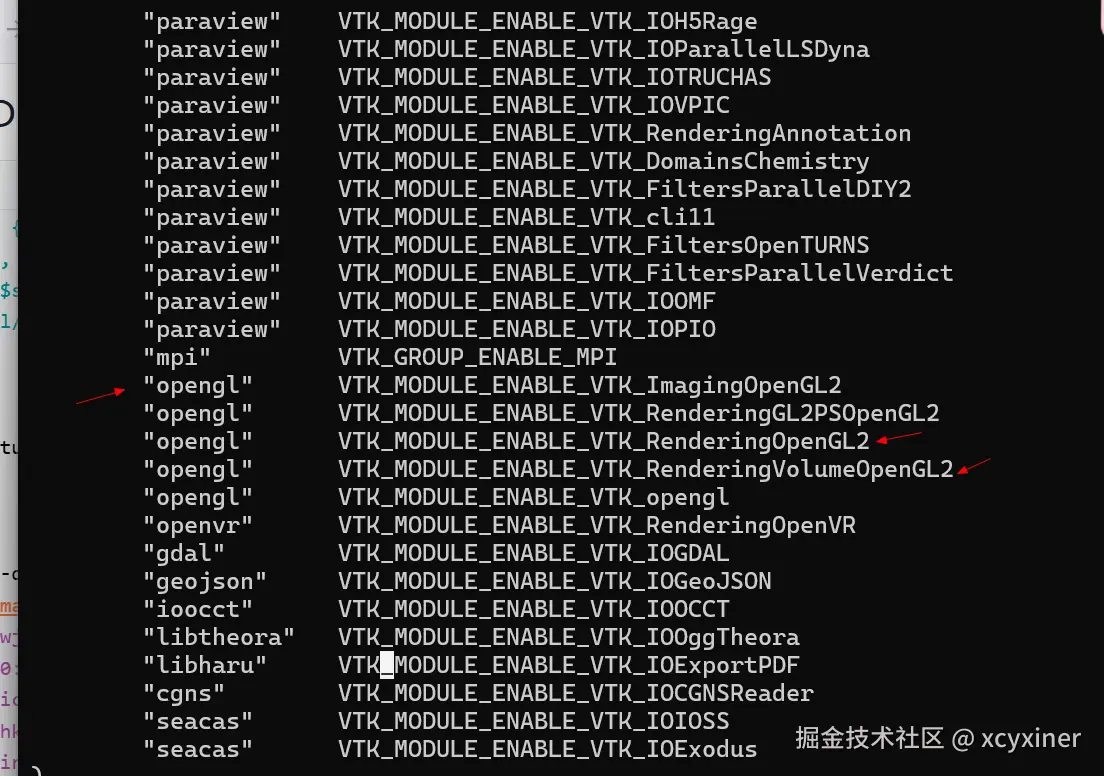
}features 是从ports里看对应加载的模块以及CMakeList.txt的来开启的
3.2.1 qtbase portfile.cmake
3.2.2 vtk portfile.cmake
3.2.3 vtk-dicom portfile.cmake

baseline 直接用了最新的master的commit。 其他的dcmtk以及vtk-dicom都是一样,先写个未知版本,安装的时候会提示那些版本支持.
qt 一开始是想着用了qt6.5.3 的 但是Windows下安装qtbase报错,还要降级msvc,就直接选了6.8.3的(vcpkg 只有6.5.3的,Qt 从 6.5.5 / 6.6.1 / 6.7.0 起就已修复 了 stdext::checked/unchecked_array_iterator对 MSVC 17.8+ Preview 及 VS 2026(你用的 14.52/MSVC 已移除 stdext)的兼容问题)
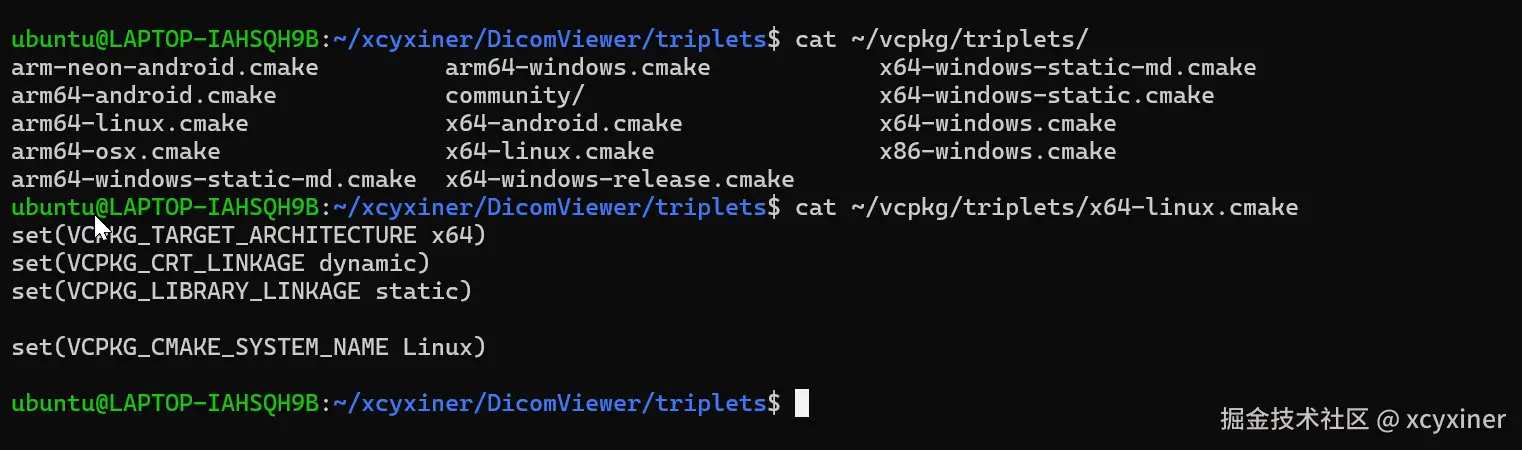
3.3 triplets
bash
ubuntu@LAPTOP-IAHSQH9B:~/xcyxiner/DicomViewer/triplets$ ls
x64-linux.cmake  x64-windows.cmake
ubuntu@LAPTOP-IAHSQH9B:~/xcyxiner/DicomViewer/triplets$ cat x64-linux.cmake
set(VCPKG_TARGET_ARCHITECTURE x64)
set(VCPKG_CMAKE_SYSTEM_NAME Linux)
set(VCPKG_CRT_LINKAGE dynamic)
set(VCPKG_LIBRARY_LINKAGE dynamic)
ubuntu@LAPTOP-IAHSQH9B:~/xcyxiner/DicomViewer/triplets$ cat x64-windows.cmake
set(VCPKG_TARGET_ARCHITECTURE x64)
set(VCPKG_CRT_LINKAGE dynamic)
set(VCPKG_LIBRARY_LINKAGE dynamic)

ubuntu@LAPTOP-IAHSQH9B:~/xcyxiner/DicomViewer/triplets$
Linux 本来想debug和release都分别建,但是在dcmtk上死了几次(这个dynamic 只支持static,release正常,debug的可能脚本写死了,include用的release的,最终只能release和debug一起编译)
vcpkg里的x64-linux的是static
3.4 编译
3.4.1 ubuntu
bash
~/vcpkg/vcpkg install --triplet x64-linux --overlay-triplets=./tripletsvcpkg vtk默认很多组件是使用系统  一开始在vtk9.2上死了好几次,改了用内置的一堆坑
 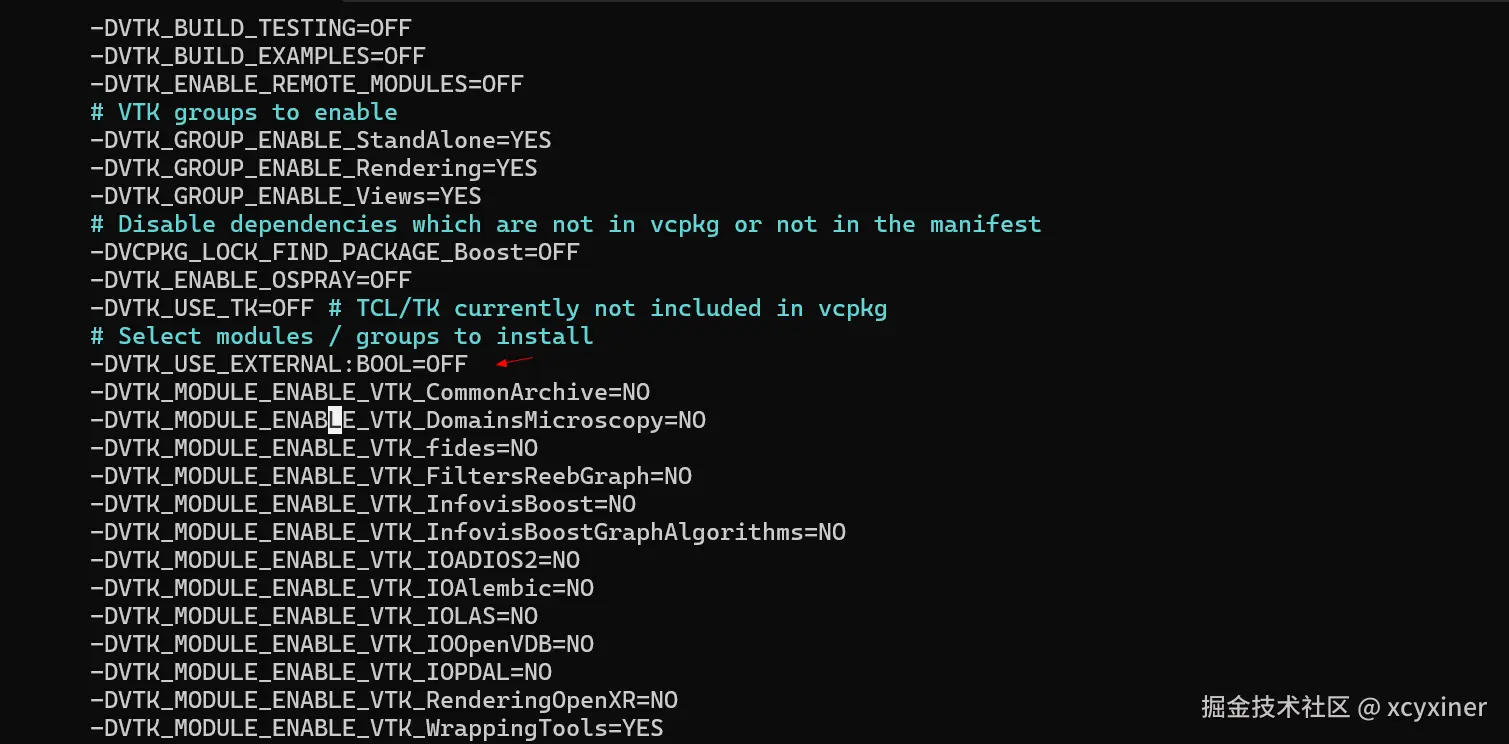 用vtk9.3 内置的就一次过,基本没啥问题。
qtbase linux下一次过,Windows下6.5.3有坑,换了6.8.3就一把过。。。
ubuntu 下还安装了安装了一堆软件
sql
sudo apt update && sudo apt install -y \
  build-essential binutils \
  libxt-dev libx11-dev libxext-dev libxrender-dev \
  libgl1-mesa-dev libegl1-mesa-dev libgles2-mesa-dev libglu1-mesa-dev \
  libxkbcommon-dev libxkbcommon-x11-dev libxkbcommon-x11-0 \
  libwayland-dev wayland-protocols \
  libxcb1-dev libxcb-xinerama0-dev libxcb-cursor-dev libxcb-icccm4-dev \
  libxcb-image0-dev libxcb-keysyms1-dev libxcb-randr0-dev \
  libxcb-render-util0-dev libxcb-shape0-dev libxcb-xkb-dev libx11-xcb-dev \
  libfontconfig1-dev libfreetype6-dev libdrm-dev libdbus-1-dev
3.4.2 window
Windows是在安装了vs2026之后,vcpkg安装后,用powershell打开的
ini
D:\vcpkg\vcpkg install --triplet x64-windows --overlay-triplets=.\triplets安装以后输出的
ruby
dcmtk provides CMake targets:

  # this is heuristically generated, and may not be correct
  find_package(DCMTK CONFIG REQUIRED)
  # note: 25 additional targets are not displayed.
  target_link_libraries(main PRIVATE DCMTK::cmr DCMTK::i2d DCMTK::ijg8 DCMTK::DCMTK)

dcmtk provides pkg-config modules:

  dcmtk

gdcm provides CMake targets:

  # this is heuristically generated, and may not be correct
  find_package(GDCM CONFIG REQUIRED)
  # note: 8 additional targets are not displayed.
  target_link_libraries(main PRIVATE gdcmIOD gdcmDICT gdcmDSED gdcmMEXD)

qtbase provides CMake targets:

  # this is heuristically generated, and may not be correct
  find_package(Qt6 CONFIG REQUIRED)
  # note: 37 additional targets are not displayed.
  target_link_libraries(main PRIVATE DB2::DB2 PPS::PPS Oracle::OCI Libb2::Libb2)

  find_package(Qt6Concurrent CONFIG REQUIRED)
  target_link_libraries(main PRIVATE Qt6::Concurrent Qt6::ConcurrentPrivate)

  find_package(Qt6Core CONFIG REQUIRED)
  target_link_libraries(main PRIVATE Qt6::Core Qt6::CorePrivate)

  find_package(Qt6DeviceDiscoverySupportPrivate CONFIG REQUIRED)
  target_link_libraries(main PRIVATE Qt6::DeviceDiscoverySupportPrivate)

  find_package(Qt6EntryPointPrivate CONFIG REQUIRED)
  target_link_libraries(main PRIVATE Qt6::EntryPointPrivate Qt6::EntryPointImplementation)

  find_package(Qt6ExampleIconsPrivate CONFIG REQUIRED)
  target_link_libraries(main PRIVATE Qt6::ExampleIconsPrivate Qt6::ExampleIconsPrivate_resources_1)

  find_package(Qt6ExamplesAssetDownloaderPrivate CONFIG REQUIRED)
  target_link_libraries(main PRIVATE Qt6::ExamplesAssetDownloaderPrivate)

  find_package(Qt6FbSupportPrivate CONFIG REQUIRED)
  target_link_libraries(main PRIVATE Qt6::FbSupportPrivate)

  find_package(Qt6Gui CONFIG REQUIRED)
  # note: 5 additional targets are not displayed.
  target_link_libraries(main PRIVATE Qt6::Gui Qt6::GuiPrivate Qt6::QGifPlugin Qt6::QICOPlugin)

  find_package(Qt6Network CONFIG REQUIRED)
  # note: 1 additional targets are not displayed.
  target_link_libraries(main PRIVATE Qt6::Network Qt6::QNLMNIPlugin Qt6::NetworkPrivate Qt6::QSchannelBackendPlugin)

  find_package(Qt6OpenGL CONFIG REQUIRED)
  target_link_libraries(main PRIVATE Qt6::OpenGL Qt6::OpenGLPrivate)

  find_package(Qt6OpenGLWidgets CONFIG REQUIRED)
  target_link_libraries(main PRIVATE Qt6::OpenGLWidgets Qt6::OpenGLWidgetsPrivate)

  find_package(Qt6PrintSupport CONFIG REQUIRED)
  target_link_libraries(main PRIVATE Qt6::PrintSupport Qt6::PrintSupportPrivate)

  find_package(Qt6Sql CONFIG REQUIRED)
  target_link_libraries(main PRIVATE Qt6::Sql Qt6::SqlPrivate Qt6::QSQLiteDriverPlugin)

  find_package(Qt6Test CONFIG REQUIRED)
  target_link_libraries(main PRIVATE Qt6::Test Qt6::TestPrivate)

  find_package(Qt6TestInternalsPrivate CONFIG REQUIRED)
  target_link_libraries(main PRIVATE Qt6::TestInternalsPrivate)

  find_package(Qt6Widgets CONFIG REQUIRED)
  target_link_libraries(main PRIVATE Qt6::Widgets Qt6::WidgetsPrivate Qt6::QModernWindowsStylePlugin)

  find_package(Qt6Xml CONFIG REQUIRED)
  target_link_libraries(main PRIVATE Qt6::Xml Qt6::XmlPrivate)

The package vtk provides CMake targets:

    find_package(VTK REQUIRED)
    target_link_libraries(main PRIVATE ${VTK_LIBRARIES})

vtk-dicom provides CMake targets:

  # this is heuristically generated, and may not be correct
  find_package(dicom CONFIG REQUIRED)
  target_link_libraries(main PRIVATE VTK::DICOM)

Completed submission of python3[core,extensions]:x64-windows@3.12.13#1 to 1 binary cache(s) in 3.8 s
Waiting for 1 remaining binary cache submissions...
Completed submission of vtk-dicom[core,gdcm]:x64-windows@0.8.17 to 1 binary cache(s) in 1.6 s (1/1)
All requested installations completed successfully in: 1.2 h
3.5 vcpkg 的缓存
一个是buildtrees 下,如果有bug,可以删掉这里的。但是vcpkg一般都是编译到特定的版本下面的,有时候删了这里没用。 downloads 是放压缩包的。有时候返回哈希值是动态的(某些网站有时间戳计算的),只能先手动下载下来放到这个目录。
错误日志,buildtrees下对应目录里的,可以查看报错的日志。
4 CmakeList.txt 使用vcpkg
ruby
ubuntu@LAPTOP-IAHSQH9B:~/xcyxiner/DicomViewer$ cat CMakeLists.txt
cmake_minimum_required(VERSION 3.14)

include(cmake/prelude.cmake)

project(
    DicomViewer
    VERSION 0.1.0
    DESCRIPTION "qt6 vtk gdcm dcmtk"
    HOMEPAGE_URL "https://github.com/xcyxiner/DicomViewer"
    LANGUAGES CXX
)

include(cmake/project-is-top-level.cmake)
include(cmake/variables.cmake)

# ---- Declare library ----

# ---- Declare executable ----
find_package(Qt6 REQUIRED COMPONENTS Widgets OpenGLWidgets)

find_package(DCMTK REQUIRED)
find_package(VTK REQUIRED COMPONENTS
  CommonCore
  CommonDataModel
  IOImage
  ImagingCore
  RenderingCore
  RenderingOpenGL2
  RenderingVolumeOpenGL2
  InteractionStyle
  RenderingQt
)
find_package(dicom CONFIG REQUIRED)

qt_standard_project_setup()

execute_process(COMMAND python gen_src.py)
include(source_list.cmake)

add_executable(DicomViewer_exe ${SRC})
add_executable(DicomViewer::exe ALIAS DicomViewer_exe)

set_property(TARGET DicomViewer_exe PROPERTY OUTPUT_NAME DicomViewer)
target_include_directories(DicomViewer_exe PRIVATE ${CMAKE_CURRENT_SOURCE_DIR}/source)

target_compile_features(DicomViewer_exe PRIVATE cxx_std_17)

target_link_libraries(DicomViewer_exe
   PRIVATE
     Qt6::Widgets
     Qt6::OpenGLWidgets
     DCMTK::DCMTK
     VTK::CommonCore
     VTK::CommonDataModel
     VTK::IOImage
     VTK::ImagingCore
     VTK::RenderingCore
     VTK::RenderingOpenGL2
     VTK::RenderingVolumeOpenGL2
     VTK::InteractionStyle
     VTK::RenderingQt
     VTK::DICOM
)

# ---- Install rules ----

if(NOT CMAKE_SKIP_INSTALL_RULES)
  include(cmake/install-rules.cmake)
endif()

# ---- Developer mode ----

if(NOT DicomViewer_DEVELOPER_MODE)
  return()
elseif(NOT PROJECT_IS_TOP_LEVEL)
  message(
      AUTHOR_WARNING
      "Developer mode is intended for developers of DicomViewer"
  )
endif()

include(cmake/dev-mode.cmake)
之前路径依赖的都移除了。
4.1 linux的依赖安装
bash
cmake -S . -B build -D CMAKE_BUILD_TYPE=Debug -D CMAKE_TOOLCHAIN_FILE=$HOME/vcpkg/scripts/buildsystems/vcpkg.cmake -D CMAKE_PREFIX_PATH="$HOME/xcyxiner/DicomViewer/vcpkg_installed/x64-linux/debug;$HOME/xcyxiner/DicomViewer/vcpkg_installed/x64-linux"  -DVCPKG_TARGET_TRIPLET=x64-linux -DVCPKG_OVERLAY_TRIPLETS=$HOME/xcyxiner/DicomViewer/triplets
cmake --build build
这个因为Windows下换了qt6.8.3的又要重新编译,ubuntu下qtbase还需要添加xcb
4.2 Windows下的依赖安装
Windows的编译脚本1.sp1
powershell
# 1.ps1
# DicomViewer CMake 配置脚本

$HomeDir = "D:"
$VcpkgRoot = "$HomeDir\vcpkg"
$VcpkgCMake = "$VcpkgRoot\downloads\tools\cmake-4.3.3-windows\cmake-4.3.3-windows-x86_64\bin\cmake.exe"
$ProjectRoot = "$HomeDir\xcyxiner\DicomViewer"

$DicomDebugPath   = "$ProjectRoot\vcpkg_installed\x64-windows\debug"
$DicomReleasePath = "$ProjectRoot\vcpkg_installed\x64-windows"

& $VcpkgCMake -S . -B build `
    -D CMAKE_BUILD_TYPE=Debug `
    -D CMAKE_TOOLCHAIN_FILE="$VcpkgRoot\scripts\buildsystems\vcpkg.cmake" `
    -D "CMAKE_PREFIX_PATH=$DicomDebugPath;$DicomReleasePath" `
    -D VCPKG_TARGET_TRIPLET=x64-windows `
    -D VCPKG_OVERLAY_TRIPLETS="$ProjectRoot\triplets" -D DEPLOY_QT_PLUGINS=ON

# 如果需要同时构建,取消下面这行注释
& $VcpkgCMake --build build --config Debug
直接编译的debug运行会报错,CMakeList.txt这里添加拷贝的
ruby
# ---------- Windows: 自动 windeployqt ----------
option(DEPLOY_QT_PLUGINS "Auto-copy Qt platform plugins after build" OFF)
if(WIN32 AND MSVC AND DEPLOY_QT_PLUGINS)
    set(_qt_debug_bin "${CMAKE_BINARY_DIR}/vcpkg_installed/x64-windows/debug/bin")
    set(_qt_debug_plugins "${CMAKE_BINARY_DIR}/vcpkg_installed/x64-windows/debug/Qt6/plugins")

    add_custom_command(TARGET DicomViewer_exe POST_BUILD
        COMMAND ${CMAKE_COMMAND} -E make_directory
            $<TARGET_FILE_DIR:DicomViewer_exe>/platforms
        COMMAND ${CMAKE_COMMAND} -E copy_if_different
            "${_qt_debug_plugins}/platforms/qwindowsd.dll"
            $<TARGET_FILE_DIR:DicomViewer_exe>/platforms/qwindowsd.dll
        COMMENT "Copying qwindowsd.dll (Debug)"
    )
endif()
5 git commit
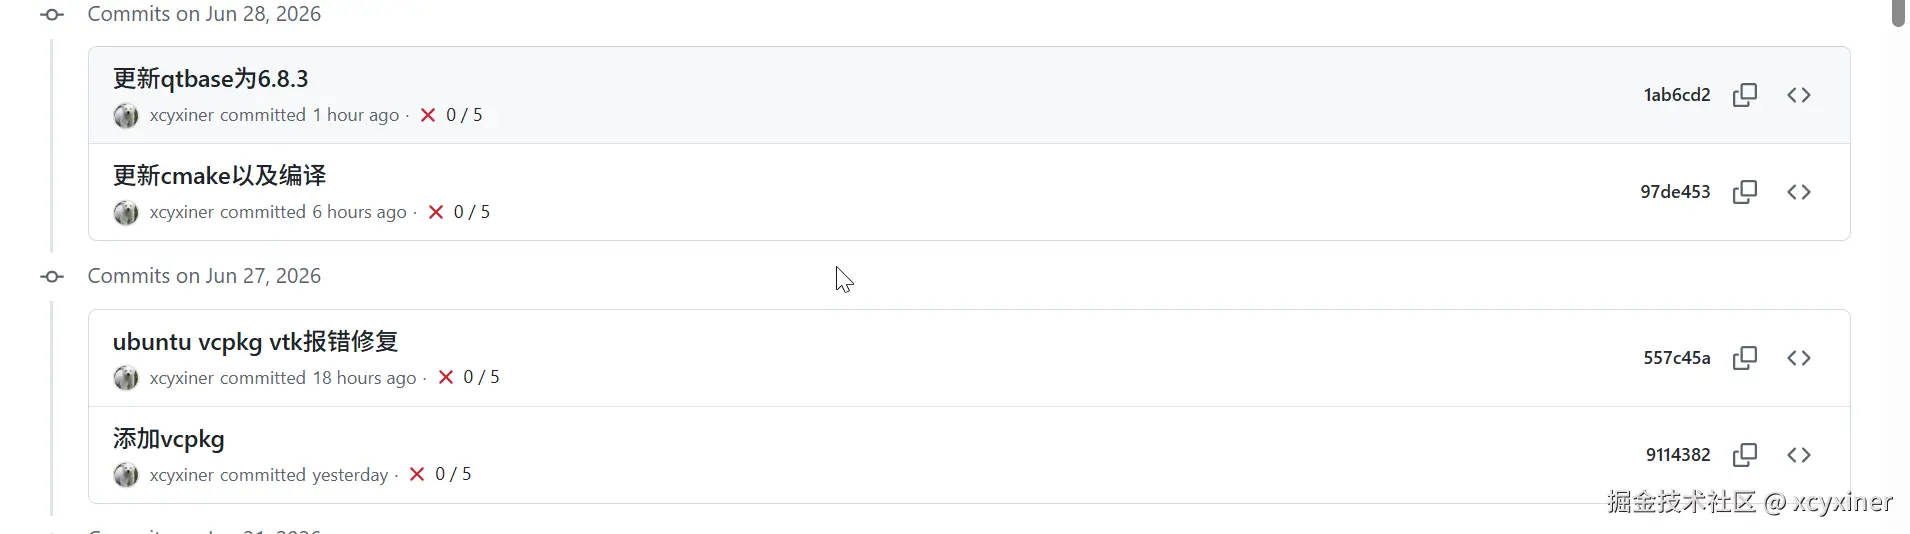
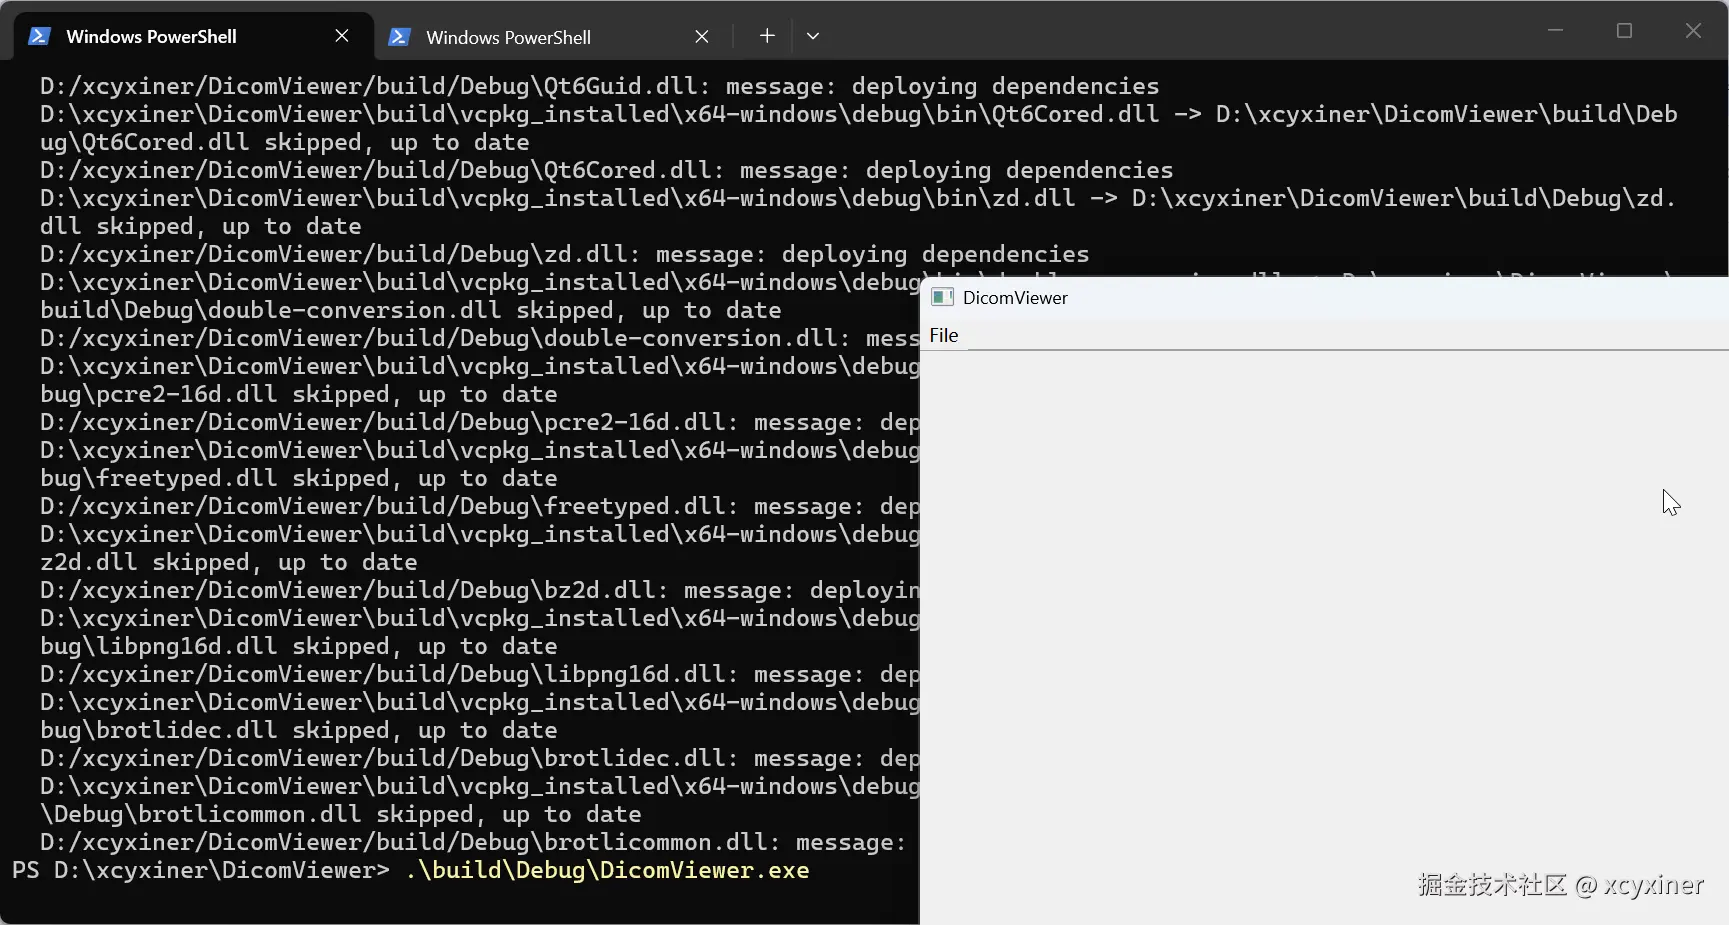
最开始是在wsl下能编译,之后是通过Cmake能正常运行,最上面的是Windows下能编译。