一.网络请求-Dio插件的安装及基本使用
●网络请求是Flutter移动应用开发的核心功能,最常用的网络请求工具是使用Dio插件
●安装dio:flutter pub add dio(在Trae的终端里安装即可)
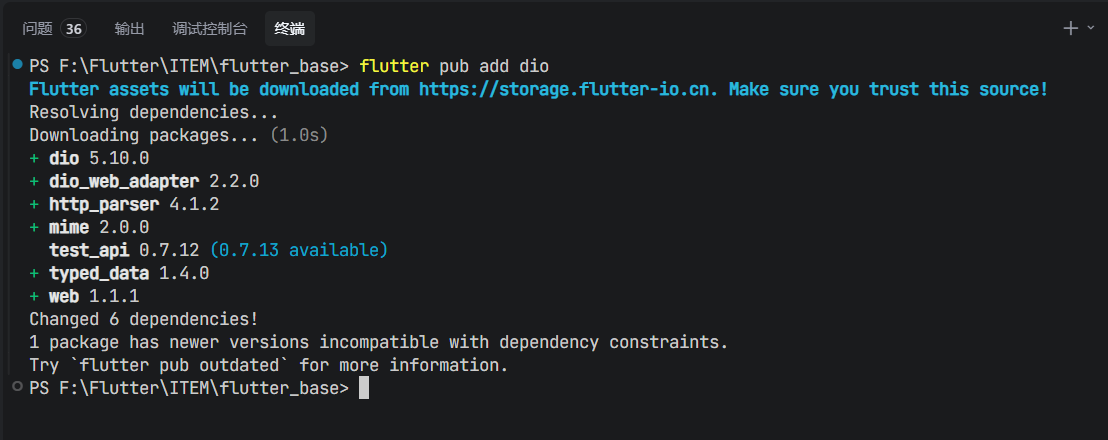
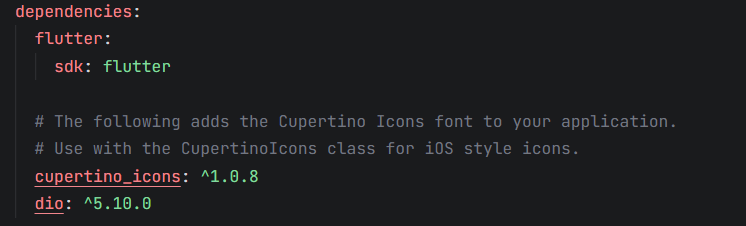
pubspec文件里如果有的话就是正常安装成功。
基本使用:Dio(.get(地址).then().catchError()
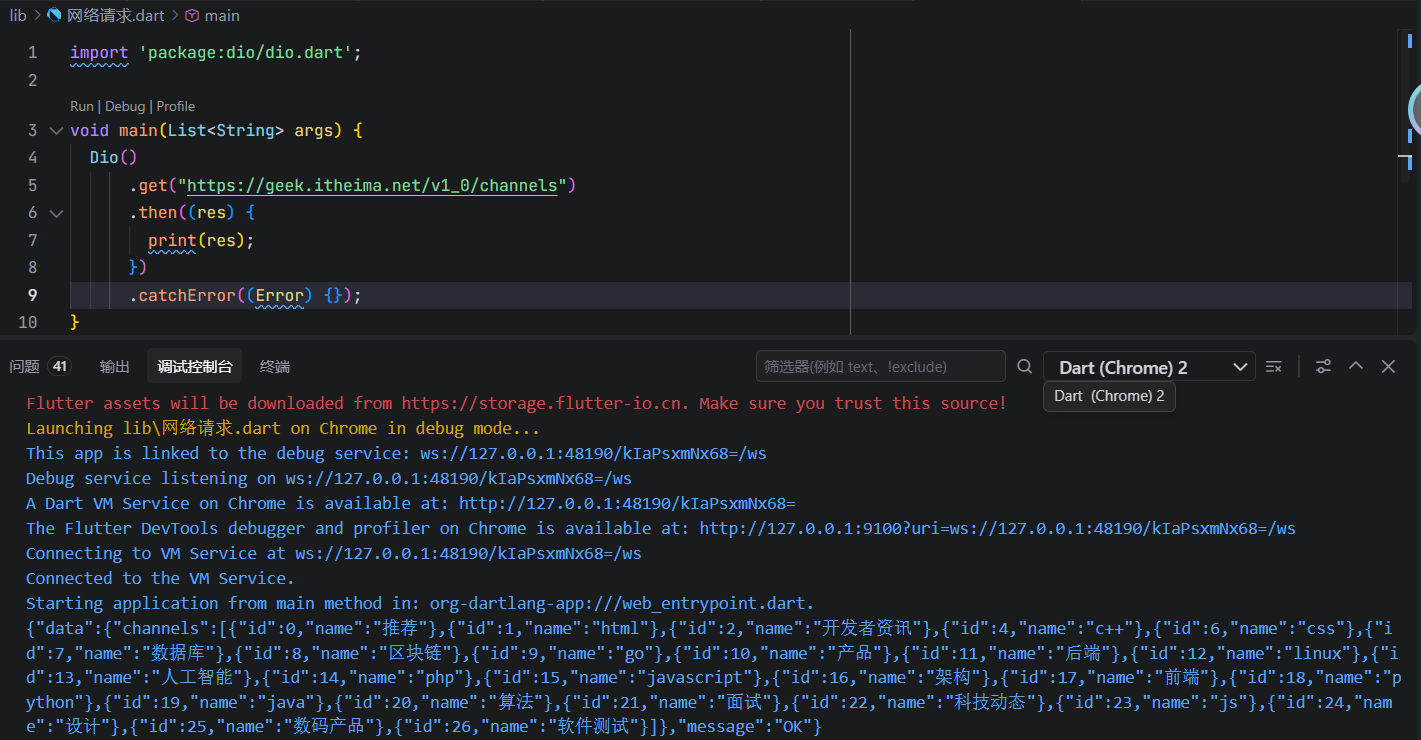
代码示例:
Dart
import 'package:dio/dio.dart';

void main(List<String> args) {
  Dio()
      .get("https://geek.itheima.net/v1_0/channels")
      .then((res) {
        print(res);
      })
      .catchError((Error) {});
}
二.网络请求的案例
●Dio封装过程
1.创建工具类
2.构造函数中设置基础地址和超时时间
3.添加各类拦截器
4.封装统一请求方法
S.请求频道数据进行循环渲染解决web端跨域问题
6.实现U川渲染绘制
这块不太好理解,我将所有的解释都注释在了代码后面,不懂得要网上查为什么。
Dart
import 'package:dio/dio.dart';
import 'package:flutter/cupertino.dart';

void main(List<String> args) {
  // runApp(MainPage());
}

//封装一个工具类
class DioUtils {
  final Dio _dio =
      Dio(); //表示_dio这个内部变量是Dio类型且只能赋值一次,Dio()是dio三方库自带的构造函数,这里相当于实例化了一个_dio对象。
  DioUtils() {
    // _dio.options.baseUrl = "htps://tgeek.itheima.net/v1_0/";  //
    // _dio.options.connectTimeout = Duration(seconds: 10);     //连接超时
    // _dio.options.sendTimeout = Duration(seconds: 10);       //发送超时
    // _dio.options.receiveTimeout = Duration(seconds: 10);   //接收超时
    _dio.options
      ..baseUrl =
          "htps://tgeek.itheima.net/v1_0/" //..简洁写法连续赋值写法
      ..connectTimeout = Duration(seconds: 10)
      ..sendTimeout = Duration(seconds: 10)
      ..receiveTimeout = Duration(seconds: 10);
    _addInterceptor(); //调用封装好的拦截器方法
  }
  void _addInterceptor() {
    //用函数封装拦截器方法
    _dio.interceptors.add(
      //给_dio实例化对象添加拦截器
      InterceptorsWrapper(
        onRequest: (options, handler) {
          handler.next(options); //表示通过了检查可以去往下一个拦截器或直接发送给服务器
          // handler.reject(error); //表示不通过给你拦截住了
        },
        onResponse: (response, handler) {
          if (response.statusCode! >= 200 && response.statusCode! <= 300) {
            //进行逻辑判断状态码是否合规进行放过或拦截决策
            handler.next(response);
            return;
          }
          handler.reject(
            DioException(requestOptions: response.requestOptions),
          ); //拦截抛出异常
        },
        onError: (error, handler) {
          handler.reject(error);
        },
      ),
    );
  }

//构造一个向外的get方法
  get(String url, {Map<String,dynamic>? params}) {
    return _dio.get(url,queryParameters: params);
  }
}