Nuxt阶段二:核心概念 ------ 路由、布局、组件与 Composables
学习目标 :掌握文件路由(动态/嵌套)、布局系统、组件自动导入、composables 与
useState。预计时间 :1--2 周
前置 :完成阶段一,项目能
pnpm dev跑起来。本阶段产出:一个三页「个人博客骨架」(首页 / 文章列表 / 文章详情)。
1. 文件路由深入
Nuxt 根据 app/pages/ 下的文件自动生成路由。
1.1 命名与 URL 对照
| 文件路径 | URL |
|---|---|
pages/index.vue |
/ |
pages/about.vue |
/about |
pages/blog/index.vue |
/blog |
pages/blog/[id].vue |
/blog/123(动态段) |
pages/blog/[...slug].vue |
/blog/a/b/c(捕获剩余路径) |
pages/user-[group]/id.vue |
/user-admin/1(前缀 + 动态) |
1.2 动态路由:文章详情
创建 app/pages/blog/[id].vue:
html
<script setup lang="ts">
const route = useRoute()
const id = computed(() => route.params.id as string)

// 先用假数据,阶段三再接真实 API
const posts: Record<string, { title: string; body: string }> = {
  '1': { title: '什么是 Nuxt 4', body: 'Nuxt 是 Vue 全栈框架......' },
  '2': { title: '文件路由入门', body: 'pages 目录决定 URL......' },
}

const post = computed(() => posts[id.value] ?? null)

if (!post.value) {
  throw createError({ statusCode: 404, statusMessage: '文章不存在' })
}

useSeoMeta({
  title: () => post.value?.title ?? '文章',
})
</script>

<template>
  <article v-if="post" class="post">
    <NuxtLink to="/blog">← 返回列表</NuxtLink>
    <h1>{{ post.title }}</h1>
    <p class="meta">文章 ID:{{ id }}</p>
    <div>{{ post.body }}</div>
  </article>
</template>
要点:
useRoute()读取当前路由route.params.id对应文件名[id]createError({ statusCode: 404 })触发错误页
1.3 列表页 app/pages/blog/index.vue
html
<script setup lang="ts">
const posts = [
  { id: '1', title: '什么是 Nuxt 4', excerpt: '从零认识 Nuxt 4' },
  { id: '2', title: '文件路由入门', excerpt: 'pages 如何变成 URL' },
]

useSeoMeta({ title: '博客列表' })
</script>

<template>
  <section class="blog-list">
    <h1>博客</h1>
    <ul>
      <li v-for="p in posts" :key="p.id">
        <NuxtLink :to="`/blog/${p.id}`">
          <strong>{{ p.title }}</strong>
          <span>{{ p.excerpt }}</span>
        </NuxtLink>
      </li>
    </ul>
  </section>
</template>
1.4 编程式导航
模板里优先用 <NuxtLink>(预取、无刷新)。脚本里用:
ts
const router = useRouter()

// 跳转
await navigateTo('/blog')
await navigateTo(`/blog/${id}`)

// 或
router.push('/about')
navigateTo 在中间件、服务端也能用,更推荐。
1.5 嵌套路由(可选了解)
若需要「父级布局 + 子页面」同屏显示:
text
pages/
  user.vue          ← 父页面,内含 <NuxtPage />
  user/
    index.vue       → /user
profile.vue → /user/profileuser.vue:
html
<template>
  <div>
    <nav>
      <NuxtLink to="/user">概览</NuxtLink>
      <NuxtLink to="/user/profile">资料</NuxtLink>
    </nav>
    <NuxtPage />
  </div>
</template>
博客骨架可以暂不嵌套,先掌握动态路由即可。
2. 布局系统 Layouts
布局是页面外层的「壳」:导航栏、页脚、侧边栏。
2.1 默认布局
创建 app/layouts/default.vue:
html
<template>
  <div class="layout">
    <header class="header">
      <NuxtLink to="/" class="logo">MyBlog</NuxtLink>
      <nav>
        <NuxtLink to="/">首页</NuxtLink>
        <NuxtLink to="/blog">博客</NuxtLink>
        <NuxtLink to="/about">关于</NuxtLink>
      </nav>
    </header>

    <main class="main">
      <slot />
    </main>

    <footer class="footer">
      <p>© {{ new Date().getFullYear() }} Nuxt 4 学习博客</p>
    </footer>
  </div>
</template>

<style scoped>
.layout { min-height: 100vh; display: flex; flex-direction: column; }
.header {
  display: flex; justify-content: space-between; align-items: center;
  padding: 1rem 1.5rem; border-bottom: 1px solid #e5e5e5;
}
.header nav { display: flex; gap: 1rem; }
.main { flex: 1; max-width: 720px; width: 100%; margin: 0 auto; padding: 2rem 1rem; }
.footer { padding: 1.5rem; text-align: center; color: #666; border-top: 1px solid #e5e5e5; }
.logo { font-weight: 700; text-decoration: none; color: inherit; }
a.router-link-active { color: #00dc82; }
</style>
<slot /> 的位置就是各页面内容插入处。
确保 app/app.vue 为:
html
<template>
  <NuxtLayout>
    <NuxtPage />
  </NuxtLayout>
</template>
不写 definePageMeta 时,页面默认用 default 布局。
2.2 多布局:管理后台壳
创建 app/layouts/admin.vue:
html
<template>
  <div class="admin">
    <aside>
      <p>后台</p>
      <NuxtLink to="/admin">仪表盘</NuxtLink>
    </aside>
    <section>
      <slot />
    </section>
  </div>
</template>
在页面里指定:
html
<script setup lang="ts">
definePageMeta({
  layout: 'admin',
})
</script>

<template>
  <h1>仪表盘</h1>
</template>
创建 app/pages/admin/index.vue 即可访问 /admin。
2.3 页面元信息 definePageMeta
ts
definePageMeta({
  layout: 'admin',
  title: '仪表盘',        // 自定义字段,可在中间件里读
  middleware: ['auth'],   // 阶段六再细讲
})注意:definePageMeta 是编译期宏,不要放进函数内部,也不要依赖运行时变量。
2.4 Layout Props(Nuxt 4.4+ 了解)
新版本支持向 layout 传 props,便于标题条等。若你的版本支持,可查阅官方 Layout Props 文档;入门阶段用 useState 传标题也完全够用。
3. 组件自动导入
把组件放进 app/components/,无需 import,模板里直接用。
3.1 基础示例
app/components/AppHeader.vue:
html
<script setup lang="ts">
defineProps<{ subtitle?: string }>()
</script>

<template>
  <header>
    <h1>MyBlog</h1>
    <p v-if="subtitle">{{ subtitle }}</p>
  </header>
</template>
任意页面:
html
<template>
  <AppHeader subtitle="阶段二练习" />
</template>
3.2 目录与组件名
| 文件 | 组件名 |
|---|---|
components/AppHeader.vue |
<AppHeader> |
components/blog/PostCard.vue |
<BlogPostCard> |
components/blog/PostCard.vue(配 pathPrefix) |
也可配置为 <PostCard> |
创建 app/components/blog/PostCard.vue:
html
<script setup lang="ts">
defineProps<{
  id: string
  title: string
  excerpt: string
}>()
</script>

<template>
  <article class="card">
    <NuxtLink :to="`/blog/${id}`">
      <h2>{{ title }}</h2>
      <p>{{ excerpt }}</p>
    </NuxtLink>
  </article>
</template>

<style scoped>
.card {
  padding: 1rem 0;
  border-bottom: 1px solid #eee;
}
.card a { text-decoration: none; color: inherit; }
.card h2 { margin: 0 0 0.5rem; font-size: 1.25rem; }
.card p { margin: 0; color: #666; }
</style>
列表页改为:
html
<template>
  <section>
    <h1>博客</h1>
    <BlogPostCard
      v-for="p in posts"
      :key="p.id"
      :id="p.id"
      :title="p.title"
      :excerpt="p.excerpt"
    />
  </section>
</template>
3.3 懒加载组件
组件名前加 Lazy 前缀,会按需加载:
html
<LazyBlogHeavyChart v-if="showChart" />适合大型、非首屏组件。
4. Composables(组合式函数)
业务逻辑抽到 app/composables/,同样自动导入。
4.1 命名约定
文件 useXxx.ts,导出函数 useXxx:
ts
// app/composables/useSite.ts
export function useSite() {
  const config = useRuntimeConfig()
  const name = computed(() => config.public.appName || 'MyBlog')
  return { name }
}
页面中:
html
<script setup lang="ts">
const { name } = useSite()
</script>

<template>
  <p>站点:{{ name }}</p>
</template>
4.2 SSR 友好的全局状态:useState
不要用普通模块级 ref 做跨请求共享(会在服务端串数据)。用:
ts
// app/composables/useCounter.ts
export function useCounter() {
  const count = useState('counter', () => 0)
  const increment = () => { count.value++ }
  const reset = () => { count.value = 0 }
  return { count, increment, reset }
}
useState 的 key('counter')保证同一请求内共享,且会正确传递到客户端 hydration。
4.3 读取路由参数的小封装
ts
// app/composables/useBlogId.ts
export function useBlogId() {
  const route = useRoute()
  return computed(() => String(route.params.id || ''))
}
5. 本阶段完整练习:博客骨架
按下面清单搭好结构:
text
app/
├── app.vue
├── layouts/
│   └── default.vue
├── components/
│   └── blog/
│       └── PostCard.vue
├── composables/
│   └── useSite.ts
└── pages/
    ├── index.vue
    ├── about.vue
    └── blog/
        ├── index.vue
        └── [id].vue
首页建议内容
html
<script setup lang="ts">
const { name } = useSite()
useSeoMeta({
  title: '首页',
  description: 'Nuxt 4 学习博客',
})
</script>

<template>
  <div>
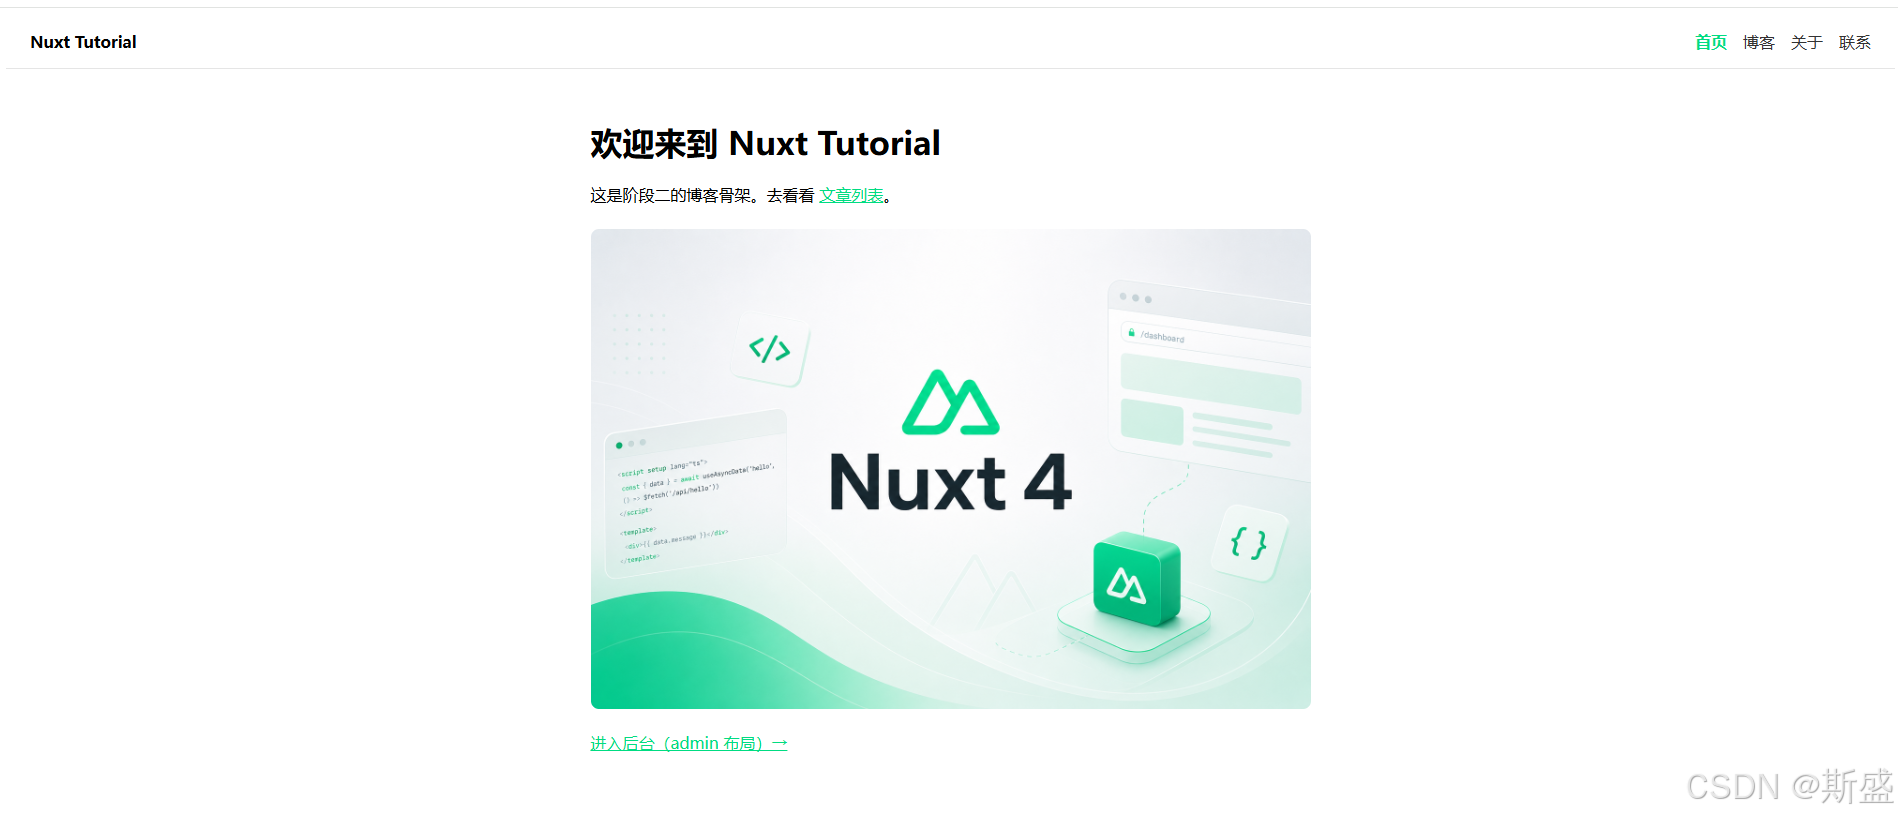
    <h1>欢迎来到 {{ name }}</h1>
    <p>这是阶段二的博客骨架。去看看 <NuxtLink to="/blog">文章列表</NuxtLink>。</p>
  </div>
</template>
验收清单
- 顶部导航可在 首页 / 博客 / 关于 间跳转
-
/blog用BlogPostCard列出至少 2 篇文章 -
/blog/1、/blog/2显示详情;访问/blog/999出现 404 - 使用了
useSitecomposable - 所有页面套在
default布局里
加分题:
- 增加
layouts/admin.vue+/admin页 - 给当前导航项加高亮(可用
useRoute()或 NuxtLink 的 active class)
6. 常见坑
动态参数是 string | string\[\]
多段路由时可能是数组,统一 String(route.params.id) 或做判断。
布局不生效
检查 app.vue 是否包了 <NuxtLayout>;layout: false 会关闭布局。
组件名对不上
看 Nuxt DevTools → Components,确认自动生成的名字。
definePageMeta 报错
只能写在 <script setup> 顶层;不能在 pages 以外的组件里用(有例外高级用法,入门先遵守这点)。
7. 阶段总结
你已经掌握:
- 动态路由、
useRoute/navigateTo、404 - default / 多布局与
definePageMeta - 组件与 composables 自动导入
useState的正确用法
下一篇 :阶段三 ------ useFetch / useAsyncData、Nuxt 4 数据层、Pinia 状态管理,把假数据换成真实请求。