代码:
https://github.com/Johannes4Linux/Linux_Driver_Tutorial
lesson7 字符设备的打开和释放
lesson8 字符设备的读取和写入
其实这两课和lesson5程序很接近,不过Johannes 在内核层之外,还提供了应用层测试的例程。
lesson7 内核层 hello_cdev.c
#include <linux/module.h>
#include <linux/init.h>
#include <linux/fs.h>

static int major;

//inode 表示内核设备文件的结构体,靠它来获得主/附设备号,flip 代表打开的设备文件
static int my_open(struct inode *inode, struct file *filp)
{
    //主设备号  imajor(inode) iminor(inode) imajor/iminor 都是宏
	pr_info("hello_cdev - Major: %d, Minor %d\n", imajor(inode), iminor(inode));

    //当前打开文件的位置
	pr_info("hello_cdev - filp->f_pos: %lld\n", filp->f_pos);
	//设备文件的权限 ls -lh 命令里面的 rwx
    pr_info("hello_cdev - filp->f_mode: 0x%x\n", filp->f_mode);
    //设备文件的标志位 比如层test.c 里面的 O_RDWR/O_WRONLY 等
	pr_info("hello_cdev - filp->f_flags: 0x%x\n", filp->f_flags);

	return 0;
}

static int my_release(struct inode *inode, struct file *filp)
{
	pr_info("hello_cdev - File is closed\n");
	return 0;
}
//设备文件支持的设备操作,这里只有open/release 操作
static struct file_operations fops = {//实例化fops
	.open = my_open,
	.release = my_release,
};

static int __init my_init(void)
{
	major = register_chrdev(0, "hello_cdev", &fops);//注册字符设备
	if (major < 0) {
		pr_err("hello_cdev - Error registering chrdev\n");
		return major;
	}
	pr_info("hello_cdev - Major Device Number: %d\n", major);
	return 0;
}

static void __exit my_exit(void)
{
	unregister_chrdev(major, "hello_cdev");
}

module_init(my_init);
module_exit(my_exit);

MODULE_LICENSE("GPL");
MODULE_AUTHOR("Johannes 4Linux");
MODULE_DESCRIPTION("A sample driver for registering a character device");
和lesson5 对比,十分类似,lesson5 只实例化了.read 读,这里有实例化.open/.release,视频开始的9分钟对于设备文件这些做了相关说明。
视频第十分钟做了个应用层的程序test.c说明,看看代码就行,略过。
#include <stdio.h>
#include <stdlib.h>
#include <unistd.h>
#include <fcntl.h>

int main(int argc, char **argv) {
	int fd;

	if (argc < 2) {
		printf("I need the file to open as an argument!\n");
		return 0;
	}

	fd = open(argv[1], O_RDONLY);

	if (fd < 0) {
		perror("open");
		return fd;
	}

	close (fd);

	fd = open(argv[1], O_RDWR | O_SYNC);

	if (fd < 0) {
		perror("open");
		return fd;
	}

	close (fd);

	fd = open(argv[1], O_WRONLY | O_NONBLOCK);

	if (fd < 0) {
		perror("open");
		return fd;
	}

	close (fd);
	return 0;
}
两个程序都写完了,视频开始编译驱动程序,insmod之后,mknod /dev/hello0 从236 0 ;mknod /dev/hello0 236 10 ; 这就造了两个字符设备 /dev/hello0 ,主设备号236,次设备号分别是0,10;最后在应用层跑测试,分别做这两个字符设备,打印不同的次设备号,不同模式,表明测试程序成功。
mknod 生成设备文件现在已经不推荐了,不过linux还保留这个方法。
这几个课程加起来就是对字符设备常用的操作开,关,读,写的操作,构成了字符设备的开发架构。我认为字符设备其实都可以理解为在这个架构上开发的。综合lesson3/lesson7 ,仿照写一个字符设备控制led开关的程序
#include <linux/module.h>
#include <linux/init.h>
#include <linux/fs.h>
#include <linux/gpio/consumer.h>


static int major;
static struct gpio_desc *led;

#define IO_LED 21

#define IO_OFFSET 0


static int my_open(struct inode *inode, struct file *filp)
{
        int status;
	led = gpio_to_desc(IO_LED + IO_OFFSET);
	if (!led) {
		printk("gpioctrl - Error getting pin %d\n", IO_LED);
		return -ENODEV;
	}
        status = gpiod_direction_output(led, 0);
	if (status) {
		printk("gpioctrl - Error setting pin %d to output\n", IO_LED);
		return status;
	}
	gpiod_set_value(led, 1);
	return 0;
}

static int my_release(struct inode *inode, struct file *filp)
{
	gpiod_set_value(led, 0);
	pr_info("hello_cdev - File is closed\n");
	return 0;
}

static struct file_operations fops = {
	.open = my_open,
	.release = my_release,
};

static int __init my_init(void)
{
	major = register_chrdev(0, "hello_cdev", &fops);
	if (major < 0) {
		pr_err("hello_cdev - Error registering chrdev\n");
		return major;
	}
	pr_info("hello_cdev - Major Device Number: %d\n", major);
	return 0;
}

static void __exit my_exit(void)
{

	unregister_chrdev(major, "hello_cdev");
}

module_init(my_init);
module_exit(my_exit);

MODULE_LICENSE("GPL");
MODULE_AUTHOR("DOK");
MODULE_DESCRIPTION("A sample driver for led");
lesson8 代码
#include <linux/module.h>
#include <linux/init.h>
#include <linux/fs.h>

static int major;
static char text[64];//文本缓冲区
//flip 打开的设备文件 user_buf 数据空指针,本例没用 len 缓冲区长度  off 文件位置偏移里
static ssize_t my_read(struct file *filp, char __user *user_buf, size_t len, loff_t *off)
{
/*
not_copied 从应用层读取的字符长度
to_copy = (len + *off) < sizeof(text) ? len : (sizeof(text) - *off) 计算需要复制的可复制字符长度,确保文本缓冲区位置不溢出
delta =to_copy-not_copied 文本指针移动长度
*/
	int not_copied, delta, to_copy = (len + *off) < sizeof(text) ? len : (sizeof(text) - *off);

	pr_info("hello_cdev - Read is called, we want to read %ld bytes, but actually only copying %d bytes. The offset is %lld\n", len, to_copy, *off);

	if (*off >= sizeof(text))
		return 0;
    //复制文本缓冲区内容到用户空间,user_buf文本缓冲区  &text(*off)文本当前位置  to_copy 复制长度
	not_copied = copy_to_user(user_buf, &text[*off], to_copy);
    delta = to_copy - not_copied;
	if (not_copied)
		pr_warn("hello_cdev - Could only copy %d bytes\n", delta);

	*off += delta;

	return delta;
}

static ssize_t my_write(struct file *filp, const char __user *user_buf, size_t len, loff_t *off)
{
	int not_copied, delta, to_copy = (len + *off) < sizeof(text) ? len : (sizeof(text) - *off);

	pr_info("hello_cdev - Write is called, we want to write %ld bytes, but actually only copying %d bytes. The offset is %lld\n", len, to_copy, *off);

	if (*off >= sizeof(text))
		return 0;

	not_copied = copy_from_user(&text[*off], user_buf, to_copy);
	delta = to_copy - not_copied;
	if (not_copied)
		pr_warn("hello_cdev - Could only copy %d bytes\n", delta);

	*off += delta;
	return delta;
}

static struct file_operations fops = {
	.read = my_read,
	.write = my_write
};

static int __init my_init(void)
{
//动态配置字符设备,不需要设备号
	major = register_chrdev(0, "hello_cdev", &fops);
	if (major < 0) {
		pr_err("hello_cdev - Error registering chrdev\n");
		return major;
	}
	printk("hello_cdev - Major Device Number: %d\n", major);
	return 0;
}

static void __exit my_exit(void)
{
	unregister_chrdev(major, "hello_cdev");
}

module_init(my_init);
module_exit(my_exit);

MODULE_LICENSE("GPL");
MODULE_AUTHOR("Johannes 4Linux");
MODULE_DESCRIPTION("A sample driver for registering a character device");
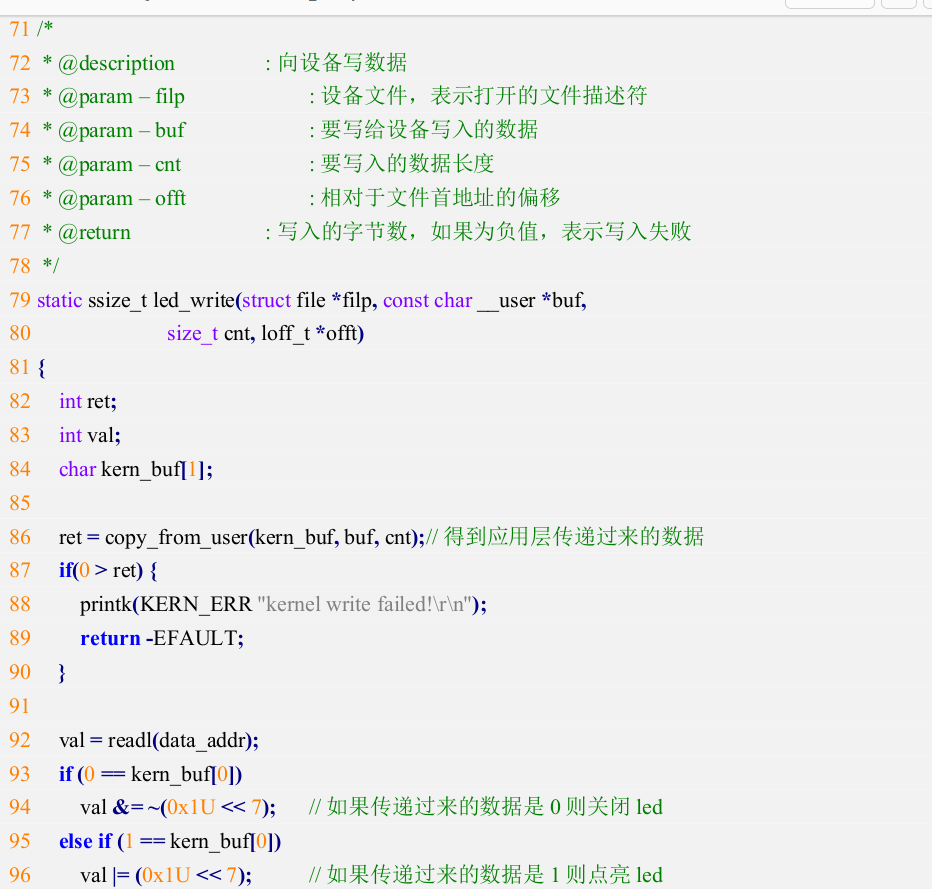
重点了解 copy_to_user /copy_from_user 两个函数实现应用层的读写控制内核层
这个和正点原子里面led 读写驱动很像了