这是一个使用鸿蒙技术开发的本地原生记账应用,非常适合大家用来练手。相关源码已上传至 Github,点击此处查看项目。欢迎大家交流、指正,也欢迎提交 PR。
一、Router 简介
Router 是 HarmonyOS 提供的页面路由模块,用于实现应用内不同页面之间的跳转、数据传递和页面栈管理。它基于页面栈机制工作,支持 pushUrl(压栈跳转,保留当前页面)和 replaceUrl(替换跳转,销毁当前页面)两种方式,同时支持命名路由(pushNamedRoute)用于跨包跳转场景。
Router 适用于简单的页面导航需求,但官方已明确 Router 后续不再演进新功能,推荐使用 Navigation 作为长期路由方案。
二、基础用法
2.1 普通路由跳转(pushUrl)
pushUrl 是最常用的路由跳转方式,它会将新页面压入页面栈,保留当前页面状态,用户可通过 router.back() 返回。
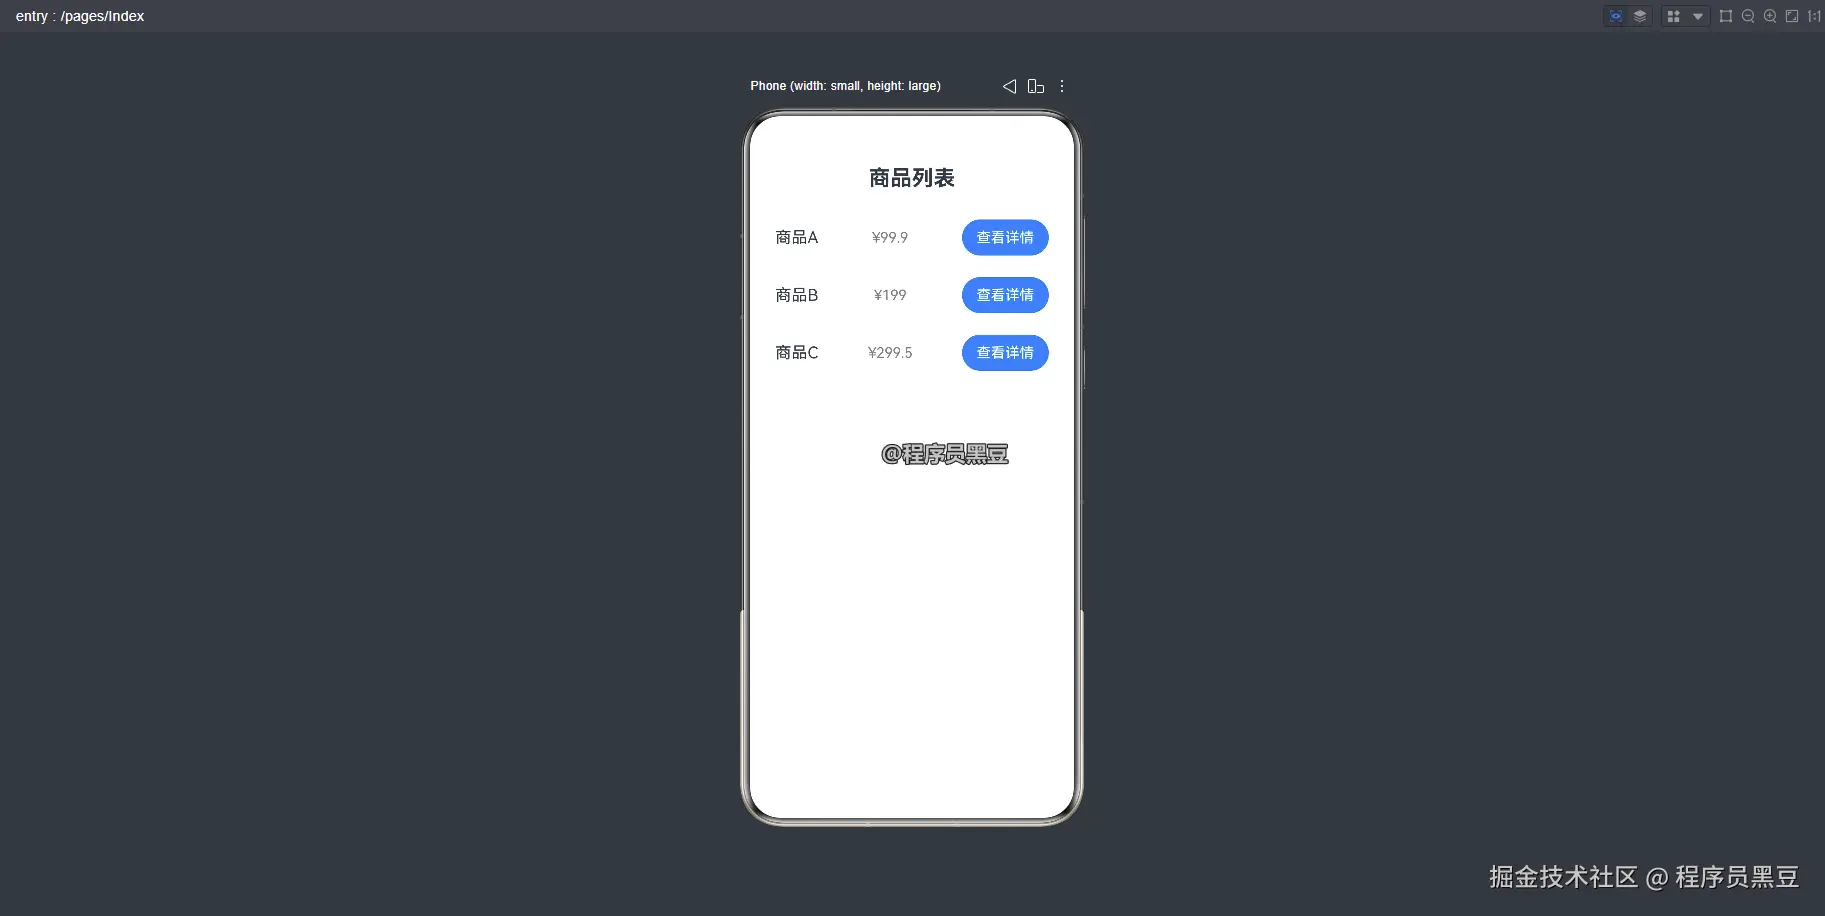
以下以首页跳转到商品详情页为例,展示完整的实现过程。
2.1.1 首页(HomePage)
typescript
// HomePage.ets
import { router } from '@kit.ArkUI';
import { BusinessError } from '@kit.BasicServicesKit';

@Entry
@Component
struct HomePage {
  @State productList: Product[] = [
    { id: 1001, name: '商品A', price: 99.9 },
    { id: 1002, name: '商品B', price: 199.0 },
    { id: 1003, name: '商品C', price: 299.5 }
  ];

  onPageShow(): void {
    // 获取商品详情页返回时传递过来的参数
    const params = router.getParams() as Record<string, Object>;
    if (params) {
      console.log(JSON.stringify(params))
    }
  }

  build() {
    Column() {
      Text('商品列表')
        .fontSize(24)
        .fontWeight(FontWeight.Bold)
        .margin({ bottom: 20 })

      List() {
        ForEach(this.productList, (item: Product) => {
          ListItem() {
            Row() {
              Text(item.name)
                .fontSize(18)
              Text(`¥${item.price}`)
                .fontSize(16)
                .fontColor(Color.Gray)
              Button('查看详情')
                .onClick(() => {
                  this.goToDetail(item);
                })
            }
            .width('100%')
            .justifyContent(FlexAlign.SpaceBetween)
            .padding(12)
          }
          .width('100%')
        })
      }
      .width('100%')
    }
    .padding(16)
    .width('100%')
    .height('100%')
  }

  goToDetail(product: Product) {
    // 定义传递参数
    class DetailParams {
      id: number = 0;
      name: string = '';
      price: number = 0;
    }

    // 跳转到商品详情页,并传递参数
    router.pushUrl({
      url: 'pages/DetailPage',
      params: {
        id: product.id,
        name: product.name,
        price: product.price
      } as DetailParams
    }).then(() => {
      console.info('跳转到详情页成功');
    }).catch((err: BusinessError) => {
      console.error(`跳转失败,错误码:${err.code},错误信息:${err.message}`);
    });
  }
}

// 商品数据类型定义
interface Product {
  id: number;
  name: string;
  price: number;
}
运行效果:
2.1.2 商品详情页(DetailPage)
typescript
// DetailPage.ets
import { promptAction, router } from '@kit.ArkUI';

@Entry
@Component
struct DetailPage {
  @State productId: number = 0;
  @State productName: string = '';
  @State productPrice: number = 0;

  aboutToAppear() {
    // 获取首页传递过来的参数
    const params = router.getParams() as Record<string, Object>;
    if (params) {
      this.productId = params['id'] as number;
      this.productName = params['name'] as string;
      this.productPrice = params['price'] as number;
    }

    // 获取当前在页面栈内的页面数量。
    // 从API version 10开始支持,从 API version 23开始废弃,建议使用getStackSize替代。
    const stackSize = router.getLength();
    console.info(`当前页面栈大小:${stackSize}`);

    // 获取当前页面的状态信息。
    const stackInfo = router.getState();
    console.info(`当前页面索引:${stackInfo.index}`);
    console.info(`当前页面的名称:${stackInfo.name}`);
    console.info(`当前页面路径:${stackInfo.path}`);
    console.info(`当前页面携带的参数:${JSON.stringify(stackInfo.params)}`)
  }

  build() {
    Column() {
      Text('商品详情')
        .fontSize(24)
        .fontWeight(FontWeight.Bold)
        .margin({ bottom: 30 })

      // 商品信息展示
      Column() {
        Text(`商品ID:${this.productId}`)
          .fontSize(16)
          .margin({ bottom: 10 })

        Text(`商品名称:${this.productName}`)
          .fontSize(20)
          .fontWeight(FontWeight.Medium)
          .margin({ bottom: 10 })

        Text(`价格:¥${this.productPrice}`)
          .fontSize(22)
          .fontColor(Color.Red)
          .fontWeight(FontWeight.Bold)
          .margin({ bottom: 30 })
      }
      .alignItems(HorizontalAlign.Start)
      .width('100%')

      // 操作按钮
      Button('加入购物车')
        .width('80%')
        .height(48)
        .backgroundColor(Color.Blue)
        .fontColor(Color.White)
        .onClick(() => {
          promptAction.showToast({
            message: `已将商品 ${this.productName} 加入购物车`
          })
        })
        .margin({ bottom: 16 })

      Button('前往购物车')
        .width('80%')
        .height(48)
        .backgroundColor(Color.Blue)
        .fontColor(Color.White)
        .onClick(() => {
          // 跳转到应用内的指定页面,用法和router.pushUrl类似,只是没有返回值
          router.push({
            url: 'pages/CartPage'
          })
        })
        .margin({ bottom: 16 })

      Button('返回商品列表')
        .width('80%')
        .height(48)
        .onClick(() => {
          // 返回上一页
          // router.back();

          // 带参数返回
          router.back({
            url: 'pages/Index',
            params: {
              result: 'success'
            }
          });
        })
    }
    .padding(24)
    .width('100%')
    .height('100%')
  }
}
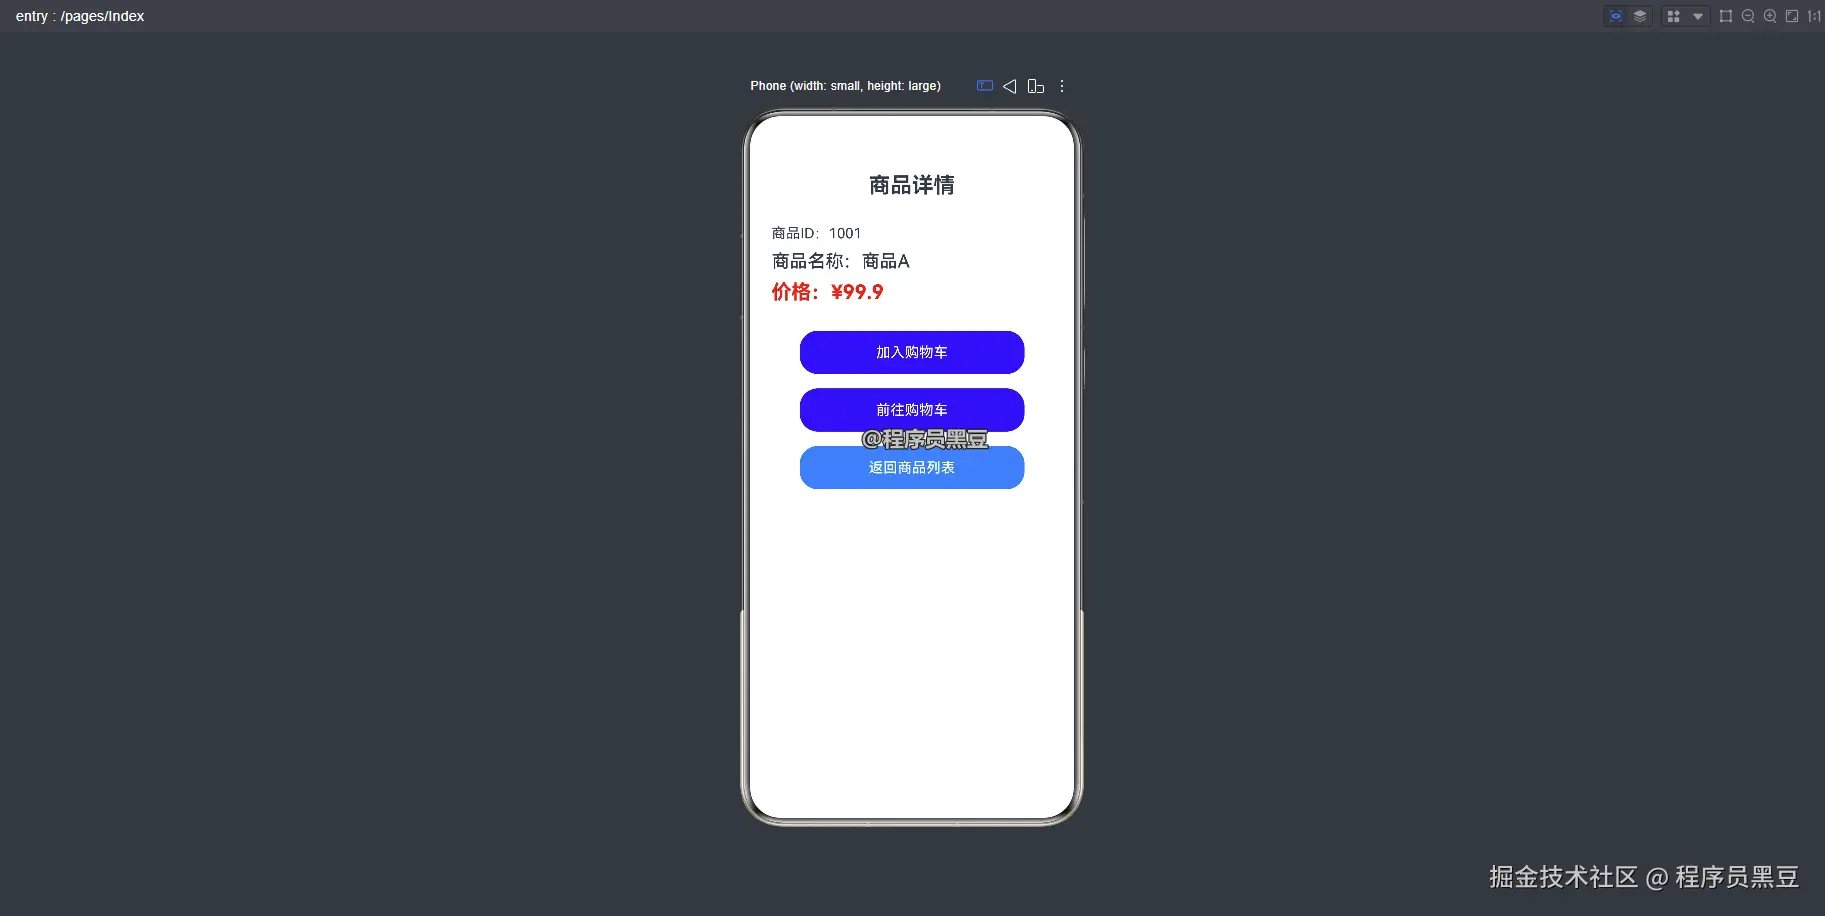
运行效果:
2.1.3 购物车页面(CartPage)
typescript
import { router } from '@kit.ArkUI';

@Entry
@Component
struct CartPage {
  @State message: string = 'Hello World';

  build() {
    Column({space: 20}) {
      Text('购物车页面')
        .fontSize(24)
        .fontWeight(FontWeight.Bold)
        .margin({ bottom: 30 })
      Button('返回商品列表')
        .width('80%')
        .fontSize(20)
        .onClick(() => {
          // 返回到指定页面
          router.back({
            url: 'pages/Index'
          })
        })

      Button('替换跳转')
        .width('80%')
        .fontSize(20)
        .onClick(() => {
          // 替换跳转
          router.replaceUrl({
            url: 'pages/Index',
            params: {
              token: 'xxx'
            }
          }).then(() => {
            console.info('替换跳转成功');
          }).catch((err: BusinessError) => {
            console.error(`替换跳转失败:${err.code}`);
          });
        })
    }
    .height('100%')
    .width('100%')
    .justifyContent(FlexAlign.Center)
  }
}
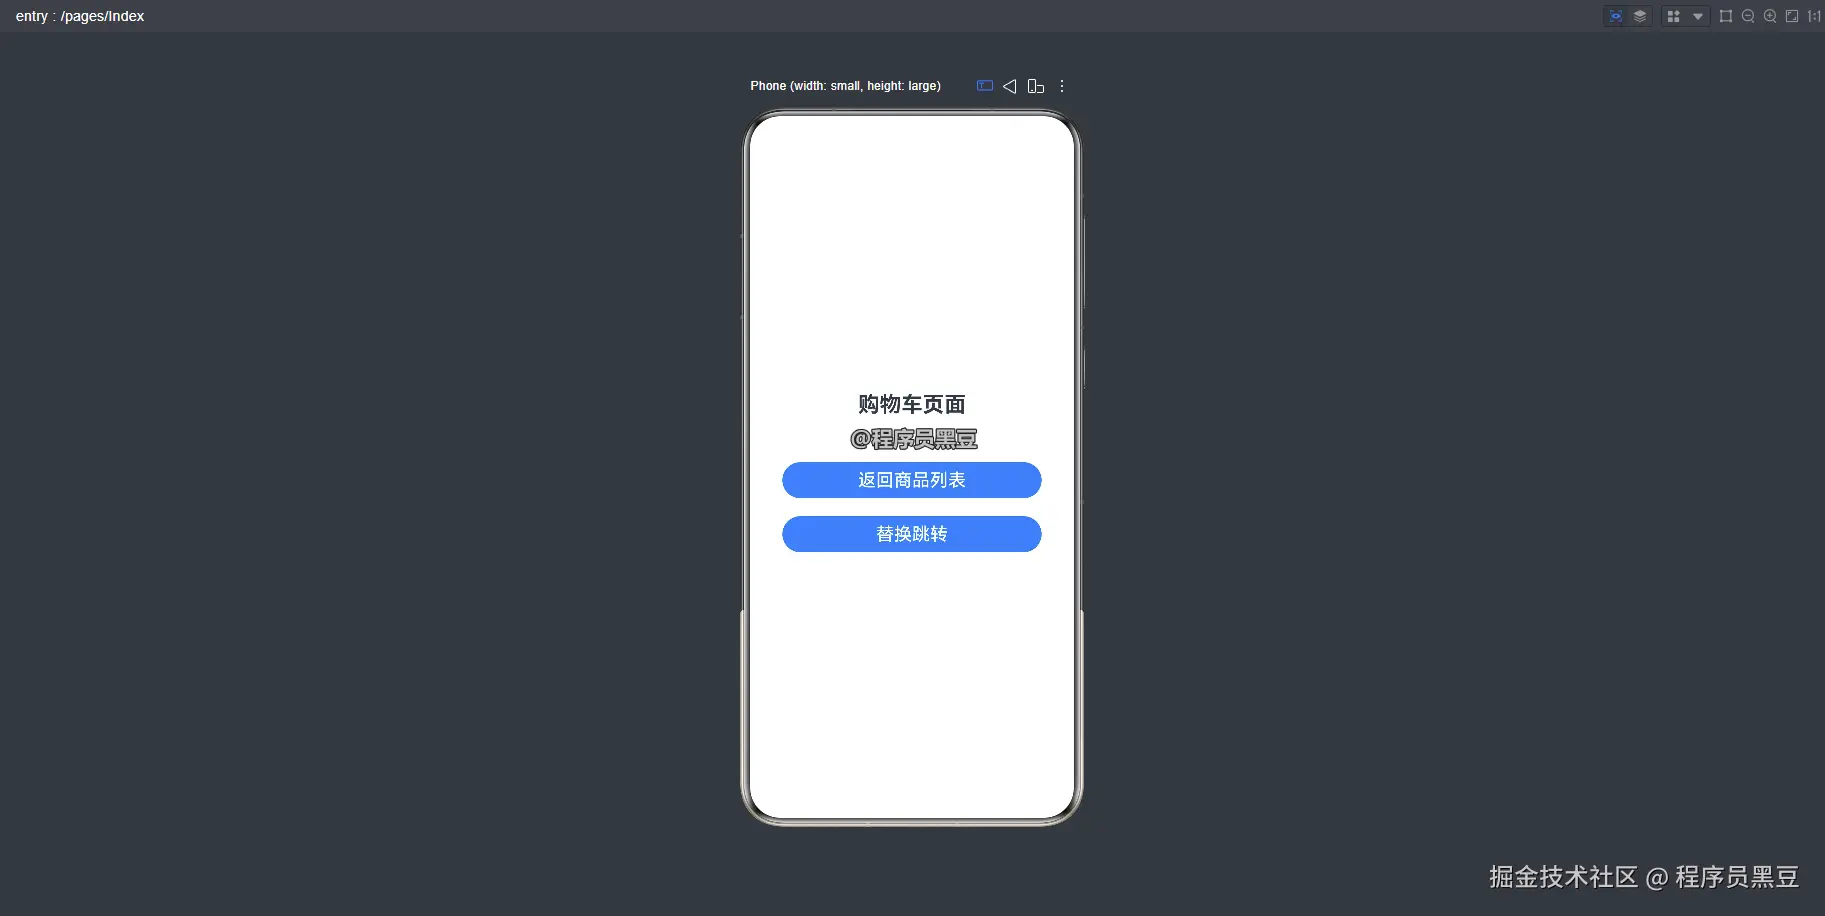
运行效果:
2.2 替换跳转(replaceUrl)
replaceUrl 会销毁当前页面,用新页面替换它,适用于登录页跳转到首页等场景,避免用户通过返回键回到登录页。
typescript
router.replaceUrl({
  url: 'pages/Index',
  params: {
    token: 'xxx'
  }
}).then(() => {
  console.info('替换跳转成功');
}).catch((err: BusinessError) => {
  console.error(`替换跳转失败:${err.code}`);
});
2.3 命名路由跳转(pushNamedRoute)
适用于跨模块(HSP/HAR)跳转,需先 import 目标页面:
typescript
import { router } from '@kit.ArkUI';
import { BusinessError } from '@kit.BasicServicesKit';
import 'xxx'; // 先加载目标页面

router.pushNamedRoute({
  name: 'LoginPage',
  params: { from: 'HomePage' }
}).catch((err: BusinessError) => {
  console.error(`命名路由跳转失败:${err.code}`);
});
目标页面需配置 routeName:
typescript
@Entry({ routeName: 'LoginPage' })
@Component
export struct LoginPage {
  // ...
}
2.3.1 完整代码
新建一个共享包,起名为 login ,操作步骤如下:
项目名 -> 右键 -> New -> Module -> Shared Library -> 给模块起名为 login
然后添加如下如下代码:
typescript
// login/src/main/ets/pages/LoginPage.ets
import { router } from "@kit.ArkUI";

@Entry({ routeName: 'LoginPage' })
@Component
export struct LoginPage {
  aboutToAppear(): void {
    const params = router.getParams() as Record<string, Object>;
    console.log(`获取到的参数:${JSON.stringify(params)}`)
  }

  build() {
    Column() {
      Text('登录界面')
        .fontSize(20)
    }
    .width('100%')
    .height('100%')
    .justifyContent(FlexAlign.Center)
  }
}
统一导出文件:
typescript
// login/Index.ets
export { LoginPage } from './src/main/ets/pages/LoginPage'
在 entry/oh-package.json5 配置依赖:
json
{
  "name": "entry",
  "version": "1.0.0",
  "description": "Entry module",
  "main": "",
  "types": "",
  "dependencies": {
    "login": "file:../login"  // 依赖 login 模块
  }
}
在 entry 模块中的 entry/src/main/ets/pages/Index.ets 文件中添加如下代码:
typescript
// entry/src/main/ets/pages/Index.ets
import { router } from '@kit.ArkUI';
import 'login/Index'; // 引入共享包中的命名路由页面

@Entry
@Component
struct Index {
  build() {
    Column() {
      Button("跳转")
        .width('80%')
        .onClick(() => { // 点击跳转到其他共享包中的页面
          try {
            router.pushNamedRoute({
              name: 'LoginPage',
              params: {
                data1: 'message',
                data2: {
                  data3: [123, 456, 789]
                }
              }
            });
          } catch (err) {
            console.log(`跳转失败:${JSON.stringify(err)}`)
          }
      })
    }
    .width('100%')
    .height('100%')
    .justifyContent(FlexAlign.Center)
  }
}
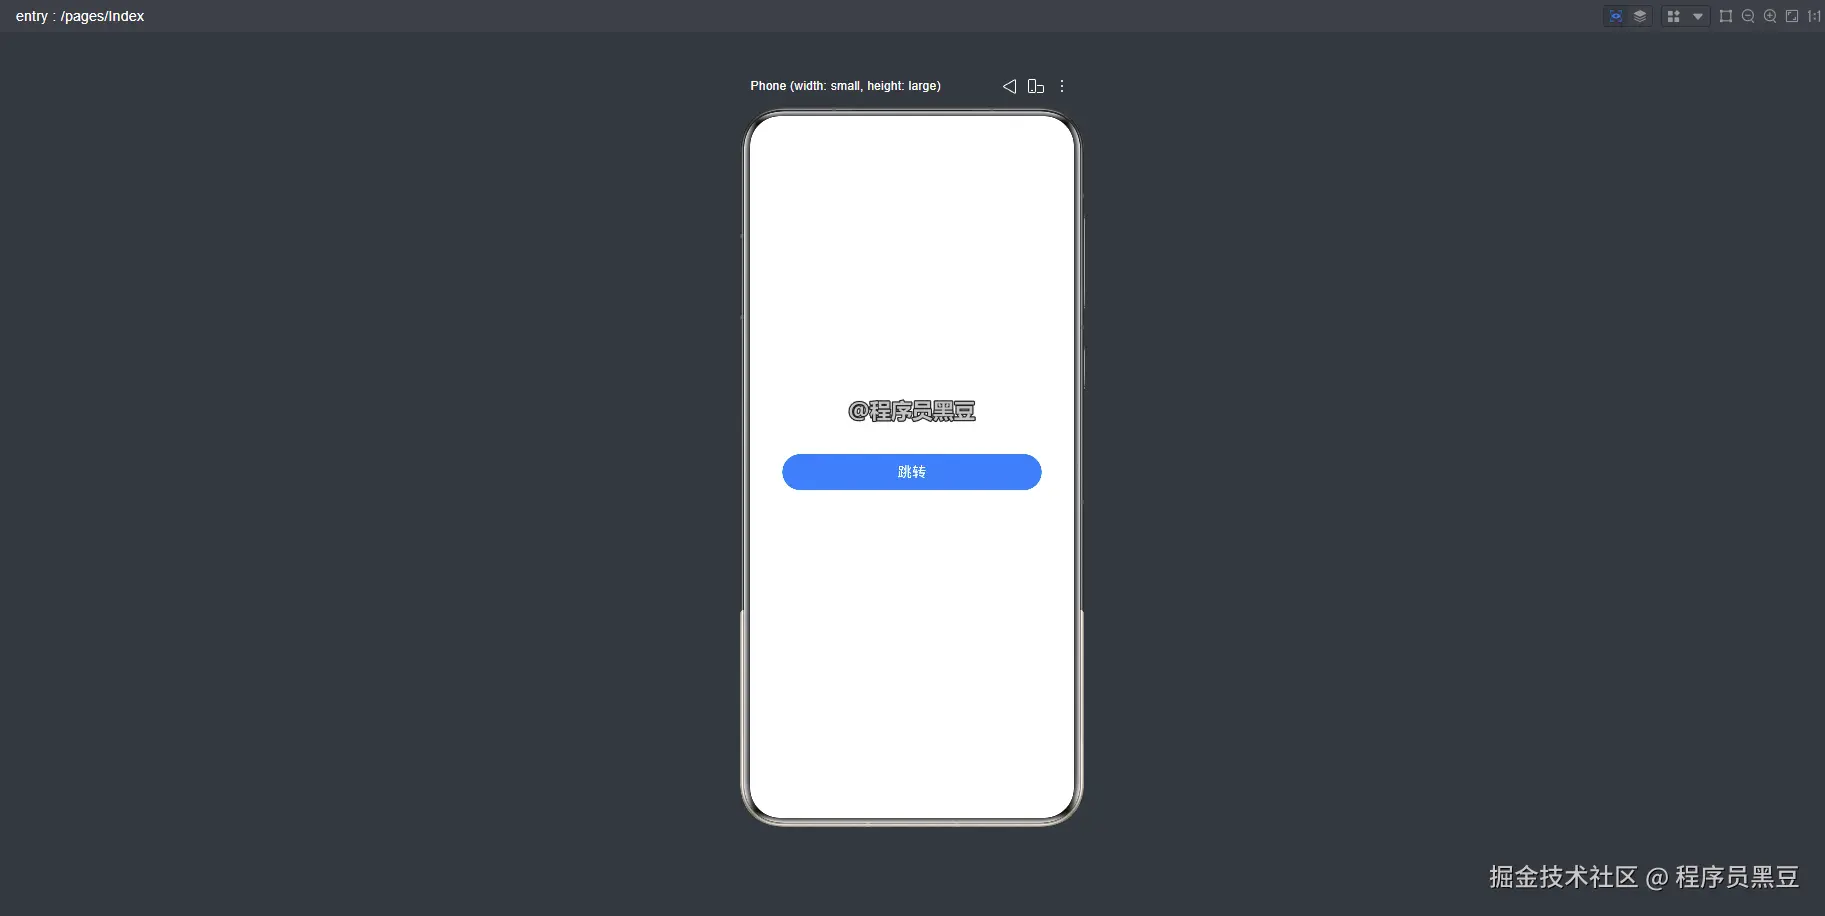
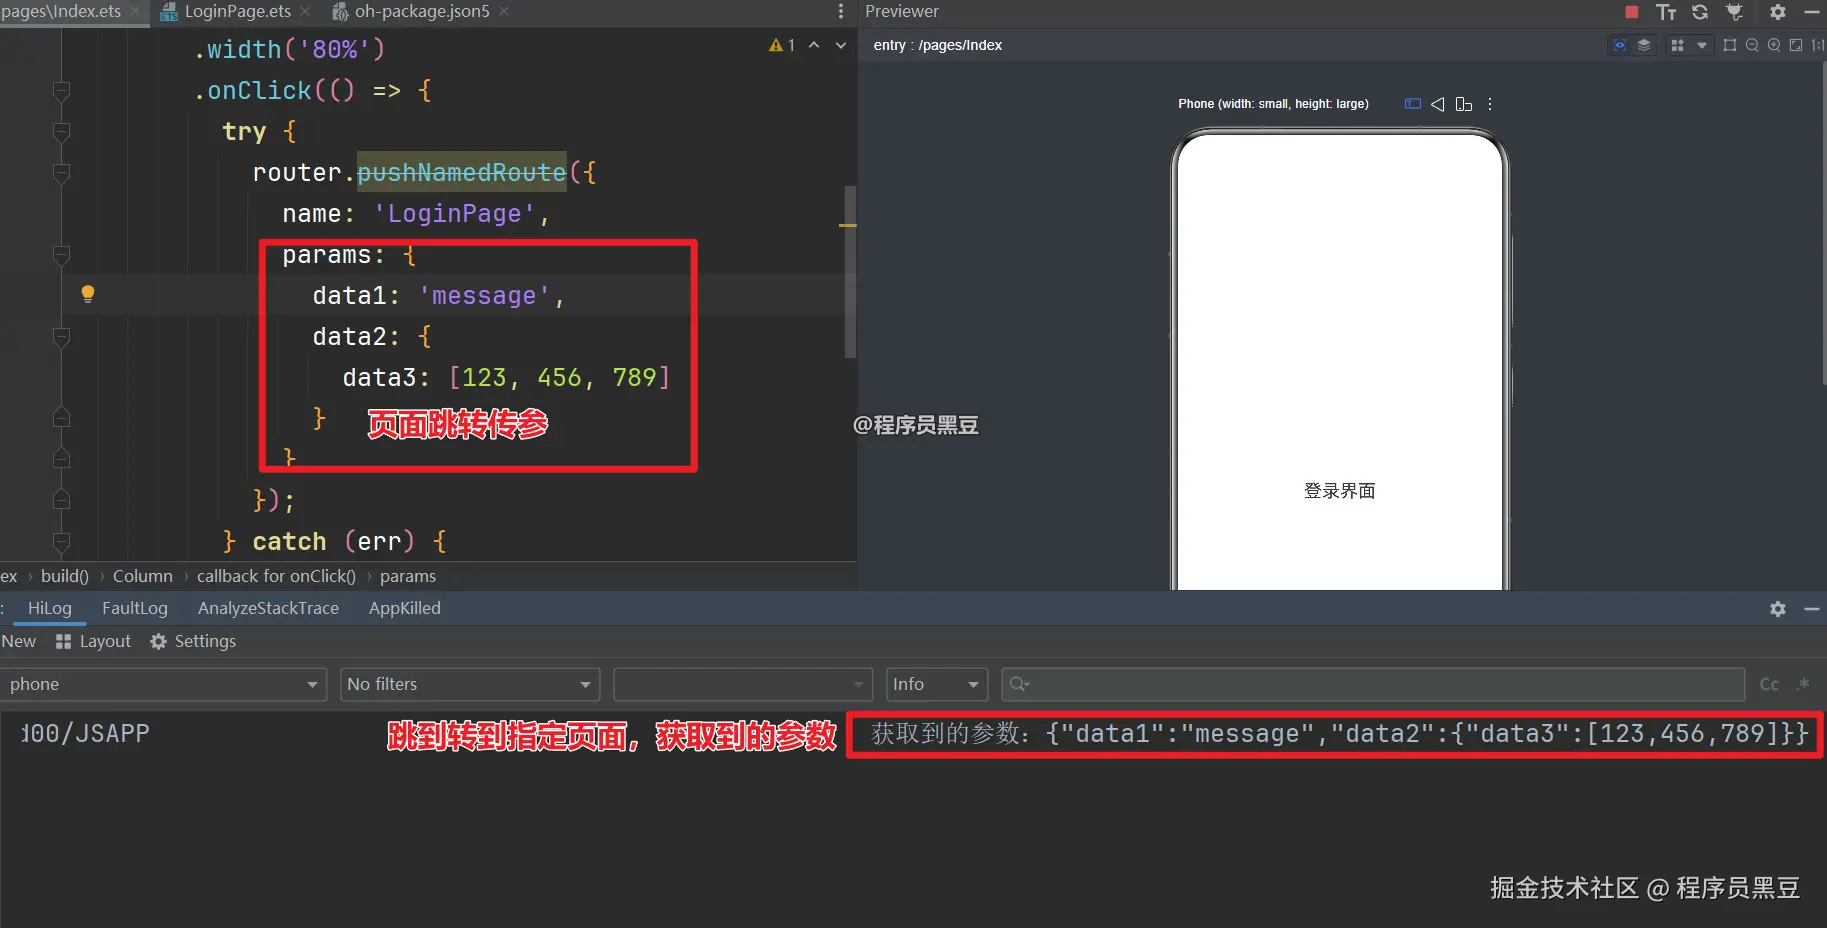
运行效果:
路由跳转成功:
三、页面返回
3.1 返回上一页
typescript
router.back(); // 返回上一页3.2 返回到指定页面
typescript
router.back({ url: 'pages/HomePage' }); // 返回到指定页面3.3 带参数返回
typescript
router.back({
  url: 'pages/HomePage',
  params: {
    result: 'success'
  }
});
四、目标页面接收参数
在目标页面中,通过 router.getParams() 获取传递过来的参数:
typescript
@Entry
@Component
struct DetailPage {
  @State id: number = 0;
  @State name: string = '';

  aboutToAppear() {
    const params = router.getParams() as Record<string, Object>;
    if (params) {
      this.id = params['id'] as number;
      this.name = params['name'] as string;
    }
  }

  build() {
    Column() {
      Text(`ID: ${this.id}`)
      Text(`名称: ${this.name}`)
    }
  }
}
五、页面栈管理
5.1 获取页面栈大小
typescript
// 获取当前在页面栈内的页面数量。
// 从API version 10开始支持,从 API version 23开始废弃,建议使用getStackSize()替代。
const stackSize = router.getLength();
console.info(`当前页面栈大小:${stackSize}`);
5.2 获取页面栈信息
typescript
const stackInfo = router.getState();
console.info(`当前页面索引:${stackInfo.index}`);
console.info(`页面栈大小:${stackInfo.size}`);
console.info(`当前页面路径:${stackInfo.path}`);
5.3 清空页面栈
typescript
router.clear(); // 清空页面栈,回到首页六、注意事项
- 页面栈限制 :Router 页面栈最大支持 32 个页面,超出会报错误码 1000031。建议跳转前通过
getLength()或getStackSize()检查当前栈大小。 - 参数传递限制:Router 传参采用深拷贝方式,参数对象中不支持方法变量(如函数、回调等),仅支持可序列化的数据。
- 命名路由需 import :使用
pushNamedRoute时,必须在跳转前通过import加载目标页面,否则会跳转失败。 - 推荐迁移至 Navigation:Router 已停止功能演进,Navigation 在功能丰富度、性能、一多适配等方面全面优于 Router,建议新项目直接使用 Navigation,旧项目逐步迁移。
- 仅 Stage 模型可用:Router 模块接口仅支持 Stage 模型,FA 模型无法使用。
七、总结
本文详细介绍了 HarmonyOS Router 模块的核心用法,包括基础跳转、页面返回、参数传递与接收、页面栈管理等。
虽然 Router 已停止演进,但在现有项目中仍有大量应用场景。对于新项目,建议优先考虑 Navigation 路由方案。