了解如何使用 OpenAI 服务通过 Inference API 实现 语义搜索 。
在本示例中,你需要准备:
一个 Elastic 部署:
-
本示例将使用 Elastic Cloud(提供免费试用)。
-
Elasticsearch 8.12 或更高版本。
-
你也可以参考文章 "如何在 Linux,MacOS 及 Windows 上进行安装 Elasticsearch" 创建一个本地部署的 Elasticsearch 集群
使用 OpenAI 服务的 Inference API 需要一个付费的 OpenAI 账户,因为 OpenAI 免费试用提供的 API 使用额度有限。
注意:你可以使用任何一个服务提供商所提供的 inference API。在本文章里,我们使用默认的 E5 多语言嵌入模型来进行展示。
如果你还没有 Elastic Cloud 部署,可以在这里注册免费试用。
开始之前,我们需要使用 Python 客户端(8.12.0 或更高版本)连接到我们的 Elastic 部署。由于我们使用的是 Elastic Cloud 部署,因此将使用 Cloud ID 来标识该部署。
参考代码:
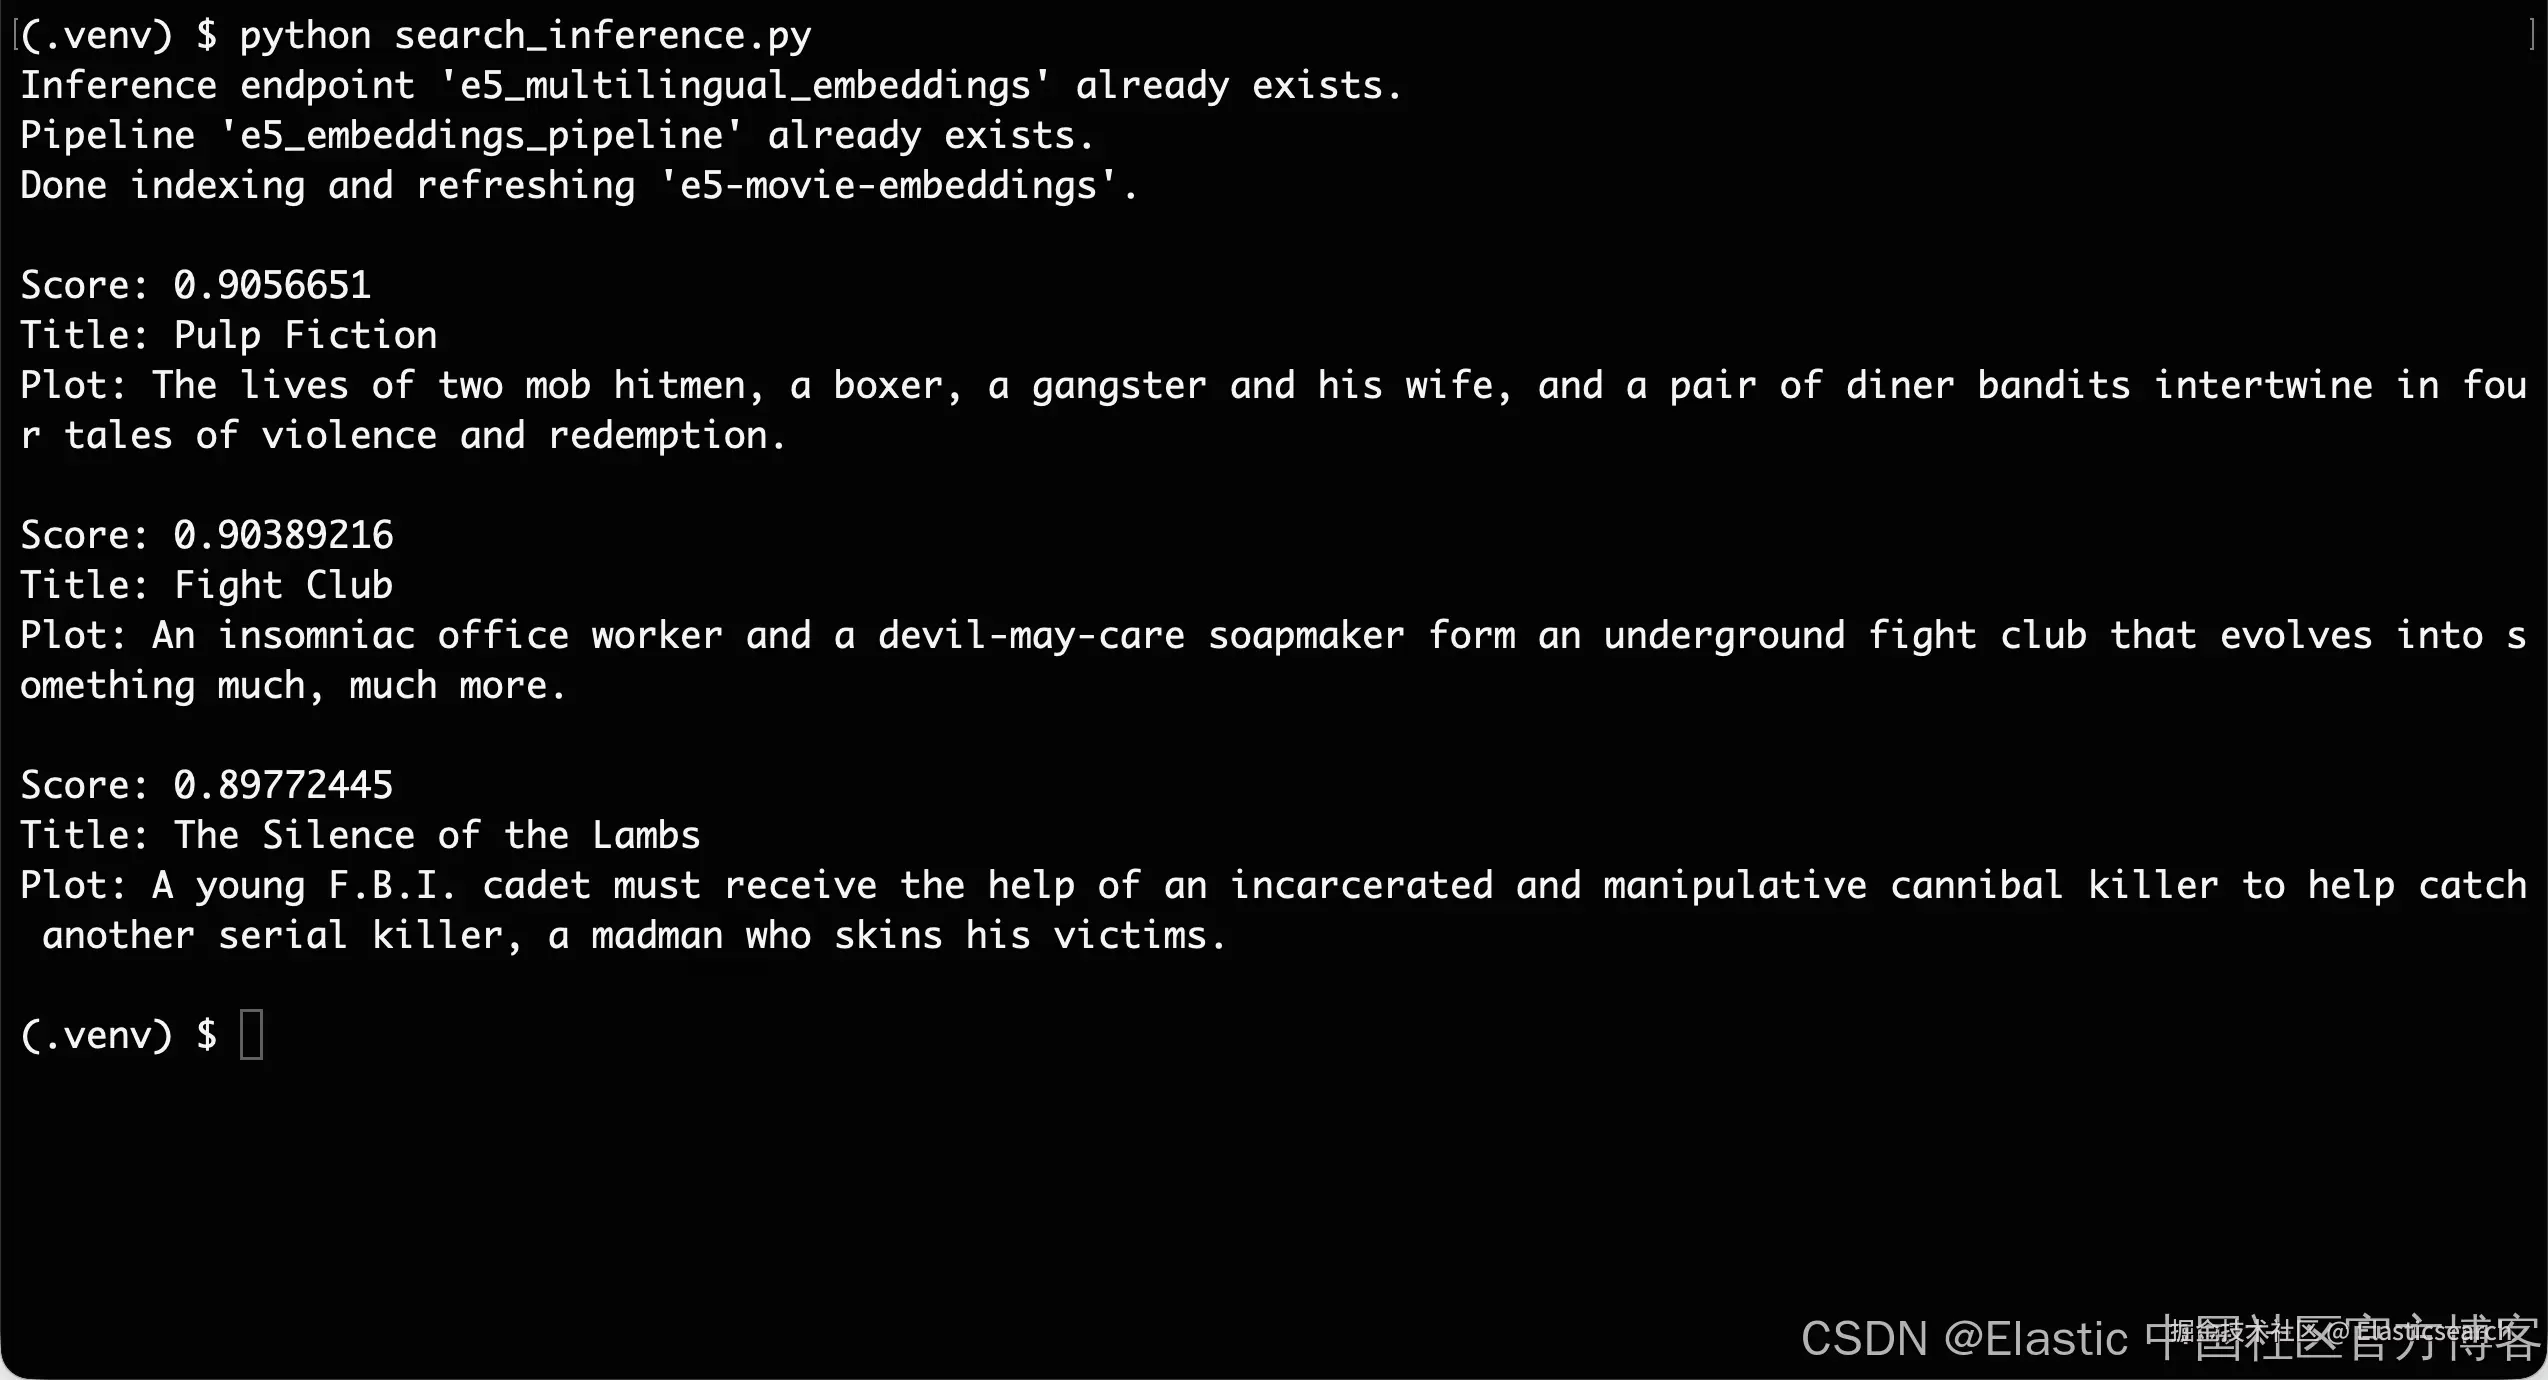
如果你想是如下的代码工作于 .multilingual- e5 -small 模型,你可以参考代码 github.com/liu-xiao-gu...
首先,我们需要使用 pip 安装以下软件包:
elasticsearch
go
`!pip install elasticsearch`AI写代码接下来,我们需要导入所需的模块。
🔐 注意:
getpass使我们能够安全地提示用户输入凭据,而不会将输入内容回显到终端,也不会将其存储在内存中。
python
`

1.  from elasticsearch import Elasticsearch, helpers, exceptions
2.  from urllib.request import urlopen
3.  from getpass import getpass
4.  import json
5.  import time

`AI写代码
现在,我们可以实例化 Python Elasticsearch 客户端。
首先,提示用户输入密码和 Cloud ID。然后,创建一个客户端对象,以实例化 Elasticsearch 类的一个实例。
ini
`
1. # https://www.elastic.co/search-labs/tutorials/install-elasticsearch/elastic-cloud#finding-your-cloud-id
2. ELASTIC_CLOUD_ID = getpass("Elastic Cloud ID: ")
4. # https://www.elastic.co/search-labs/tutorials/install-elasticsearch/elastic-cloud#creating-an-api-key
5. ELASTIC_API_KEY = getpass("Elastic Api Key: ")
7. # Create the client instance
8. client = Elasticsearch(
9. # For local development
10. # hosts=["http://localhost:9200"]
11. cloud_id=ELASTIC_CLOUD_ID,
12. api_key=ELASTIC_API_KEY,
13. )
`AI写代码启用遥测
了解你正在使用此 Notebook,有助于我们决定将精力投入到哪些方面来改进我们的产品。
我们希望你运行以下代码,以便我们收集匿名使用统计信息。有关详细信息,请参阅 telemetry.py。谢谢!
arduino
`

1.  !curl -O -s https://raw.githubusercontent.com/elastic/elasticsearch-labs/main/telemetry/telemetry.py
2.  from telemetry import enable_telemetry

4.  client = enable_telemetry(client, "07-inference")

`AI写代码
测试客户端
在继续之前,请通过此测试确认客户端已成功连接。
scss
`print(client.info())`AI写代码请参阅文档,了解如何连接到自托管部署。
阅读此页面,了解如何使用 API Key 进行连接。
创建推理端点
下面我们将使用 Create inference API 创建推理端点。
为此,你需要一个 OpenAI API Key。你可以在 OpenAI 账户中的API keys 页面找到它。完成本 Notebook 中的步骤需要一个付费的 OpenAI 会员,因为 OpenAI 免费试用提供的 API 使用额度有限。
bash
`
1. API_KEY = getpass("OpenAI API key: ")
3. client.inference.put(
4. task_type="text_embedding",
5. inference_id="my_openai_embedding_model",
6. body={
7. "service": "openai",
8. "service_settings": {"api_key": API_KEY},
9. "task_settings": {"model": "text-embedding-ada-002"},
10. },
11. )
`AI写代码注意 :如果你使用的是 Elasticsearch 8.12,则必须将上述代码片段中的
inference_id修改为model_id!同时,将inference.put修改为inference.put_model。
创建包含推理处理器的 Ingest Pipeline
使用 [put_pipeline](https://www.elastic.co/guide/en/elasticsearch/reference/master/put-pipeline-api.html "put_pipeline") 方法创建一个包含推理处理器( inference processor )的 Ingest Pipeline。在 model_id 中引用上面创建的推理端点,以便在数据通过该 Pipeline 导入时对数据执行推理。
ini
`
1. client.ingest.put_pipeline(
2. id="openai_embeddings_pipeline",
3. description="Ingest pipeline for OpenAI inference.",
4. processors=[
5. {
6. "inference": {
7. "model_id": "my_openai_embedding_model",
8. "input_output": {
9. "input_field": "plot",
10. "output_field": "plot_embedding",
11. },
12. }
13. }
14. ],
15. )
`AI写代码下面说明该 API 调用中的几个重要参数:
-
inference:使用机器学习模型执行推理的处理器。 -
model_id:指定要使用的推理端点 ID。在本示例中,推理 ID 设置为my_openai_embedding_model。请使用你在创建推理任务时定义的推理 ID。 -
input_output:指定输入字段和输出字段。 -
input_field:用于生成dense_vector表示的字段名称。 -
output_field:包含推理结果的字段名称。
创建索引
需要先创建目标索引(即存储模型根据输入文本生成的向量嵌入的索引)的映射。目标索引必须包含一个 [dense_vector](https://www.elastic.co/guide/en/elasticsearch/reference/current/dense-vector.html "dense_vector") 类型的字段,用于索引 OpenAI 模型生成的输出。
下面我们创建一个名为 openai-movie-embeddings 的索引,并配置所需的映射。
bash
`
1. client.indices.delete(index="openai-movie-embeddings", ignore_unavailable=True)
2. client.indices.create(
3. index="openai-movie-embeddings",
4. settings={"index": {"default_pipeline": "openai_embeddings_pipeline"}},
5. mappings={
6. "properties": {
7. "plot_embedding": {
8. "type": "dense_vector",
9. "dims": 1536,
10. "similarity": "dot_product",
11. },
12. "plot": {"type": "text"},
13. }
14. },
15. )
`AI写代码插入文档
下面插入包含 12 部电影的示例数据集。
完成此步骤需要一个付费的 OpenAI 账户,否则由于 OpenAI API 请求速率限制,文档导入过程将会超时。
ini
``
1. url = "https://raw.githubusercontent.com/elastic/elasticsearch-labs/main/notebooks/search/movies.json"
2. response = urlopen(url)
4. # Load the response data into a JSON object
5. data_json = json.loads(response.read())
7. # Prepare the documents to be indexed
8. documents = []
9. for doc in data_json:
10. documents.append(
11. {
12. "_index": "openai-movie-embeddings",
13. "_source": doc,
14. }
15. )
17. # Use helpers.bulk to index
18. helpers.bulk(client, documents)
20. print("Done indexing documents into `openai-movie-embeddings` index!")
21. time.sleep(3)
``AI写代码语义搜索
在数据集通过嵌入向量完成增强后,你可以使用语义搜索查询数据。向 k 近邻(kNN)向量搜索 API 传递 query_vector_builder,并提供查询文本以及用于创建嵌入向量的模型。
ini
`
1. response = client.search(
2. index="openai-movie-embeddings",
3. size=3,
4. knn={
5. "field": "plot_embedding",
6. "query_vector_builder": {
7. "text_embedding": {
8. "model_id": "my_openai_embedding_model",
9. "model_text": "Fighting movie",
10. }
11. },
12. "k": 10,
13. "num_candidates": 100,
14. },
15. )
17. for hit in response["hits"]["hits"]:
18. doc_id = hit["_id"]
19. score = hit["_score"]
20. title = hit["_source"]["title"]
21. plot = hit["_source"]["plot"]
22. print(f"Score: {score}\nTitle: {title}\nPlot: {plot}\n")
`AI写代码得分:0.91674197
标题:搏击俱乐部
剧情:一个失眠的办公室职员和一个我行我素的肥皂制造商创建了一个地下搏击俱乐部,并逐渐发展成一个更加复杂、影响深远的组织。
得分:0.9069592
标题:低俗小说
剧情:两个黑帮杀手、一个拳击手、一个黑帮老大及其妻子,以及一对餐馆抢劫犯的生活,在四个充满暴力与救赎的故事中交织在一起。
得分:0.8992071
标题:黑暗骑士
剧情:当被称为小丑的恶势力在哥谭市制造混乱和灾难时,蝙蝠侠必须接受自己对抗不公能力的一次重大心理和身体考验。
注意 :
query_vector_builder中model_id的值必须与第一步中创建的inference_id的值匹配。