DeepSeek Harness 桌面一键启动与网页背景修改指南
目标:把 Harness 做成可复制、可迁移、可复刻的一套本地部署流程。
1. 部署结构
推荐把工程拆成 4 个稳定层:
text
<WORKSPACE>\deepseek-harness
<WORKSPACE>\run-web.cmd
<WORKSPACE>\start-harness.ps1
<USER_NPM_BIN>\deepseek.cmd
角色定义
- Launcher:桌面/终端统一入口,负责探活、唤起、打开浏览器
- Runner:真正启动 Web 服务的脚本
- Probe :HTTP 探活请求,检查
127.0.0.1:3080 - Theme Token:控制背景、边框、文字、透明度的主题变量
- Shell Association:通过系统默认浏览器打开 URL
2. 目录模板
换机器复刻时,建议先搭出同样的目录骨架:
text
<WORKSPACE>/
  deepseek-harness/                 # 源码仓库
  run-web.cmd                       # Web Runner
  start-harness.ps1                 # 桌面启动器
  deepseek-icon.ico                 # 小图标
  deepseek-icon-big.ico             # 大图标
  background-dark-qa.png            # 背景截图/壁纸示例
3. 终端一键启动
3.1 deepseek.cmd
把下面这个文件放到用户级 npm bin 目录,这样终端里直接输入 deepseek 即可。
bat
@echo off
powershell.exe -NoProfile -ExecutionPolicy Bypass -File "<WORKSPACE>\start-harness.ps1" %*
3.2 作用
- 统一命令名
- 避免记复杂路径
- 和桌面快捷方式共用同一套逻辑
4. 桌面一键启动
4.1 start-harness.ps1
这是核心编排脚本,负责:
- 检查 Web 是否已启动
- 未启动则拉起 Runner
- 轮询探活
- 打开浏览器
- 记录日志
powershell
$ErrorActionPreference = 'Stop'
Add-Type -AssemblyName System.Windows.Forms

$repo = '<WORKSPACE>\deepseek-harness'
$url = 'http://127.0.0.1:3080'
$runner = '<WORKSPACE>\run-web.cmd'
$log = '<WORKSPACE>\launch.log'

function Write-DeepSeekLog {
    param([string]$Message)
    $stamp = Get-Date -Format 'yyyy-MM-dd HH:mm:ss'
    Add-Content -LiteralPath $log -Value "[$stamp] $Message"
}

function Test-DeepSeekReady {
    try {
        $response = Invoke-WebRequest -Uri $url -UseBasicParsing -TimeoutSec 2
        Write-DeepSeekLog "Probe $url -> HTTP $($response.StatusCode)"
        return $response.StatusCode -ge 200 -and $response.StatusCode -lt 500
    }
    catch {
        Write-DeepSeekLog "Probe $url failed: $($_.Exception.Message)"
        return $false
    }
}

function Open-DeepSeekBrowser {
    $explorer = if ($env:SystemRoot) {
        Join-Path $env:SystemRoot 'explorer.exe'
    }
    else {
        'C:\Windows\explorer.exe'
    }

    if (-not (Test-Path -LiteralPath $explorer)) {
        $explorer = 'C:\Windows\explorer.exe'
    }

    try {
        Start-Process -FilePath $explorer -ArgumentList $url | Out-Null
        Write-DeepSeekLog "Browser opened with explorer: $explorer"
    }
    catch {
        Write-DeepSeekLog "Explorer open failed: $($_.Exception.Message)"
        Start-Process $url | Out-Null
        Write-DeepSeekLog 'Browser opened with URL shell association.'
    }
}

Write-DeepSeekLog 'Launcher started.'

if (-not (Test-DeepSeekReady)) {
    Write-DeepSeekLog "Starting runner: $runner"
    Start-Process -FilePath "$env:ComSpec" `
        -ArgumentList '/k', "`"$runner`"" `
        -WorkingDirectory $repo `
        -WindowStyle Minimized | Out-Null
}

$deadline = (Get-Date).AddSeconds(90)
while ((Get-Date) -lt $deadline) {
    if (Test-DeepSeekReady) {
        Write-DeepSeekLog "Opening browser: $url"
        Open-DeepSeekBrowser
        exit 0
    }

    Start-Sleep -Seconds 2
}

[System.Windows.Forms.MessageBox]::Show(
    "DeepSeek Harness did not start within 90 seconds. See <WORKSPACE>\launch.log for details.",
    'DeepSeek Harness',
    'OK',
    'Warning'
) | Out-Null
Write-DeepSeekLog 'Launcher timed out.'
exit 1
4.2 重点说明
Invoke-WebRequest用于 HTTP probeStart-Process用于 进程编排explorer.exe用于 URL 打开launch.log用于 故障回溯
5. Web Runner
5.1 run-web.cmd
这个文件负责真正启动 Harness Web 服务。
bat
@echo off
cd /d <WORKSPACE>\deepseek-harness
"<NODE_PATH>\node.exe" --import tsx/esm apps/cli/src/bin.ts web
5.2 为什么要这么写
- 不依赖
pnpm是否在 PATH - 不依赖交互式 shell 环境
- 换电脑后只改
<NODE_PATH>和<WORKSPACE>
6. 桌面快捷方式
6.1 快捷方式目标
text
TargetPath       : C:\Windows\System32\WindowsPowerShell\v1.0\powershell.exe
Arguments        : -NoProfile -ExecutionPolicy Bypass -File "<WORKSPACE>\start-harness.ps1"
WorkingDirectory : <WORKSPACE>
IconLocation     : <WORKSPACE>\deepseek-icon-big.ico,0
6.2 自动生成 .lnk
powershell
$wsh = New-Object -ComObject WScript.Shell
$sc = $wsh.CreateShortcut('<DESKTOP>\DeepSeek Harness.lnk')
$sc.TargetPath = 'C:\Windows\System32\WindowsPowerShell\v1.0\powershell.exe'
$sc.Arguments = '-NoProfile -ExecutionPolicy Bypass -File "<WORKSPACE>\start-harness.ps1"'
$sc.WorkingDirectory = '<WORKSPACE>'
$sc.IconLocation = '<WORKSPACE>\deepseek-icon-big.ico,0'
$sc.Save()
6.3 图标建议
- 小图标:适合任务栏和资源管理器列表
- 大图标:适合桌面快捷方式和演示截图
7. 网页背景修改
7.1 背景资源
把背景图放进公开资源目录:
text
apps/web/public/custom-background.png7.2 全局背景层
在 packages/client/web/src/base.css 中设置:
css
body {
  color: var(--dsw-alias-label-primary);
  background:
    linear-gradient(rgb(0 0 0 / 38%), rgb(0 0 0 / 38%)),
    url('/custom-background.png') center / cover fixed no-repeat,
    #000;
}
7.3 透明度调节
要更透,就降低主面板遮罩强度:
css
.sidebarCol { background: rgb(0 0 0 / 18%); }
.centerCol  { background: rgb(0 0 0 / 8%); }
.detailsCol { background: rgb(0 0 0 / 16%); }
.card       { background: rgb(0 0 0 / 34%); }
专业术语对应:
- Opacity mask:遮罩透明度
- Surface translucency:表面通透度
- Foreground contrast:前景对比度
- Backplate:文字背板
7.4 默认暗色主题
为了避免系统浅色主题把界面拉白,把默认值改成:
ts
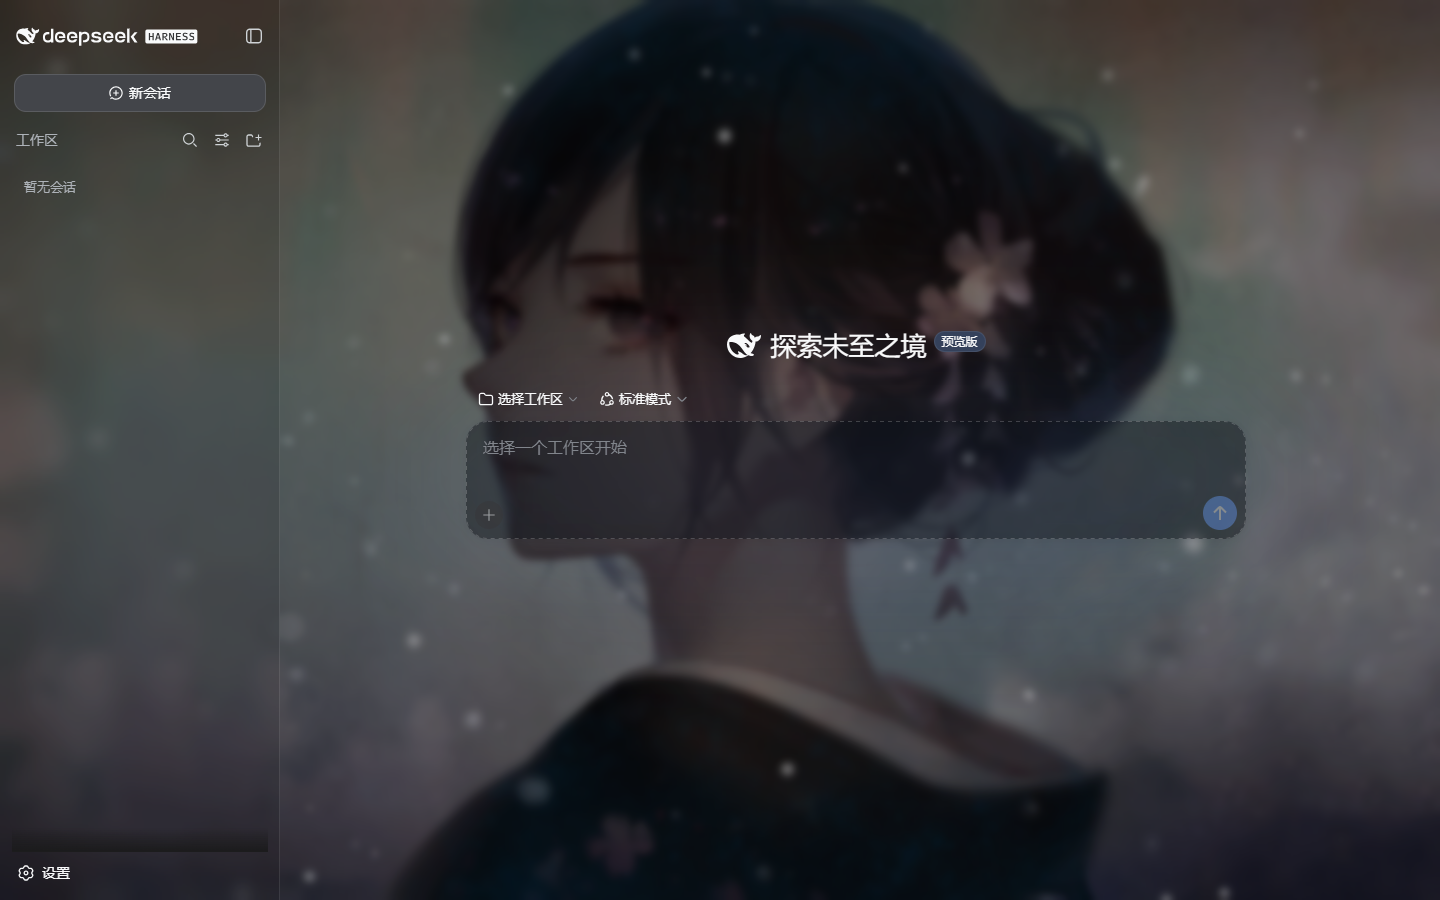
export const DEFAULT_PREFERENCE: ThemePreference = 'dark'7.5 效果示例
下面这张图是当前背景与透明度方案的渲染结果,适合作为复刻后的视觉验收样本:
8. 构建与验证
8.1 构建
powershell
pnpm run build:lib:client
pnpm --filter @deepseek-ai/dsh-web-frontend run build
8.2 服务验证
powershell
Invoke-WebRequest http://127.0.0.1:3080
Get-NetTCPConnection -LocalAddress 127.0.0.1 -LocalPort 3080
8.3 浏览器验证
检查点:
- 页面标题是否正确
body[data-ds-dark-theme]是否存在- 背景图是否显示
- 输入框和侧栏是否半透明
- 控制台是否有 error
9. 复刻流程
按这个顺序做,基本可以直接复刻效果:
text
1. 安装 Node.js
2. 安装 pnpm
3. 拉取源码仓库
4. 配置 <WORKSPACE>
5. 放入背景图和图标
6. 写 run-web.cmd
7. 写 start-harness.ps1
8. 写 deepseek.cmd
9. 创建桌面快捷方式
10. 修改 CSS 背景与透明度
11. build
12. 验证 3080
13. 浏览器截图复核
10. 术语速查
- CLI:命令行接口
- PS1:PowerShell 脚本
- CMD:Windows 批处理脚本
- ICO:Windows 图标文件
- PNG:位图图片格式
- CSS Token:样式变量
- Probe:探活
- Fallback:回退
- Launcher:启动编排器
- Runner:运行器
附件图
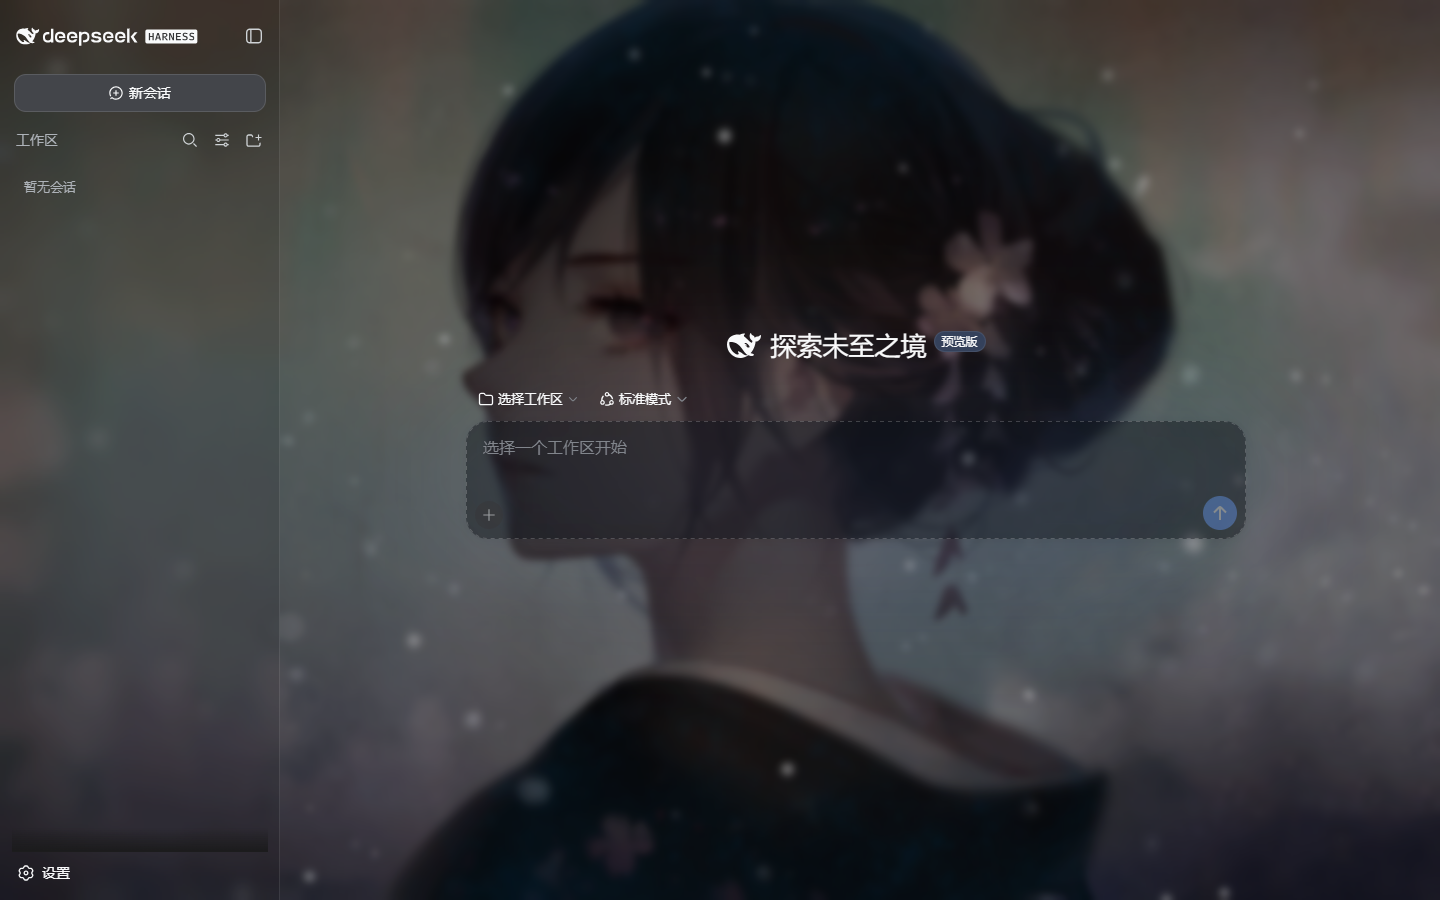
背景示例
小图标预览

大图标预览

参考文献
- Microsoft Learn -
Start-Process
https://learn.microsoft.com/powershell/module/microsoft.powershell.management/start-process - Microsoft Learn -
Invoke-WebRequest
https://learn.microsoft.com/powershell/module/microsoft.powershell.utility/invoke-webrequest - MDN -
background
https://developer.mozilla.org/docs/Web/CSS/background - MDN -
backdrop-filter
https://developer.mozilla.org/docs/Web/CSS/backdrop-filter - Vite - Public Directory
https://vite.dev/guide/assets.html#the-public-directory - Node.js - CLI
https://nodejs.org/api/cli.html - Windows - Shell/Explorer 启动
https://learn.microsoft.com/windows/win32/shell/